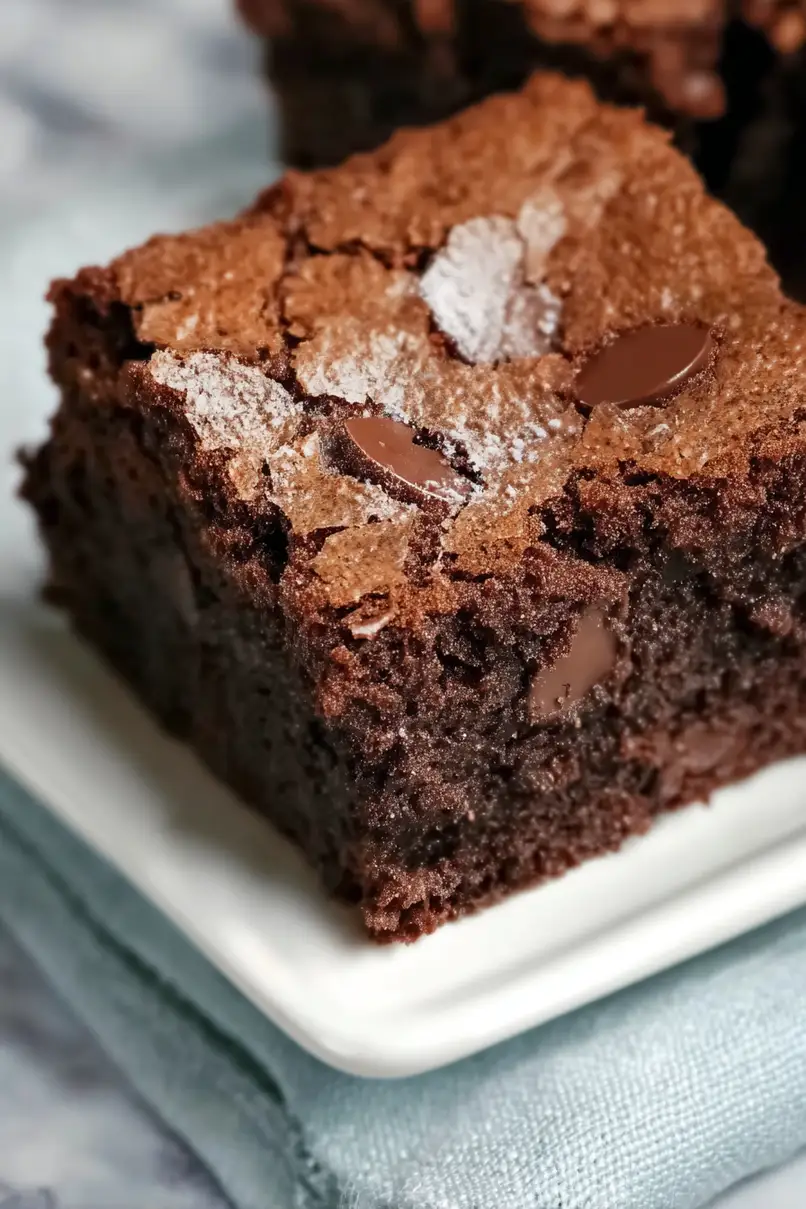
Here is my go-to almond flour brownie recipe that’s rich, fudgy, and completely gluten-free. These brownies have the perfect chocolate flavor and chewy texture that you’d never guess they’re made without regular flour.
These brownies have become a weekly staple in our house – my kids always ask for them in their lunchboxes, and they disappear faster than any other dessert I make. And the best part? They’re just as delicious straight from the fridge the next day (if they last that long!).
Why You’ll Love These Almond Flour Brownies
- Gluten-free and keto-friendly – Made with almond flour instead of regular flour, these brownies are perfect for anyone following a gluten-free or low-carb diet.
- Rich chocolate taste – The combination of cocoa powder and optional chocolate chips creates that classic brownie flavor you’re craving.
- Simple ingredients – You only need a handful of basic ingredients that are easy to find in most grocery stores or might already be in your pantry.
- Customizable sweetness – Whether you prefer regular sugar, brown sugar, or sugar-free alternatives, these brownies work with any granulated sweetener you choose.
What Kind of Almond Flour Should I Use?
For brownies, you’ll want to use blanched almond flour rather than almond meal – this means the almonds have had their skins removed before grinding, resulting in a finer texture and lighter color. Look for packages labeled as “super-fine” or “finely ground” almond flour, as these will give you the most cake-like texture in your brownies. Regular almond flour will work too, but your brownies might end up a bit more grainy. Just make sure to avoid almond meal (which is more coarsely ground and includes the skins) since it can make your brownies heavy and dense. If you’re measuring by cups rather than weight, remember to spoon the flour into your measuring cup rather than scooping directly from the bag to avoid using too much.
Options for Substitutions
These brownies are pretty adaptable – here’s what you can swap if needed:
- Almond flour: While almond flour gives these brownies their special texture, you can try coconut flour (use only 1/2 cup as it’s more absorbent) or hazelnut flour for a different nutty flavor. Regular flour works too, but the texture and taste will be quite different.
- Butter: Feel free to use coconut oil or ghee in equal amounts. For dairy-free options, plant-based butter substitutes work well too.
- Granulated sweetener: Any granulated sweetener works here – regular sugar, coconut sugar, or sugar-free options like erythritol or monk fruit sweetener. Just keep the amount the same.
- Eggs: For each egg, you can use a flax egg (1 tablespoon ground flax + 3 tablespoons water) or a chia egg. Note that the texture might be slightly more dense.
- Chocolate chips: These are optional, but you can use any type – dark, milk, white, or sugar-free chips. Chopped nuts or dried fruit work great too!
- Cocoa powder: This is a must-have ingredient that shouldn’t be substituted as it gives the brownies their chocolate flavor. Both natural and Dutch-process cocoa work fine.
Watch Out for These Mistakes While Baking
The biggest challenge when baking with almond flour is that it behaves differently from regular flour – using too much or too little can make your brownies either too dense or too crumbly, so make sure to measure precisely and avoid packing the flour into the measuring cup.
Temperature control is crucial with these brownies – they can go from perfectly fudgy to overdone in just a few minutes, so start checking them about 5 minutes before the recommended baking time and remove them when a toothpick inserted comes out with a few moist crumbs.
Many bakers make the mistake of not letting almond flour brownies cool completely before cutting – these need at least 30 minutes to set properly, as they’re more delicate when warm and will firm up nicely as they cool.
For the best texture, avoid overmixing the batter once you’ve added the eggs, and if you’re using chocolate chips, try freezing them for 10 minutes before folding them in to prevent them from sinking to the bottom.
What to Serve With Almond Flour Brownies?
These rich and chocolatey almond flour brownies are perfect on their own, but there are so many fun ways to dress them up! A scoop of vanilla ice cream on top of a warm brownie creates that perfect hot-and-cold combo that everyone loves. For a quick dessert fix, try adding a dollop of whipped cream and some fresh berries – strawberries and raspberries work especially well with the chocolate flavor. If you’re feeling extra indulgent, drizzle some warm caramel sauce over the top, or serve with a cold glass of milk for that classic brownie experience.
Storage Instructions
Keep Fresh: These almond flour brownies stay good at room temperature for about 3 days when kept in an airtight container. If you live somewhere humid, pop them in the fridge instead – they’ll last up to a week and stay just as fudgy! Just place some parchment paper between layers to prevent them from sticking together.
Freeze: These brownies are perfect for freezing! Cut them into squares, wrap them individually in plastic wrap or parchment paper, and store them in a freezer bag. They’ll keep well for up to 3 months. I like to make a double batch and freeze half for those chocolate emergency moments!
Thaw & Enjoy: When you’re craving a brownie from your frozen stash, just take out what you need and let it thaw at room temperature for about 30 minutes. For an extra treat, pop it in the microwave for 10-15 seconds – it’ll taste like it just came out of the oven!
| Preparation Time | 10-15 minutes |
| Cooking Time | 35-40 minutes |
| Total Time | 45-55 minutes |
| Level of Difficulty | Easy |
Estimated Nutrition
Estimated nutrition for the whole recipe (without optional ingredients):
- Calories: 1600-1800
- Protein: 30-40 g
- Fat: 120-130 g
- Carbohydrates: 70-80 g
Ingredients
- 1 tsp vanilla extract
- 3/4 cup cocoa powder (Dutch-processed for a darker color)
- 1 3/4 cups granulated sweetener
- 1/2 cup chocolate chips
- 1 1/2 cups almond flour
- 1/2 tsp salt
- 5 tbsp unsalted butter (melted and cooled to room temperature)
- 1 tsp baking powder (I use Bob’s Red Mill Gluten Free)
- 3 large eggs (room temperature)
Step 1: Prepare the Oven and Pan
Preheat your oven to 180C/350F.
While it’s heating up, line an 8 x 8-inch pan with parchment paper.
This will prevent the brownies from sticking and make it easier to remove them after baking.
Set the prepared pan aside.
Step 2: Mix the Dry Ingredients
In a small bowl, whisk together your dry ingredients to ensure they are evenly combined.
This helps prevent any lumps in the final batter and ensures an even distribution of ingredients.
Step 3: Combine Wet Ingredients
In a separate, larger bowl, whisk together the softened butter, sweetener, eggs, cocoa powder, and vanilla extract.
Mix until all ingredients are well-integrated and the mixture is smooth and consistent.
Step 4: Incorporate Dry Ingredients
Gently add the dry ingredients into the wet mixture.
Mix until they are fully incorporated, creating a smooth brownie batter.
If you’re adding chocolate chips, fold them through at the end, ensuring even distribution throughout the batter.
Step 5: Bake the Brownies
Carefully transfer your brownie batter into the prepared, lined pan, spreading it evenly.
Place the pan in the preheated oven and bake for approximately 35 minutes.
Check for doneness by inserting a skewer into the center; it should come out just clean.
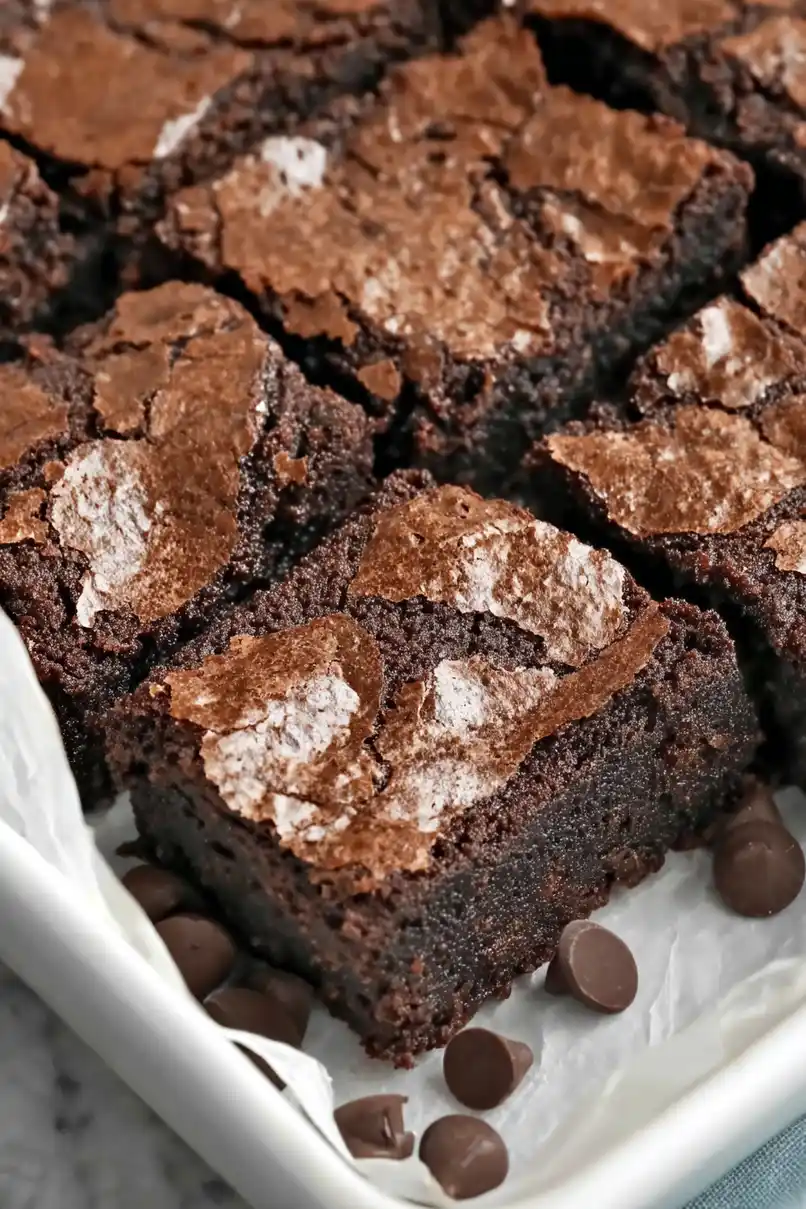
Step 6: Cool and Slice
Once baked, remove the pan from the oven and allow the brownies to cool completely in the pan.
This helps them set properly and makes slicing easier.
Once cooled, slice the brownies into desired portions and enjoy!
