If you ask me, chocolate lava cakes are pure magic in dessert form.
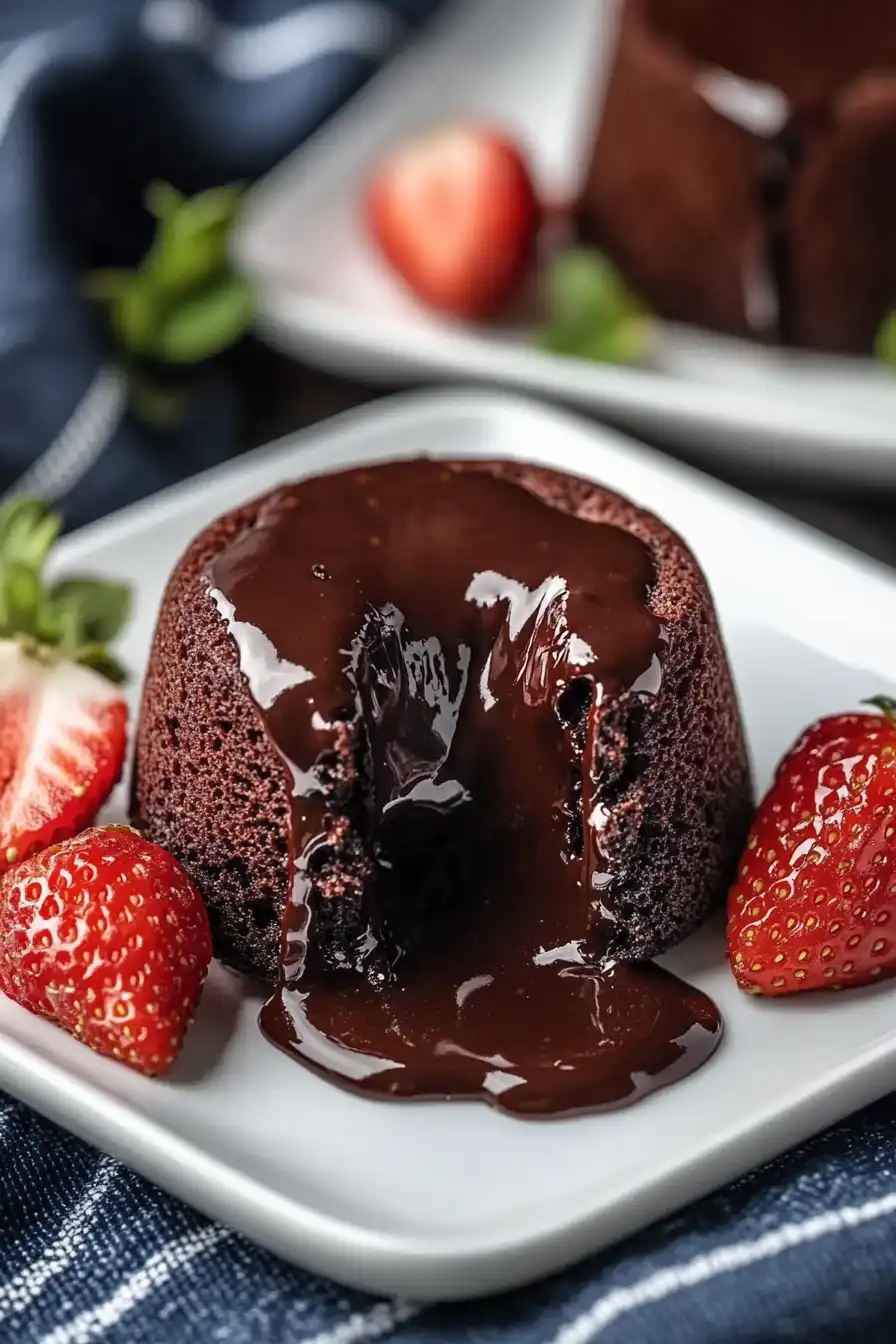
This dairy-free version gives you all the warm, gooey goodness of a traditional lava cake without any butter or cream. The outside is perfectly baked, while the center stays wonderfully molten and rich.
It’s made with simple pantry ingredients like cocoa powder and coconut oil, mixed together to create that classic chocolate cake we all know and love. The dark chocolate center flows like warm silk when you break into it.
It’s a cozy dessert that feels fancy but takes just minutes to whip up – perfect for those chocolate cravings or when you want to impress dinner guests.
Why You’ll Love This Chocolate Lava Cake
- Allergy-friendly dessert – This dairy-free and gluten-free version means everyone at the table can enjoy a decadent chocolate dessert, without compromising on taste.
- Quick preparation – Ready in less than 25 minutes from start to finish, it’s perfect when you need a quick dessert fix or have unexpected guests.
- Simple ingredients – With just 8 basic ingredients, you can create this impressive dessert without hunting down specialty items.
- Restaurant-quality results – That warm, gooey chocolate center flowing out when you cut into it gives you the same experience as a fancy restaurant dessert, but in the comfort of your home.
What Kind of Dark Chocolate Should I Use?
For dairy-free lava cakes, you’ll want to be extra careful when selecting your dark chocolate since some brands can contain hidden dairy ingredients. Look for chocolate that’s labeled as dairy-free, vegan, or “pure dark chocolate” with a cacao content between 60-70% – this range gives you the perfect balance of richness without being too bitter. Many grocery stores carry brands like Enjoy Life, Trader Joe’s, or Lindt Excellence Dark that work great in this recipe. Just be sure to check the ingredient list carefully, and remember that chocolate chips aren’t the best choice here since they contain stabilizers that can affect how the chocolate melts in your lava cake.

Options for Substitutions
This dairy-free lava cake is pretty specific in some areas, but here’s where you can make some swaps:
- Plant-based butter: You can use any plant-based butter brand you like, or even coconut oil works well here. Just make sure it’s refined coconut oil if you don’t want any coconut flavor.
- Dark chocolate: Any dairy-free dark chocolate will work – just check the label to ensure it’s truly dairy-free. You can use chocolate chips instead of a chocolate bar, but stick to dark chocolate as milk chocolate alternatives might change the texture.
- Icing sugar: Regular granulated sugar works too, just blend it in a food processor until powdery. In a pinch, granulated sugar will do, but the texture might be slightly less smooth.
- Eggs: The eggs are crucial for the structure and gooey center – I don’t recommend substituting these as it would significantly change the recipe’s outcome.
- Gluten-free flour: Regular all-purpose flour works perfectly if you don’t need the recipe to be gluten-free. If using gluten-free, any 1:1 baking flour blend will do.
Watch Out for These Mistakes While Baking
The trickiest part of making lava cakes is getting that perfect molten center – overbaking even by a minute can turn your gooey chocolate paradise into a regular chocolate cake.
Temperature control is crucial, so make sure your plant-based butter and chocolate are melted together slowly over low heat or in short bursts in the microwave to prevent the chocolate from seizing or becoming grainy.
A common mistake is not properly greasing and dusting your ramekins – use a thorough coating of dairy-free butter and cocoa powder (not flour) to ensure your cakes will slide out easily after baking.
For the perfect timing, look for edges that are set but a center that still jiggles slightly when gently shaken – typically 12-14 minutes at 400°F, and remember to let them rest for exactly one minute before inverting onto serving plates.
What to Serve With Chocolate Lava Cake?
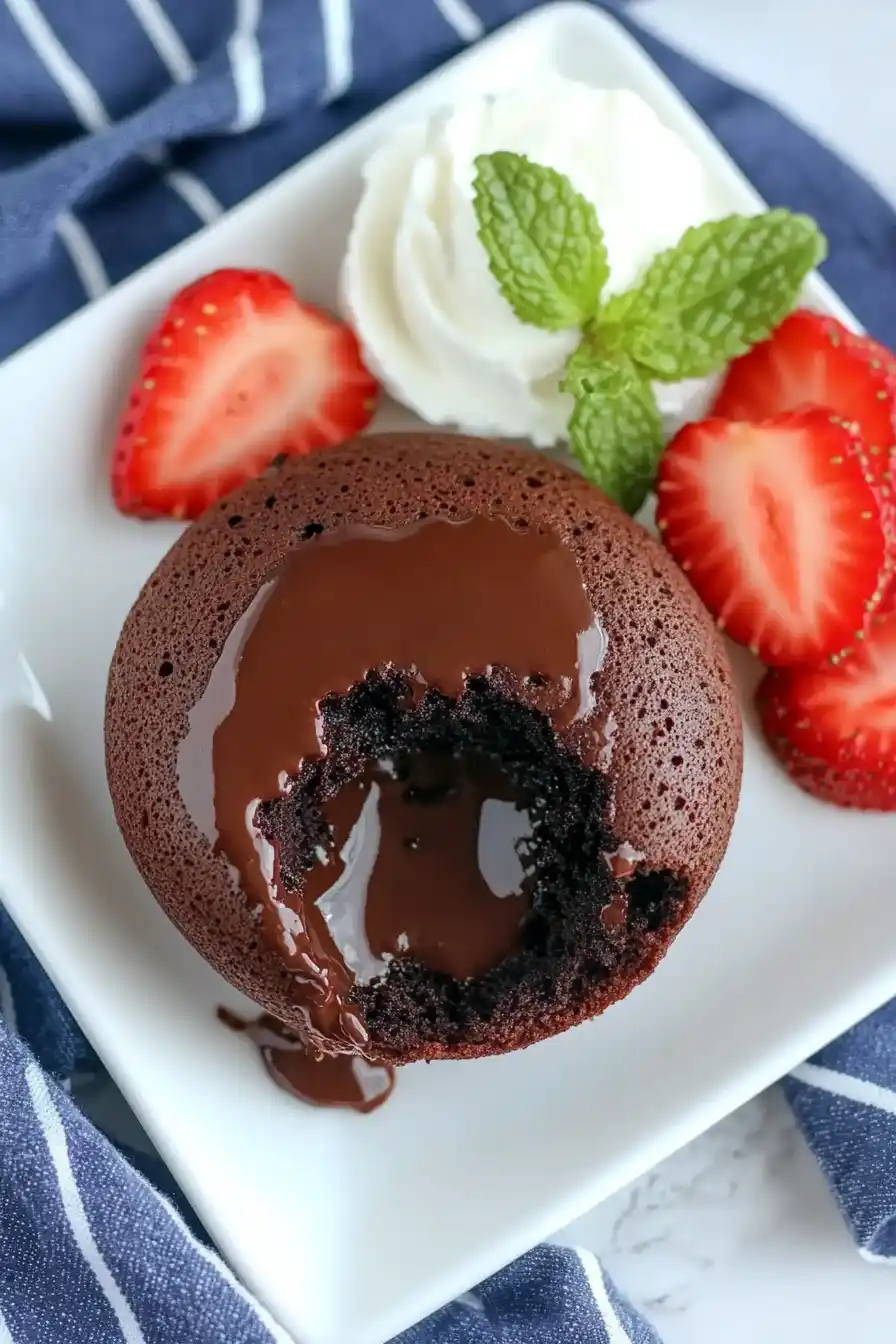
These warm, gooey chocolate lava cakes are begging to be paired with something cool and creamy! A scoop of dairy-free vanilla ice cream is perfect for melting into all that chocolate goodness. If you want to keep things simple, fresh berries like raspberries or strawberries add a nice pop of freshness and cut through the richness of the cake. For an extra special touch, you could whip up some dairy-free whipped cream (made from coconut cream) and add a light dusting of cocoa powder or powdered sugar on top. The contrast between warm cake and cold toppings makes every bite even more enjoyable!
Storage Instructions
Prepare Ahead: You can mix the batter up to 24 hours in advance and keep it in the ramekins in the fridge, covered with plastic wrap. Just bring them to room temperature for about 30 minutes before baking. This is super handy when you’re planning a dinner party!
Keep: These lava cakes are best enjoyed fresh and warm, right after baking when the center is perfectly gooey. If you happen to have leftovers (which is rare!), you can keep them in the fridge for up to 2 days, but know that the molten center will firm up.
Warm Up: To enjoy a leftover lava cake, pop it in the microwave for about 15-20 seconds. While it won’t be exactly like fresh-baked, it’ll still be a yummy chocolate treat. Just be careful not to overheat, or you’ll lose that nice cake texture.
| Preparation Time | 10-15 minutes |
| Cooking Time | 8-10 minutes |
| Total Time | 18-25 minutes |
| Level of Difficulty | Medium |
Estimated Nutrition
Estimated nutrition for the whole recipe (without optional ingredients):
- Calories: 600-650
- Protein: 8-10 g
- Fat: 40-45 g
- Carbohydrates: 60-70 g
Ingredients
- 1 whole egg (large)
- 1/3 cup confectioners’ sugar
- 2 oz dark chocolate (finely chopped)
- 1/4 cup plant-based butter (melted)
- 1/4 tsp vanilla extract
- 1 egg yolk
- 1 tbsp gluten-free flour
- 1 pinch salt
Step 1: Preheat and Prepare the Ramekins
Begin by preheating your oven to 400°F (200°C).
While the oven is heating, grease two small ramekins with your choice of cooking spray or oil to ensure the dessert doesn’t stick.
Step 2: Melt Chocolate and Butter
In a small bowl, melt together the dairy-free butter and chocolate.
You can use a microwave in short intervals or a double boiler to avoid burning.
Once melted, stir until smooth and well combined.
Step 3: Mix in Sugar and Egg Mixture
Add the powdered sugar to the melted chocolate and butter, stirring until fully incorporated.
In a separate bowl, whisk together the eggs, a splash of vanilla extract, and a pinch of salt until the mixture is well mixed and slightly frothy.
Pour the egg mixture into the chocolate mixture, stirring until completely combined.
Step 4: Incorporate the Flour
Gently fold in one tablespoon of gluten-free flour into the chocolate-egg mixture.
Be careful not to overmix—just combine enough so there are no visible flour streaks left.
Step 5: Bake the Dessert
Pour the prepared mixture evenly into the greased ramekins.
Place the ramekins on a baking tray and bake in the preheated oven for 8 to 10 minutes, or until the edges are firm but the center remains soft.
The exact time may vary based on your oven, so watch closely to avoid overbaking.
Step 6: Serve and Enjoy
Once baked, remove the ramekins from the oven and allow to cool for one minute.
Carefully place each ramekin upside down on a plate to release the dessert, ensuring you handle them cautiously as they will be hot.
Serve immediately and enjoy your rich, gooey chocolate treat!
