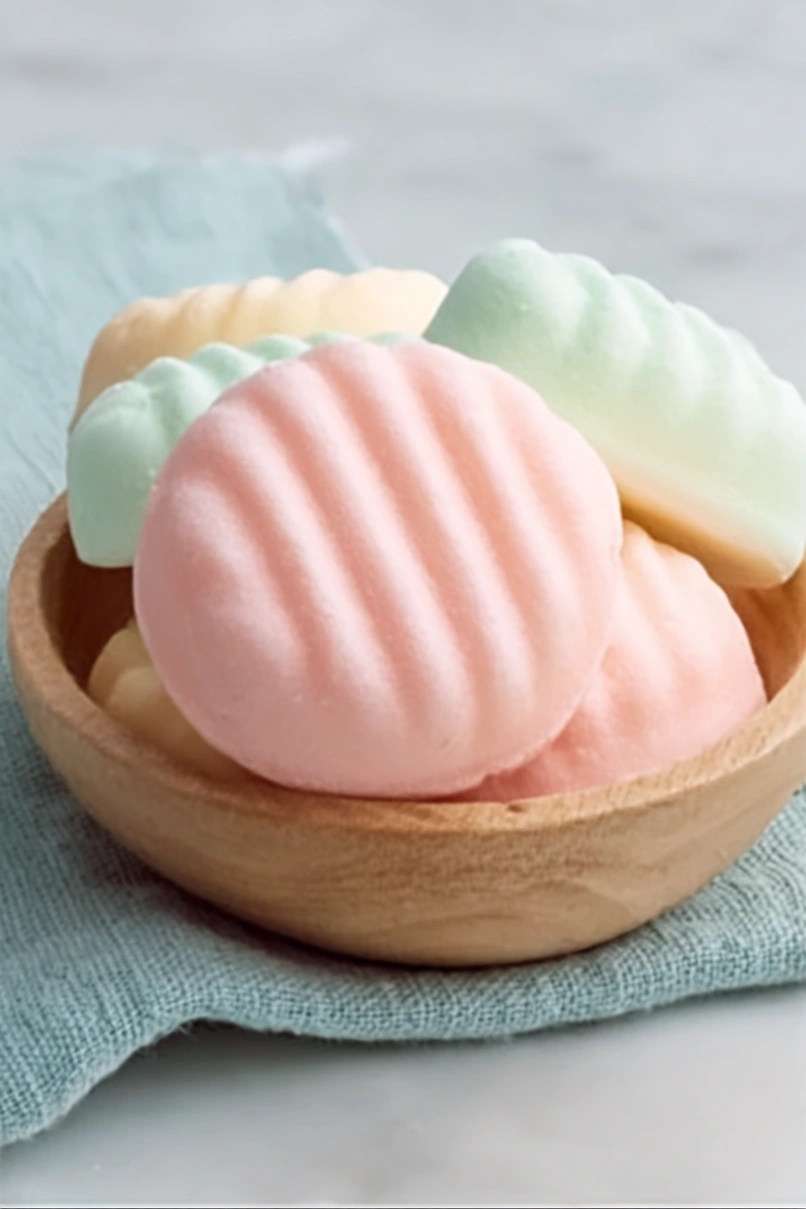
Here is my favorite 3 ingredient cream cheese mints recipe, with a simple, foolproof mixture that creates soft, creamy mints perfect for any occasion.
These cream cheese mints are always a hit at parties and gatherings. I love making them because they’re so easy, and my kids enjoy helping me roll them into little balls. Plus, they taste way better than store-bought mints!
Why You’ll Love These Cream Cheese Mints
- Just 3 simple ingredients – You probably already have cream cheese, powdered sugar, and peppermint extract in your kitchen, making this an easy treat to whip up anytime.
- No baking required – These mints come together without turning on the oven, so you can make them even on hot summer days or when your oven is busy with other dishes.
- Perfect for parties and holidays – These little mints look fancy and taste fresh, making them ideal for wedding showers, holiday gatherings, or any time you want to impress guests with minimal effort.
- Make-ahead friendly – You can prepare these mints hours or even days before you need them, giving you one less thing to worry about when entertaining.
What Kind of Cream Cheese Should I Use?
For these mints, you’ll want to use regular full-fat cream cheese – the kind that comes in the rectangular brick packaging. Light or reduced-fat cream cheese won’t work as well since it has more water content and less fat, which can make your mints too soft and harder to shape. Make sure your cream cheese is completely softened to room temperature before you start, as this will make mixing much easier and help you avoid lumps. If you’re in a hurry, you can cut the cream cheese into small cubes and let it sit out for about 30 minutes, or microwave it for just a few seconds at a time until it’s soft.
Options for Substitutions
This simple mint recipe is pretty straightforward, but here are a few swaps you can make:
- Cream cheese: This is the base of your mints, so I wouldn’t recommend substituting it. Make sure it’s fully softened to room temperature for the smoothest mixing – cold cream cheese will make your mints lumpy.
- Peppermint extract: You can swap this for other extracts like vanilla, almond, or lemon for different flavored mints. Start with the same amount and adjust to taste. Avoid peppermint oil as it’s much stronger than extract.
- Powdered sugar: This ingredient is essential for the right texture and sweetness, so don’t substitute it. The amount can vary based on humidity and how soft your cream cheese is – start with 4 cups and add more until you get a moldable dough that’s not too sticky.
Watch Out for These Mistakes While Making
The biggest mistake when making cream cheese mints is adding the powdered sugar too quickly, which can create a lumpy, unworkable mixture – instead, add it gradually, about half a cup at a time, mixing well between each addition.
Another common error is using cold cream cheese straight from the fridge, as this makes it nearly impossible to blend smoothly with the other ingredients, so make sure it’s completely softened at room temperature before you start.
Be careful not to add too much peppermint extract at once since it’s quite potent – start with just a few drops, taste, and add more if needed, because you can always add more but you can’t take it away.
If your mixture becomes too sticky to handle, don’t panic – just work in a bit more powdered sugar until you reach a moldable consistency that doesn’t stick to your hands.
What to Serve With Cream Cheese Mints?
These little cream cheese mints are perfect for serving at baby showers, bridal showers, or any fancy tea party where you want something sweet and refreshing. They pair beautifully with other bite-sized treats like petit fours, macarons, or simple butter cookies on a dessert table. I love setting them out alongside fresh fruit like strawberries or grapes, which provide a nice contrast to the rich, minty sweetness. For drinks, they go perfectly with hot tea, coffee, or even champagne if you’re celebrating something special!
Storage Instructions
Keep Fresh: These cream cheese mints stay soft and creamy when stored in an airtight container in the refrigerator for up to one week. I like to place parchment paper between layers to keep them from sticking together. They’re actually even better after sitting overnight because the flavors meld together nicely.
Freeze: You can freeze these mints for up to 3 months in a freezer-safe container with parchment paper separating the layers. They thaw quickly at room temperature in about 10-15 minutes, making them perfect for last-minute entertaining or when you want to prep ahead for holidays.
Serve: For the best texture, let refrigerated mints sit at room temperature for about 5-10 minutes before serving. They’ll soften up just enough to have that perfect melt-in-your-mouth consistency that makes these little treats so addictive.
| Preparation Time | 15-20 minutes |
| Cooking Time | 0-0 minutes |
| Total Time | 8-12 hours |
| Level of Difficulty | Easy |
Estimated Nutrition
Estimated nutrition for the whole recipe (without optional ingredients):
- Calories: 2000-2400
- Protein: 3-5 g
- Fat: 24-32 g
- Carbohydrates: 480-600 g
Ingredients
- 1/4 tsp peppermint extract
- 4 to 5 cups powdered sugar (sifted to prevent lumps, I use C&H powdered sugar)
- 4 oz cream cheese (softened to room temperature for easier mixing)
Step 1: Prepare the Baking Tray
Line a large baking tray with parchment paper and set it aside.
This will help prevent the mints from sticking later and will make cleanup easier.
Step 2: Mix the Cream Cheese and Peppermint Extract
- 4 oz cream cheese, softened
- 1/4 tsp peppermint extract
In a large mixing bowl or the bowl of a stand mixer, beat the softened cream cheese with the peppermint extract until the mixture is smooth and creamy.
This should take about 30 to 60 seconds, ensuring there are no lumps for a silky dough base.
Step 3: Make the Dough with Powdered Sugar
- 4 to 5 cups powdered sugar
Gradually add 4 cups of powdered sugar to the cream cheese mixture, mixing until a soft, pliable dough forms.
Scrape down the sides of the bowl as needed.
If the dough feels too sticky to work with, knead in more powdered sugar a little at a time until the dough is smooth and holds its shape, but remains soft and pliable.
I find that adding the sugar slowly helps you get the perfect consistency more easily.
Step 4: Add Food Coloring (Optional)
If you want colored mints, divide the dough as desired and add food coloring one drop at a time, mixing on low speed until uniform in color.
Only add a little at a time, as a single drop goes a long way.
For a variety of colors, I like to divide my dough and color each part separately for a festive presentation.
Step 5: Shape the Mints
- dough from Step 4
- powdered sugar (from Step 3, for dusting)
Scoop out 1 teaspoon-sized portions of the dough.
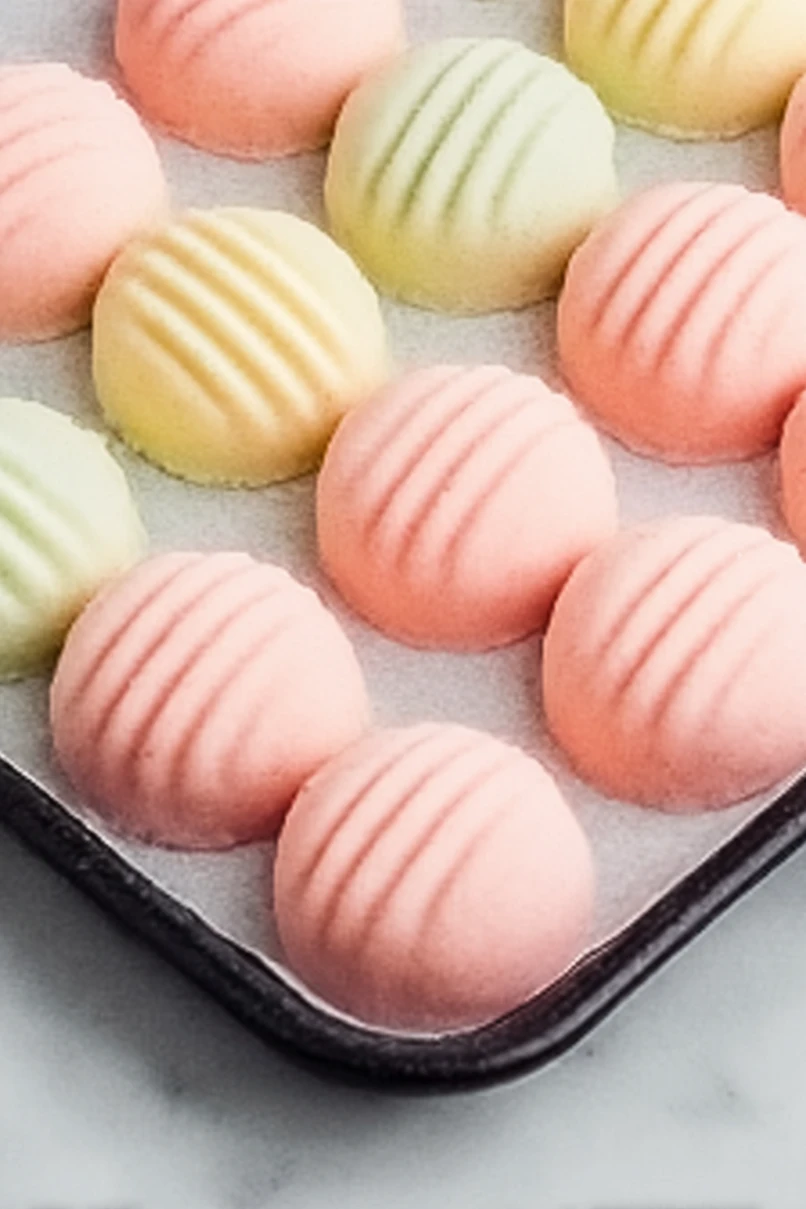
Roll each into a smooth ball using your palms, then press down lightly with a fork.
If the dough sticks to the fork, dip the fork in some powdered sugar before pressing.
This prevents sticking and gives the mints a nice ridged pattern.
Step 6: Air Dry and Store the Mints
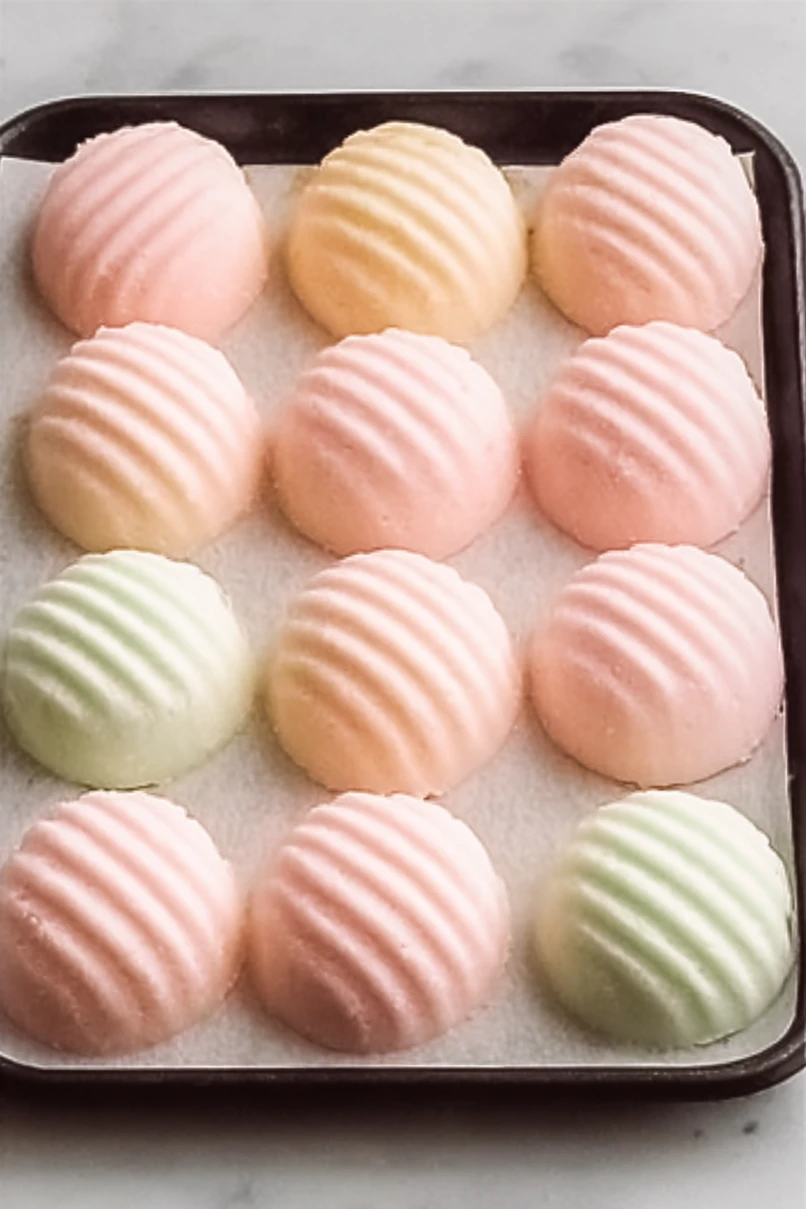
Place the shaped mints onto the prepared baking tray.
Let them sit uncovered in the refrigerator overnight (or 8–12 hours) to dry and firm up.
Once set, transfer the mints to an airtight container and store them in the fridge or freezer until ready to serve.
I always make sure to let them dry thoroughly so they develop that delightful melt-in-your-mouth texture.
