If you ask me, protein balls are a game-changer for busy days.
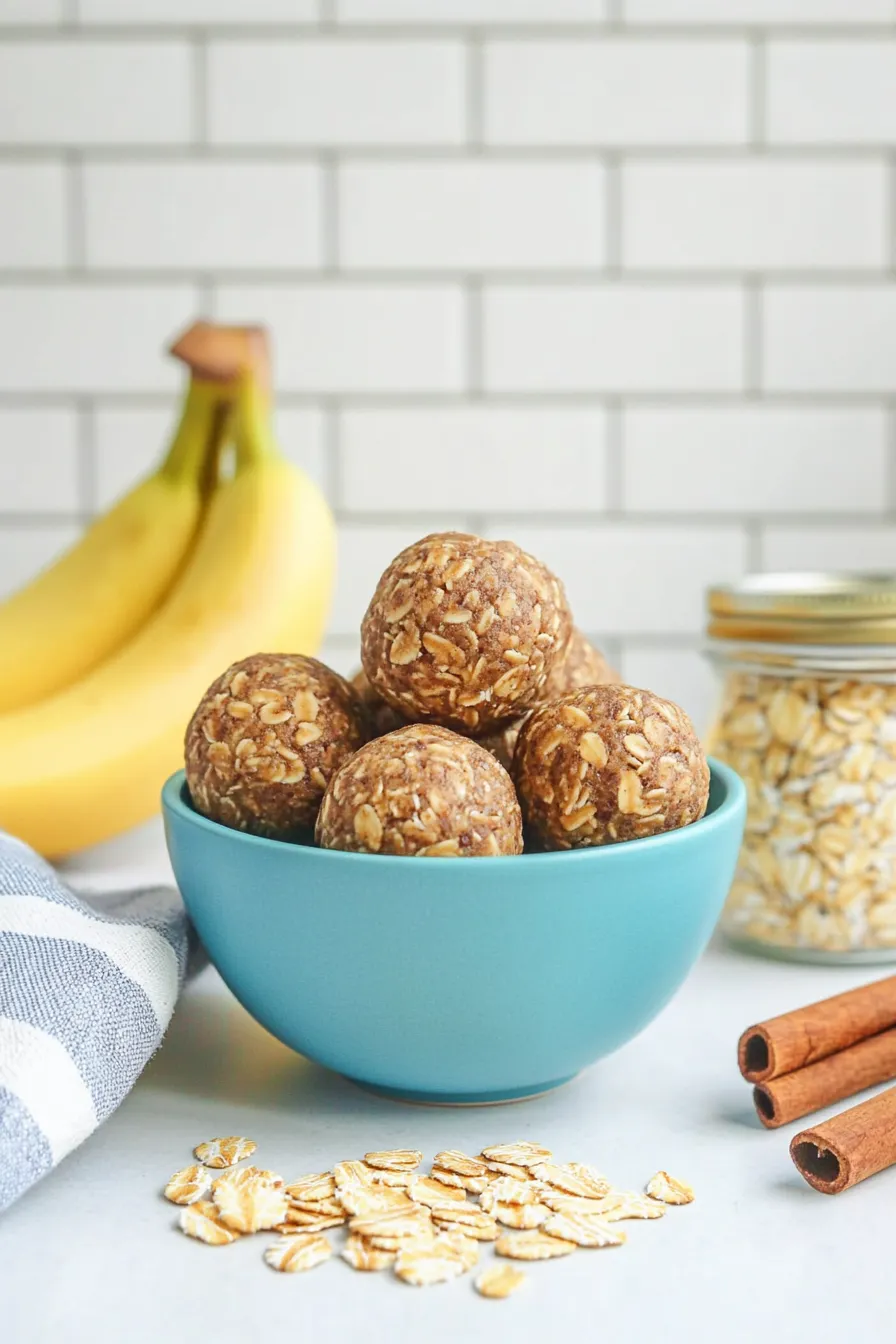
These banana bread protein balls take all the cozy flavors we love about classic banana bread and roll them into convenient, bite-sized snacks. Natural sweetness from ripe bananas meets the warmth of cinnamon and vanilla, while nuts and oats add a nice hearty texture.
They’re packed with good-for-you ingredients and just enough protein to keep you feeling satisfied between meals. Plus, you can make a batch on Sunday and have them ready to grab all week long.
It’s a practical snack that tastes like a treat, perfect for post-workout refueling or afternoon pick-me-ups.
Why You’ll Love These Protein Balls
- No-bake convenience – These protein balls require zero baking – just mix, roll, and chill. Perfect for when you don’t want to turn on the oven.
- Protein-packed snack – With protein powder, peanut butter, and flaxseed, these balls are perfect for post-workout fuel or an energizing afternoon pick-me-up.
- Healthy ingredients – Made with wholesome ingredients like rolled oats, bananas, and natural peanut butter, these treats are both nutritious and satisfying.
- Meal prep friendly – Make a batch on Sunday and enjoy these protein-rich snacks all week long – they store well in the fridge or freezer.
- Natural sweetness – Thanks to ripe bananas and a touch of honey, these protein balls satisfy sweet cravings without any refined sugar.
What Kind of Oats Should I Use?
While the recipe calls for traditional rolled oats, you actually have a few options that will work well in these protein balls. Old-fashioned rolled oats are the most common choice since they hold their shape well and provide a nice, chewy texture. Quick oats can work in a pinch, though they might make your balls a bit more dense and less textured. I’d stay away from steel-cut oats for this recipe – they’re too firm and won’t bind well with the other ingredients. Just make sure whatever oats you choose are certified gluten-free if you need to avoid gluten, since some oats can have cross-contamination during processing.
Options for Substitutions
This protein ball recipe is super adaptable and you can make several swaps based on what you have in your pantry:
- Rolled oats: Quick oats can work in place of rolled oats, though the texture will be slightly different. You could also use a mix of rolled oats and quick oats.
- Flaxseed meal: You can swap this with chia seeds (ground), hemp hearts, or additional protein powder. If using whole flaxseeds, grind them first for better nutrition absorption.
- Protein powder: Any flavor of protein powder works here – vanilla, peanut butter, or unflavored. You can even use plant-based protein powder if you prefer.
- Peanut butter: Feel free to use any nut or seed butter – almond butter, cashew butter, or sunflower seed butter all work great. Just make sure it’s the drippy, natural kind.
- Honey: Maple syrup or agave nectar can replace honey for a vegan version. You might need to add a bit more if the mixture seems too dry.
- Bananas: This is one ingredient you shouldn’t skip as it’s key to the flavor and texture. Make sure they’re really ripe – those spotty ones are perfect!
Watch Out for These Mistakes While Making
The biggest challenge when making protein balls is getting the right consistency – if your mixture is too wet, you’ll end up with sticky balls that won’t hold their shape, while too dry means they’ll crumble apart. The key is to start with really ripe bananas (those with brown spots are perfect) and add the wet ingredients gradually, adjusting the amount of oats if needed until you can easily roll the mixture into balls that hold their shape.
Another common mistake is not chilling the mixture before rolling – pop it in the fridge for 30 minutes first, and you’ll find it much easier to work with and less likely to stick to your hands (or try slightly wet hands for rolling).
Temperature control is crucial for storage – while these protein balls can last up to a week in the fridge, leaving them at room temperature for too long will make them too soft and potentially spoil the bananas, so always keep them chilled and in an airtight container. For the best texture and flavor, let them sit at room temperature for just 5-10 minutes before eating.
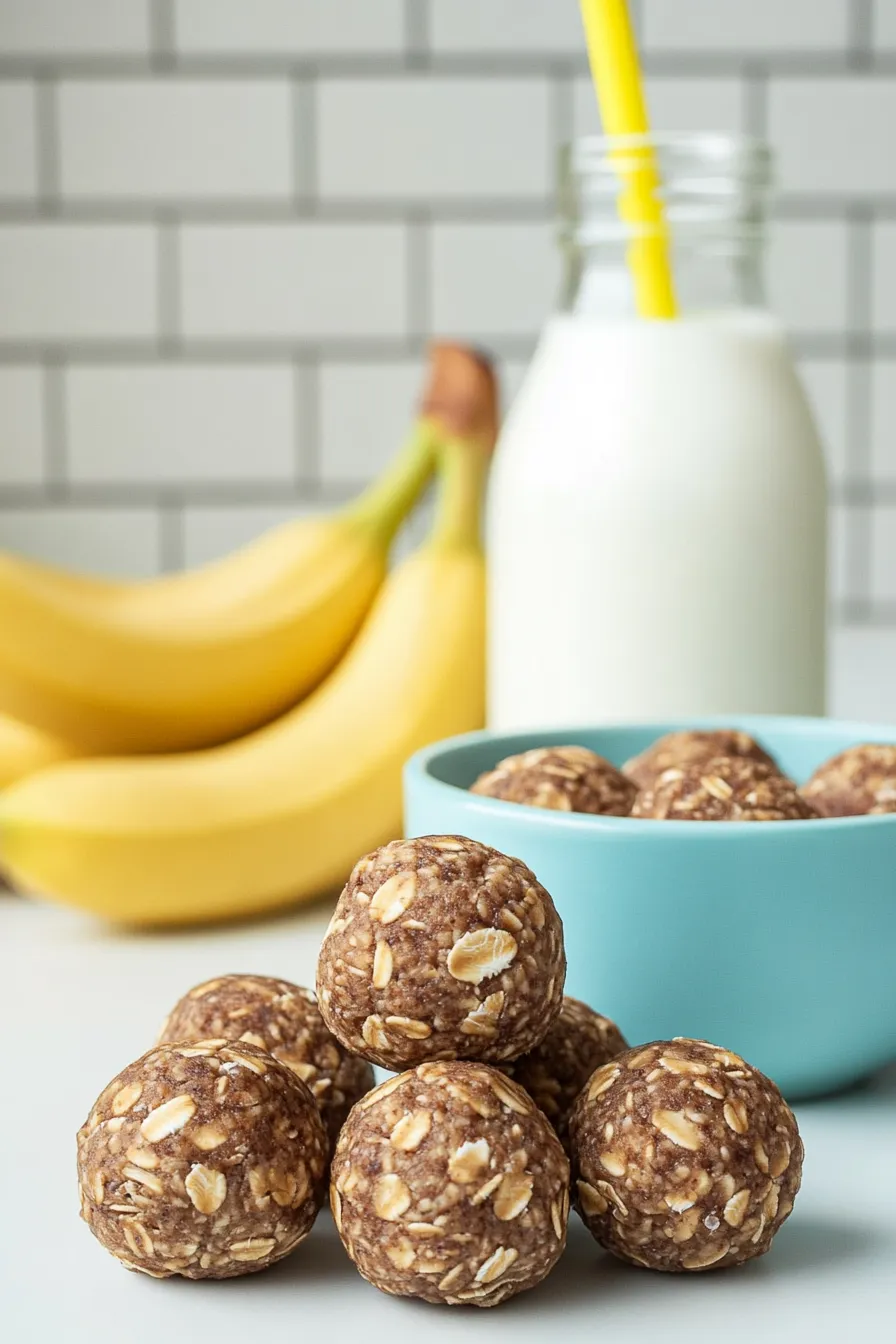
What to Serve With Protein Balls?
These banana bread protein balls make a perfect grab-and-go snack, but there are lots of tasty ways to enjoy them as part of a bigger meal or snack spread. Try pairing them with your morning coffee or tea for a quick breakfast, or serve them alongside a protein smoothie for a post-workout boost. I like to include them on breakfast platters with fresh fruit, yogurt, and a drizzle of extra honey or nut butter for dipping. Since these balls are already packed with protein and fiber, they also work great as an afternoon pick-me-up with a cold glass of milk or your favorite plant-based alternative.
Storage Instructions
Keep Fresh: These protein balls stay good in an airtight container in the fridge for up to a week. I like to line my container with parchment paper to keep them from sticking together. They’re perfect for grabbing as a quick snack throughout the week!
Freeze: Want to make a bigger batch? These little energy bites freeze really well! Just pop them in a freezer-safe container or zip-top bag and they’ll keep for up to 3 months. I usually separate layers with parchment paper to prevent them from freezing into one big clump.
Thaw: When you’re ready to enjoy your frozen protein balls, just transfer them to the fridge the night before. Or if you’re in a hurry, let them sit at room temperature for about 30 minutes. They might be slightly softer after freezing, but they’ll still taste great!
| Preparation Time | 15-20 minutes |
| Cooking Time | 0 minutes |
| Total Time | 75-80 minutes |
| Level of Difficulty | Easy |
Estimated Nutrition
Estimated nutrition for the whole recipe (without optional ingredients):
- Calories: 1500-1600
- Protein: 55-65 g
- Fat: 60-70 g
- Carbohydrates: 200-230 g
Ingredients
- 2 tbsp honey
- 1/4 cup peanut butter (I like Jif creamy peanut butter)
- 3 cups rolled oats
- 2 mashed overripe bananas (very ripe, with brown spots, for sweetness)
- 2 tsp cinnamon
- 1/2 tsp nutmeg (freshly ground for best flavor)
- 2 oz chocolate protein powder
- 1/2 cup flaxseed meal (ground for better absorption)
- 1/4 tsp kosher salt
Step 1: Prepare the Baking Sheet
Line a baking sheet with parchment paper and set it aside.
This will be used to place the protein balls after shaping, preventing them from sticking to the surface.
Step 2: Combine the Dry Ingredients
In a large bowl, whisk together the oats, flaxseed, protein powder, cinnamon, nutmeg, and salt.
This helps to evenly distribute the flavors throughout the mixture.
Step 3: Mix Wet Ingredients with Dry Ingredients
Add the mashed bananas, peanut butter, and honey to the bowl with the dry ingredients.
Use a hand mixer or spatula to combine everything until the mixture is cohesive and sticky.
Step 4: Chill the Mixture
Tightly cover the bowl with plastic wrap and refrigerate for 1 hour.
This chilling process allows the mixture to firm up, making it easier to shape into balls later.
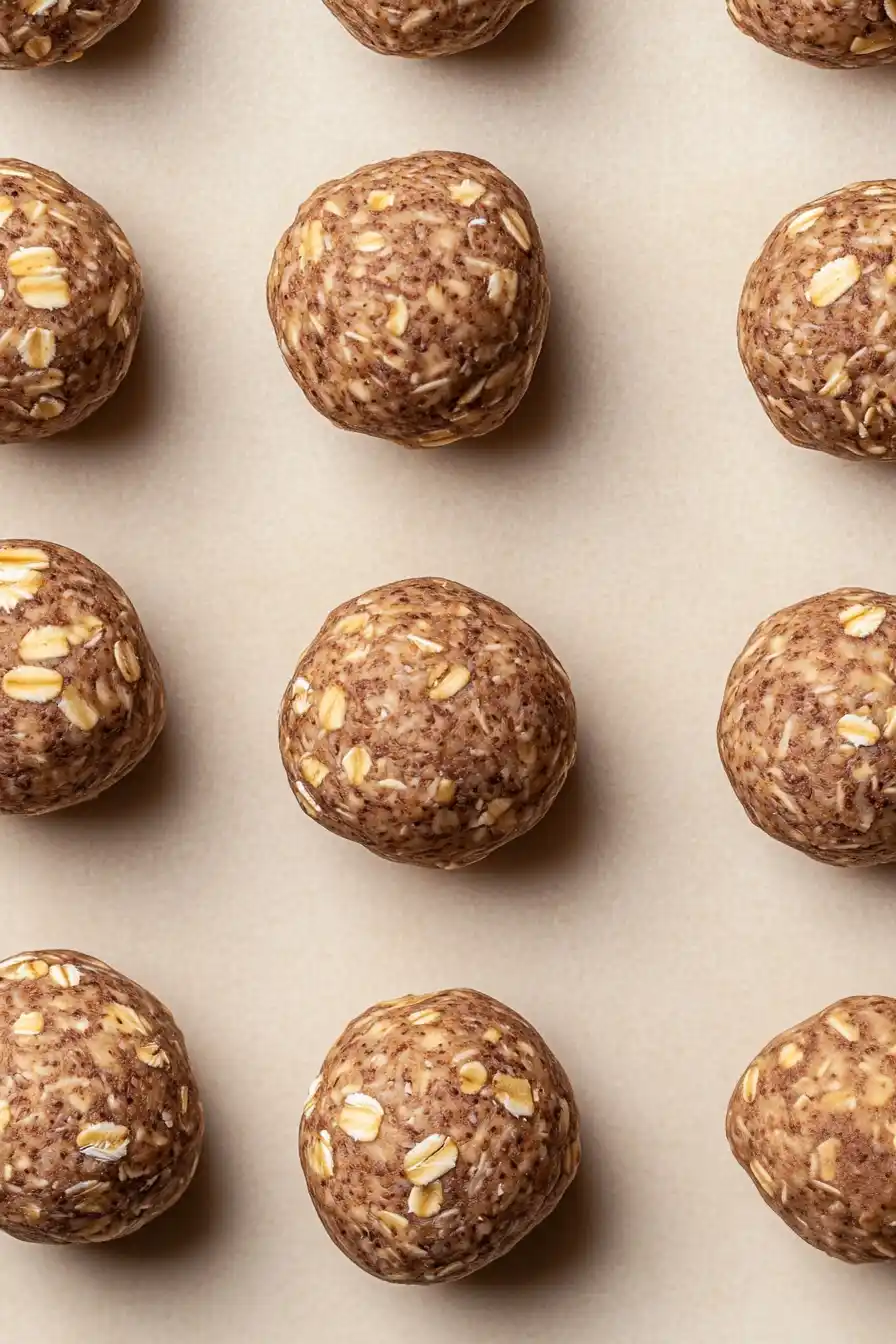
Step 5: Shape the Protein Balls
After the mixture has chilled, remove the bowl from the refrigerator.
Use a 1-tablespoon-sized scoop to scoop out portions of the protein ball mixture.
Wet your hands to prevent sticking and shape the scoops into balls.
Place them in a single layer on the prepared baking sheet.
Repeat this process until all of the mixture has been used.
Step 6: Final Chill and Store
To prevent the protein balls from sticking to each other, wrap the baking sheet in plastic wrap and refrigerate for an additional hour.
After this final chill, transfer the protein balls to an airtight container for storage.
While additional chill time enhances their texture, they can be enjoyed immediately if desired.
