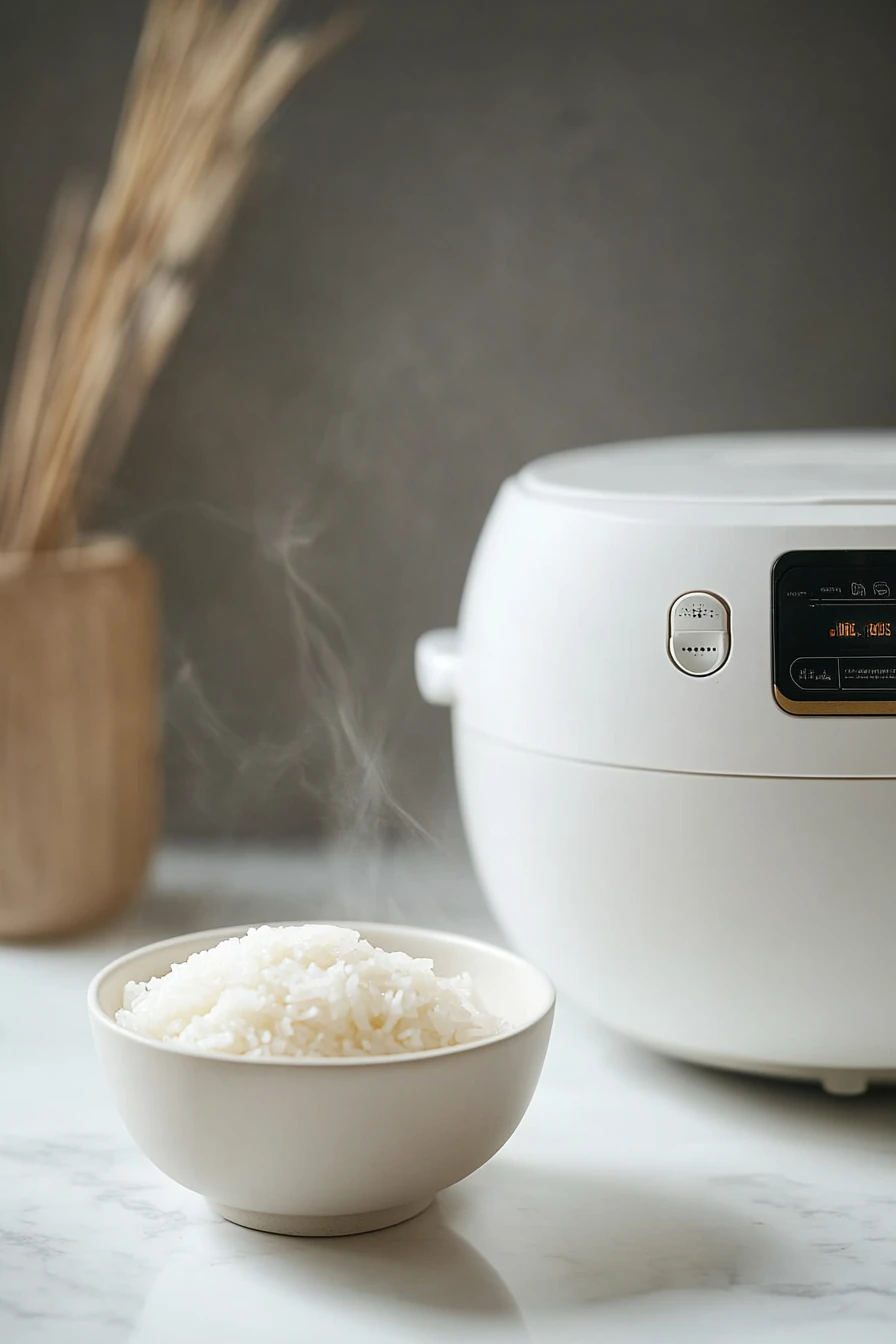
If you ask me, sticky rice made in a rice cooker is a total game-changer.
Making this Asian staple at home is so much easier than you might think. The rice comes out perfectly chewy and just a bit sticky, ready to pair with your favorite stir-fries or curries.
All it takes is the right type of rice, a quick soak, and your trusty rice cooker to do the heavy lifting. No more guessing about water ratios or cooking times – it’s practically foolproof.
It’s the kind of simple cooking method that delivers reliable results every time, perfect for busy weeknight dinners or meal prep.
Why You’ll Love This Sticky Rice
- Foolproof method – Using a rice cooker takes all the guesswork out of making sticky rice – just rinse, add water, and press start.
- No special equipment needed – While traditional methods require special bamboo steamers, this recipe uses just your regular rice cooker that you already have in your kitchen.
- Perfect texture every time – The rice cooker’s controlled environment ensures you get that classic chewy, sticky texture that’s essential for Asian dishes and desserts.
- Minimal effort – With just rice and water as ingredients, this couldn’t be simpler – perfect for busy weeknights when you need a reliable side dish.
What Kind of Sticky Rice Should I Use?
For making sticky rice, you’ll want to look specifically for sweet rice or glutinous rice at your local Asian market – despite its name, it’s actually gluten-free. Thai sticky rice (also called Thai sweet rice) is the most common variety and works perfectly for this recipe. You might notice the grains look shorter and more opaque white than regular rice. While both long-grain and short-grain sticky rice varieties exist, the short-grain type is more commonly available and is ideal for traditional Asian dishes. Just remember to give your rice a good rinse until the water runs clear before cooking – this removes excess starch and helps prevent your rice from becoming too gummy.
Options for Substitutions
When it comes to sticky rice, there are a few important things to know about substitutions:
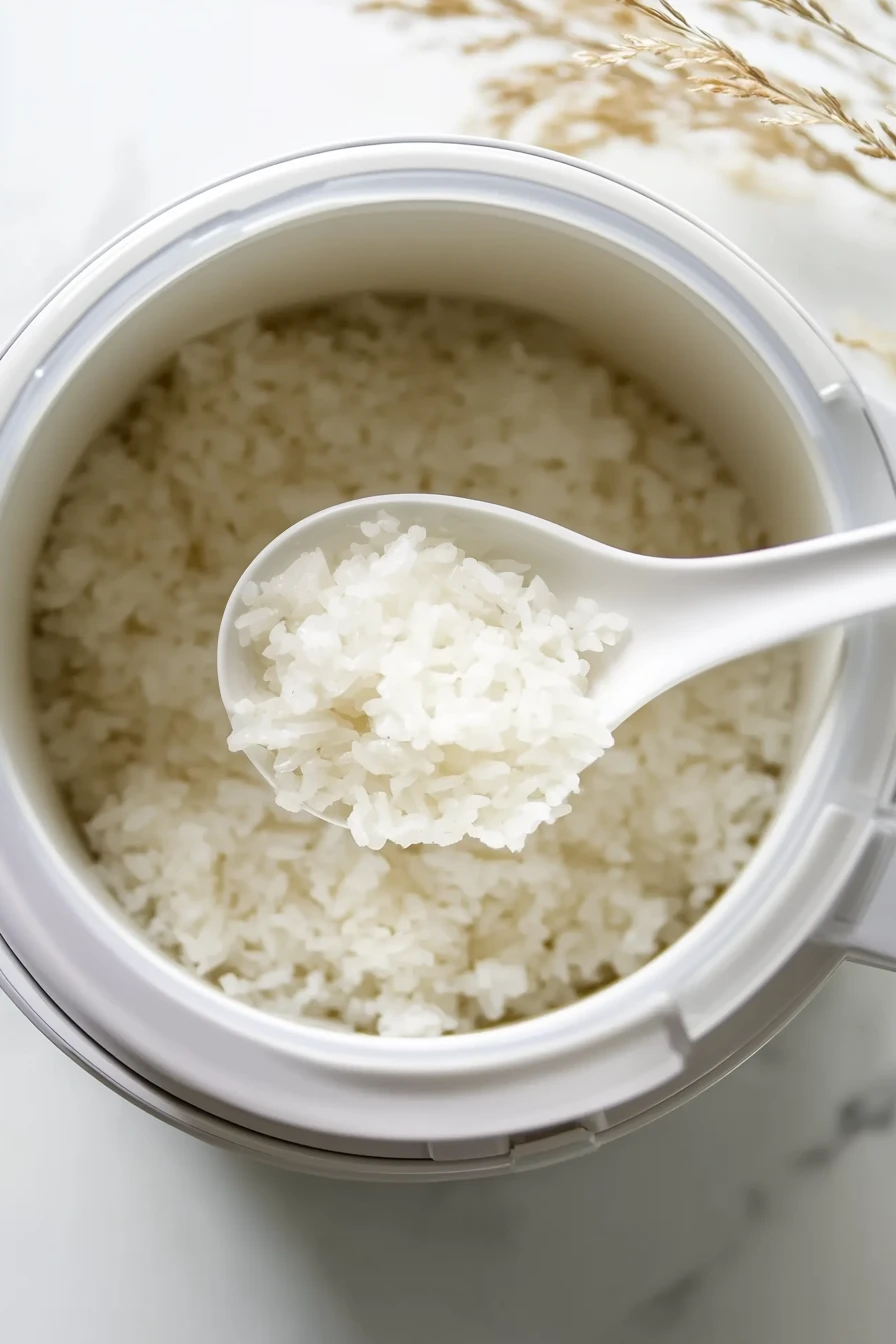
- Sticky rice: This is one ingredient you really shouldn’t substitute. Also called sweet rice or glutinous rice, it’s essential for getting that classic sticky texture. Regular white rice, jasmine rice, or brown rice won’t give you the same results.
- Filtered water: While filtered water is recommended, you can use tap water if that’s what you have. Just make sure it’s cold and fresh. If your tap water has a strong taste, it might slightly affect the flavor of your rice.
- Rinsing water: Any clean, cool water works fine for rinsing. The important part is rinsing the rice thoroughly until the water runs clear – this step can’t be skipped as it removes excess starch and prevents the rice from becoming gummy.
Watch Out for These Mistakes While Cooking
The biggest mistake when cooking sticky rice is skipping the crucial soaking step – always soak your rice for at least 4-6 hours or overnight to achieve that perfect chewy texture. Another common error is not rinsing the rice thoroughly enough; you’ll want to wash it several times until the water runs almost clear, which removes excess starch and prevents your rice from becoming gummy or mushy. The water-to-rice ratio is absolutely critical in a rice cooker – using too much water will result in soggy rice, while too little will leave you with hard, undercooked grains, so stick to the measurements provided and resist the urge to add extra water. For the fluffiest results, let the rice rest in the cooker for 10-15 minutes after cooking is complete, keeping the lid closed to allow for even steam distribution.
What to Serve With Sticky Rice?
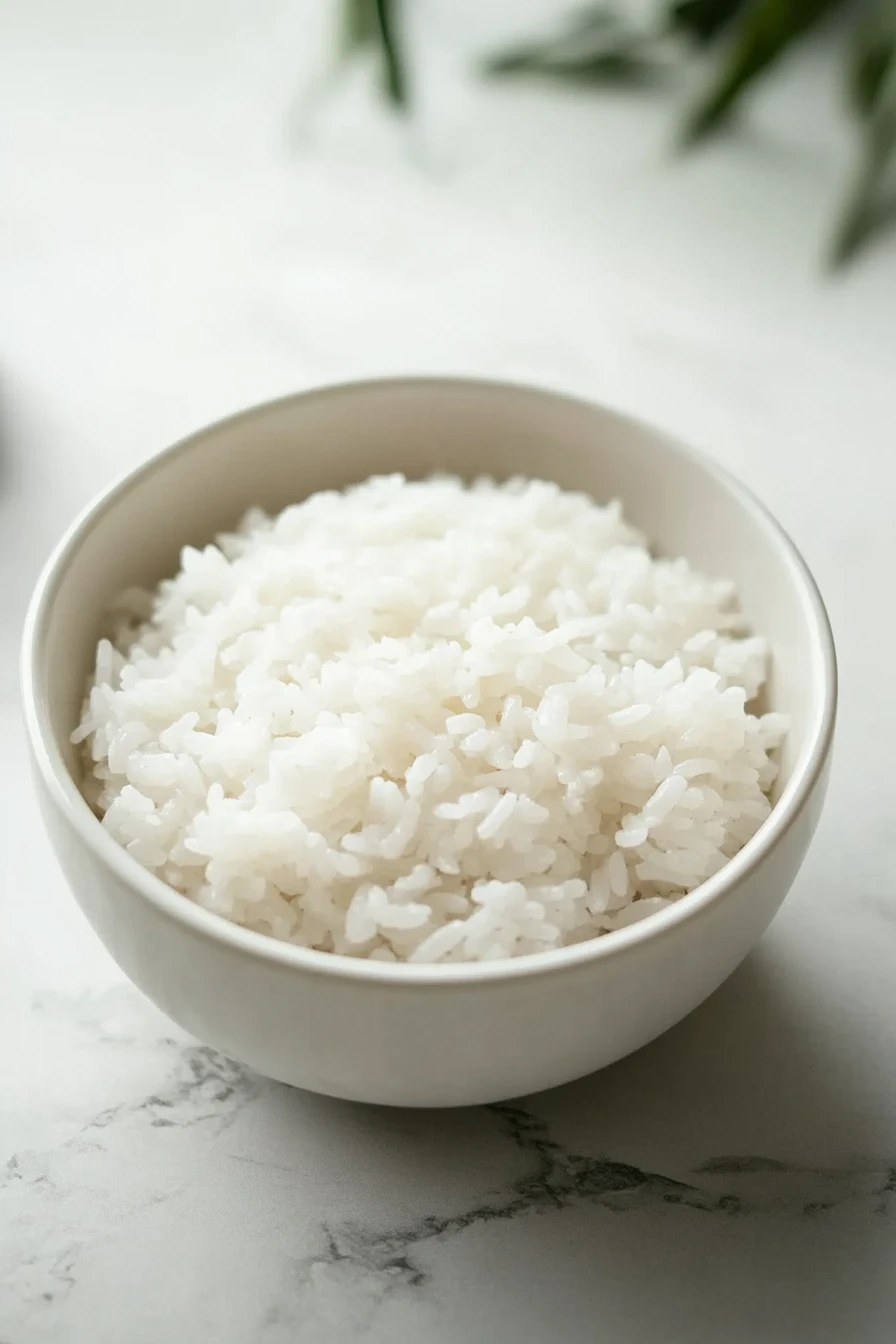
Sticky rice is such a great base for so many Asian dishes – I love serving it with grilled or stir-fried meats like Thai BBQ chicken or Chinese sausage. The rice soaks up all those tasty sauces perfectly! For a simple meal, try it with some steamed vegetables and a drizzle of soy sauce, or use it as a side for spicy curries. If you’re going for something more traditional, serve it with fresh mango and a little coconut milk for a classic Thai dessert that everyone loves.
Storage Instructions
Keep Fresh: Once your sticky rice is cooked, you can keep it at room temperature for a few hours if you plan to eat it the same day. Just cover it with a clean kitchen towel to prevent it from drying out. For longer storage, let it cool completely, then place it in an airtight container in the fridge for up to 3 days.
Freeze: Sticky rice freezes really well! Portion it into serving sizes, let it cool completely, then pack it in freezer bags or containers. It’ll stay good in the freezer for up to 3 months. This is super handy when you want to meal prep or have ready-to-go portions.
Revive: To bring your refrigerated or frozen sticky rice back to life, sprinkle a little water over it and microwave it in short bursts, stirring between each interval. You can also steam it again briefly to restore that nice, chewy texture. The rice might be slightly less sticky than when fresh, but it’ll still be good!
| Preparation Time | 10-15 minutes |
| Cooking Time | 30-40 minutes |
| Total Time | 40-55 minutes |
| Level of Difficulty | Easy |
Estimated Nutrition
Estimated nutrition for the whole recipe (without optional ingredients):
- Calories: 900-1000
- Protein: 14-16 g
- Fat: 0-1 g
- Carbohydrates: 200-220 g
Ingredients
- 416 g sticky rice (Thai sweet rice, for best results)
- 488 g filtered water (purified water is ideal)
- water (for rinsing, cold water is fine)
Step 1: Rinse the Glutinous Rice
Start by measuring out the desired amount of glutinous rice and place it into a strainer.
Rinse the rice under running water until the water runs clear.
This helps to remove excess starch and ensures a better texture for the cooked rice.
Step 2: Prepare the Rice for Cooking
Transfer the washed rice into the cooking pot of your rice cooker.
Add the appropriate amount of water as per your rice cooker’s guidelines or use a standard ratio to ensure the rice is cooked properly.
Make sure the rice is leveled out in the pot.
Step 3: Cook the Rice
Plug in your rice cooker and close the lid securely.
Use the “normal” setting or follow your rice cooker’s specific instructions, then press start to begin the cooking process.
Step 4: Fluff and Rest the Rice
Once the rice cooker signals that the rice is finished, open the lid carefully.
Use a rice paddle to gently fluff up the rice, which will help remove any excess moisture.
Allow the fluffed rice to sit for an additional 2 minutes to settle.
Step 5: Serve the Rice
Serve the glutinous rice immediately while it’s still warm for the best texture and flavor.
Enjoy as a side dish or part of your favorite meal.