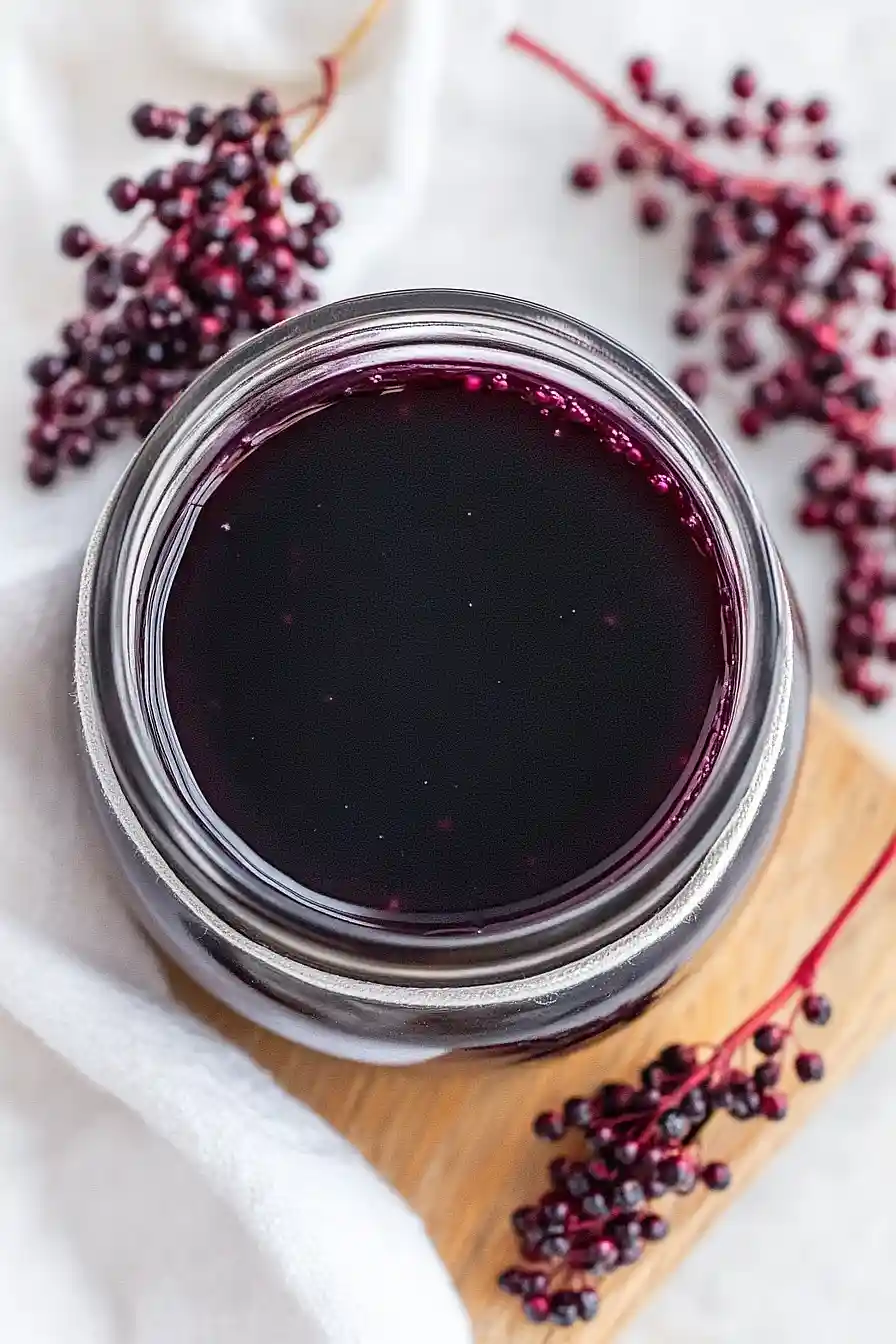
With cold and flu season in full swing, I’ve been making this elderberry syrup like clockwork every few weeks. It’s become such a regular part of my family’s wellness routine that my kids actually remind me when we’re running low. I started adding echinacea to my recipe last year, combining two of nature’s most popular immune-supporting herbs into one simple syrup.
Making your own elderberry syrup at home isn’t just budget-friendly – it’s also surprisingly easy. I usually whip up a batch while I’m making dinner, letting it simmer away on the back burner while I cook. The whole house fills with a sweet, berry-like aroma that makes everyone ask what’s cooking. And the best part? I know exactly what’s going into it, unlike store-bought versions that often contain preservatives or extra ingredients we don’t need.
Why You’ll Love This Elderberry Syrup
- Natural immune support – Made with powerful ingredients like elderberries, echinacea, and goldenseal that have been traditionally used to support immune health during cold and flu season.
- Customizable sweetness – You can adjust the amount of honey or use your preferred sweetener to make it just right for your taste preferences.
- Cost-effective – Making your own elderberry syrup at home costs much less than store-bought versions, and you know exactly what goes into it.
- Simple preparation – Just combine the ingredients, simmer, strain, and store – no special equipment or complicated techniques needed.
- All-natural ingredients – Every ingredient is natural and recognizable, with no artificial preservatives, colors, or flavors that you might find in commercial versions.
What Kind of Elderberries Should I Use?
You can use either fresh or dried elderberries for this syrup, though dried ones are more commonly available and tend to be more convenient since they’re shelf-stable. If you’re foraging fresh elderberries, make sure you’re picking either Sambucus nigra (European black elderberry) or Sambucus canadensis (American elderberry), as these are the safe, edible varieties. Never use raw elderberries – they need to be properly cooked to remove naturally occurring toxins. When buying dried elderberries, look for ones that are dark purple-black in color and aren’t dusty or showing signs of mold. If you’re using fresh berries, make sure they’re fully ripe (deep purple to black) and remove all stems, as the stems can be toxic.
Options for Substitutions
While making this immune-supporting syrup, you have several options for substitutions:
- Elderberries: Elderberries are the main active ingredient here, so they shouldn’t be substituted. However, you can freely switch between dried and fresh – just remember to use twice as much if using fresh berries.
- Echinacea: You can use any form of echinacea – tea bags, dried, or fresh plant parts. If you can’t find echinacea, you could use astragalus root or dried rose hips, though the immune-supporting properties will be different.
- Honey: While raw honey is ideal for its natural healing properties, you can use maple syrup, agave nectar, or monk fruit sweetener for a vegan version. Just adjust the amount to your taste.
- Goldenseal: If you can’t find goldenseal tincture, you can use oregon grape root tincture or leave it out entirely – the syrup will still be effective without it.
- Cinnamon sticks: Ground cinnamon works too – use 1 teaspoon in place of 2 cinnamon sticks. You could also use 2-3 slices of fresh ginger for a different warming effect.
- Lemon juice: Apple cider vinegar can replace lemon juice, using the same amount. This will help preserve the syrup and add beneficial compounds.
Watch Out for These Mistakes While Cooking
The biggest mistake when making elderberry syrup is using raw elderberries, which can cause nausea and digestive issues – always ensure they’re fully cooked by simmering them for at least 30-45 minutes until the liquid is reduced by half.
Another common error is adding honey while the mixture is still hot, which destroys its beneficial properties – let the syrup cool to room temperature before stirring in honey or other heat-sensitive ingredients like goldenseal tincture.
When straining the mixture, avoid pressing or squeezing the berries too hard as this can release bitter compounds; instead, let the liquid drain naturally through a fine-mesh strainer or cheesecloth.
For the best shelf life, make sure to store your syrup in sterilized glass bottles in the refrigerator, where it will keep for about 2-3 months (or up to 6 months if you add a splash of brandy as a preservative).
What to Serve With Elderberry Syrup?
This immune-supporting elderberry syrup is super flexible and can be enjoyed in several tasty ways! The simplest option is to stir a tablespoon into hot water or tea when you’re feeling under the weather. You can also add it to sparkling water with a squeeze of lemon for a refreshing drink, or drizzle it over yogurt and granola for breakfast. For the kids (or kids at heart), try mixing it into smoothies or adding a spoonful to homemade popsicles – it’s a great way to sneak in some extra immune support during cold and flu season.
Storage Instructions
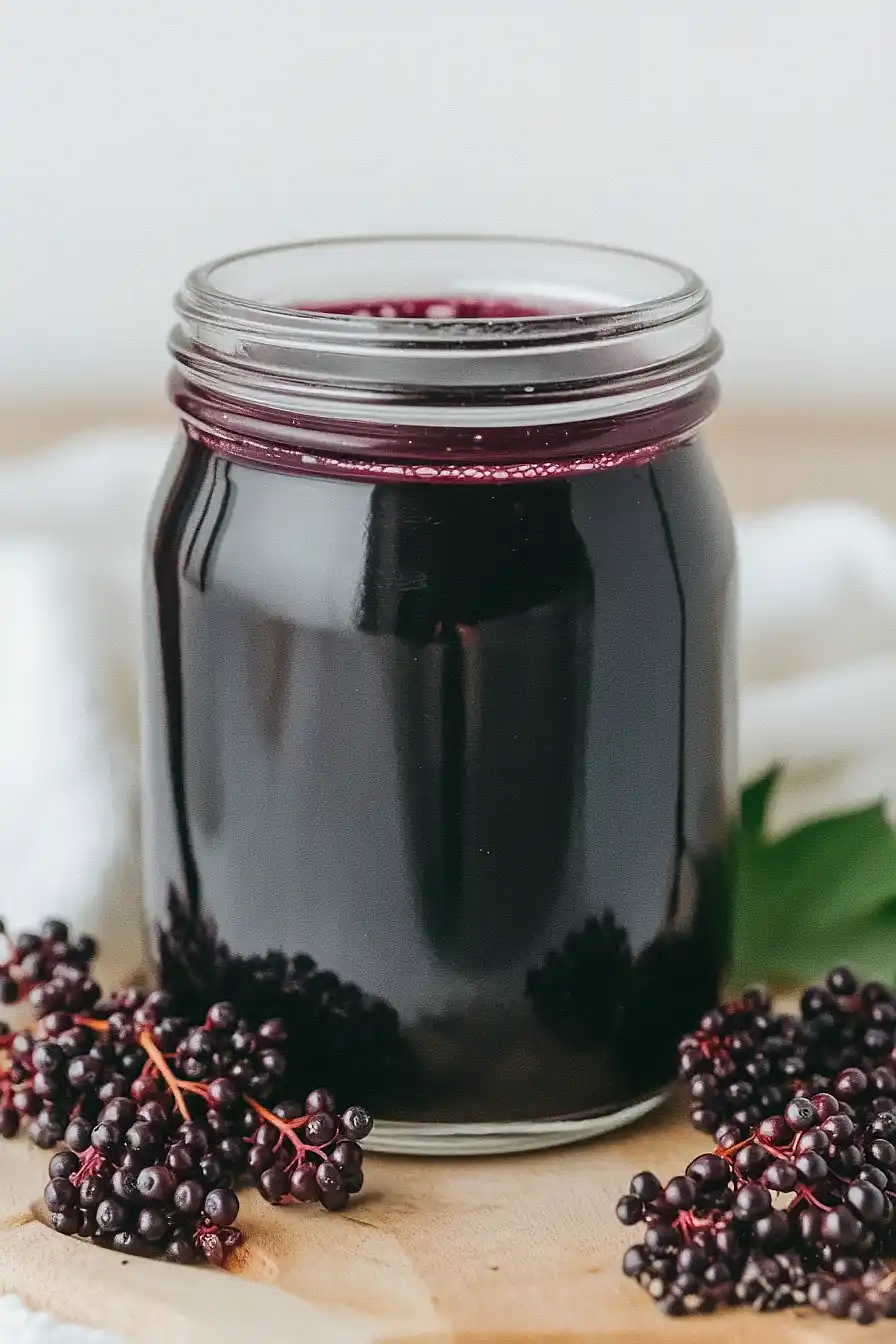
Keep Fresh: Pour your finished elderberry syrup into a clean glass bottle or jar with a tight-fitting lid. Keep it in the refrigerator, where it’ll stay good for about 3 months. The honey acts as a natural preservative, helping it last longer!
Bottle: For the best results, use dark amber glass bottles to store your syrup – they help protect those good-for-you compounds from light. Make sure to label your bottle with the date you made it, so you’ll know when it’s time to make a fresh batch.
Tips: Give the bottle a gentle shake before each use, as some natural separation might occur. If you notice any unusual smell, color changes, or mold, it’s time to make a new batch – better safe than sorry!
| Preparation Time | 15-20 minutes |
| Cooking Time | 30-60 minutes |
| Total Time | 45-80 minutes |
| Level of Difficulty | Easy |
Estimated Nutrition
Estimated nutrition for the whole recipe (without optional ingredients):
- Calories: 150-200
- Protein: 1-3 g
- Fat: 0-1 g
- Carbohydrates: 38-50 g
Ingredients
For the syrup base:
- 1 part dried elderberries
- 2 large cinnamon sticks (true cinnamon preferred for flavor)
- 2 echinacea tea bags (or 2 tbsp dried echinacea)
- 2 parts water
For the final additions:
- 1 tbsp lemon juice
- 10 drops goldenseal root tincture (for extra immune support)
- 1/2 part honey (local raw honey is best)
Step 1: Combine and Heat the Ingredients
In a large pot, combine the elderberries, water, echinacea, and cinnamon sticks.
Place the pot on the stove and bring the mixture to a boil.
Once boiling, reduce the heat to a minimum, allowing the ingredients to simmer gently.
Step 2: Simmer and Steep the Decoction
Cover the pot with a lid and let the mixture simmer at a low temperature for 30 to 40 minutes.
If you prefer a stronger decoction, consider letting it steep for at least one hour or even overnight.
Step 3: Strain the Mixture
After the desired simmering time, strain the mixture through cheesecloth or a fine wire mesh strainer to separate the liquid from the solids.
Discard the solids and retain the liquid for your syrup.
Step 4: Mix in Additional Ingredients
Once the decoction has reached room temperature, pour it into a sterile jar.
Add the raw local honey, goldenseal root extract, and lemon juice.
Stir well to ensure that all ingredients are thoroughly mixed, preserving the beneficial properties of each.
Step 5: Store the Syrup
Transfer the elderberry, echinacea, and goldenseal syrup to the refrigerator.
It will keep for up to 4 weeks, allowing you to enjoy its benefits over time.
