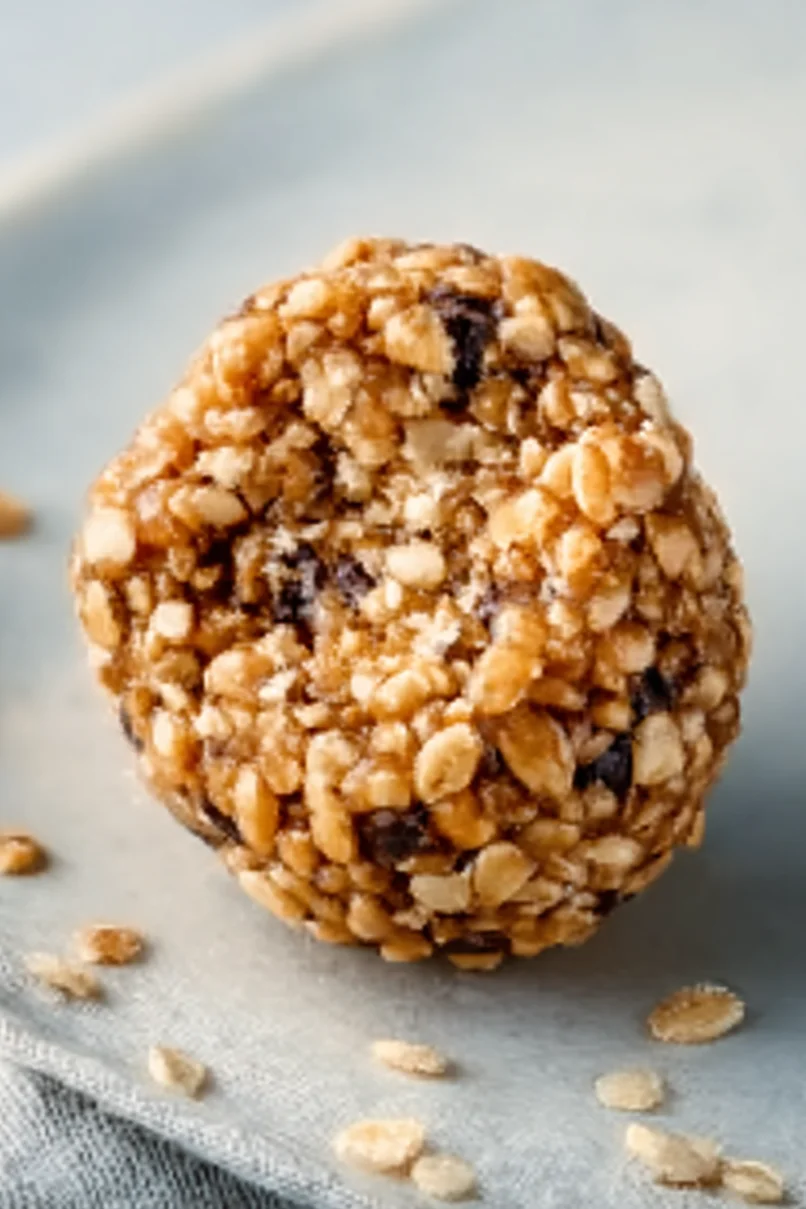
Looking for a quick and healthy snack that keeps you going between meals? These granola protein balls have become my go-to solution for busy afternoons. As someone who’s always running between meetings and school pickups, I need something that’s both filling and portable. I started making these protein balls last year when I got tired of buying expensive energy bars at the store.
What I love most about these little treats is how simple they are to put together. You can make a batch on Sunday evening while you’re prepping for the week, and they’ll last in the fridge for days. The best part? My kids actually ask for them instead of cookies or candy, which makes this mom pretty happy. Plus, you can switch up the ingredients based on what you have in your pantry – no special shopping trip needed.
Why You’ll Love These Protein Balls
- No-bake convenience – These protein balls come together in just minutes without turning on the oven – perfect for hot summer days or when you’re short on time.
- Nutritious ingredients – Packed with wholesome ingredients like oats, flaxseed, and hemp seeds, these balls offer protein, fiber, and healthy fats in every bite.
- Perfect meal prep snack – Make a batch on Sunday and enjoy healthy, grab-and-go snacks all week long – they’re great for lunch boxes, post-workout fuel, or afternoon energy slumps.
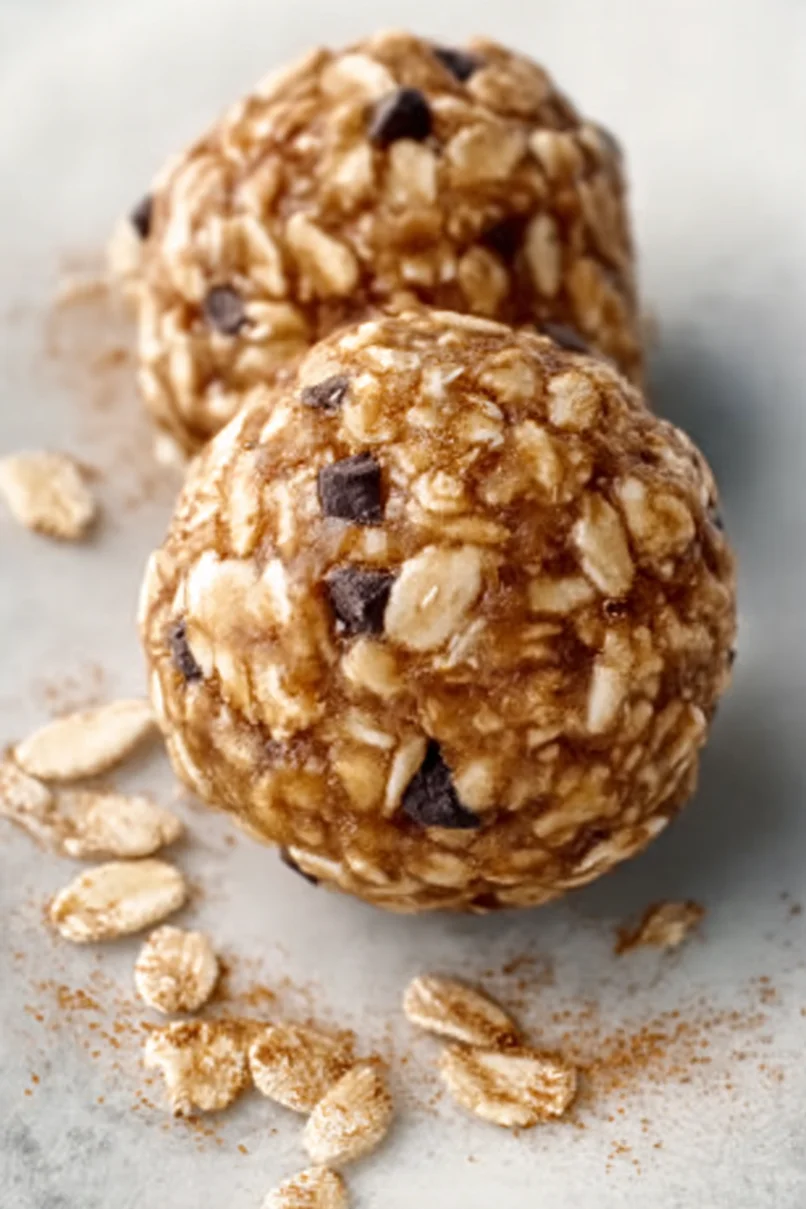
- Kid-friendly recipe – With chocolate chips and peanut butter, these taste like a treat but pack in lots of good nutrition – kids can even help roll them into balls!
What Kind of Oats Should I Use?
Old-fashioned rolled oats are your best bet for these protein balls – they provide just the right texture and hold together well. While quick oats might work in a pinch, they tend to create a mushier texture that’s not ideal for no-bake treats like these. Steel-cut oats are too firm and won’t bind properly, so it’s best to avoid those altogether. Just make sure you’re using plain rolled oats without any added flavors or sugar, and check that they’re labeled “gluten-free” if you need to avoid gluten contamination. If your oats seem extra large, you can pulse them once or twice in a food processor to break them down slightly, but don’t turn them into flour.
Options for Substitutions
These protein balls are super adaptable – here’s how you can mix things up:
- Rolled oats: Quick oats can work in place of rolled oats, though the texture will be slightly different. Just avoid instant oats as they’re too fine and won’t give you the right consistency.
- Crispy rice cereal: You can swap this with crushed graham crackers, more rolled oats, or even crushed cornflakes for that nice crunch.
- Flaxseed meal: Ground chia seeds or hemp hearts make great alternatives – use the same amount. If using whole flax or chia seeds, grind them first.
- Peanut butter: Any nut or seed butter works well here – try almond butter, sunflower seed butter, or cashew butter. Just make sure it’s the natural, runny kind for the right consistency.
- Maple syrup: Honey or agave nectar can replace maple syrup in equal amounts. If using honey, the flavor will be a bit more pronounced.
- Chocolate chips: Feel free to use dried fruit, chopped nuts, or different flavored chips instead. White chocolate, butterscotch, or even cacao nibs are all good options.
Watch Out for These Mistakes While Making
The biggest challenge when making protein balls is getting the perfect consistency – if your mixture is too dry, the balls won’t hold together, and if it’s too wet, they’ll be sticky and messy to handle. To achieve the right texture, start by adding the maple syrup and peanut butter gradually, mixing well after each addition until the mixture holds together when pressed. Another common mistake is using cold peanut butter straight from the fridge – room temperature nut butter mixes much more easily and creates a better binding effect. For the best results, chill your protein balls for at least 30 minutes before eating, as this helps them firm up and develop a better texture, plus refrigeration prevents the chocolate chips from melting and creating a mess. If you find your mixture is still too crumbly, try adding an extra tablespoon of peanut butter or maple syrup, but be careful not to add too much liquid at once.
What to Serve With Protein Balls?
These granola protein balls are perfect for grabbing on the go, but there are some tasty ways to make them into a more complete snack or light meal. A cold glass of milk (regular, almond, or oat) makes these protein balls even more satisfying and helps balance out their chewy texture. For a quick breakfast, serve them alongside a smoothie or yogurt parfait – the combination gives you extra protein and fresh fruit to start your day. If you’re packing them for lunch or an afternoon pick-me-up, pair them with some fresh fruit like apple slices or banana, which complement the peanut butter and chocolate flavors really well.
Storage Instructions
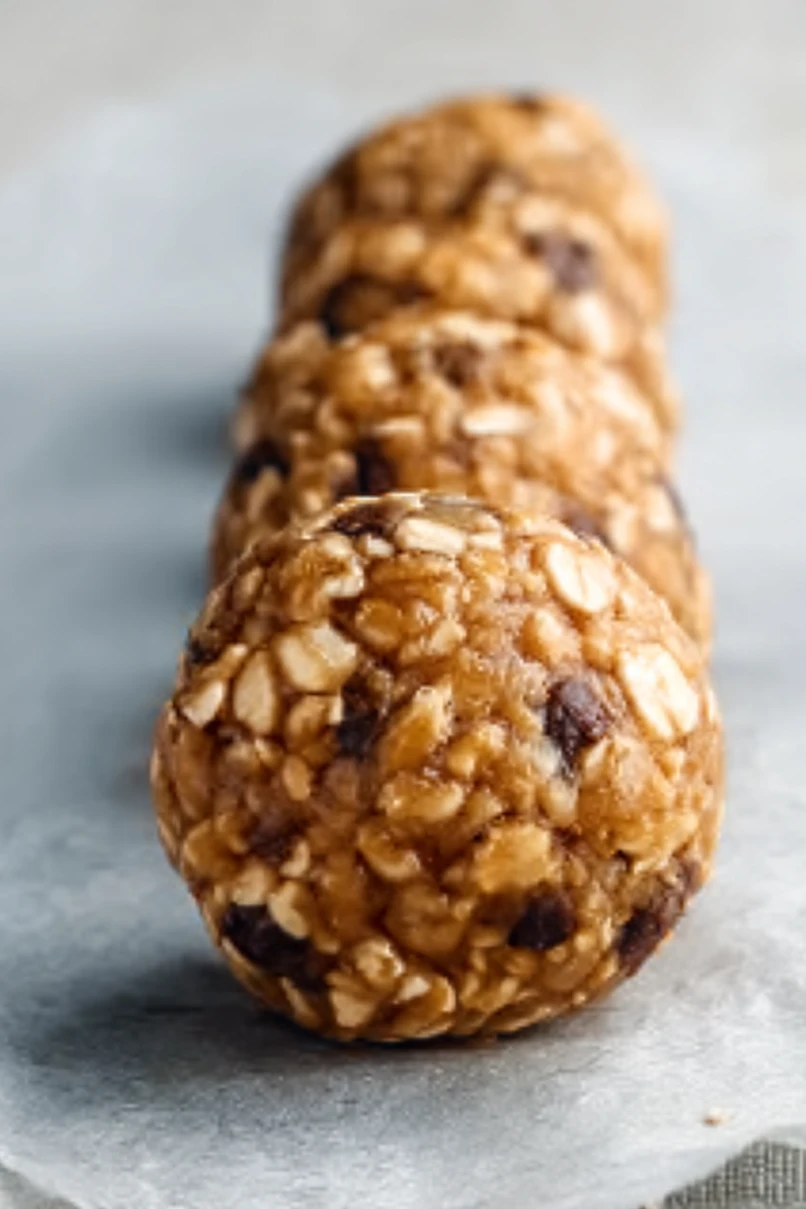
Keep Fresh: These protein balls are perfect for meal prep! Place them in an airtight container and keep them in the fridge for up to 2 weeks. I like to separate layers with parchment paper to prevent them from sticking together. They’re great to grab for a quick snack or breakfast on the go.
Freeze: Want to make a bigger batch? These little energy bites freeze really well. Just pop them in a freezer-safe container or zip-top bag and they’ll stay good for up to 3 months. I often make a double batch and freeze half for later – it’s such a time-saver!
Thaw: When you’re ready to enjoy your frozen protein balls, just transfer them to the fridge the night before. They’ll be perfect by morning! You can also let them sit at room temperature for about 30 minutes if you’re in a hurry.
| Preparation Time | 10-15 minutes |
| Cooking Time | 0 minutes |
| Total Time | 20-30 minutes |
| Level of Difficulty | Easy |
Estimated Nutrition
Estimated nutrition for the whole recipe (without optional ingredients):
- Calories: 2100-2300
- Protein: 50-60 g
- Fat: 90-100 g
- Carbohydrates: 290-310 g
Ingredients
- 1/4 tsp salt
- 1 tbsp hemp seeds
- 1/4 tsp ground cinnamon
- 1/2 cup plus 2 tbsp natural peanut butter (creamy or crunchy)
- 1/2 cup pure maple syrup (100% pure for best flavor, not pancake syrup)
- 1.5 cups rolled oats
- 1/3 cup flaxseed meal (for extra fiber and omega-3s)
- 1 cup crispy rice cereal
- 1/4 cup chocolate chips (mini chips work great for binding)
- 1 tsp vanilla essence (I like Nielsen-Massey vanilla essence)
Step 1: Prepare the Baking Sheet
Begin by lining a baking sheet with parchment paper.
This will prevent the mixture from sticking and make it easier to manage and clean up later.
Step 2: Combine Dry Ingredients
In a medium or large mixing bowl, combine your dry ingredients: oats, rice crisps, ground flaxseed, hemp seeds, cinnamon, salt, and mini chocolate chips.
Mix them thoroughly to ensure even distribution of flavors and textures.
Step 3: Add Wet Ingredients
To the bowl of dry ingredients, add the maple syrup, peanut butter, and vanilla extract.
Stir everything together until you achieve a sticky and thick “batter” consistency.
Ensure the ingredients are well combined.
Step 4: Form the Energy Balls
With your hands, shape the mixture into balls, each about the size of a golf ball.
The batter will be somewhat sticky, but you should be able to form approximately 18-20 balls.
Step 5: Chill the Energy Balls
Place the formed balls onto the parchment paper lined baking sheet.
Transfer the baking sheet to the fridge and let the balls chill for 20-30 minutes, or until they harden.
This step helps them hold their shape better and become easier to handle.
Step 6: Enjoy
Once the energy balls are set, they’re ready to enjoy.
Store any leftovers in an airtight container in the fridge for a quick and easy snack.
