Angel food cake doesn’t have to mean pulling out that big tube pan every time. I love making this cake, but sometimes I want smaller portions or just don’t have the counter space for that giant pan. That’s when I turn to my trusty loaf pan.
Making angel food cake in a loaf pan gives you all the light, airy texture you want but in a more manageable size. It’s perfect when you’re not feeding a crowd or when you want to make a few different flavors at once. Plus, it slices beautifully and fits better in the fridge.
The best part? You don’t need any special equipment beyond what most of us already have in our kitchens. No fancy tube pan required. Just your regular loaf pan and a little know-how about adjusting the baking time.
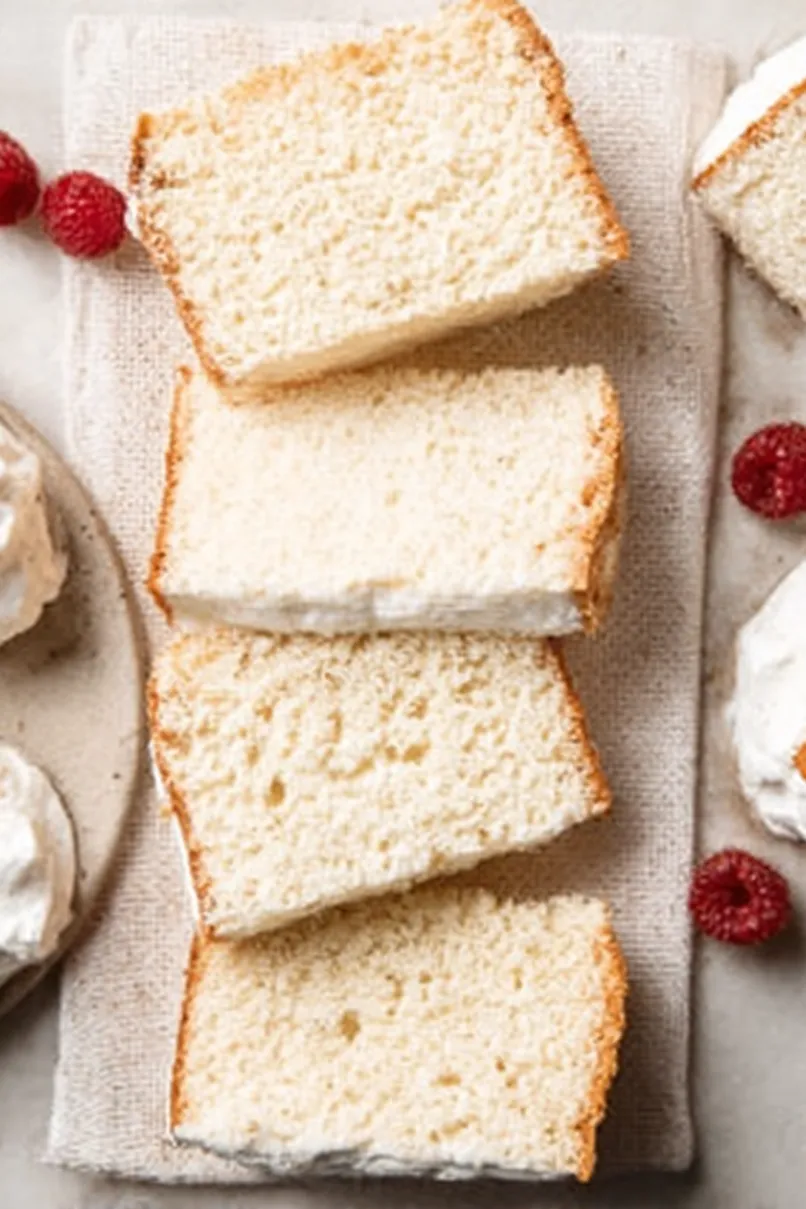
Why You’ll Love This Angel Food Cake
- Light and airy texture – This cake is incredibly fluffy and delicate, making it the perfect dessert when you want something sweet but not too heavy.
- Simple ingredients – You probably already have most of these basic pantry staples at home, so no special shopping trip required.
- Naturally fat-free – Made with just egg whites and no butter or oil, this cake is a lighter option that still satisfies your sweet tooth.
- Loaf pan convenience – No need for a special tube pan – this recipe works perfectly in a regular loaf pan that most people already own.
- Perfect for entertaining – Top it with fresh berries and whipped cream for an elegant dessert that looks fancy but is surprisingly easy to make.
What Kind of Egg Whites Should I Use?
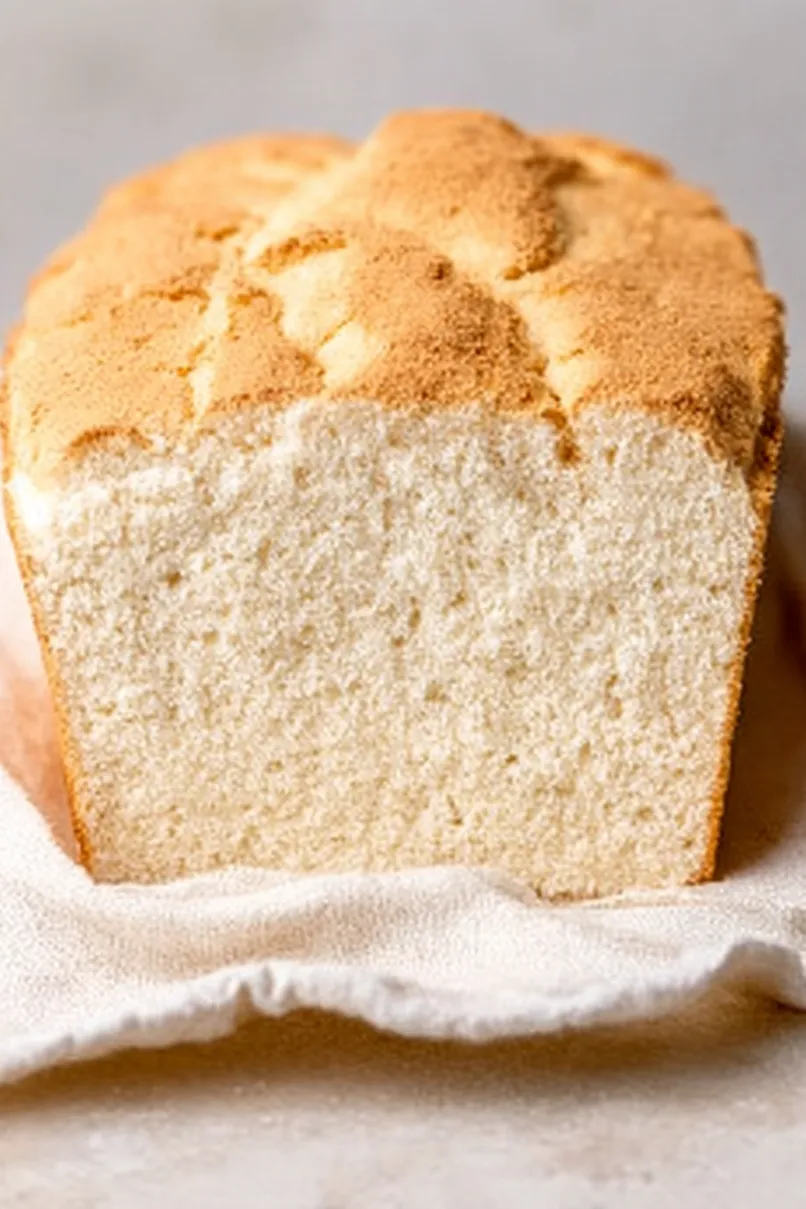
For angel food cake, fresh egg whites from large eggs work best and will give you the most reliable results. You can separate your own eggs or buy cartons of egg whites from the store – both options work fine for this recipe. Just make sure your egg whites are at room temperature before you start, as they’ll whip up much better than cold ones. If you’re separating eggs yourself, be extra careful not to get any yolk mixed in, since even a tiny bit of fat can prevent your whites from whipping properly and getting that fluffy texture you need for perfect angel food cake.
Options for Substitutions
Angel food cake is pretty particular about its ingredients, but here are a few swaps you can make:
- All-purpose flour: You can substitute cake flour for a lighter texture – use the same amount. Avoid using bread flour or whole wheat flour as they’ll make the cake too dense.
- Cornstarch: If you don’t have cornstarch, you can skip it entirely or add an extra tablespoon of flour instead. The cornstarch helps create that tender crumb, but it’s not absolutely essential.
- Cream of tartar: This is really important for stabilizing the egg whites, so try not to skip it. In a pinch, you can use 1 tablespoon of lemon juice or white vinegar, but cream of tartar works best.
- Vanilla extract: Feel free to experiment with almond extract (use half the amount) or lemon extract for different flavors. You could also add some lemon zest for a citrus twist.
- Egg whites: Don’t substitute these – fresh egg whites are crucial for this recipe. Make sure they’re at room temperature and completely free of any yolk for the best results.
- Garnishes: Switch up the berries with strawberries, blueberries, or any seasonal fruit you like. You can also serve with a light dusting of powdered sugar instead of whipped cream.
Watch Out for These Mistakes While Baking
The biggest mistake when making angel food cake is getting even a tiny bit of egg yolk in your whites, which will prevent them from whipping up properly – make sure your bowl and beaters are completely clean and grease-free before you start.
Another common error is overbeating the egg whites past the soft peak stage, as this can cause your cake to collapse, so stop mixing once you see firm peaks that hold their shape but aren’t dry or grainy.
Don’t grease your loaf pan since the cake needs to cling to the sides to rise properly, and resist the urge to open the oven door during baking as the temperature drop can cause your delicate cake to fall.
Finally, be gentle when folding in the flour mixture – use a rubber spatula and fold in thirds rather than stirring, which helps maintain all those air bubbles you worked so hard to create.
What to Serve With Angel Food Cake?
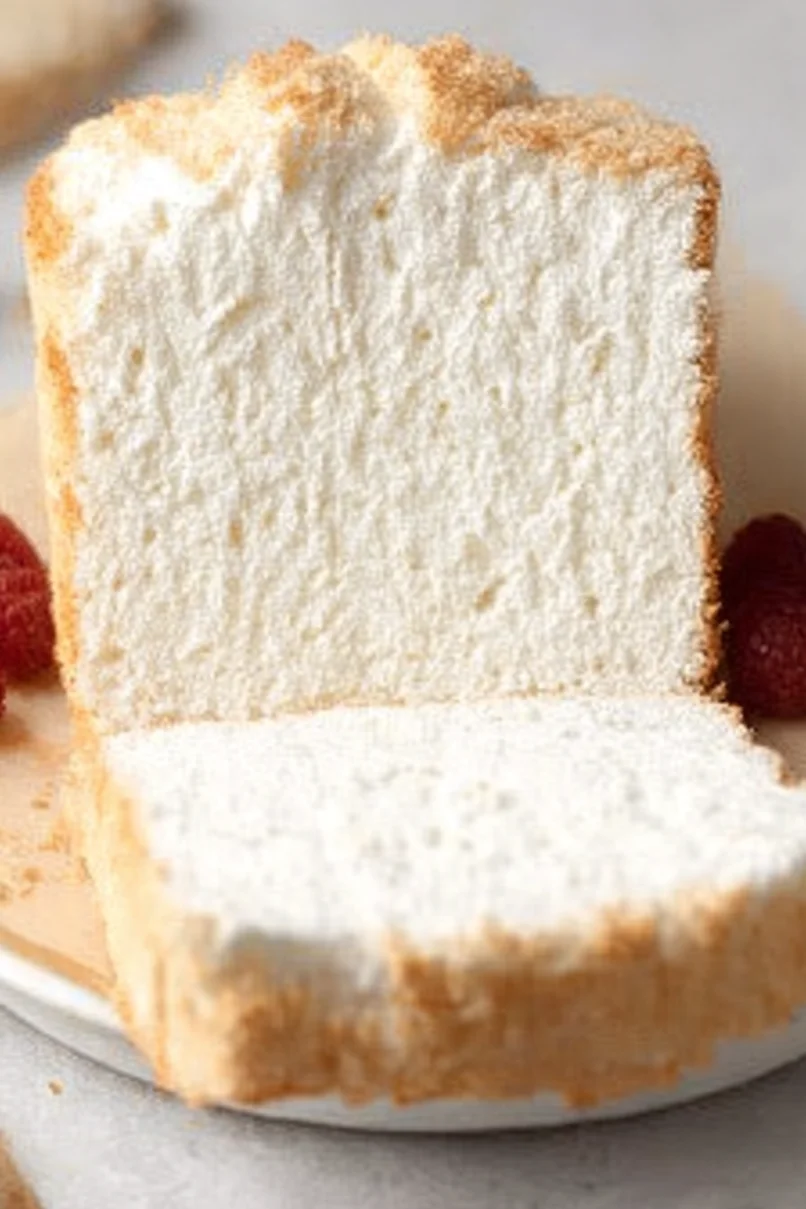
This light and airy cake is perfect on its own, but it really shines when you add some fresh berries and a dollop of whipped cream. I love serving it with a mix of strawberries, blueberries, and raspberries – the tartness of the fruit pairs beautifully with the sweet, fluffy cake. You can also try it with a drizzle of chocolate sauce or a scoop of vanilla ice cream for something a little more indulgent. For a simple but elegant touch, dust the top with a bit of powdered sugar and serve alongside a cup of coffee or tea.
Storage Instructions
Keep Fresh: Angel food cake stays moist and fluffy when wrapped loosely in plastic wrap or stored under a cake dome at room temperature. It’ll keep perfectly for up to 3 days this way. Don’t store it in the fridge unless you absolutely have to, as it can dry out the delicate texture.
Freeze: This cake freezes really well for up to 3 months! Wrap the whole loaf tightly in plastic wrap, then again in aluminum foil to prevent freezer burn. You can also slice it first and freeze individual pieces between parchment paper for easy single servings.
Serve: If frozen, let the cake thaw at room temperature for about 2-3 hours before serving. The texture comes back beautifully once it’s completely thawed. Add your whipped cream and fresh raspberries right before serving to keep everything looking and tasting fresh.
| Preparation Time | 15-20 minutes |
| Cooking Time | 38-42 minutes |
| Total Time | 90-100 minutes |
| Level of Difficulty | Medium |
Estimated Nutrition
Estimated nutrition for the whole recipe (without optional ingredients):
- Calories: 750-850
- Protein: 24-28 g
- Fat: 0-2 g
- Carbohydrates: 160-175 g
Ingredients
For the cake:
- 2 tsp vanilla extract
- 1/2 cup all-purpose flour (I use King Arthur all-purpose flour)
- 3/4 tsp cream of tartar
- 3/4 cup white sugar (granulated sugar works best)
- 1/4 tsp fine sea salt
- 7 large egg whites (room temperature for best volume)
- 1 tbsp cornstarch
For serving:
- fresh raspberries
- whipped topping (optional, but a nice complement)
Step 1: Prepare the Oven and Pan
Preheat your oven to 325°F (163°C).
Set out a 9-inch bread loaf pan.
Do not line or grease the pan, and ensure it’s not non-stick—this helps the cake climb up as it bakes.
Step 2: Mix Dry Ingredients
- 1/4 cup white sugar (from the 3/4 cup, reserve the rest for later)
- 1/2 cup plain flour
- 1 tbsp cornstarch
In a small bowl, whisk together 1/4 cup of the white sugar, the flour, and cornstarch until well combined.
Set this mixture aside; it will be incorporated into the batter later.
Step 3: Beat Egg Whites
- 7 large egg whites
- 2 tsp vanilla flavor
- 3/4 tsp cream of tartar (optional)
- 1/4 tsp fine sea salt
- 1/2 cup white sugar (remaining from the 3/4 cup total)
Add the egg whites, vanilla, cream of tartar (if using), and salt to the bowl of a stand mixer.
Beat on medium speed until the mixture becomes foamy, about 30 seconds.
Gradually stream in the remaining 1/2 cup sugar, adding it one tablespoon at a time while the mixer runs.
Once all sugar is added, increase to high speed and continue beating until soft, floppy peaks form, about 4 minutes.
I find adding the sugar slowly helps achieve the most stable meringue.
Step 4: Fold Dry Ingredients into Egg Whites
- whipped egg white mixture (from Step 3)
- dry ingredients mixture (from Step 2)
Gently fold one-third of the dry ingredients from Step 2 into the whipped egg whites from Step 3 using a rubber spatula, taking care not to deflate the airy mixture.
Proper folding is achieved by cutting down the middle and sweeping around the sides of the bowl.
Add the remaining dry ingredients in two more increments, folding gently each time.
This should take about 5 minutes to fully incorporate without lumps.
Be patient—gentle folding makes all the difference for a light, fluffy cake.
Step 5: Bake the Cake
- batter (from Step 4)
Pour the batter into the ungreased loaf pan and smooth the top.
Set the loaf pan on a baking sheet and transfer to the preheated oven.
Bake for 38–42 minutes, or until the top is no longer sticky and any cracks are dry.
For best results, check doneness with a gentle touch.
Step 6: Cool the Cake Upside Down
Remove the cake from the oven and immediately invert the pan, balancing it upside down over two cans.
Let the cake cool in this position for at least 60 minutes.
Cooling upside down prevents the delicate sponge from collapsing as it cools.
Step 7: Release, Slice, and Serve
- whipped topping, for serving
- fresh raspberries, for serving
Once the cake is completely cool, run a knife around the edges of the pan to loosen it.
Gently turn the cake out onto a cutting board, placing it on its side.
Use a serrated knife to begin slicing the cake into even pieces, then switch to a very sharp knife to finish the cuts with a smooth, sawing motion.
Serve each slice with a dollop of whipped topping and a scatter of fresh raspberries.
To elevate the presentation, I like to sprinkle a few extra raspberries around the plate.

