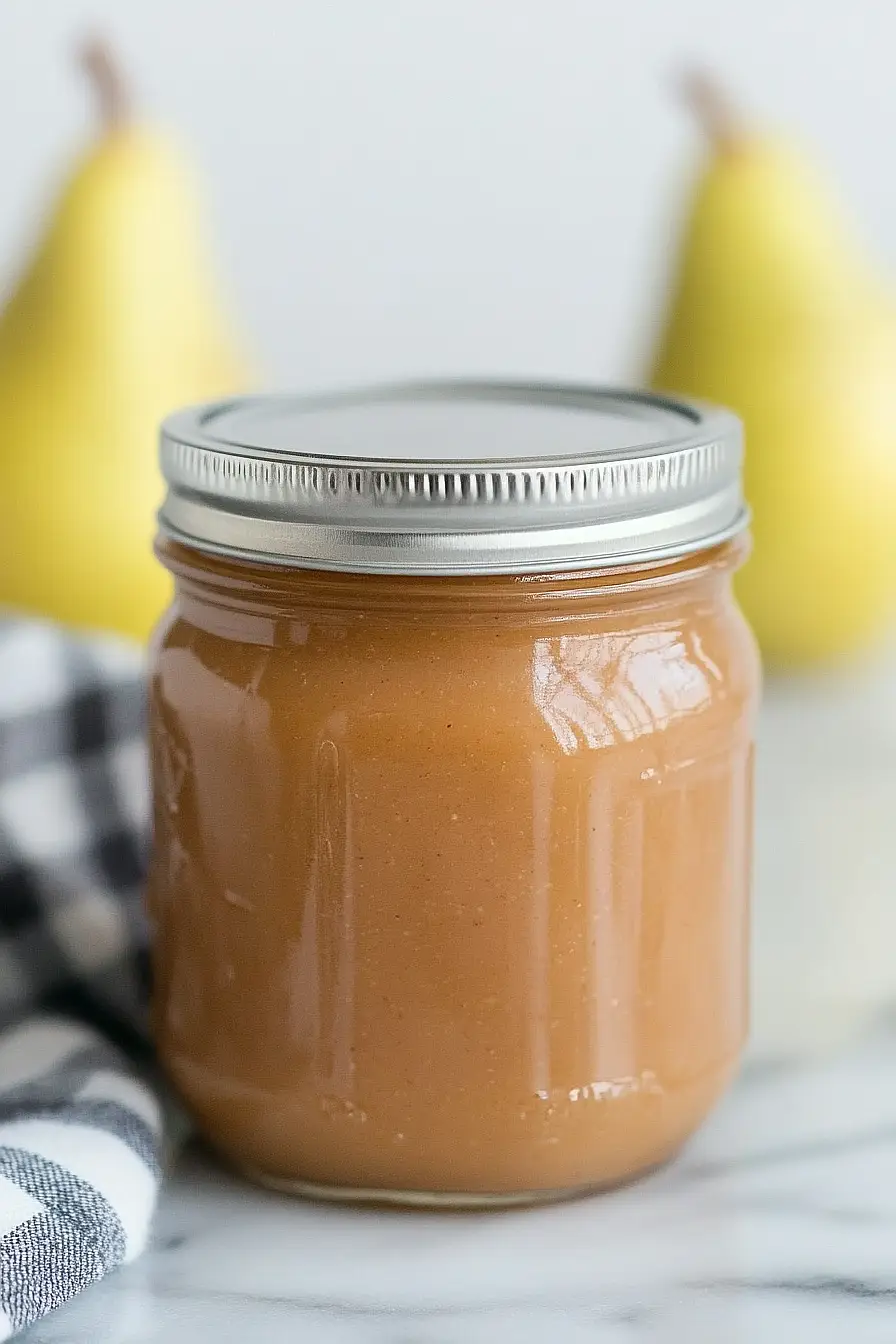
I didn’t know pear butter was even a thing until I moved to Portland and visited the farmers market for the first time. A local vendor was selling jars of this smooth, golden spread that tasted like autumn in a spoon.
That’s when I learned pear butter is just like apple butter’s cousin—it’s made by cooking pears down until they’re thick and spreadable. The best part? It’s way easier to make than you’d think, and canning it means you can enjoy that sweet pear flavor all winter long. Plus, homemade pear butter makes the perfect gift for anyone who loves something a little different on their morning toast.
Why You’ll Love This Pear Butter
- Customizable sweetness and flavor – You can adjust the sweetener and spices to match your family’s taste preferences, making it as sweet or spiced as you like.
- Simple ingredients – Just pears, lemon juice, liquid, and your choice of sweetener – no complicated additives or preservatives needed.
- Long-lasting pantry staple – Once canned, this pear butter will keep for months in your pantry, giving you homemade goodness whenever you need it.
- Great way to use up pears – Perfect for when you have a bunch of ripe pears that need to be used up, turning them into something special instead of letting them go to waste.
- Flexible recipe – You can choose your own liquid and sweetener options, making it work for different dietary needs or whatever you have on hand.
What Kind of Pears Should I Use?
Any variety of pears will work for making pear butter, but some are better than others. Bartlett pears are a popular choice because they break down easily when cooked and have a sweet, mild flavor that works well in preserves. Anjou and Bosc pears also work great since they hold their flavor well during the long cooking process. If you have a mix of pear varieties on hand, feel free to combine them – this can actually create a more complex flavor in your finished pear butter. Just make sure your pears are ripe but not overripe, as mushy pears can make the cooking process messier and affect the final texture.
Options for Substitutions
This pear butter recipe is wonderfully adaptable – here are some swaps you can make:
- Pears: Any variety of pears works great, but Bartlett and Anjou are especially good for butter since they break down nicely. You can even mix varieties for more complex flavor.
- Lemon juice: Fresh lemon juice is best for canning safety, but bottled lemon juice works too. Don’t skip this – it prevents browning and adds necessary acidity for safe canning.
- Liquid: Water is the simplest choice, but apple juice, pear juice, or even white wine add extra flavor. Avoid dairy or anything that might affect the acidity levels needed for safe canning.
- Sweetener: White sugar, brown sugar, honey, or maple syrup all work well. Start with less than you think you need – you can always add more. If using honey or maple syrup, reduce the liquid slightly since they add moisture.
- Seasoning: Classic choices include cinnamon, nutmeg, ginger, or vanilla extract. Pumpkin pie spice works great too. Add spices gradually and taste as you go – it’s easier to add more than to fix over-seasoned butter.
Watch Out for These Mistakes While Canning
The biggest mistake when making pear butter is not cooking it long enough – rushing the process will leave you with runny butter that won’t spread properly, so plan for at least 2-3 hours of slow simmering until it coats the back of a spoon.
Another common error is skipping the lemon juice or using too little, which not only affects the flavor but also prevents proper preservation by maintaining the right acidity level for safe canning.
To avoid scorching, stir frequently during the long cooking process and keep the heat at medium-low, as pear butter can go from perfect to burnt in just a few minutes of neglect.
Finally, make sure your jars are properly sterilized and follow tested canning procedures exactly – homemade fruit butters need proper processing time in a boiling water bath to ensure they’re safe for long-term storage.

What to Serve With Pear Butter?
Pear butter is amazing spread on warm biscuits or toast for breakfast, and it pairs beautifully with cream cheese on a fresh bagel. I love using it as a filling for thumbprint cookies or swirled into oatmeal for a cozy morning treat. It also makes a great accompaniment to a cheese board – try it with sharp cheddar or brie alongside some crackers. For something different, you can even use pear butter as a glaze for pork chops or chicken, since the sweet and spiced flavors work so well with savory dishes.
Storage Instructions
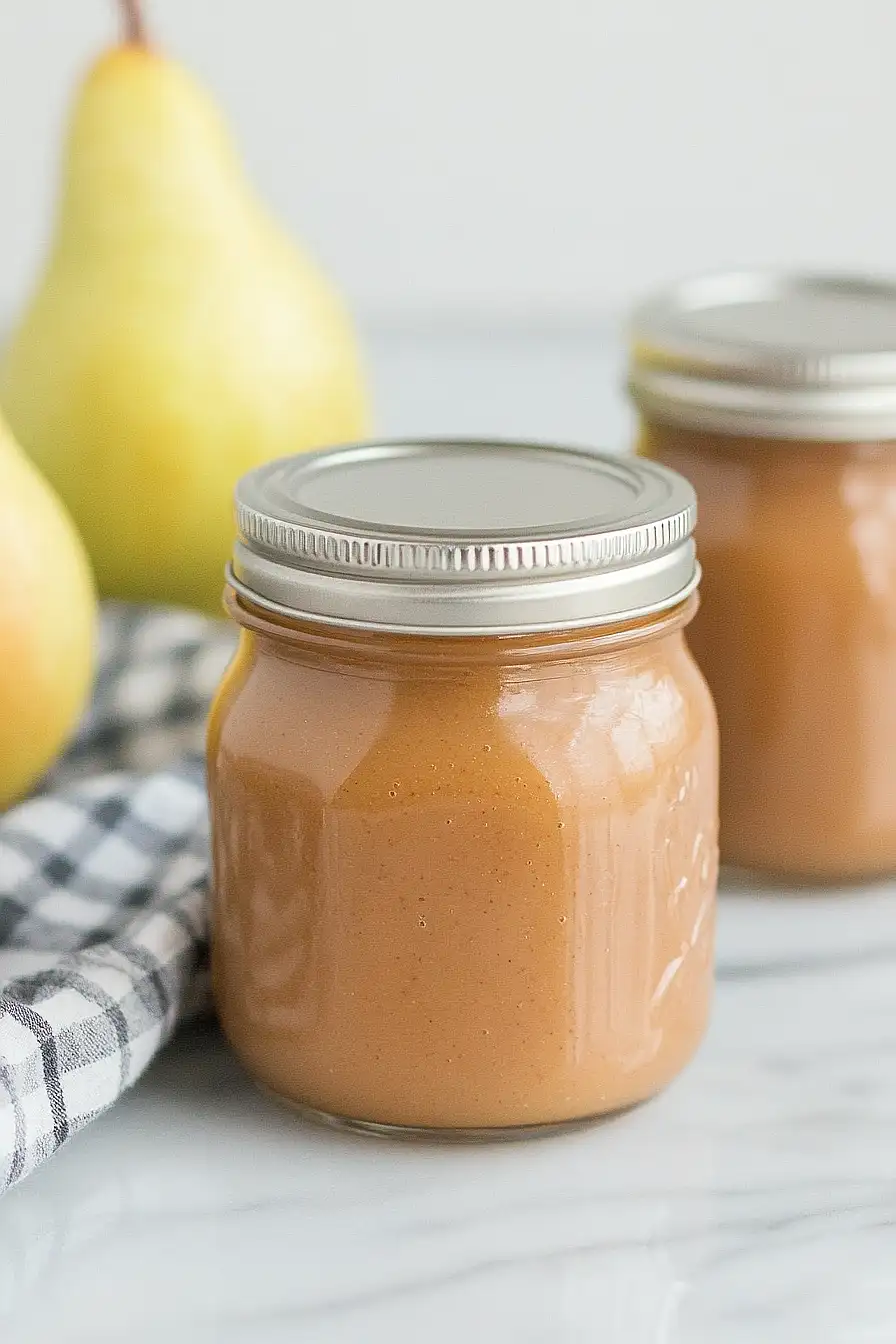
Canned Storage: Once your pear butter is properly canned and sealed, those beautiful jars will keep in a cool, dark pantry for up to 2 years. Make sure you hear that satisfying ‘pop’ when the lids seal, and always check that the center of the lid doesn’t flex when pressed before storing.
Refrigerate: After opening a jar, keep your pear butter in the fridge where it’ll stay fresh for about 3-4 weeks. I love having an open jar on hand for spreading on toast or stirring into oatmeal for breakfast.
Freeze: If you didn’t get around to canning or want to save some for later, pear butter freezes wonderfully in freezer-safe containers for up to 6 months. Just leave about an inch of headspace at the top since it’ll expand when frozen, and thaw it overnight in the fridge when you’re ready to use it.
| Preparation Time | 20-30 minutes |
| Cooking Time | 60-90 minutes |
| Total Time | 80-120 minutes |
| Level of Difficulty | Medium |
Estimated Nutrition
Estimated nutrition for the whole recipe (without optional ingredients):
- Calories: 1500-2000
- Protein: 4-8 g
- Fat: 0-5 g
- Carbohydrates: 400-500 g
Ingredients
- 1/4 cup lemon juice (freshly squeezed for best flavor, from about 1-2 lemons)
- 1 to 2 cups sweetener (granulated sugar, brown sugar, or honey, adjusting to pear sweetness)
- 3/4 cup liquid (water, apple juice, or apple cider for added flavor)
- 6 lb pears (firm-ripe, any variety suitable for cooking)
- seasonings to taste (cinnamon, nutmeg, cloves, or allspice)
Step 1: Prepare the Pears
- 6 lb pears, peeled and washed
Peel and wash the pears thoroughly.
Quarter them and remove the cores—unless you plan to use a food mill or sieve, in which case you can skip coring, as these tools will remove seeds and fibrous parts later on.
This ensures the pears are clean and ready for cooking.
Step 2: Cook the Pears Until Soft
- 6 lb pears, peeled and washed (from Step 1)
- 1/4 cup lemon juice
In a large, heavy-bottomed pot or Dutch oven, combine the prepared pears with the lemon juice.
Cover the pot and simmer over low heat until the pears are very soft, stirring occasionally to prevent sticking or scorching.
This will take some time, but it is crucial for a smooth texture.
Step 3: Purée the Cooked Pears
Once the pears are soft, work in batches to run them through a food mill, sieve, or blender until the mixture is completely smooth.
Take your time here for the best texture—personally, I think using a food mill makes for the silkiest pear butter.
Step 4: Add Liquid, Sweetener, and Seasonings
- puréed pears (from Step 3)
- 3/4 cup liquid of choice
- 1 to 2 cups desired sweetener
- Seasonings to taste
Transfer the pear purée back into the pot or Dutch oven.
Stir in your chosen liquid, sweetener (to taste), and any desired seasonings such as cinnamon, nutmeg, or ginger.
Mix thoroughly to combine all ingredients evenly before returning to the heat.
Step 5: Cook Down the Pear Butter
Continue to cook the pear mixture over medium-low to medium heat.
Stir regularly, increasing frequency as the mixture thickens to prevent scorching.
The pear butter is ready when you can run a spatula through it and the line holds, or when it keeps its shape when mounded on a spoon.
For extra depth, I like to let the pear butter slowly caramelize for a richer flavor.
Step 6: Jar and Process the Pear Butter
Ladle the finished, hot pear butter into prepared 1/2-pint or 1-pint canning jars, leaving about 1/2-inch headspace.
Wipe jar rims clean, apply lids and screw on bands until finger-tight.
Place jars into a prepared hot water canner.
Process for 10 minutes if below 6,000 feet elevation, or 15 minutes if higher.
When done, turn off heat and let jars rest in the hot water for 5 minutes before carefully removing them.
Step 7: Cool, Check Seals, and Store
Let the jars cool to room temperature.
Check each lid for a proper seal.
Remove bands from sealed jars and store in a cool, dry place away from sunlight for up to 18 months.
Any jars that aren’t sealed should be refrigerated and used within 2 weeks.
