I used to dread making hard-boiled eggs. Every time I’d try the stovetop method, I’d either end up with undercooked yolks or those dreaded green rings around them. It was like playing a guessing game with timing, and I lost more often than I won.
That’s why discovering the Instant Pot method changed everything for me. Instead of watching a pot of water or setting multiple timers, it’s just a matter of adding water, placing the eggs, and pressing a button. For someone who used to mess up eggs more times than I’d like to admit, it’s basically foolproof.
Why You’ll Love These Hard-Boiled Eggs
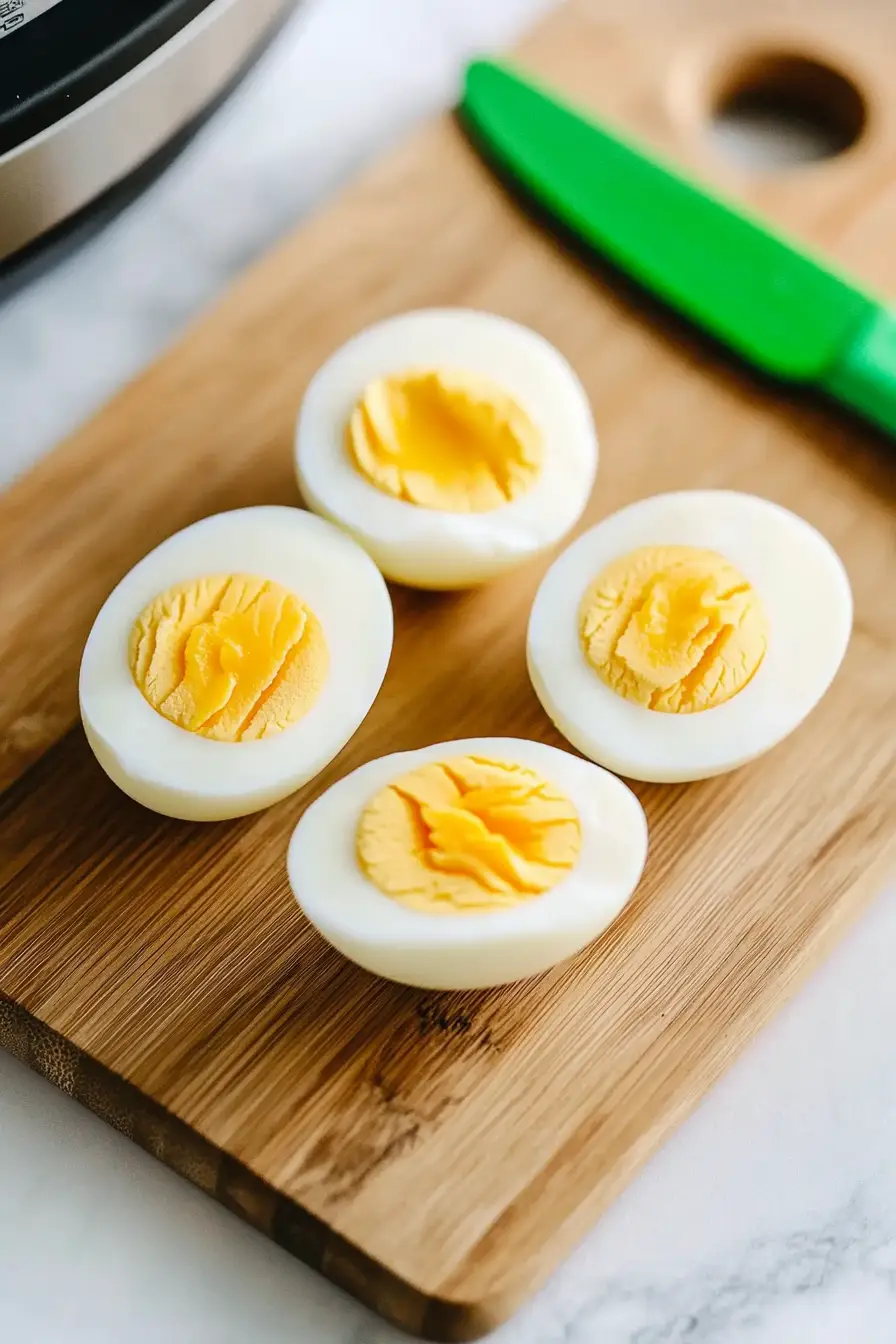
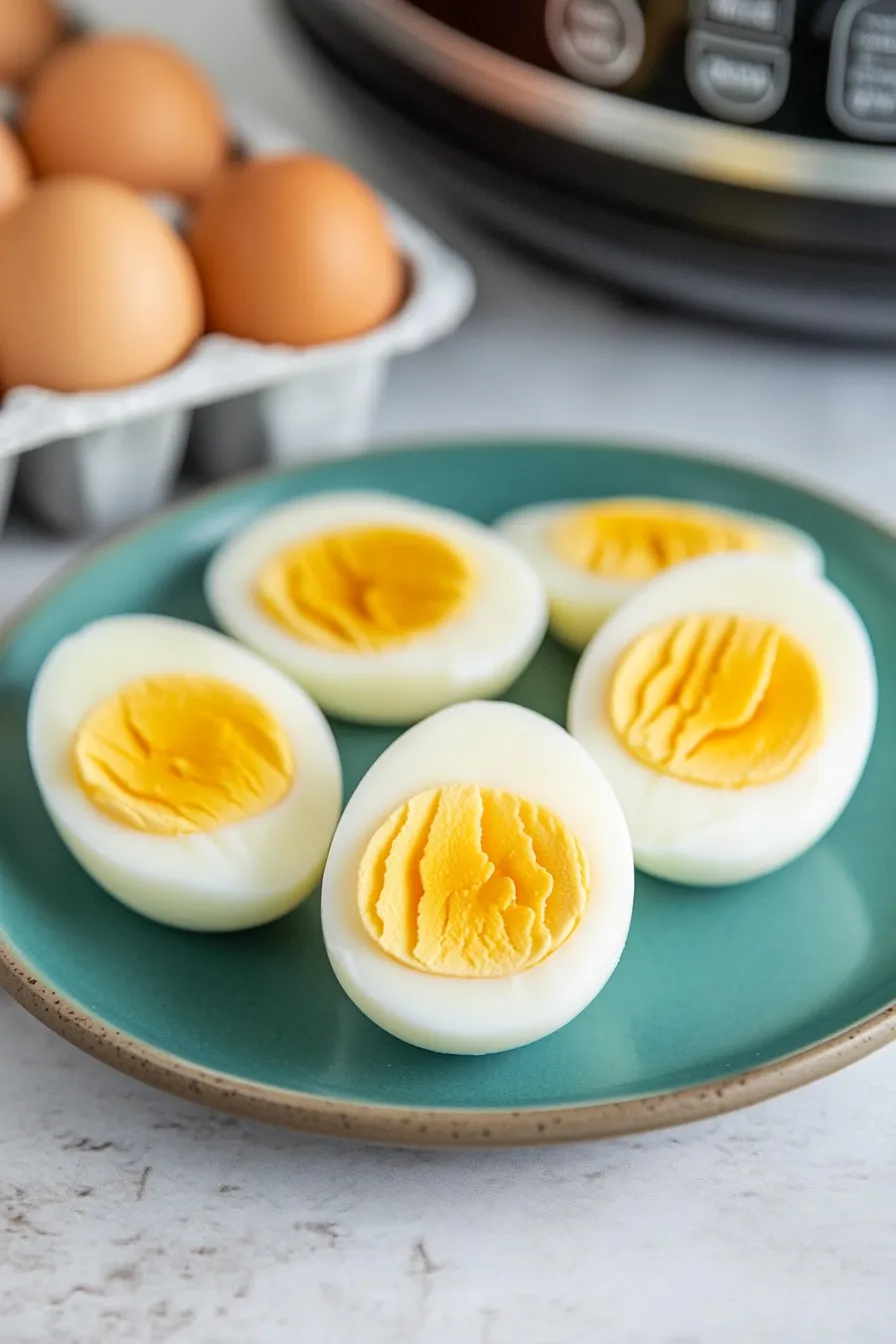
- Foolproof method – No more guessing or timing issues – this method gives you perfectly cooked eggs with yellow centers every single time.
- Easy peel results – The pressure cooking method helps separate the shell from the egg white, making these eggs incredibly easy to peel without destroying the egg.
- Minimal ingredients – You only need eggs and water – that’s it! No special ingredients or equipment beyond your Instant Pot.
- Batch cooking friendly – Make a whole batch at once for meal prep, egg salad, or quick protein-packed snacks throughout the week.
- Time-saving – While the total time is similar to stovetop methods, it’s completely hands-off cooking – no watching the pot or setting multiple timers.
What Kind of Eggs Should I Use?
For hard-boiled eggs in the Instant Pot, you can use any type of chicken eggs you have on hand – whether they’re standard large grocery store eggs, farm-fresh, or even organic free-range eggs. One helpful tip is to avoid using super-fresh eggs, as slightly older eggs (around 1-2 weeks old) are actually easier to peel after cooking. If you’re wondering about size, large eggs are the standard for most recipes and will work perfectly here, though medium or extra-large eggs will also work with just slight adjustments to cooking time. Just remember to let your eggs come to room temperature before cooking to prevent them from cracking under pressure.
Options for Substitutions
When it comes to making hard-boiled eggs in the Instant Pot, there’s not much room for substitutions, but here are some helpful notes:
- Eggs: You can use any type of chicken eggs – fresh or older, brown or white, medium or large. Just keep in mind that extra-large eggs might need an extra minute of cooking time, while medium eggs might need one minute less.
- Water: Water is essential and cannot be substituted. However, if you’re having trouble with peeling, you can add 1 teaspoon of white vinegar or baking soda to the water – some cooks swear by this trick for easier peeling.
- Instant Pot size: If you have a different size Instant Pot than 6 or 8 quart, use just enough water to create steam – usually about 1 cup for smaller pots and 1.5 cups for larger ones. The exact amount isn’t super critical as long as there’s enough to create pressure.
Watch Out for These Mistakes While Cooking
The biggest mistake when making Instant Pot hard-boiled eggs is not using the right amount of water for your pot size – too little water won’t create enough steam, while too much can lead to inconsistent results. Another common error is skipping the ice bath after cooking, which can leave you with overcooked eggs and that dreaded green ring around the yolk – always have a bowl of ice water ready before you start cooking. To prevent eggs from cracking during cooking, make sure they’re at room temperature before placing them in the Instant Pot, and always use the trivet or steamer basket to keep them elevated above the water. For the easiest peeling experience, gently crack the cooled eggs all over and roll them on the counter before peeling them under a thin stream of cold water.
What to Serve With Hard-Boiled Eggs?
Hard-boiled eggs are super versatile and can be enjoyed in so many different ways! For breakfast, I like to serve them with whole grain toast, sliced avocado, and a sprinkle of everything bagel seasoning. They’re also perfect for adding protein to a light lunch – try them on top of a fresh green salad with cherry tomatoes and your favorite dressing, or make them into a classic egg salad sandwich with crispy lettuce. If you’re meal prepping, these eggs make great snacks when paired with cut veggies, crackers, or fresh fruit for an easy grab-and-go option.
Storage Instructions
Keep Fresh: Once your eggs are cooled, pop them in their shells into an airtight container and keep them in the fridge. They’ll stay good for up to a week, making them perfect for quick snacks or meal prep. Pro tip: keep them unpeeled until you’re ready to eat them – the shell helps protect the egg and keep it fresh longer.
Peeled Storage: If you’ve already peeled your eggs, place them in a bowl of cold water, cover, and refrigerate. Just remember to change the water daily and eat them within 2-3 days for the best taste and texture. This method helps prevent that grayish color from forming around the yolk.
Pack for Lunch: These hard-boiled eggs are great for packed lunches! Just pop them into a small container with an ice pack to keep them cool. I like to pack them whole in their shells – they’re nature’s perfect little lunch box container!
| Preparation Time | 10-15 minutes |
| Cooking Time | 5-10 minutes |
| Total Time | 20-30 minutes |
| Level of Difficulty | Easy |
Estimated Nutrition
Estimated nutrition for the whole recipe (without optional ingredients):
- Calories: 0-0
- Protein: 0-0 g
- Fat: 0-0 g
- Carbohydrates: 0-0 g
Ingredients
- 1.5 cups cold water (for an 8-quart Instant Pot)
- eggs (use large eggs for consistent results)
- 1 cup cold water (for a 6-quart Instant Pot)
Step 1: Prepare the Eggs and Instant Pot
Remove the eggs from the refrigerator at least 30 minutes prior to cooking to allow them to come closer to room temperature.
Pour 1 cup of cold water into the inner pot of a 6-quart Instant Pot, or 1.5 cups if using an 8-quart Instant Pot.
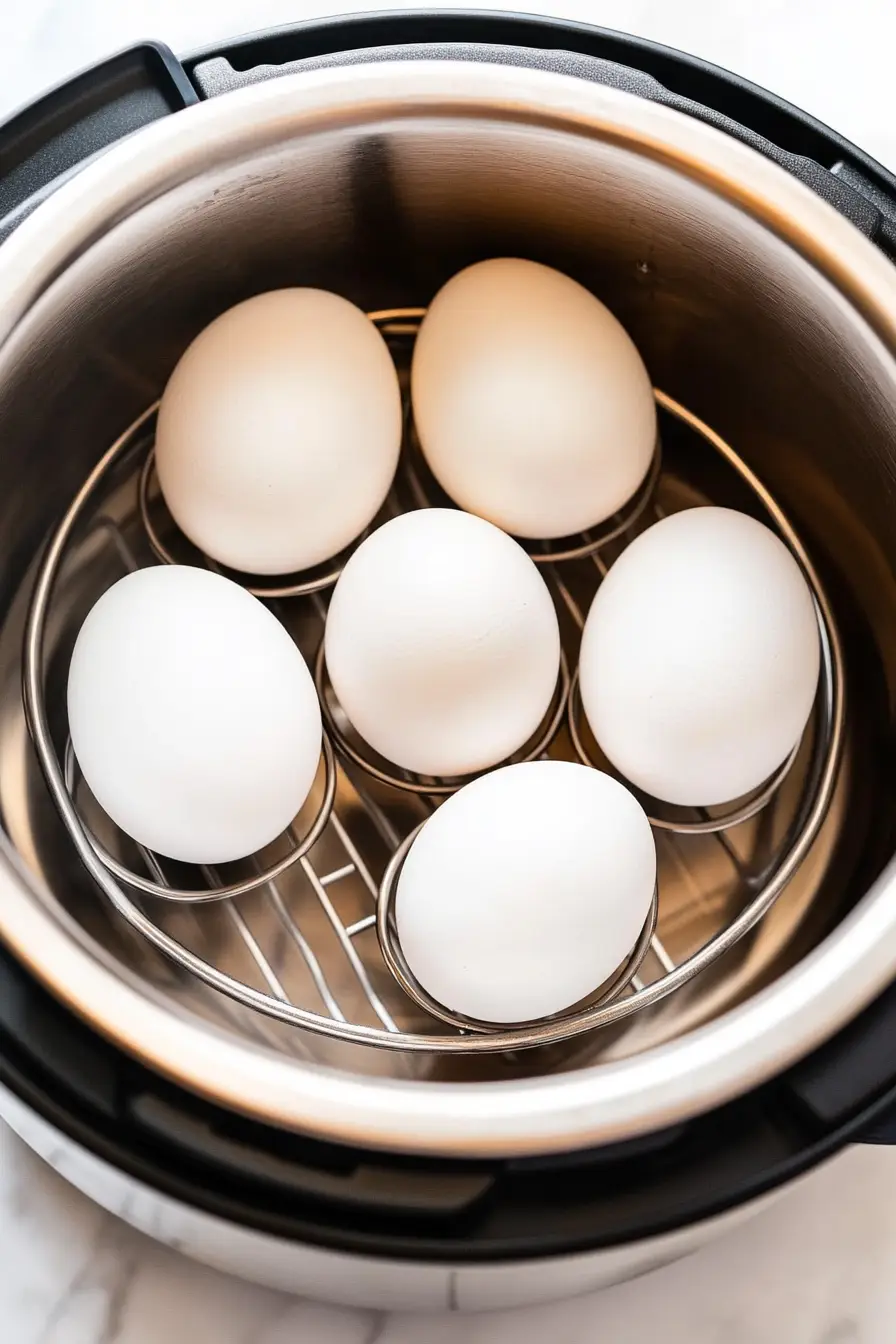
Place the egg rack or trivet inside the inner pot and carefully set the desired number of eggs on or in the rack.
Step 2: Set the Instant Pot
Close the lid of the Instant Pot securely and ensure that the vent knob is set to the “sealed” position.
Set the cook time to 5 minutes on high pressure using the “manual” or “pressure cook” option, adjusting with the plus or minus buttons as needed.
Step 3: Prepare the Ice Bath
While the eggs are cooking, prepare an ice bath by filling a bowl with ice and water.
This will be used later to stop the cooking process and make peeling easier.
Step 4: Release Pressure and Add Eggs to Ice Bath
Once the 5-minute cook time is complete, allow the Instant Pot to naturally release pressure for 5 minutes.
Afterward, carefully perform a quick release by moving the vent knob to the “venting” position, standing back to avoid the steam.
Open the Instant Pot and immediately transfer the eggs to the prepared ice bath.
Step 5: Cool the Eggs
Let the eggs sit in the ice bath for 5 minutes to halt the cooking process completely and make them easier to peel.
This cooling step is crucial for achieving the perfect texture.
Step 6: Store or Use the Eggs
After cooling, store the eggs in an old egg carton in the refrigerator for up to 7 days if you don’t plan to use them immediately.
If you prefer to peel them now, use the eggs within 3 days for optimal freshness.
Enjoy your perfectly cooked eggs!
