Making a raspberry cake filling that tastes like it came from a fancy bakery can seem like a tricky task. Between getting the consistency just right and balancing the sweet-tart flavor, it’s enough to make any home baker feel a bit nervous about tackling it from scratch.
But here’s the good news – this raspberry filling recipe is actually super straightforward and works perfectly every time. It’s great for layering between cake tiers, spreading in pastries, or even stirring into your morning yogurt. Plus, you can make it ahead and keep it in the fridge for when you need it.
Why You’ll Love This Raspberry Filling
- Quick preparation – This filling comes together in just 20-30 minutes, making it perfect for when you need a quick cake filling solution.
- Simple ingredients – With just 6 basic ingredients, you can create a fresh-tasting filling that’s way better than anything store-bought.
- Make-ahead friendly – You can prepare this filling in advance and store it in the fridge, making your cake assembly day much easier.
- Natural flavor – Using real raspberries and fresh lemon zest gives you a bright, authentic taste that artificial fillings just can’t match.
What Kind of Raspberries Should I Use?
Both fresh and frozen raspberries work great for making cake filling, so you can use whichever is more convenient or in season. Fresh raspberries are wonderful when they’re at their peak in summer, but frozen berries are just as good and often more affordable and consistent in quality year-round. If you’re using frozen raspberries, there’s no need to thaw them first – you can add them directly to your pot while cooking. When choosing fresh raspberries, look for plump, bright red berries that aren’t mushy or moldy, and try to use them within a day or two of purchase for the best results.
Options for Substitutions
Need to make some swaps? Here are some helpful substitutions for this cake filling:
- Raspberries: You can swap raspberries with other berries like strawberries, blackberries, or even a mixed berry blend. Just keep in mind that different berries might need slightly different amounts of sugar – taste and adjust as you go.
- Clear Jel: If you can’t find Clear Jel, cornstarch works fine as mentioned. You could also use regular fruit pectin, but reduce the amount to 1.5 tablespoons since it’s more concentrated.
- Fresh lemon juice and zest: Out of fresh lemons? Use bottled lemon juice (1 tablespoon) and a drop of lemon extract for the zest. Orange zest and juice can work too, giving a different but tasty twist.
- Sugar: Regular white sugar works best here, but you can try coconut sugar or raw sugar. Keep in mind these might change the color of your filling slightly. I wouldn’t recommend liquid sweeteners as they can affect the consistency.
Watch Out for These Mistakes While Cooking
The biggest challenge when making raspberry filling is getting the right consistency – too runny and it will soak into your cake layers, too thick and it won’t spread properly. To achieve the perfect texture, make sure to cook the filling until it coats the back of a spoon and leaves a clear path when you run your finger through it.
Another common mistake is not straining out the seeds, which can make your filling grainy and affect the smooth texture of your cake – use a fine-mesh strainer if you prefer a seedless filling, or leave them in for a more rustic feel.
Temperature control is crucial – rushing the cooking process with high heat can lead to burning or a lumpy filling, so keep your heat medium-low and stir constantly, especially after adding the Clear Jel or cornstarch. For the best results, let your filling cool completely before using it in your cake, as it will continue to thicken as it cools and be easier to spread.
What to Serve With Raspberry Cake Filling?
This sweet and tangy raspberry filling is super flexible and works great in all kinds of desserts! The most obvious choice is to spread it between layers of vanilla or chocolate cake, but don’t stop there. Try using it as a topping for cheesecake, swirling it into vanilla ice cream, or spreading it on scones or biscuits for breakfast. You can also pair it with lemon-flavored desserts since the raspberry and lemon flavors already work so well together in the filling itself. For a quick dessert, simply serve it warm over pound cake with a dollop of whipped cream on top.
Storage Instructions
Keep Fresh: This raspberry filling stays good in an airtight container in the refrigerator for up to 1 week. It’s perfect for making ahead when you’re planning to bake a special cake! The filling might thicken slightly when chilled, but that’s totally normal.
Freeze: If you want to make a bigger batch, this filling freezes really well! Pour it into freezer-safe containers or heavy-duty freezer bags and it’ll keep for up to 3 months. Just leave a little space at the top since it expands slightly when frozen.
Thaw: When you’re ready to use your frozen filling, just move it to the fridge and let it thaw overnight. Give it a good stir before using, and if it seems a bit too thick, you can warm it slightly and stir until it reaches the right consistency.
| Preparation Time | 10-15 minutes |
| Cooking Time | 10-15 minutes |
| Total Time | 20-30 minutes |
| Level of Difficulty | Easy |
Estimated Nutrition
Estimated nutrition for the whole recipe (without optional ingredients):
- Calories: 500-550
- Protein: 2-4 g
- Fat: 0-1 g
- Carbohydrates: 130-140 g
Ingredients
- zest from 1 lemon (freshly zested for best flavor)
- 2 tbsp clear gel or cornstarch (if using cornstarch, mix with 2 tbsp cold water to form a slurry first)
- 1 tbsp lemon juice (freshly squeezed preferred)
- 12 oz raspberries (fresh or frozen, thawed if frozen)
- 5 oz granulated sugar (about 2/3 cup)
- 1 fl oz water
Step 1: Cook the Raspberries and Sugar
- 12 oz raspberries, fresh or frozen
- 5 oz granulated sugar
Add the raspberries and granulated sugar to a medium-sized saucepan and place over medium heat.
Stir occasionally as the mixture heats up and allow the raspberries to break down and release their juices.
If needed, increase the heat to medium-high to bring the mixture to a gentle bubble.
This helps dissolve the sugar and start forming the raspberry puree.
Step 2: Make and Add the Thickener
- 1 oz water
- 2 tbsp Clear Jel or cornstarch
In a small bowl, combine the water and Clear Jel (or cornstarch) and mix until it becomes a smooth slurry.
Avoid adding the starch directly to the hot raspberry mixture, as it will result in lumps.
Once the raspberries are bubbling, gently stir in the slurry and cook for about one more minute, continuing to stir, until the mixture thickens.
I always make sure the thickener is fully dissolved before adding for a perfectly smooth filling.
Step 3: Add Lemon for Flavor and Finish Cooking
- 1 tbsp freshly squeezed lemon juice
- zest from 1 whole lemon
Stir in the freshly squeezed lemon juice and lemon zest.
Continue to cook the mixture for one more minute to let the citrus brightness infuse with the raspberries.
This will balance the sweetness and enhance the fruity flavor.
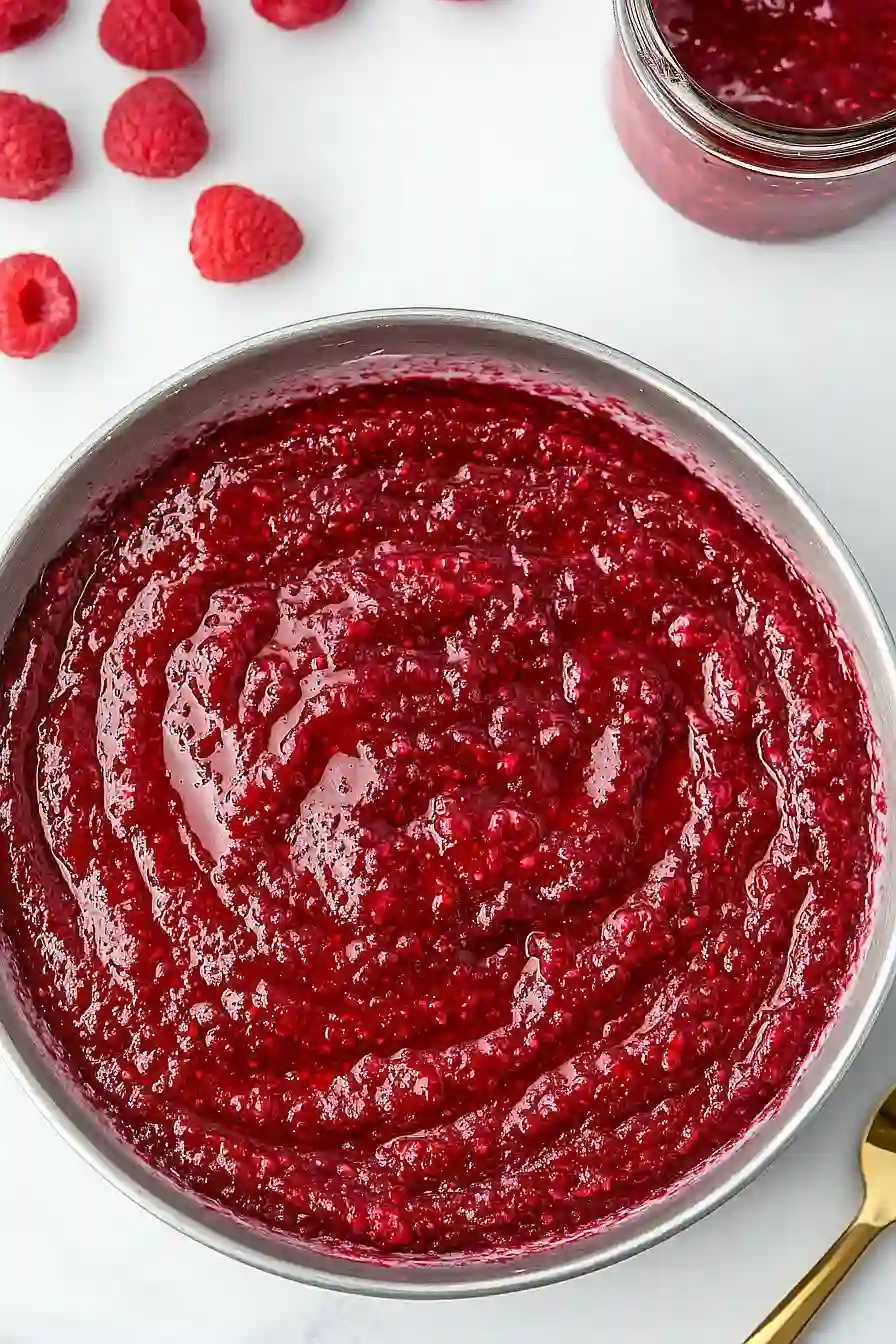
Step 4: Cool the Raspberry Filling
Transfer the hot raspberry mixture to a heat-proof container.
Immediately press plastic wrap onto the surface of the filling to prevent a skin from forming.
Let it cool to room temperature, or chill in the refrigerator until completely set.
For faster cooling, I like to pour the filling onto a sheet pan and place it in the fridge—it cools much quicker this way.
Step 5: Use or Store the Raspberry Filling
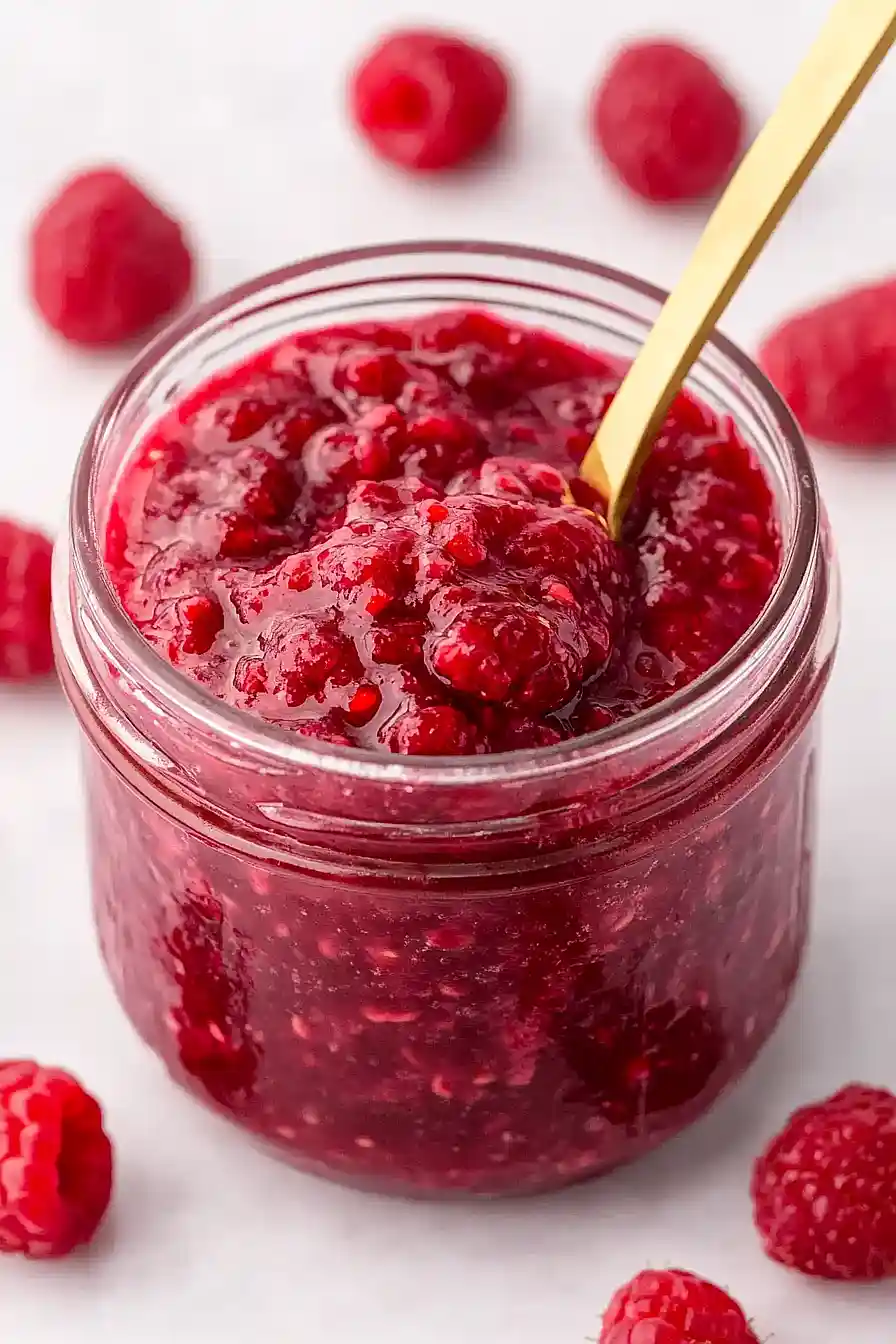
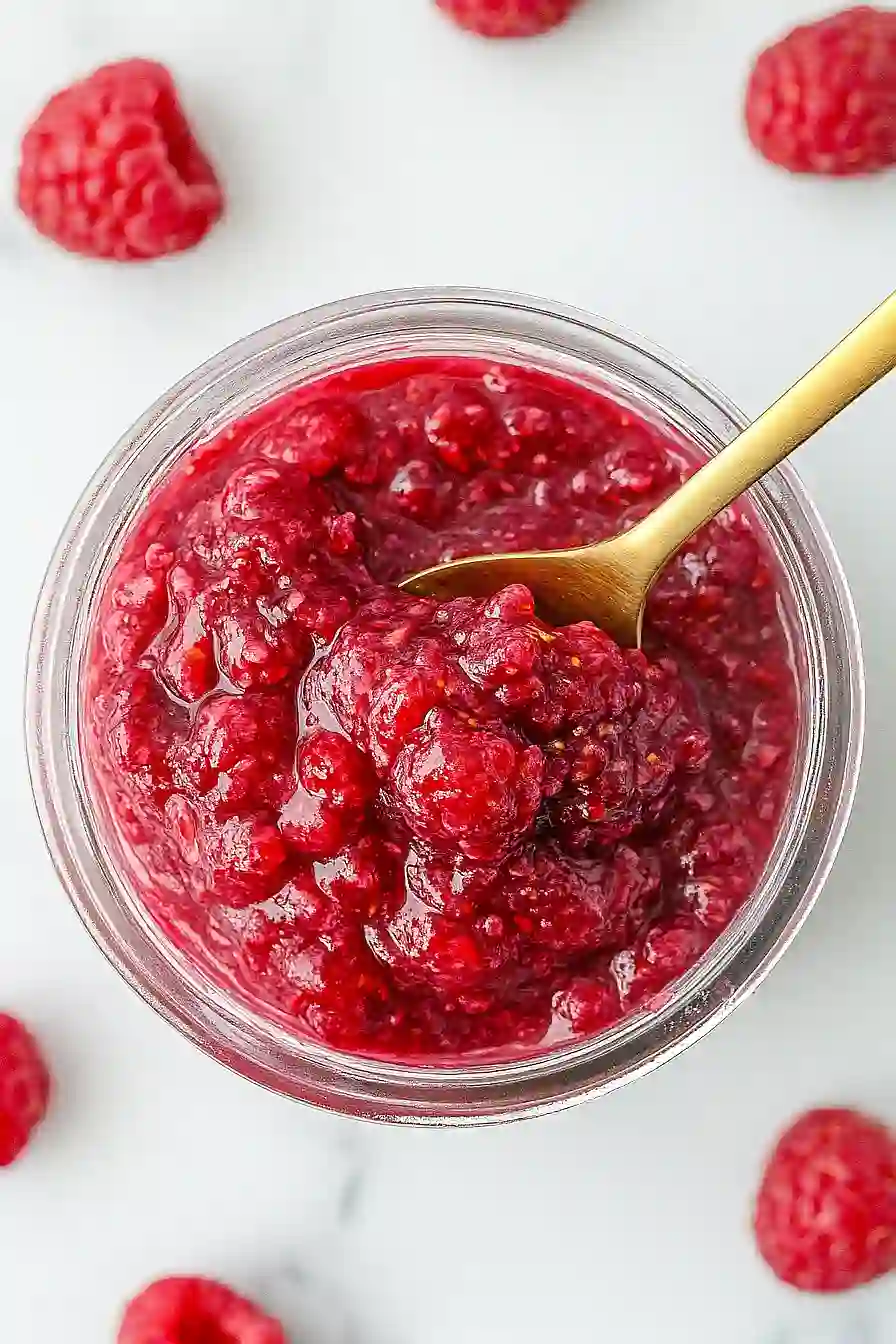
Once completely cooled, your raspberry filling is ready to use!
Pipe a dam of buttercream around your cake layers and spread a thin layer (no more than 1/4″ thick) of the filling inside.
The buttercream will help keep the filling from oozing out.
For extra raspberry flavor, try mixing some of the filling into your buttercream or whipped cream—it makes a beautiful pink color and tastes amazing.
Any leftovers can be used for donuts, cupcakes, thumbprint cookies, or hand pies, or simply freeze the mixture in an airtight container for later use.
