I never knew brownies could be anything other than those big squares my mom used to cut for us after dinner. Growing up, that’s just how brownies were served in our house – generous chunks that always left chocolate smudges on our fingers and faces.
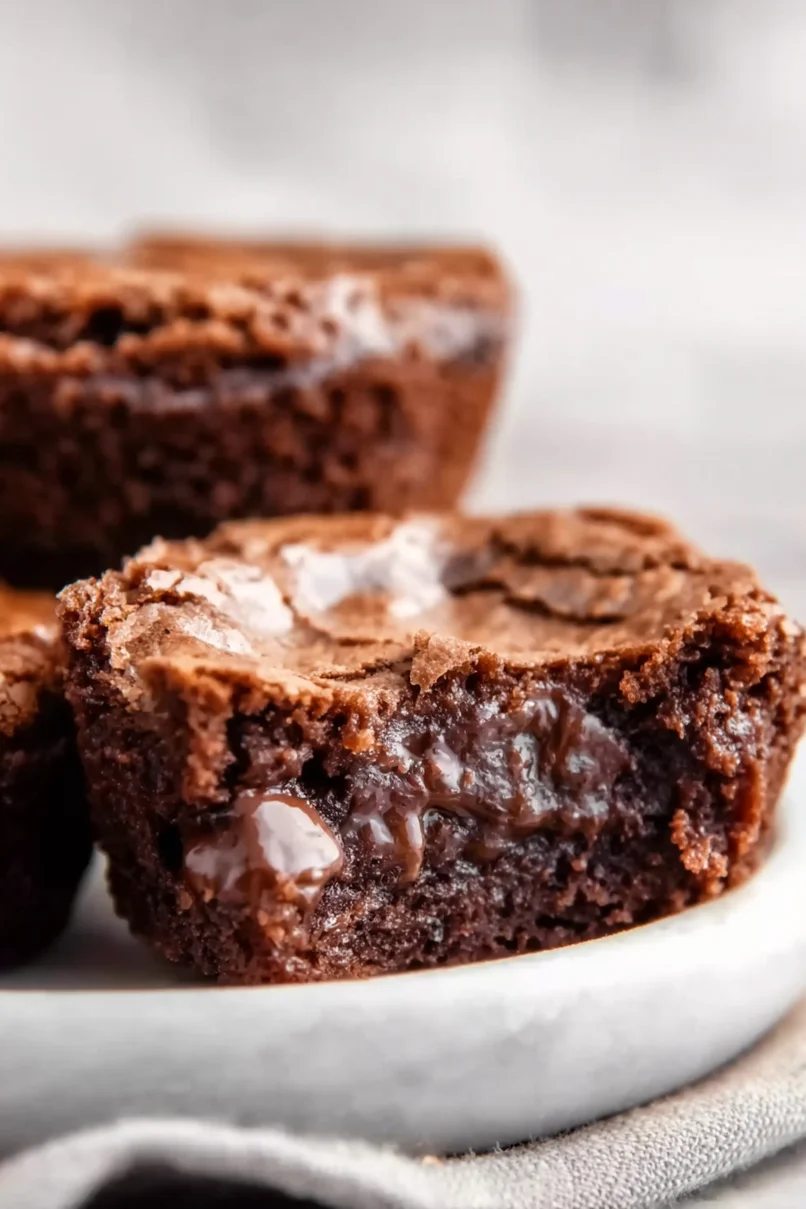
Then I discovered brownie bites, and it changed my whole dessert game. These little two-bite treats are perfect for parties, lunch boxes, or those times when you want just a taste of something sweet. Plus, they’re practically impossible to mess up – even my kids can help make them without turning the kitchen into a disaster zone.

Why You’ll Love These Brownie Bites
- Quick preparation – These little treats come together in under 30 minutes, perfect for when you need a chocolate fix without spending hours in the kitchen.
- Simple ingredients – You probably have most of these basic baking staples in your pantry right now – no fancy or hard-to-find ingredients needed.
- Perfect portion control – Each bite-sized piece gives you just the right amount of chocolate goodness, making it easier to enjoy without overindulging.
- Double chocolate flavor – With both cocoa powder and chocolate chips, these brownie bites pack a serious chocolate punch that will satisfy any sweet tooth.
What Kind of Cocoa Powder Should I Use?
For these brownie bites, you’ll want to pay attention to which cocoa powder you grab off the shelf. Natural unsweetened cocoa powder and Dutch-processed cocoa powder will both work in this recipe, though they’ll give slightly different results. Natural cocoa powder will give you a more intense, slightly acidic chocolate flavor, while Dutch-processed offers a smoother, mellower taste. If you’re looking for that classic brownie taste, I’d recommend sticking with natural unsweetened cocoa powder. Just make sure whatever you’re using is fresh and hasn’t been sitting in your pantry for years – cocoa powder can lose its punch over time.
Options for Substitutions
Let’s talk about what you can swap in these brownie bites – though some ingredients are must-haves:
- Unsalted butter: You can use salted butter – just reduce the added salt to 1/4 teaspoon. Plant-based butter also works, but the texture might be slightly different. Coconut oil is another option, though it will add a slight coconut flavor.
- Cocoa powder: This is a must-keep ingredient! Dutch-process or natural cocoa powder both work well, but don’t try to substitute with hot chocolate mix – it won’t give you the right chocolate flavor or texture.
- Eggs: For this recipe, eggs are pretty important for structure. While you could try commercial egg replacers or flax eggs (1 tablespoon ground flax + 3 tablespoons water per egg), the texture won’t be quite the same.
- Plain flour: You can swap in gluten-free all-purpose flour blend (with xanthan gum) in the same amount. Almond flour alone won’t work as a substitute here.
- Chocolate chips: Feel free to use any type of chocolate chips – milk, dark, or white. You can also chop up a chocolate bar, or swap in nuts, dried fruit, or leave them out completely.
- White sugar: Brown sugar works too – it’ll give a slightly more chewy texture and caramel notes. You can also use coconut sugar, though the brownies might be less sweet.
Watch Out for These Mistakes While Baking
The biggest mistake when making brownie bites is overbaking them – since they’re smaller than regular brownies, they cook much faster and can quickly go from fudgy to dry in just a minute or two. A foolproof way to check doneness is to insert a toothpick in the center; it should come out with a few moist crumbs, not completely clean or wet with batter. Another common error is overmixing the batter after adding the flour, which can lead to tough, dense brownies – mix just until the flour disappears and no more. To achieve that perfect texture, make sure your eggs are at room temperature before starting, and don’t skip letting the melted butter-sugar mixture cool slightly before adding them, or you might end up with scrambled eggs in your brownies. For extra chocolatey goodness, try refrigerating the bites for an hour after they’ve cooled completely – this helps develop the flavor and creates that perfect chewy texture.
What to Serve With Brownie Bites?
These little chocolate treats are perfect for pairing with a variety of toppings and accompaniments that make them even more fun to eat! A scoop of vanilla ice cream on the side turns these brownie bites into an instant dessert that everyone loves. For a quick and easy sundae setup, put out some warm caramel sauce, chocolate syrup, and whipped cream so everyone can customize their own treat. I also like serving these with cold milk or hot coffee – both drinks bring out the rich chocolate flavor in different but equally good ways. If you’re putting together a dessert platter, try adding some fresh berries or sliced strawberries on the side for a pop of color and freshness that balances out the chocolate.
Storage Instructions
Keep Fresh: These brownie bites stay good at room temperature for up to 5 days when kept in an airtight container. I like to place a piece of parchment paper between layers to prevent them from sticking together. For best taste and texture, store them in a cool, dry place away from direct sunlight.
Refrigerate: Want them to last longer? Pop these little treats in the fridge in a sealed container, and they’ll stay fresh for up to a week. Plus, chilled brownie bites have an amazing fudgy texture that some people actually prefer!
Freeze: These brownie bites are perfect for freezing! Place them in a freezer-safe container or zip-top bag with parchment paper between layers, and they’ll keep for up to 3 months. When you’re ready to enjoy them, just let them thaw at room temperature for about an hour.
| Preparation Time | 10-15 minutes |
| Cooking Time | 12-15 minutes |
| Total Time | 22-30 minutes |
| Level of Difficulty | Easy |
Estimated Nutrition
Estimated nutrition for the whole recipe (without optional ingredients):
- Calories: 1600-1800
- Protein: 15-20 g
- Fat: 90-100 g
- Carbohydrates: 200-220 g
Ingredients
- 1 cup white sugar
- 2 large eggs (room temperature, about 70°F)
- 3/4 tsp salt
- 2/3 cup unsweetened cocoa powder (gives better texture and moisture)
- 10 tbsp unsalted butter (I like Kerrygold unsalted butter for this)
- 1/2 cup chocolate chips
- 2 tsp vanilla essence (for best flavor and aroma)
- 1/2 cup plain flour (I use King Arthur all-purpose flour)
Step 1: Prepare the Baking Equipment
Start by preheating your oven to 350°F (175°C).
While the oven heats up, butter the wells of a 24-cup mini-muffin pan or spray them with baking spray to prevent sticking.
This step will ensure your brownie bites release easily after baking.
Step 2: Melt Butter and Mix Ingredients
In a medium saucepan, melt the butter over medium heat.
Once melted, stir in the sugar, cocoa powder, vanilla extract, and salt.
Mix until the ingredients are well combined.
Remove the saucepan from the heat and allow the mixture to cool for about 5 minutes.
Step 3: Incorporate Eggs and Flour
After the mixture has cooled slightly, quickly whisk in the eggs until they are fully incorporated.
Then, add the flour and stir until the mixture is mostly combined.
Next, fold in the chocolate chips ensuring there are no remaining streaks of flour in the batter.
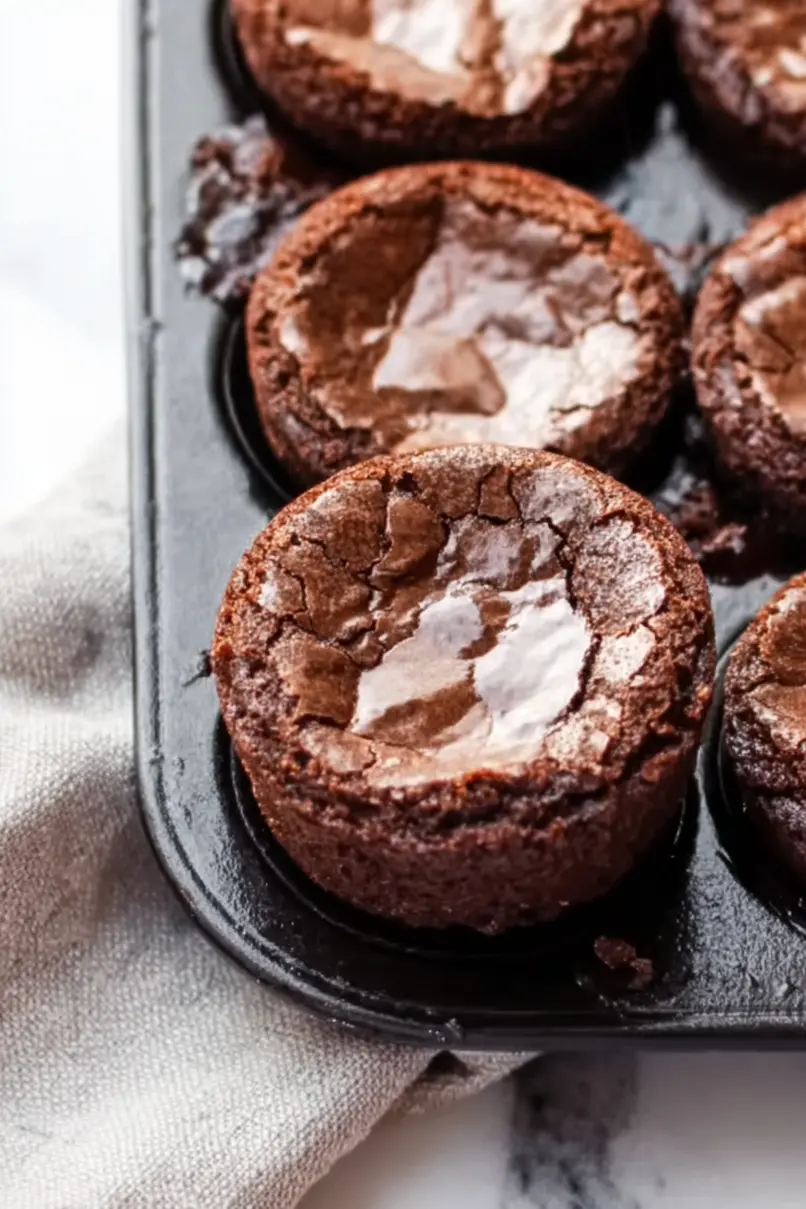
Step 4: Fill the Muffin Pan and Bake
Scoop the prepared batter into the greased wells of the mini-muffin pan, filling each about three-quarters full.
Place the pan in the preheated oven and bake for 12 to 15 minutes or until the brownie bites are set and the tops are cracked and shiny.
Step 5: Cool and Remove from Pan
Once baked, remove the mini-muffin pan from the oven and let the brownie bites cool in the pan on a wire rack for about 10 minutes.
After cooling, use the tip of a knife to carefully remove each brownie bite from the pan and transfer them to the wire rack to finish cooling completely.
Step 6: Store and Enjoy
Store any leftover brownie bites in an airtight container at room temperature for up to one week.
For longer storage, freeze them for up to two months.
Enjoy your delicious brownie bites as a perfect indulgent treat!
