If you ask me, cherry crumble bars are one of life’s simple pleasures.
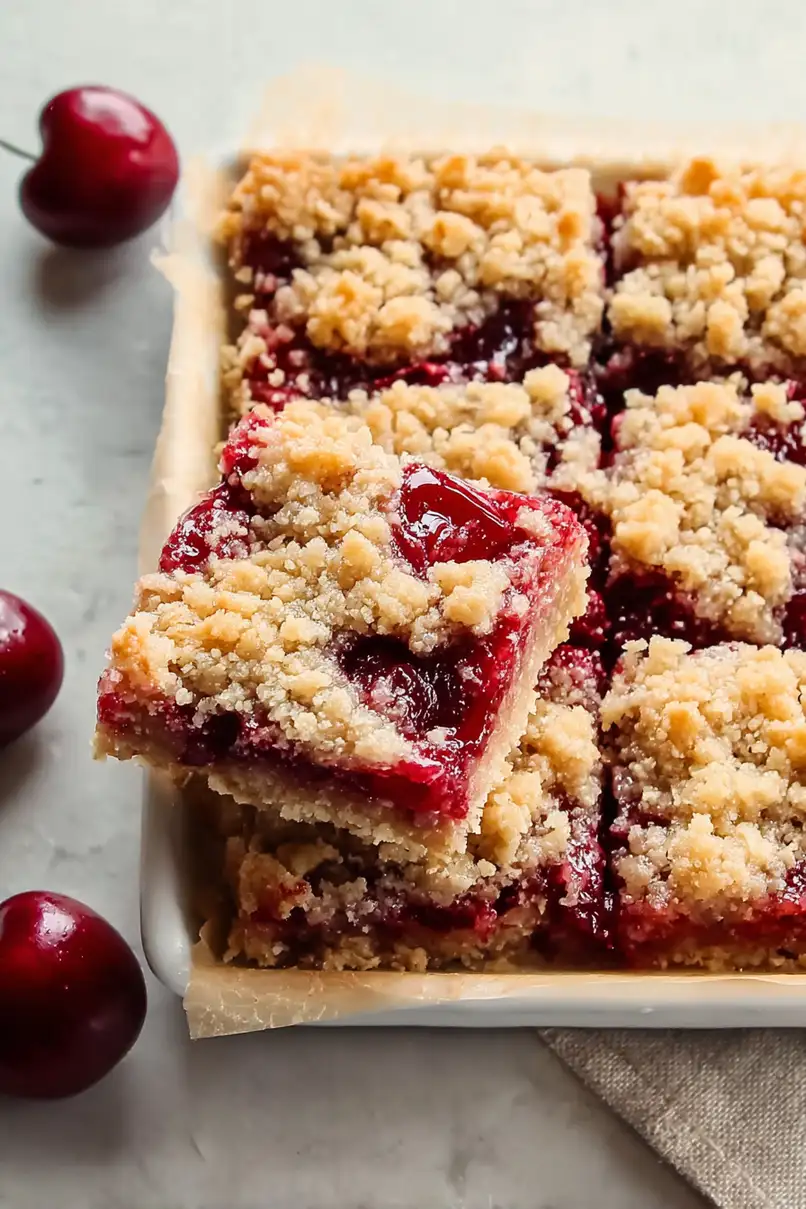
These fruity, buttery treats strike the perfect balance between a cookie and a pie, with sweet cherries nestled between layers of golden crumb mixture. The base is firm enough to hold in your hand, while the filling stays just a bit gooey.
The crumbly topping gets slightly crisp in the oven, creating that wonderful contrast with the soft fruit layer beneath. A dash of vanilla and hint of almond extract make these bars taste like they came from a small-town bakery.
They’re an easy dessert that works just as well for afternoon snacks as they do for summer picnics or potlucks.
Why You’ll Love These Cherry Crumble Bars
- Simple ingredients – These bars use basic pantry staples you likely already have, plus fresh cherries for a naturally sweet filling.
- Make-ahead friendly – You can bake these bars ahead of time and they’ll stay fresh for several days – perfect for busy weeks or when you need a reliable dessert plan.
- Perfect balance of textures – The buttery, crumbly base and topping paired with the soft, jammy cherry filling creates an irresistible combination that makes these bars hard to stop eating.
- Great for sharing – These bars are easy to cut and transport, making them perfect for potlucks, bake sales, or afternoon tea with friends.
What Kind of Cherries Should I Use?
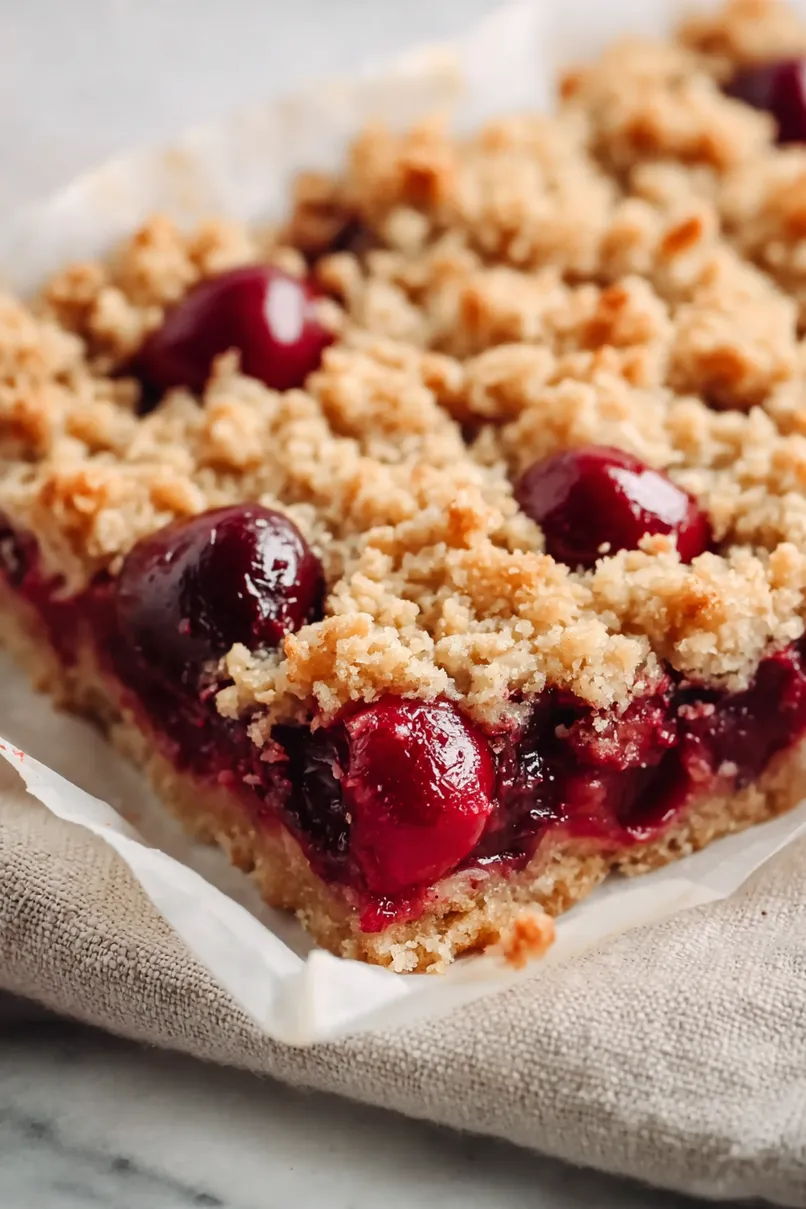
Fresh sweet cherries are perfect for these crumble bars, with Bing cherries being the most common variety you’ll find at the grocery store. If you can’t get fresh cherries, frozen ones work just as well – just make sure to thaw and drain them first to avoid excess moisture in your bars. When picking fresh cherries, look for firm, glossy fruits with bright green stems and deep color (whether they’re dark red or yellow-blushed). A good tip is to give them a gentle squeeze – they should be firm but not hard, and free from any soft spots or blemishes. Remember that you’ll need to pit the cherries before using them, so having a cherry pitter on hand can save you lots of time and stained fingers.
Options for Substitutions
This recipe is pretty adaptable and you can make several swaps if needed:
- Plain white flour: You can swap this with whole wheat flour for a nuttier taste (though the texture will be slightly denser), or use a 1:1 gluten-free flour blend if you need to make these gluten-free.
- Fresh cherries: If fresh cherries aren’t in season, frozen cherries work great – just thaw and drain them first. You can also try other fruits like blueberries, blackberries, or chopped strawberries in the same amount.
- Cornflour: Regular all-purpose flour works as a thickener too – just use 3 tablespoons instead of 2. Arrowroot powder is another good option, using the same amount as cornflour.
- Butter: For a dairy-free version, use cold coconut oil or a plant-based butter substitute. Just make sure it’s well-chilled before using.
- Milk: Any type of milk works here – almond, soy, oat, or even cream. You can also use water in a pinch, though the crumble will be slightly less rich.
Watch Out for These Mistakes While Baking
The success of cherry crumble bars largely depends on the temperature of your butter – using room temperature butter instead of cold butter will make your crumble topping greasy and dense rather than light and crispy. When making the crust, avoid overworking the dough as this activates the gluten and can lead to tough, chewy bars instead of the tender, melt-in-your-mouth texture we’re after. Another common mistake is not cooking the cherry filling long enough – it needs to bubble and thicken properly with the cornflour, or you’ll end up with a runny mess that makes your bars soggy. For the best results, let the bars cool completely before cutting them (ideally 2-3 hours), as this allows the filling to set properly and ensures clean, neat slices that won’t fall apart when served.
What to Serve With Cherry Crumble Bars?
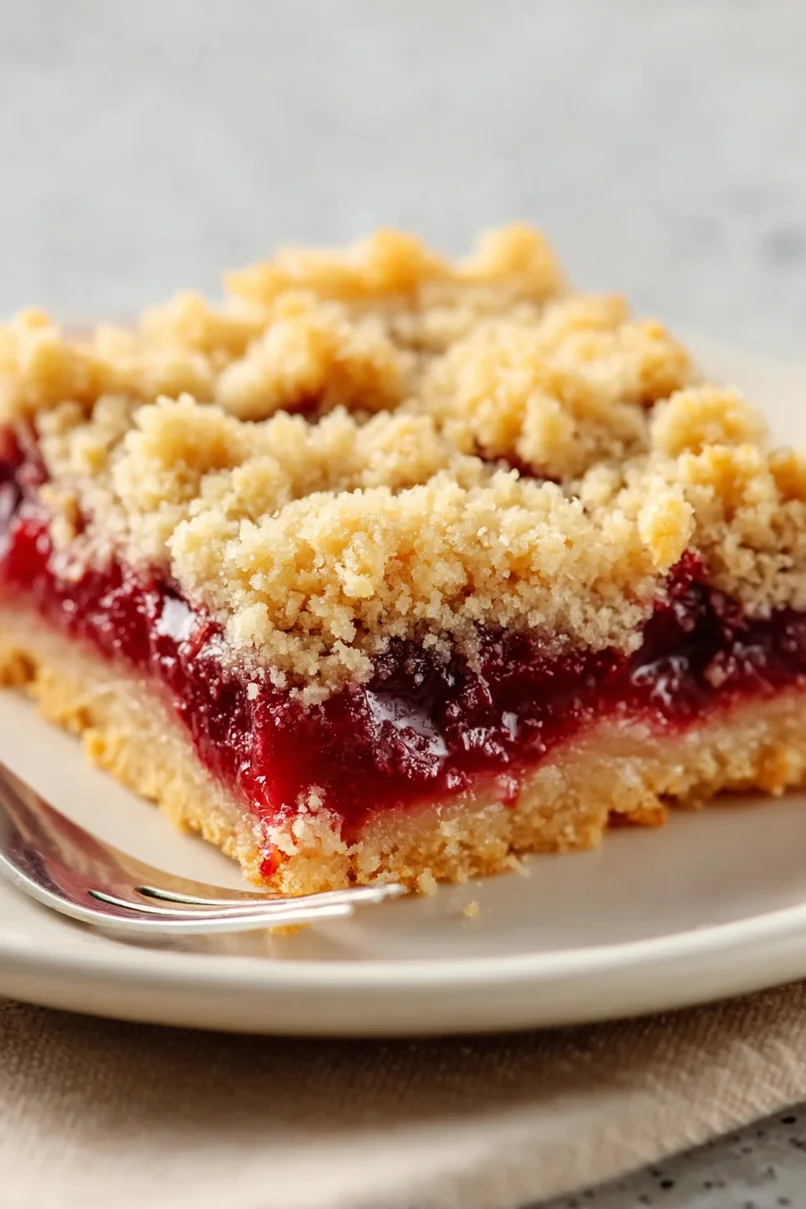
These sweet and fruity cherry crumble bars are perfect for pairing with your favorite hot or cold drinks! A scoop of vanilla ice cream on the side lets you create a simple but satisfying dessert that’s similar to cherry pie à la mode. For afternoon tea or coffee breaks, serve these bars at room temperature with a hot cup of coffee, Earl Grey tea, or even hot chocolate if you’re feeling extra cozy. If you’re packing these for a picnic or lunchbox treat, they’re great on their own, but you could also add a dollop of whipped cream or a drizzle of vanilla sauce on top for something special.
Storage Instructions
Keep Fresh: These cherry crumble bars stay fresh and tasty when kept in an airtight container at room temperature for up to 2 days. If you want them to last longer, pop them in the fridge where they’ll keep well for up to 5 days. Just place some parchment paper between layers to prevent them from sticking together.
Freeze: Good news – these bars freeze really well! Cut them into individual portions, wrap them in plastic wrap or parchment paper, and store them in a freezer-safe container. They’ll stay good for up to 3 months. This is perfect when you want to save some for later or make a big batch in advance.
Thaw: When you’re ready to enjoy your frozen cherry bars, just transfer them to the fridge overnight to thaw. If you like them slightly warm, pop them in the microwave for 10-15 seconds. They taste just as good as freshly baked ones!
| Preparation Time | 15-20 minutes |
| Cooking Time | 32-36 minutes |
| Total Time | 47-56 minutes |
| Level of Difficulty | Medium |
Estimated Nutrition
Estimated nutrition for the whole recipe (without optional ingredients):
- Calories: 1300-1500
- Protein: 15-20 g
- Fat: 70-80 g
- Carbohydrates: 180-200 g
Ingredients
For the crust and crumble topping:
- 1/2 cup chilled unsalted butter (cut into 1/2-inch cubes)
- 2 tbsp milk
- 1/4 tsp salt
- 3/4 cup granulated sugar
- 1/2 tsp baking powder (I use Rumford double-acting baking powder)
- 1 egg (large, room temperature for better emulsion)
- 1 3/4 cups all-purpose flour
For the cherry filling:
- 2 tbsp cornstarch (thickens the filling without clouding)
- 2 1/4 cups fresh pitted cherries
- 3 tbsp granulated sugar
Step 1: Prepare the Baking Dish
Preheat your oven to 375°F.
Line a square 8×8 or 9×9 baking dish with parchment paper, leaving a 1″ overhang on each side for easy removal later.
Spray the sides of the dish with nonstick spray.
Set the prepared baking dish aside.
Step 2: Mix the Dough
In a large bowl, combine the flour, sugar, baking powder, and salt by stirring them together.
Grate cold butter directly into the bowl.
Using your hands, mix until the butter is evenly distributed throughout, resembling small pebbles.
Next, add the egg and milk and stir until everything is well combined.
The dough should be cohesive and hold together when pinched.
Step 3: Form the Crust
Take 2/3 of the dough mixture and press it firmly into the prepared baking dish to form an even crust.
Use your hands to ensure it is spread out evenly across the bottom.
Step 4: Prepare the Cherry Filling
In a medium bowl, use a potato masher or fork to mash the cherries until they are slightly chunky, ensuring no whole cherries remain.
Pour the mashed cherries through a fine mesh strainer to remove excess liquid, then return them to the bowl.
Stir in sugar and cornstarch until fully incorporated.
Step 5: Assemble and Bake
Spread the cherry mixture evenly over the crust in the baking dish.
Take the remaining dough mixture and sprinkle it over the top of the cherries to create a crumb topping.
Place the pan in the preheated oven and bake for 32-36 minutes, or until the edges and top are slightly golden brown.
Step 6: Cool and Serve
Allow the cherry bars to cool completely in the pan at room temperature, or speed up the process by placing the pan in the refrigerator.
Once cooled, slice into bars and enjoy your delicious homemade cherry treats!