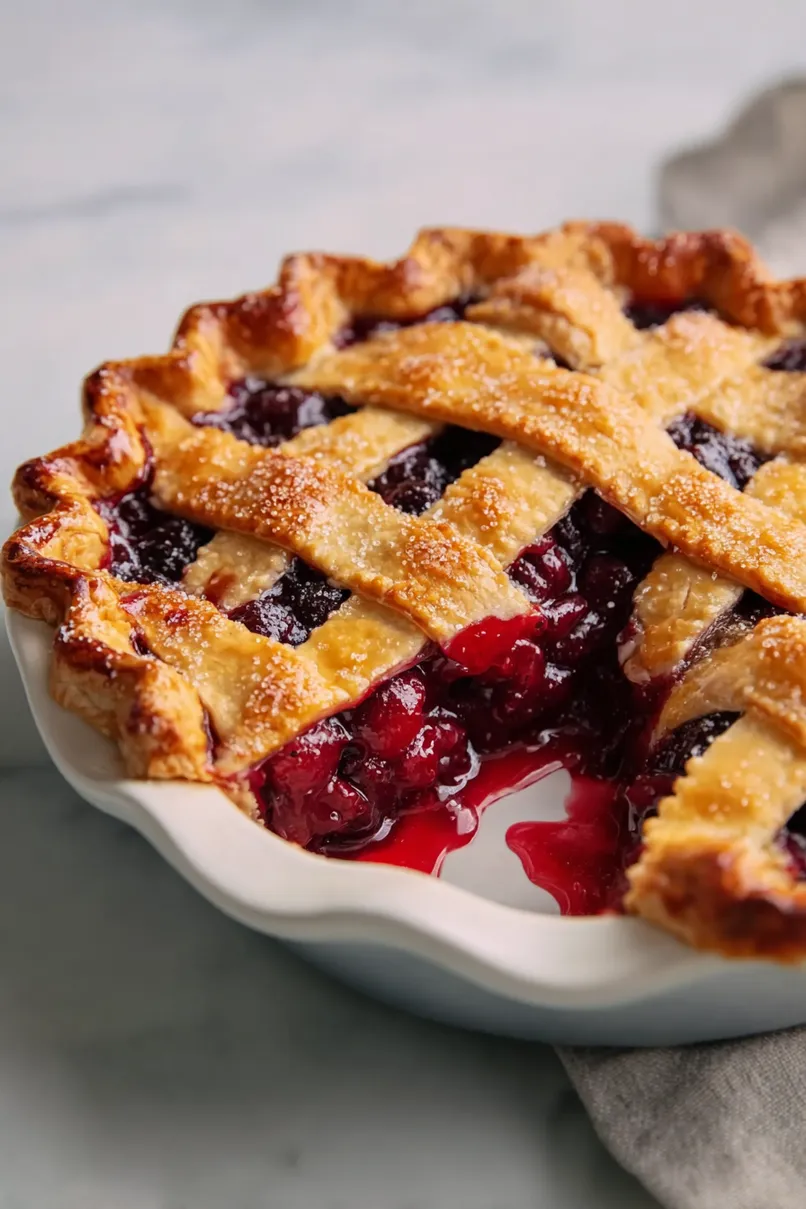
Here’s my go-to cherry pie recipe, made with frozen cherries, a simple homemade crust that turns out flaky every time, and just the right balance of sweet and tart filling with a hint of almond extract.
This cherry pie has become my winter comfort food favorite, since I can make it any time of year using frozen cherries. I often bake two pies at once – one for family dinner and one to share with neighbors. There’s something special about serving warm cherry pie on a cold evening, don’t you think?
Why You’ll Love This Cherry Pie
- Year-round availability – Using frozen cherries means you can make this classic pie any time of year – no need to wait for cherry season!
- Time-saving shortcuts – Store-bought pie crusts and pre-pitted frozen cherries cut down on prep time while still giving you that homemade taste everyone loves.
- Perfect balance of flavors – The combination of vanilla and almond extracts with fresh lemon zest makes this pie taste just like it came from grandma’s kitchen.
- Foolproof filling – The cornstarch-thickened filling comes out perfectly set every time – no runny pie or soggy bottom crust here!
What Kind of Frozen Cherries Should I Use?
For pie making, dark sweet cherries like Bing or Lambert varieties are your best bet – they have the perfect balance of sweetness and that classic cherry flavor we all love. While you might spot both sweet and tart frozen cherries at the store, stick with the sweet ones for this recipe since we’ve already balanced the sugar amount for them. When shopping, look for bags labeled “dark sweet cherries” rather than “tart” or “sour” cherries, which would need different sugar measurements. Just make sure your frozen cherries are pitted (most are these days) and try to avoid any bags with lots of ice crystals, which could mean they’ve been thawed and refrozen.

Options for Substitutions
Making this cherry pie but missing some ingredients? Here are some helpful swaps you can try:
- Frozen cherries: Fresh cherries work perfectly here – you’ll need the same amount. You can also use canned cherries, but drain them well and reduce the sugar to 1/2 cup since they’re usually pre-sweetened.
- Cornstarch: All-purpose flour can work as a thickener – use 2/3 cup instead of 1/3 cup cornstarch. Instant tapioca is another good option – use 1/3 cup but grind it first in a spice grinder.
- Lemon: No fresh lemon? Use 2 tablespoons of bottled lemon juice. For the zest, you can skip it or add 1/4 teaspoon of citric acid for that tangy kick.
- Almond essence: You can skip this if you don’t have it, or use 1/2 teaspoon of vanilla extract instead. The pie will still taste great!
- Refrigerated pie crusts: Feel free to use homemade pie crust, or frozen pie crusts that have been thawed. Just make sure you have enough for a bottom and top crust.
- Egg wash: If you’re out of eggs, brush the top crust with milk or heavy cream instead. This will still give you a nice golden brown color.
Watch Out for These Mistakes While Baking
The biggest challenge when making cherry pie with frozen cherries is managing the excess liquid – make sure to thaw and drain your cherries completely before mixing with other ingredients, and save that flavorful juice to reduce into a syrup for serving. A common mistake is not letting the filling cool before adding it to the pie crust, which can make your bottom crust soggy – instead, let the cherry mixture come to room temperature first. To prevent a runny filling, don’t skip the cornstarch and make sure your filling bubbles in the center of the pie before removing it from the oven (this activates the thickening power of the cornstarch). For the flakiest crust, keep all your ingredients cold, work quickly, and don’t forget to cut proper vents in the top crust – these slits aren’t just decorative, they let steam escape and help prevent filling overflow.
What to Serve With Cherry Pie?
A warm slice of cherry pie practically begs for a scoop of vanilla ice cream – it’s a classic pairing that just works! If you’re not in the mood for ice cream, a dollop of fresh whipped cream or a pour of cold heavy cream over the top adds a nice creamy contrast to the sweet-tart cherries. For a morning treat, serve your cherry pie with a hot cup of coffee or tea, or make it extra special with a drizzle of warm caramel sauce and a sprinkle of toasted almonds. Keep in mind that cherry pie tastes great at room temperature too, so don’t feel like you need to warm it up if you’re serving it at a picnic or outdoor gathering.
Storage Instructions
Counter or Fridge: Your freshly baked cherry pie can sit on the counter at room temperature for up to 2 days – just cover it loosely with foil or plastic wrap. If you want it to last longer, pop it in the fridge where it’ll stay good for up to 5 days. The crust might soften a bit in the fridge, but it’ll still taste great!
Freeze: This pie freezes really well! Let it cool completely, then wrap it tightly in plastic wrap and aluminum foil. It’ll keep in the freezer for up to 4 months. You can freeze individual slices too – just wrap them separately for easy single servings.
Warm Up: To enjoy your pie warm, heat individual slices in the microwave for about 30 seconds, or pop the whole pie in a 350°F oven for about 15-20 minutes. If you’re warming up a frozen pie, let it thaw overnight in the fridge first. A quick zap in the microwave makes it perfect for serving with vanilla ice cream!
| Preparation Time | 30-45 minutes |
| Cooking Time | 60-65 minutes |
| Total Time | 90-110 minutes |
| Level of Difficulty | Medium |
Estimated Nutrition
Estimated nutrition for the whole recipe (without optional ingredients):
- Calories: 2200-2500
- Protein: 25-30 g
- Fat: 80-100 g
- Carbohydrates: 350-400 g
Ingredients
For the filling:
- 2/3 cup sugar
- 32 oz frozen pitted cherries
- 1/3 cup cornstarch
- 1 tsp vanilla extract (I use Nielsen-Massey vanilla extract)
- 1 small lemon (zest and 2 tbsp juice)
- 1/4 tsp salt
- 1/4 tsp almond extract
For the crust and assembly:
- 1 large egg (beaten for egg wash)
- 2 boxes refrigerated pie crusts
- 2 tbsp unsalted butter (melted for brushing the crust)
- Coarse sugar (optional, for sparkling topping)
Step 1: Prepare the Cherry Filling
In a saucepan, combine the frozen cherries, sugar, cornstarch, lemon zest, lemon juice, vanilla extract, almond extract, and a pinch of salt.
Heat the mixture over medium-high, stirring gently on occasion.
Allow it to come to a boil for 1 minute, then set the saucepan aside to let the filling cool to room temperature.
This will thicken the cherry filling, making it ready for the crust.
Step 2: Preheat the Oven and Prepare Pie Crusts
Preheat your oven to 425°F (220°C) and place a baking sheet inside.
Take the two prepared pie crusts, ensuring one remains chilled while you work with the other.
Roll out the pie crust on a lightly floured surface or silicone mat, and use a sharp knife or pastry wheel to cut the dough into approximately 1-inch strips.
Aim for about 12 strips, and divide them into two piles for the lattice top.
Step 3: Assemble the Pie
Place the other chilled pie crust into a 9-inch pie plate, ensuring it fits the dish properly.
Spoon the cooled cherry filling inside and evenly scatter the cold butter pieces over the top.
This will enrich the cherry flavor and support a flaky crust.
Step 4: Create the Lattice Top
To form the lattice top, arrange the first set of dough strips evenly over the filled pie.
Weave the remaining strips over and under to create a lattice pattern: lift every other strip and place a horizontal strip across, then replace the lifted strips.
Alternate lifting strips and placing others across until the lattice is complete.
Trim any excess and crimp the edges to seal the pie crust.
Step 5: Apply the Egg Wash and Bake
Whisk an egg in a small bowl, then use a pastry brush to apply the egg wash over the crust.
Sprinkle with coarse sugar if desired.
Carefully place the pie on the preheated baking sheet and bake at 425°F for 20 minutes.
Afterward, reduce the oven temperature to 375°F (190°C) and continue baking for an additional 40-45 minutes.
Watch for bubbling cherry filling and a golden-brown crust.
If the pie edges are browning too fast, cover them with foil.
Step 6: Cool and Serve
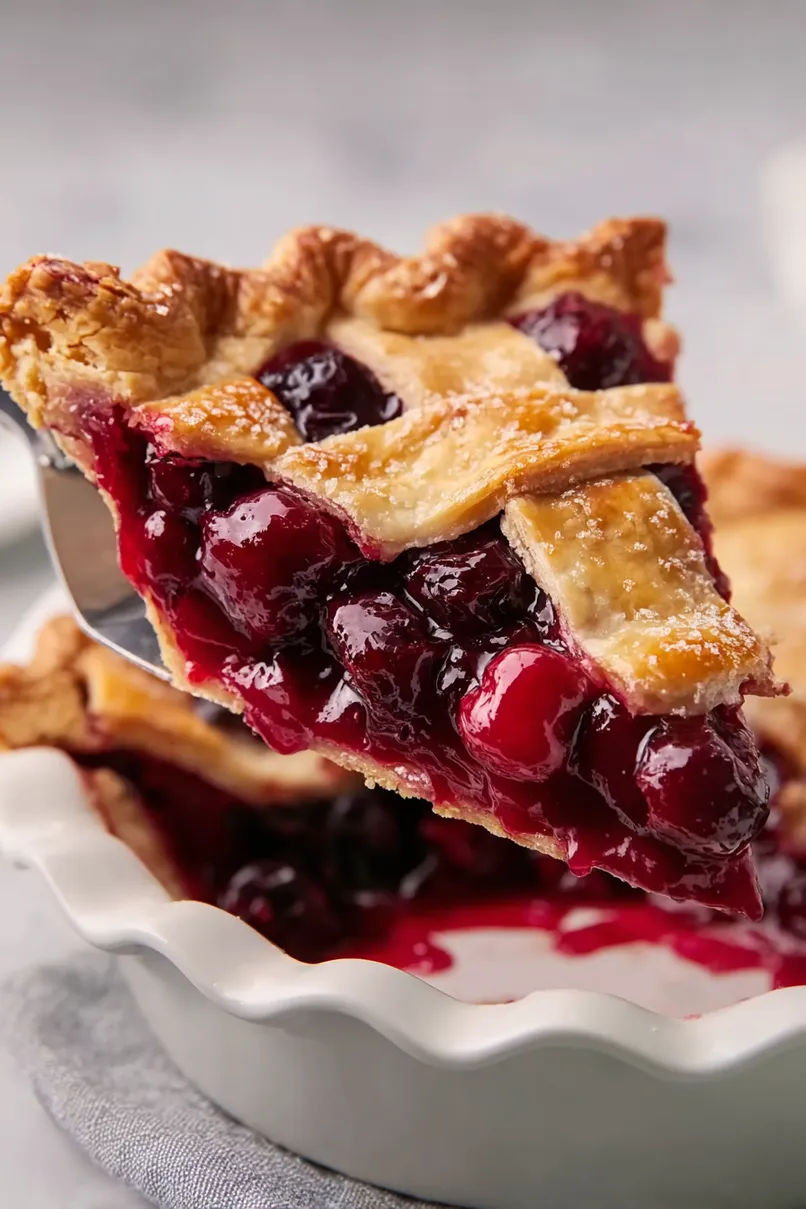
Remove the pie from the oven and let it cool for 3-4 hours to allow the cherry filling to set properly.
Serve with a dollop of whipped cream or a scoop of ice cream for added delight.
Enjoy this classic cherry pie with its beautiful lattice top and delicious filling!

This pie came out perfectly. Thanks for sharing it, especially the tips about working with the frozen berries.