I never thought I’d be excited about whipped cream made from chickpeas, but here we are! Like many people, I used to think aquafaba (that’s just the liquid from canned chickpeas) was something to pour down the drain. Then one day, while looking for dairy-free options for my neighbor’s birthday party, I discovered this little kitchen magic trick. It’s pretty amazing how that simple bean liquid whips up into something that looks and feels just like regular whipped cream.
The best part? It’s not just for folks who avoid dairy – it’s actually a great option for anyone who wants to try something different in their desserts. I’ve served it to friends at dinner parties without telling them what it was, and they couldn’t believe their taste buds when I revealed the secret ingredient. Now it’s become one of those recipes I keep coming back to, especially when I want to make something that everyone at the table can enjoy.
Why You’ll Love This Chickpea Whipped Cream
- Vegan-friendly alternative – Made from chickpea liquid (aquafaba), this dairy-free whipped cream is perfect for vegans and those with dairy allergies.
- Budget-conscious – Using the liquid from a can of chickpeas that you’d normally throw away makes this recipe incredibly cost-effective.
- Quick preparation – You only need 15-25 minutes to whip up this fluffy topping, and it uses just 4 simple ingredients you can easily find.
- Zero food waste – Instead of discarding the chickpea liquid, you’re turning it into a delicious topping – it’s a win for both your desserts and the environment.
What Kind of Chickpeas Should I Use?
For chickpea whipped cream (also known as aquafaba), the liquid from canned chickpeas works much better than the liquid from home-cooked chickpeas. Look for unsalted canned chickpeas, as the salt content can affect how well the liquid whips up. The brand of chickpeas can make a difference too – some brands produce a thicker liquid that whips up better than others. If you’re trying this for the first time, stick with well-known brands like Goya or Bush’s, which typically have a good consistency. Once you open the can, strain the liquid carefully and make sure it’s at room temperature before whipping – cold aquafaba doesn’t whip up as well as room temperature liquid.
Options for Substitutions
This plant-based whipped cream recipe has some room for adjustments, though some ingredients are key:
- Chickpea liquid (aquafaba): This is the essential ingredient that can’t be substituted – it must come from chickpeas. While other bean liquids exist, they won’t whip up the same way. Make sure to save the liquid when you open a can of chickpeas!
- Cream of tartar: If you’re out of cream of tartar, you can use the same amount of lemon juice or white vinegar. This acidic ingredient helps stabilize the foam, but the recipe can work without it – your cream just might not hold its shape as long.
- Fine sugar: Regular granulated sugar works too, but might take longer to dissolve. You can also try powdered sugar (use 3 tablespoons) or even maple syrup (2 tablespoons), though liquid sweeteners might make the mixture slightly less stable.
- Vanilla essence: Feel free to swap this with vanilla extract, vanilla bean paste, or skip it entirely. You could also try other flavors like almond extract or orange essence for a different twist.
Watch Out for These Mistakes While Making
The biggest challenge when making chickpea whipped cream (also known as aquafaba) is not chilling your liquid properly – the chickpea liquid must be completely cold before whipping, so refrigerate it for at least 4 hours or overnight for the best results.
Another common mistake is rushing the whipping process – unlike dairy cream, aquafaba needs a solid 8-10 minutes of whipping at high speed to reach stiff peaks, and adding the cream of tartar too late can prevent proper stabilization, so add it right at the beginning.
Temperature control is crucial throughout the process – using a metal or glass bowl that’s been chilled in the freezer for 15 minutes before whipping will help maintain the cold temperature needed for the best texture.
For the longest-lasting results, add the sugar gradually only after soft peaks form, and avoid overbeating once you’ve reached stiff peaks, as this can cause the mixture to deflate and become grainy.
What to Serve With Chickpea Whipped Cream?
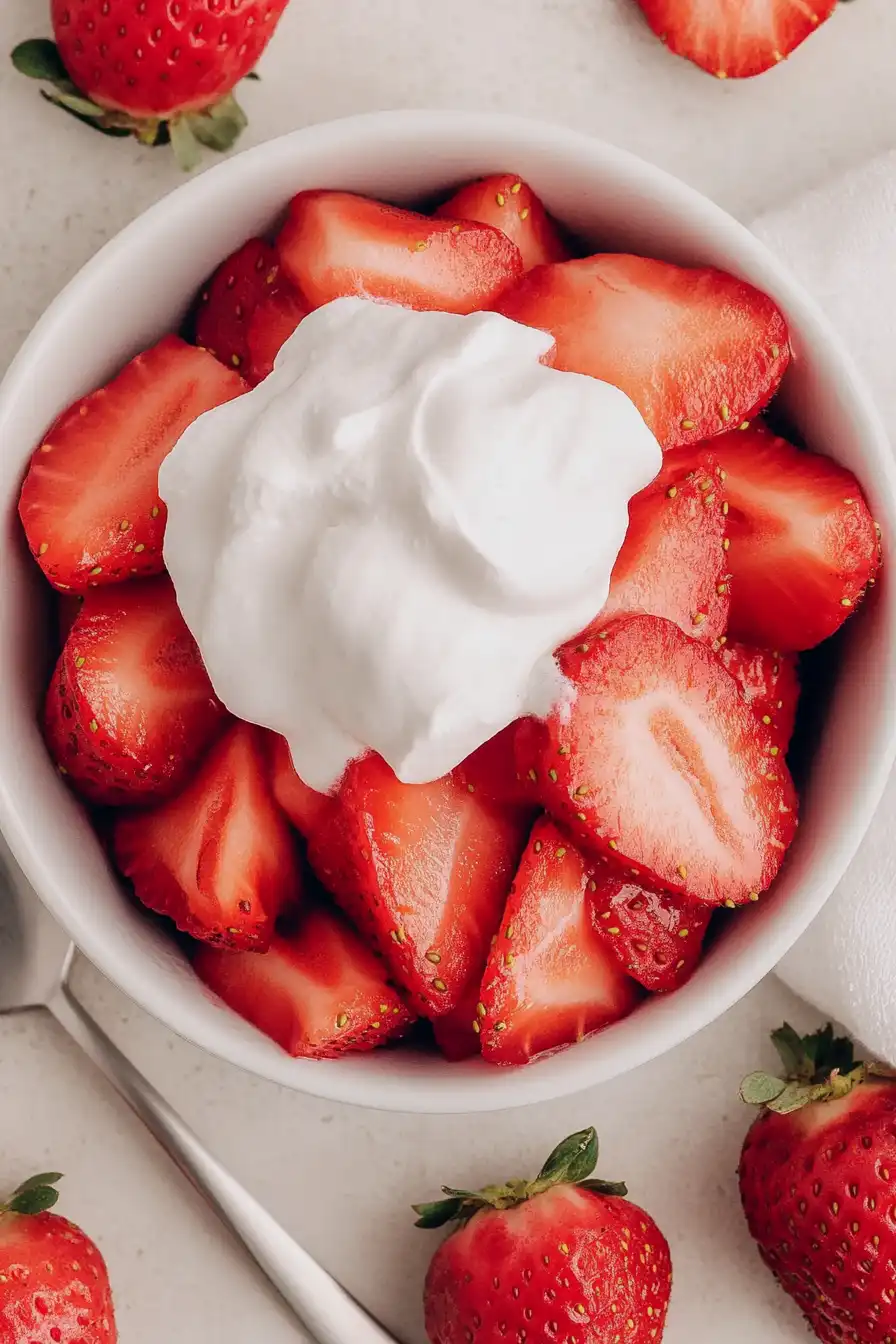
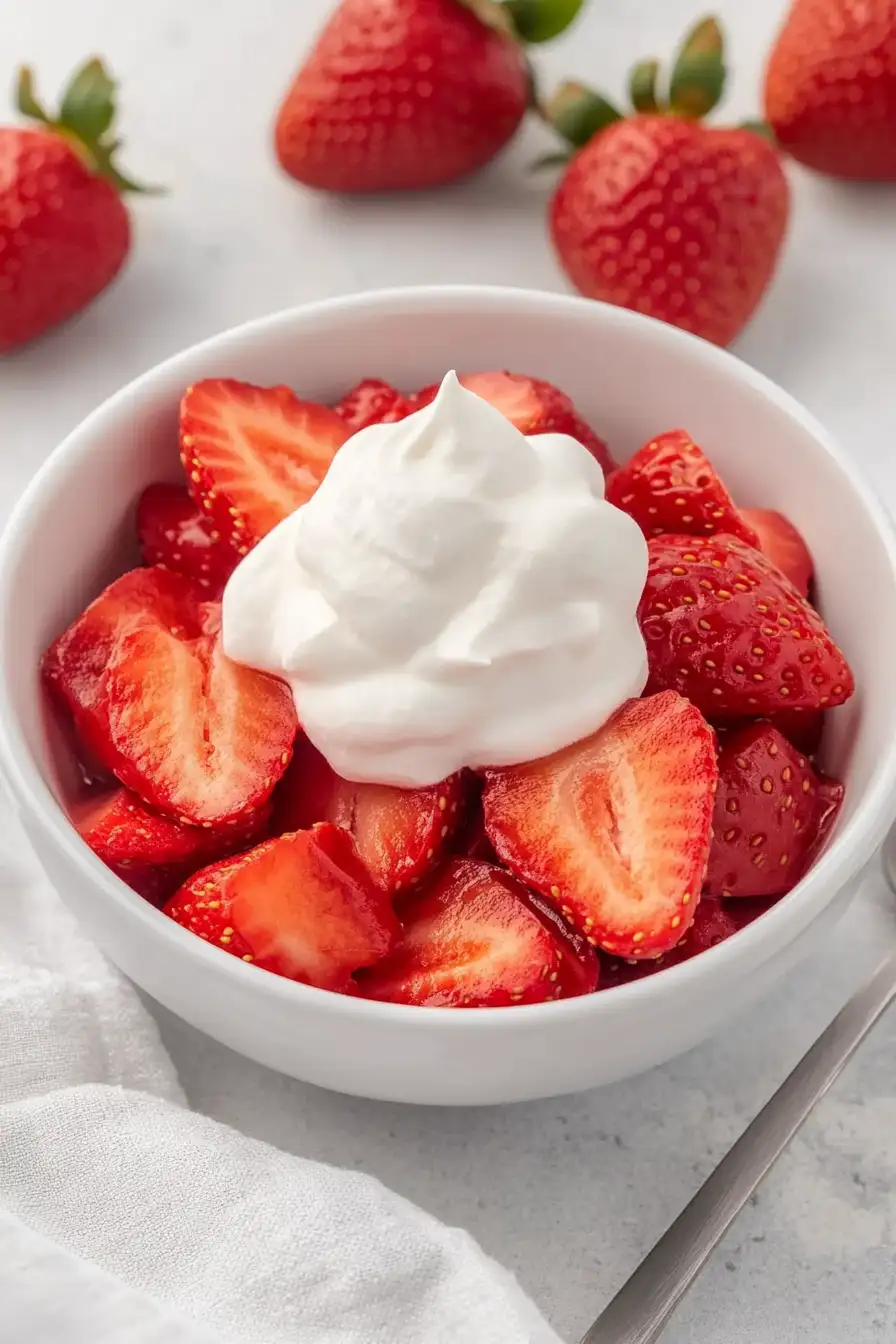
This dairy-free whipped cream is perfect for topping all your favorite desserts! It works great on warm apple pie, chocolate cake, or any fruit-based dessert where you’d normally use regular whipped cream. Since it’s made from chickpeas, it’s a fantastic option for vegan desserts – try dolloping it on top of hot chocolate or a slice of pumpkin pie. If you’re serving it at a party, set up a little dessert station with fresh berries, brownies, and this whipped cream so everyone can customize their treats.
Storage Instructions
Keep Fresh: Your chickpea whipped cream will stay fluffy when kept in an airtight container in the fridge. It’s best enjoyed within 2-3 days, though you might notice it needs a quick whisk to bring back its original texture. The natural proteins in the chickpea liquid can start to deflate over time, so it’s best to make this close to when you plan to serve it.
Make Ahead: If you’re planning a special dessert, you can prepare the chickpea liquid (aquafaba) ahead of time. Drain and store the liquid in the fridge for up to 3 days before whipping. Just make sure to bring it to room temperature before you start whipping – this helps create the best volume.
Revive: If your whipped cream loses some of its fluff in storage, don’t worry! Give it a quick whip with an electric mixer for about 30 seconds, and it should perk right back up. Just be careful not to over-whip, as this can break down the structure.
| Preparation Time | 5-10 minutes |
| Cooking Time | 10-15 minutes |
| Total Time | 15-25 minutes |
| Level of Difficulty | Easy |
Estimated Nutrition
Estimated nutrition for the whole recipe (without optional ingredients):
- Calories: 300-350
- Protein: 15-20 g
- Fat: 1-3 g
- Carbohydrates: 60-70 g
Ingredients
- 1 tsp vanilla extract
- 2 tbsp white sugar (for sweetness and to aid whipping)
- 1/8 tsp cream of tartar (helps stabilize the foam)
- 1 can unsalted chickpeas
Step 1: Prepare the Chickpea Liquid
Begin by draining the liquid from the cans of chickpeas.
Make sure to reserve this liquid for the recipe.
The chickpeas themselves can be saved for another use.
Transfer the reserved chickpea liquid, also known as aquafaba, to the bowl of a stand mixer.
If you’re using a hand mixer, a large metal bowl will work well.
Step 2: Whip the Aquafaba
Add a pinch of cream of tartar and a splash of vanilla extract to the aquafaba in the mixing bowl.
Begin whipping the mixture at medium speed.
This will help to stabilize it as it foams and increases in volume.
As it starts to thicken, gradually incorporate the sugar, adding it slowly to allow it to dissolve completely.
Step 3: Continue Whipping to Firm Peaks
Continue to whip the aquafaba for approximately 10 to 15 minutes.
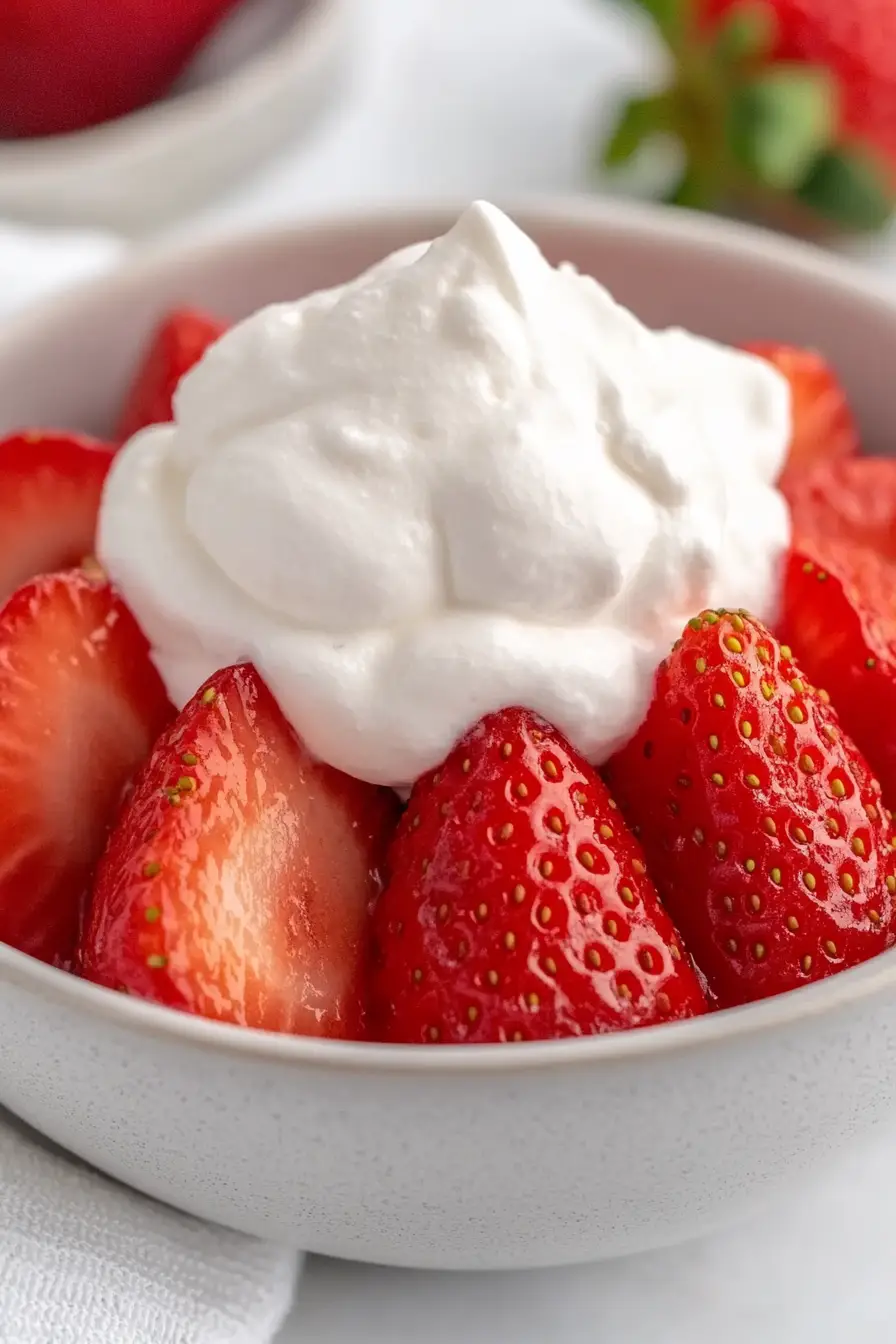
You’re aiming for firm peaks with slightly softened tips, similar to the consistency you’d achieve when whipping egg whites.
Once the desired texture is reached, your whipped aquafaba is ready for use in various desserts or recipes requiring a fluffy, airy texture.
