Finding tasty Mexican food that works with a low FODMAP diet can feel like searching for a needle in a haystack. Trust me, I’ve been there. After countless attempts to modify my old taco recipe, I finally cracked the code on making tacos that are both satisfying and gentle on sensitive stomachs.
I know how frustrating it can be to give up your favorite foods when following a low FODMAP diet. That’s why I worked hard to create these tacos that bring back those familiar flavors without the discomfort. The best part? They’re just as quick and easy to make as regular tacos, using ingredients you can find at any grocery store.
Whether you’re new to the low FODMAP journey or just looking for a tummy-friendly dinner option, these tacos are about to become your new go-to meal. My family can’t even tell the difference between these and our old recipe – and that’s exactly what we’re going for!
Why You’ll Love These Low FODMAP Tacos
- Gut-friendly recipe – These tacos are specially designed for those following a low FODMAP diet, making them perfect for people with IBS or digestive sensitivities.
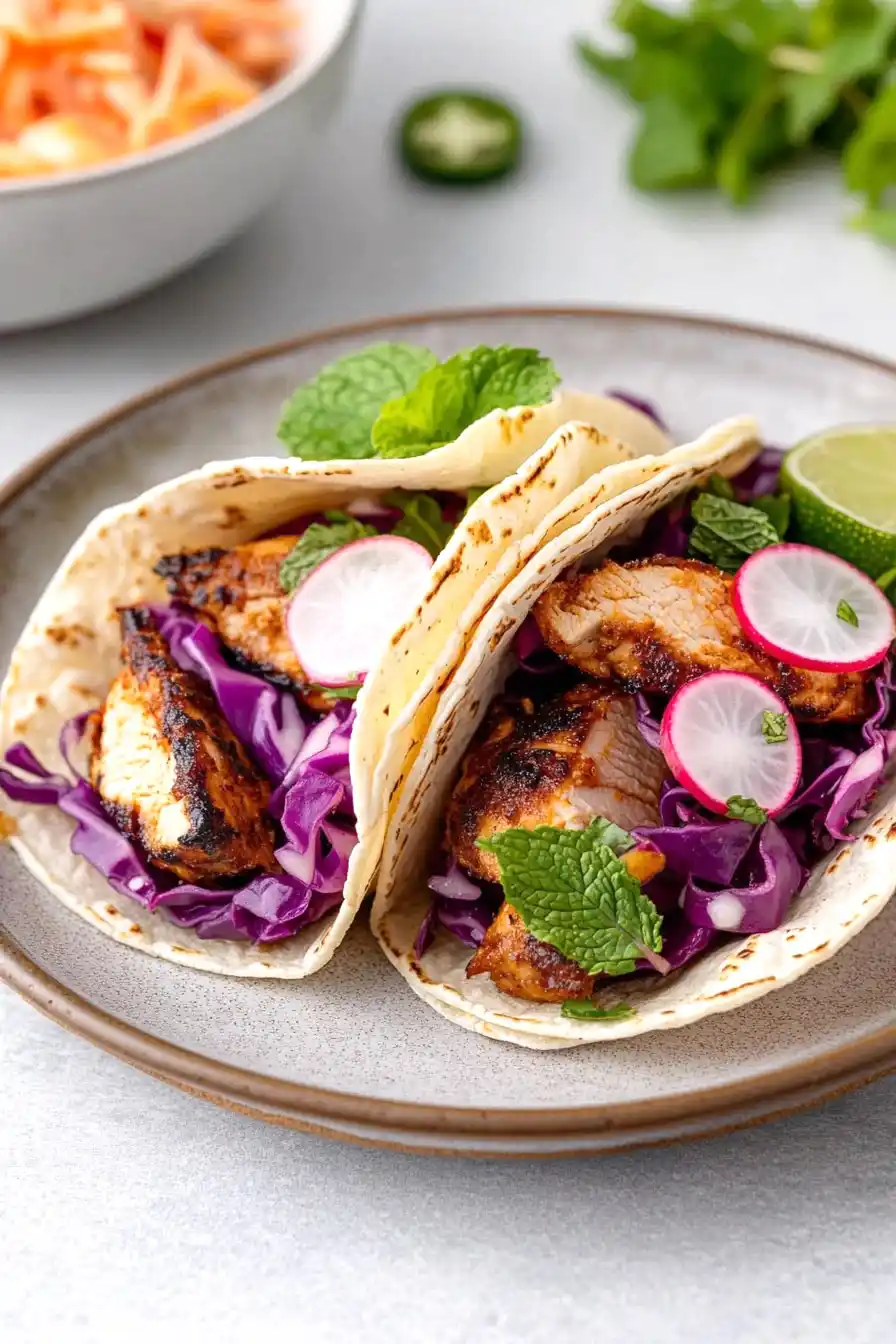
- Fresh and flavorful – The combination of aromatic spices, fresh herbs, and crunchy vegetables creates a satisfying taco experience without sacrificing taste.
- Quick preparation – Ready in just 35-45 minutes, these tacos are perfect for busy weeknight dinners when you want something tasty but don’t have hours to spend in the kitchen.
- Customizable toppings – With options like shredded cabbage, fresh herbs, and radishes, everyone can build their perfect taco according to their preferences and dietary needs.
What Kind of Chicken Should I Use?
Chicken thighs are the star of these tacos, and for good reason. Dark meat chicken thighs stay juicier and more flavorful than breast meat, making them perfect for this style of cooking. While the recipe calls for boneless, skinless thighs, you could use bone-in thighs if that’s what you have – just remember to add about 5-7 minutes to your cooking time and remove the bones before shredding. For the best results, look for thighs that are similar in size so they cook evenly, and try to choose pieces that have a pink color without any gray spots.
Options for Substitutions
Since this is a low FODMAP recipe, let’s look at some safe swaps while keeping it tummy-friendly:
- Chicken thighs: You can swap chicken thighs with chicken breast, though cooking time might need to be reduced by 5-10 minutes. Turkey, pork tenderloin, or firm tofu are also good alternatives – just adjust cooking times accordingly.
- Garlic cloves: Since this is low FODMAP, the recipe uses smashed garlic cloves that are removed before eating. You can also use garlic-infused oil instead, which is FODMAP friendly.
- Sherry/red wine vinegar: Apple cider vinegar or rice vinegar work well here too. Just use the same amount as called for in the recipe.
- Corn tortillas: While corn tortillas are the traditional low FODMAP choice, you can use lettuce wraps for a low-carb option. Just avoid wheat tortillas to keep it FODMAP friendly.
- Cabbage: You can replace the shredded cabbage with shredded lettuce or carrots. Stick to 1 cup portions to maintain FODMAP compliance.
- Honey: If using honey instead of cane sugar, make sure to stick to the 2 teaspoon portion to keep it low FODMAP. Maple syrup is another good option.
Watch Out for These Mistakes While Cooking
The biggest challenge when making low FODMAP tacos is accidentally overcooking the chicken thighs, which can make them dry and chewy – aim for an internal temperature of 165°F and no higher, as they’ll continue cooking slightly after being removed from heat. A common misstep is not properly infusing the garlic flavor into the oil – make sure to cook the smashed garlic cloves in oil over low heat for 5-7 minutes, then remove them completely before adding the chicken (this technique provides garlic flavor while keeping the dish low FODMAP). For the best texture and flavor distribution, avoid cutting the chicken pieces too large or too small – aim for roughly 1-inch chunks that will cook evenly and fit nicely in your tortillas. Finally, remember to warm your corn tortillas properly – cold or improperly heated tortillas will crack and fall apart, so either wrap them in foil and heat in the oven, or give them a quick char on each side over an open flame.

What to Serve With Low FODMAP Tacos?
These tacos pair perfectly with a simple side of Mexican-style rice made with tomatoes and a hint of lime. Since they’re low FODMAP, you’ll want to stick with belly-friendly sides like roasted carrots with cumin, or a fresh jicama slaw dressed with lime juice and a touch of salt. A bowl of black beans (in moderate portions to stay low FODMAP) makes a great accompaniment, or try some crispy tortilla chips with a fresh tomato-based salsa. If you’re feeling fancy, whip up some Mexican street corn salad using mayo, lime juice, and a sprinkle of chili powder – just skip the traditional garlic to keep things FODMAP-friendly.
Storage Instructions
Keep Fresh: The cooked chicken filling stays good in the fridge for up to 4 days when stored in an airtight container. I like to keep the toppings (cabbage, herbs, radishes) separate from the meat to maintain their crunch and freshness – store these in separate containers in the fridge for 2-3 days.
Freeze: The taco meat freezes really well! Let it cool completely, then pack it in freezer-safe containers or bags for up to 3 months. Just remember not to freeze any of the fresh toppings or tortillas, as they won’t hold up well.
Prep Ahead: These tacos are great for meal prep! You can cook the chicken filling ahead of time and slice all your veggie toppings. When you’re ready to eat, just warm up the meat and tortillas, and assemble your tacos with the fresh toppings. The lime wedges help keep everything tasting fresh and bright!
| Preparation Time | 10-15 minutes |
| Cooking Time | 25-30 minutes |
| Total Time | 35-45 minutes |
| Level of Difficulty | Medium |
Estimated Nutrition
Estimated nutrition for the whole recipe (without optional ingredients):
- Calories: 1500-1700
- Protein: 140-160 g
- Fat: 70-85 g
- Carbohydrates: 130-150 g
Ingredients
For the chicken:
- 2 lb boneless, skinless chicken thighs (cut into 1-inch pieces)
- 1/4 tsp allspice powder
- 2 carrots (thinly sliced into rounds)
- 1/4 cup lime juice (freshly squeezed for best flavor)
- 12 corn tortillas (I use La Tortilla Factory for low FODMAP)
- 1 jalapeno (thinly sliced, seeds removed for less heat)
- 1 tsp coriander powder (adds a warm, citrusy note)
- 2 tsp cane sugar (or clover honey)
- sea salt to taste
- 1/4 cup chopped mint leaves
- 1/4 cup sherry vinegar (or red wine vinegar for a tangier flavor)
- 4 garlic cloves (finely minced, about 2 tsp)
- 2 tbsp olive oil
- 1 bay leaf
- 1 tsp cumin powder
For the topping:
- 1 cup shredded cabbage (provides a nice crunch)
- 1/2 cup mint leaves (or cilantro)
- 6 sliced radishes
- 4 lime wedges
Step 1: Preheat Oven and Sauté Garlic
Begin by preheating your oven to 400 degrees F.
In a large oven-proof skillet or saucepan, heat some oil over medium heat.
Add the garlic cloves and cook, turning occasionally, until they’re golden brown on all sides and very fragrant, which should take about 3 minutes.
Once done, remove the garlic cloves from the skillet and discard them.
Step 2: Season and Sear the Chicken
While the garlic is cooking, season the chicken generously with salt.
Sprinkle the chicken with cumin, coriander, and allspice, ensuring the spices coat the meat evenly.
Increase the skillet’s heat to medium-high and lay your chicken in a single layer, spice-side down.
Cook the chicken until it is nicely browned on one side, about 4 minutes, then remove it to a plate and set aside.
Step 3: Prepare the Braising Liquid
To the same skillet, add the carrot and vinegar.
As you add them, scrape up any brown bits that may have formed on the bottom for added flavor.
Immediately follow with lime juice, honey, a bay leaf, 1/2 cup water, and 1/2 teaspoon salt.
Allow the mixture to come to a simmer and reduce slightly for about 2 minutes.
Step 4: Re-add Chicken and Bake
Remove the pan from the heat.
Return the chicken to the pan, placing it seared-side up in the braising liquid.
Scatter sliced or chopped jalapeno over the chicken.
Transfer the pan to the preheated oven and bake, uncovered, until the chicken is fork tender, which will take approximately 15 minutes.
Step 5: Rest, Finish, and Serve
After baking, let the chicken rest in the pan for about 10 minutes.
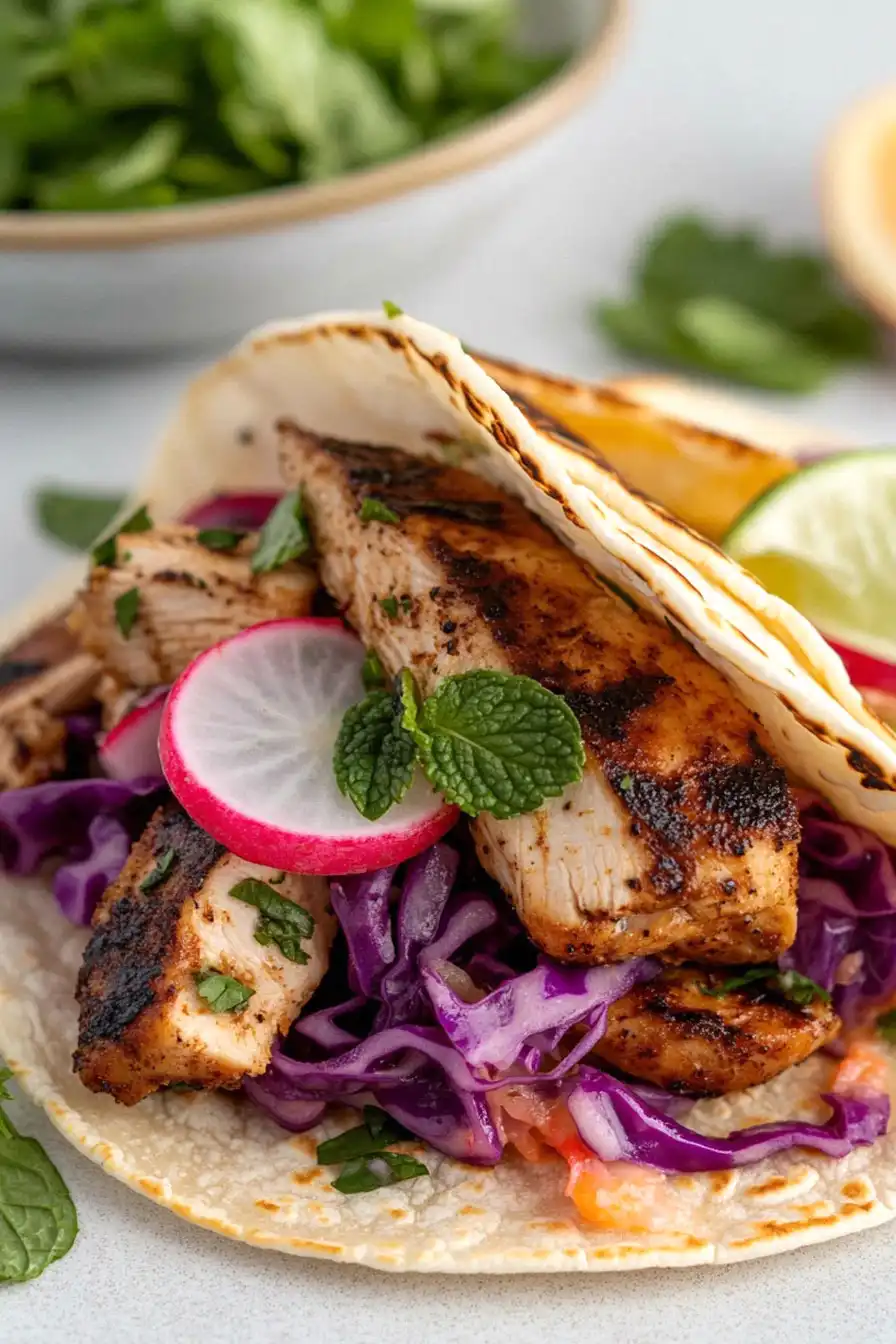
Then, roughly chop or shred the chicken with a fork.
Top with fresh mint for an aromatic finish.
Serve the dish alongside warm tortillas, shredded cabbage, additional fresh mint or cilantro, sliced radishes, and wedges of lime for a vibrant and flavorful meal.
