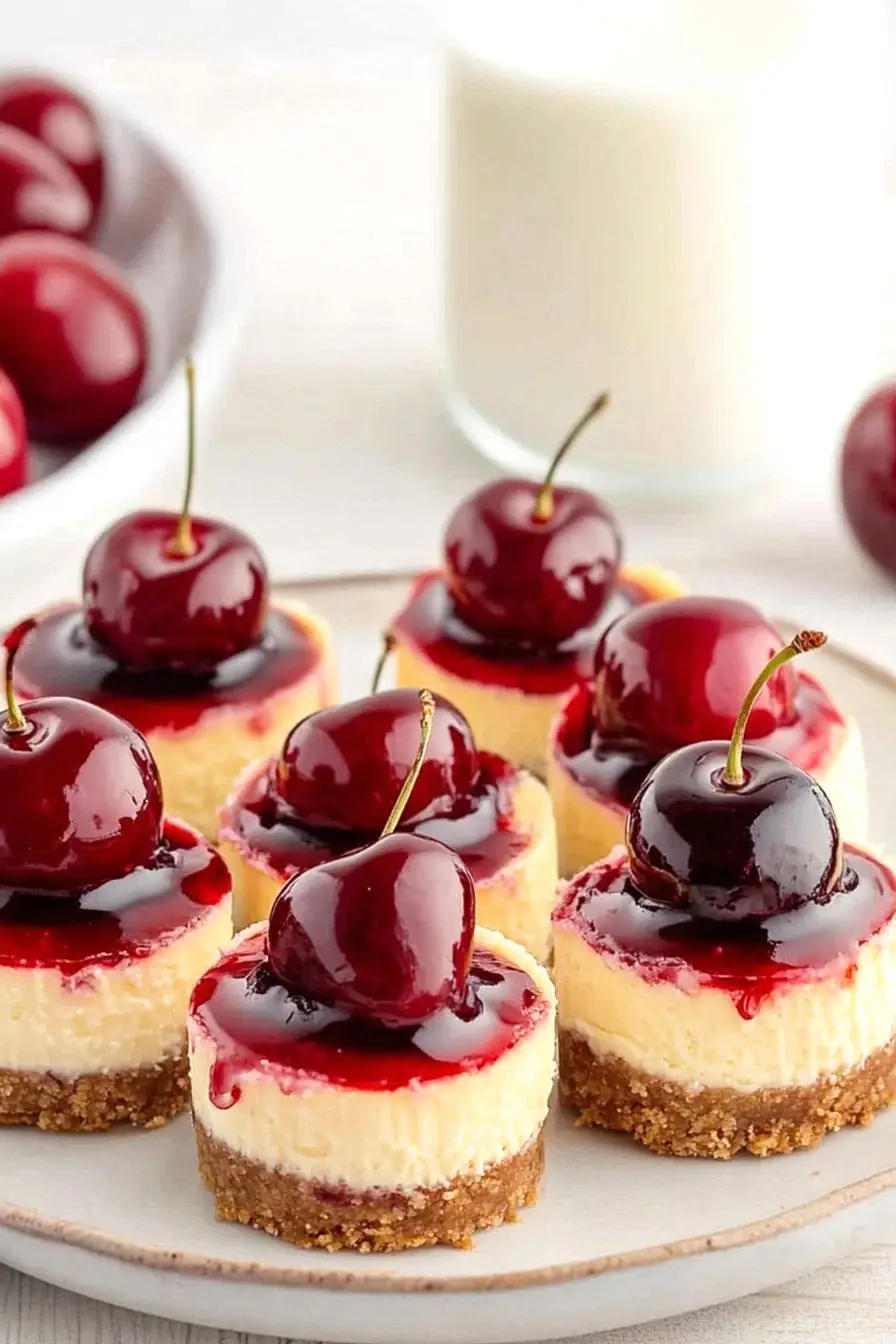
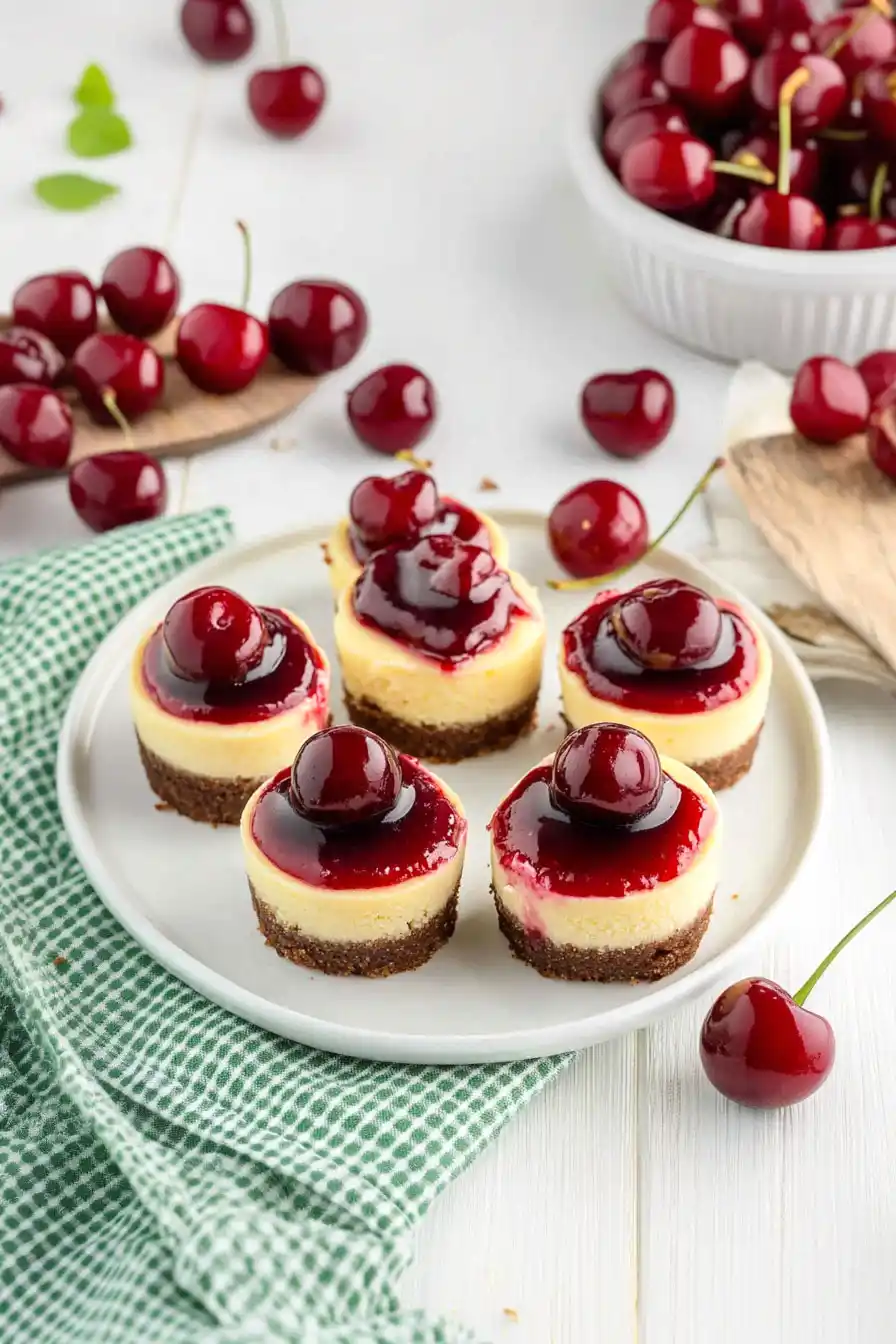
Here is my go-to recipe for mini cherry cheesecakes, with a simple graham cracker crust, creamy cream cheese filling, and a sweet cherry topping that makes each bite just perfect.
These little cheesecakes are always the first to disappear at potlucks and family gatherings. I often make a double batch because my kids love finding them in their lunchboxes the next day. After all, who doesn’t love having dessert twice?
Why You’ll Love These Mini Cheesecakes
- Perfect portion control – These individual-sized cheesecakes let you enjoy a sweet treat without the commitment of a full-sized cake, plus they’re great for parties and gatherings.
- Make-ahead friendly – You can prepare these mini cheesecakes up to 3 days in advance and store them in the fridge, making them perfect for planning ahead.
- Simple ingredients – With just a handful of basic ingredients you probably already have in your pantry, you can create these impressive little desserts.
- Foolproof recipe – The small size of these cheesecakes means they’re less likely to crack or sink in the middle compared to full-sized versions, making them perfect for beginners.
- Customizable toppings – While this recipe uses cherry topping, you can easily swap it for any fruit filling, chocolate, or caramel sauce to suit your taste.
What Kind of Cream Cheese Should I Use?
For cheesecakes, regular full-fat block cream cheese is the way to go – avoid using cream cheese spread that comes in tubs. Philadelphia is the go-to brand for most bakers, but any block-style cream cheese will work well. Make sure your cream cheese is properly softened at room temperature (about 1-2 hours on the counter) before you start mixing, as this prevents lumps and ensures a smooth, creamy filling. If you’re in a pinch and need to soften it quickly, cut the cream cheese into cubes and let it sit at room temperature for about 30 minutes instead of waiting for the whole block to soften.
Options for Substitutions
Need to make some swaps? Here are some helpful substitutions for this mini cheesecake recipe:
- Graham cracker crumbs: Out of graham crackers? Try using crushed vanilla wafers, digestive biscuits, or even gingersnaps for a spicy twist. Just use the same amount as called for in the recipe.
- Cream cheese: Cream cheese is pretty essential for a true cheesecake texture, but in a pinch, you can use Neufchâtel cheese for a lighter version. I wouldn’t recommend other substitutions here as they’ll change the texture too much.
- Cherry pie filling: Feel free to swap this with any other fruit pie filling – blueberry, strawberry, or peach all work great. You can also use fresh fruit cooked down with some sugar and cornstarch.
- Lemon juice: Lime juice works just as well, or you can use the same amount of orange juice. This adds a bit of acidity that helps balance the richness.
- Vanilla essence: You can use vanilla bean paste (same amount) or half the amount of vanilla extract, as it’s more concentrated. Almond extract also works nicely, but use just 1 teaspoon as it’s stronger.
Watch Out for These Mistakes While Baking
The biggest challenge when making mini cheesecakes is preventing cracks, which often happen when your ingredients aren’t at room temperature – especially the cream cheese and eggs should sit out for at least 1-2 hours before starting. Another common mistake is overmixing the batter after adding the eggs, which incorporates too much air and can lead to cracks and uneven texture – mix just until the ingredients are combined and no longer. To avoid soggy crusts, make sure to pre-bake your graham cracker bases for 5 minutes before adding the filling, and resist the urge to open the oven door while baking as sudden temperature changes can cause the cheesecakes to sink in the middle. For the smoothest possible texture, let your mini cheesecakes cool completely at room temperature before adding the cherry topping, and remember that a water bath isn’t necessary for these small versions like it is for full-sized cheesecakes.

What to Serve With Mini Cherry Cheesecakes?
These little cheesecakes are perfect for serving at parties or after dinner, and they pair wonderfully with a hot cup of coffee or tea. If you want to make them extra special, try serving them with a dollop of fresh whipped cream on top, or add a scoop of vanilla ice cream on the side for a more indulgent dessert experience. For a fun brunch setup, I like to put out a variety of toppings like chocolate sauce, caramel drizzle, or different fruit compotes so everyone can customize their own mini cheesecake. A glass of dessert wine, like a sweet Moscato or Port, would also make these treats even more special for an adult gathering.
Storage Instructions
Keep Fresh: These cute mini cheesecakes will stay good in an airtight container in the fridge for up to 5 days. I like to store them without the cherry topping and add it just before serving – this keeps the crust from getting soggy and maintains that perfect cheesecake texture.
Freeze: Want to make these ahead? These little treats freeze really well! Place them in a freezer-safe container without the cherry topping and freeze for up to 3 months. Just remember to place wax paper between layers if you’re stacking them to prevent them from sticking together.
Thaw & Serve: When you’re ready to enjoy your frozen cheesecakes, just move them to the fridge the night before and let them thaw slowly. Once they’re completely thawed, top with the cherry filling and they’ll taste just as good as freshly made! The slow thaw helps maintain that creamy, smooth texture we all love in a cheesecake.
| Preparation Time | 20-30 minutes |
| Cooking Time | 15-18 minutes |
| Total Time | 135-148 minutes |
| Level of Difficulty | Medium |
Estimated Nutrition
Estimated nutrition for the whole recipe (without optional ingredients):
- Calories: 2200-2400
- Protein: 30-35 g
- Fat: 130-140 g
- Carbohydrates: 250-270 g
Ingredients
For the crust:
- 6 tbsp unsalted butter (melted and cooled slightly)
- 2 cups graham cracker crumbs (I like Keebler Ready Crust crumbs)
For the filling:
- 2 large eggs
- 1 pinch salt
- 2 tsp vanilla extract
- 2 packages (8 oz each) cream cheese (softened to room temperature)
- 2 tsp lemon juice (freshly squeezed for best flavor)
- 1/2 cup granulated sugar
For the topping:
- 1 can (21 oz) cherry pie filling
Step 1: Prepare the Crust
Preheat your oven to 350°F (175°C).
In a medium mixing bowl, combine crushed graham crackers with melted butter, mixing well until the mixture resembles wet sand.
Line a cupcake pan with paper liners.
Add 2 tablespoons of the graham cracker mixture to each liner and press firmly into the bottom using a small glass or the back of a spoon to even it out.
Step 2: Make the Cheesecake Filling
In the bowl of your mixer, place softened cream cheese, sugar, salt, lemon juice, vanilla extract, and eggs.
Mix on a low setting until the ingredients are just combined, creating a smooth and creamy mixture.
Avoid overbeating to prevent excess air from being incorporated.
Step 3: Fill the Cupcake Liners
Spoon the cheesecake filling over the prepared graham cracker crusts in the cupcake liners.
Fill each almost to the top, as these cheesecakes do not rise significantly during baking.
Step 4: Bake the Mini Cheesecakes
Place the filled cupcake pan in the preheated oven and bake for 15-18 minutes.
The mini cheesecakes should be set but still slightly jiggly in the center when done.
Remove them from the oven and allow them to cool to room temperature on a wire rack.
Step 5: Chill and Serve
Once cooled, transfer the mini cheesecakes to the refrigerator to set for at least 2 hours, allowing them to firm up.
Before serving, top each mini cheesecake with a spoonful of cherry pie filling for a delightful finishing touch.
Enjoy your delicious mini cheesecakes!
