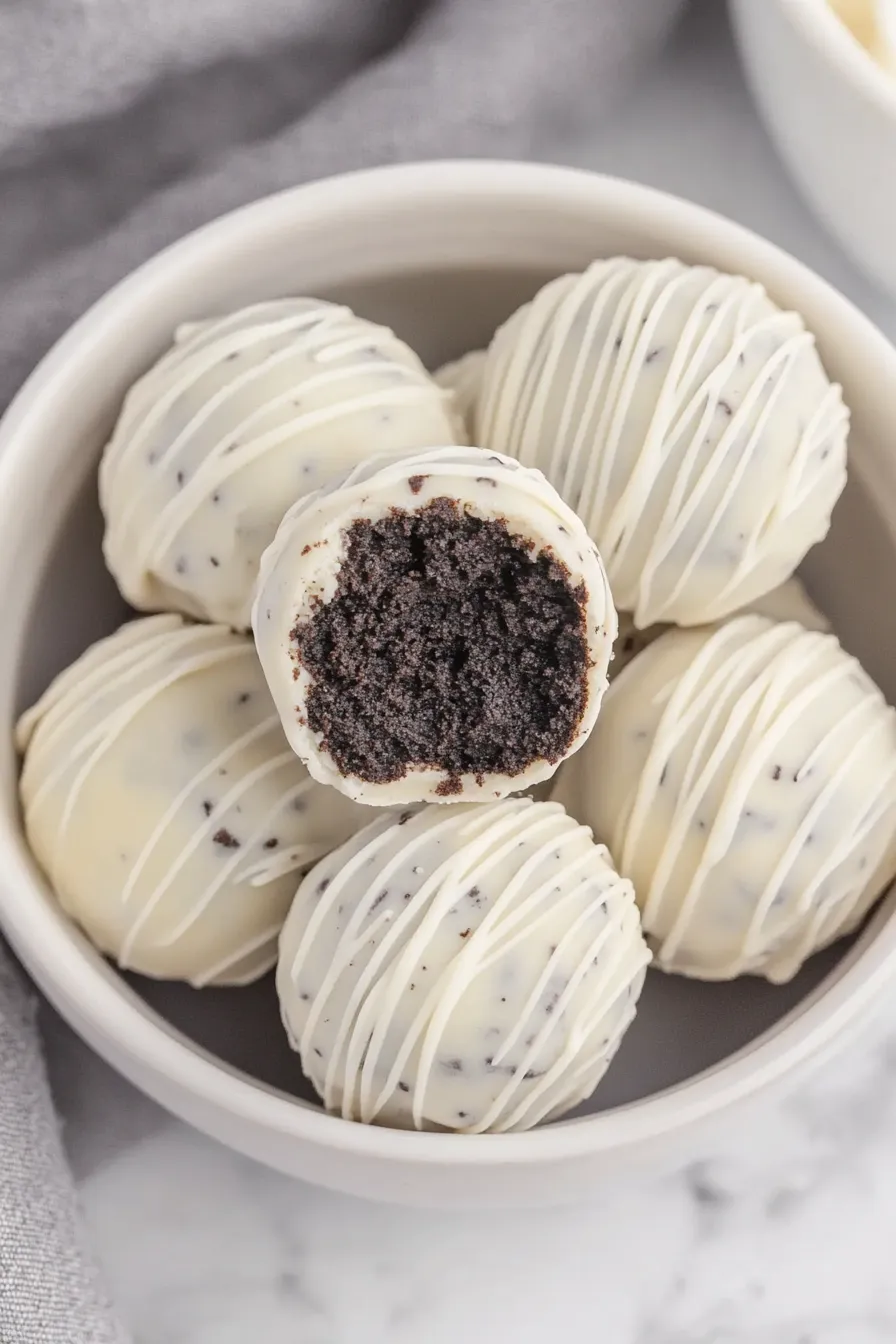
Let me tell you about one of my go-to treats that never fails to make people smile – Oreo balls with cream cheese. I started making these little bites of happiness when my kids begged me to recreate something they tried at a friend’s birthday party. Now, they’re the most requested dessert at every family gathering and school bake sale.
These no-bake treats are perfect for those times when you want something sweet but don’t feel like turning on the oven. I usually make them while catching up on my favorite TV shows in the evening. Just crush some Oreos, mix them with cream cheese, roll them into balls, and dip them in chocolate. Simple as that!
Need a last-minute dessert for a party? These Oreo balls are your answer. They look fancy enough to impress, but between you and me, they’re actually super easy to make. Plus, they keep well in the fridge, so you can make them ahead of time.
Why You’ll Love These Oreo Balls
- 3-ingredient recipe – With just Oreos, cream cheese, and white chocolate, you can create these addictive treats without a long grocery list or fancy ingredients.
- No-bake dessert – Perfect for hot summer days or when you don’t want to turn on the oven – these treats set up in the fridge with zero baking required.
- Make-ahead friendly – You can prepare these balls several days in advance and store them in the fridge, making them perfect for parties or holiday gatherings.
- Kid-friendly activity – Rolling the balls and dipping them in chocolate is a fun cooking project that kids can help with – just be prepared for some messy hands!
What Kind of Cream Cheese Should I Use?
Regular full-fat block cream cheese (like Philadelphia) is your best bet for making Oreo balls – avoid using cream cheese spread that comes in tubs, as it’s too soft and contains added ingredients that can affect the texture. Make sure your cream cheese is properly softened at room temperature for about 30-45 minutes before starting, as this will help it blend smoothly with the crushed cookies. If you’re in a pinch, lower-fat cream cheese (Neufchâtel) can work too, but keep in mind your Oreo balls might end up slightly softer and may need a bit more time in the freezer to firm up before dipping.
Options for Substitutions
Looking to make these treats but need to switch things up? Here are some helpful substitution ideas:
- Chocolate sandwich cookies: While Oreos are the classic choice, you can use any sandwich cookie variety – try mint Oreos, golden Oreos, or even generic sandwich cookies. Just make sure they’re cream-filled cookies for the right texture.
- Cream cheese: Cream cheese is pretty important for the texture, but if needed, you can use Neufchâtel cheese for a lighter version. Dairy-free folks can try dairy-free cream cheese alternatives, though the texture might be slightly different.
- White chocolate chips: Feel free to swap these with milk chocolate, dark chocolate, or even colored candy melts for fun variations. If using chocolate bars instead of chips, chop them into small pieces. Remember to melt your chocolate slowly and carefully – a few seconds at a time in the microwave or use a double boiler.
Watch Out for These Mistakes While Making
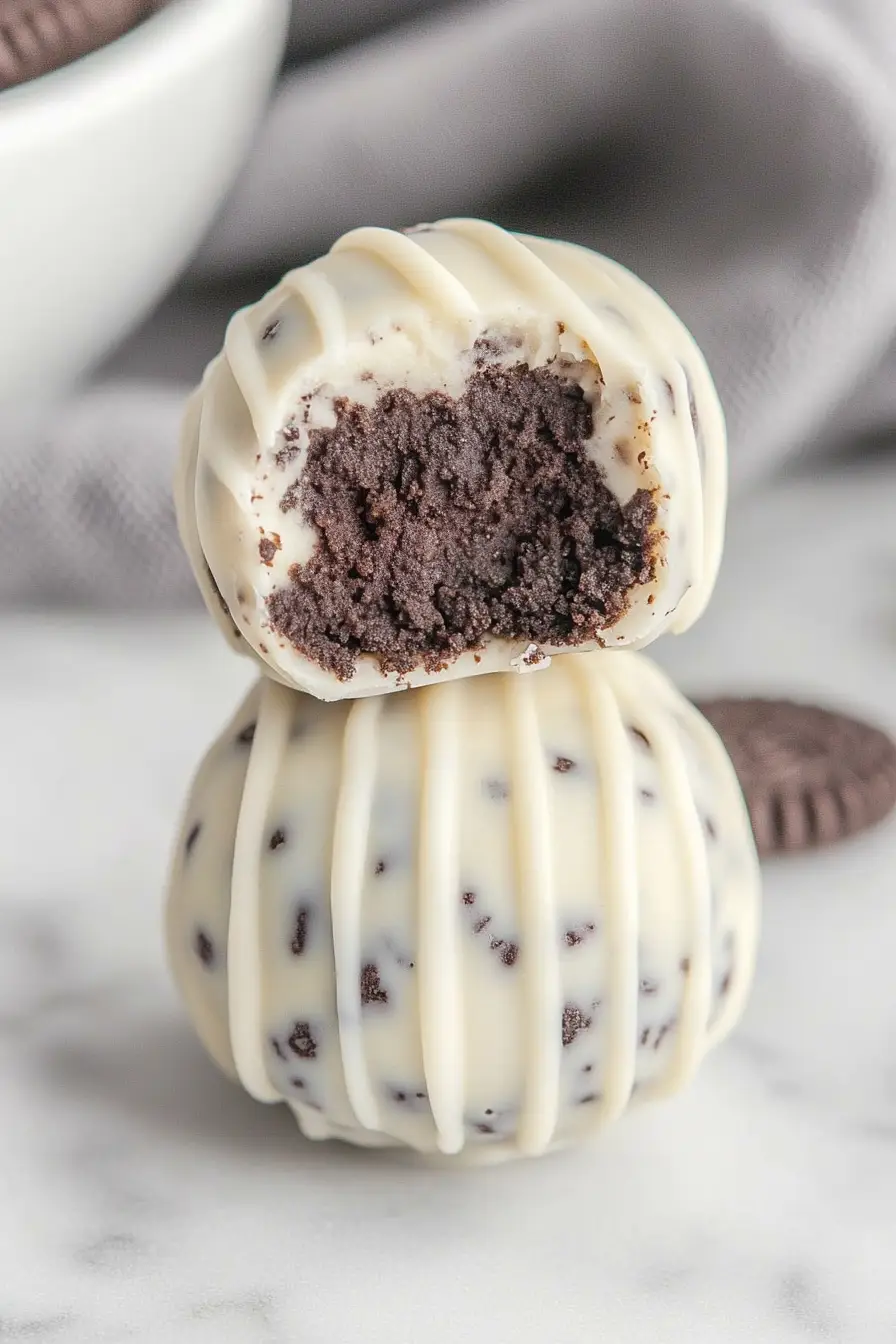
The biggest challenge when making Oreo balls is getting the right consistency in your cookie mixture – crushing the cookies too coarsely will result in lumpy truffles, so pulse them in your food processor until they’re fine crumbs with no chunks remaining.
Temperature control is crucial – if your cream cheese isn’t properly softened, you’ll end up with uneven mixing and lumpy balls, while melting your white chocolate at too high a temperature can cause it to seize up and become grainy (use 30-second intervals in the microwave at 50% power, stirring between each).
When it comes to dipping, many people make the mistake of not chilling the Oreo balls long enough – they need at least 2 hours in the freezer before coating, otherwise they’ll fall apart in the warm chocolate.
For the smoothest coating, let your dipped balls set on parchment paper rather than wax paper or foil, and use a fork to gently tap off excess chocolate before placing them down.
What to Serve With Oreo Balls?
These sweet little treats are perfect for serving at parties alongside other bite-sized desserts or as part of a dessert board. I love pairing them with a cold glass of milk or a hot cup of coffee to balance out their richness. Since Oreo balls are pretty decadent, they go really well with fresh berries like strawberries or raspberries, which add a nice tart contrast. You can also serve them on a platter with other no-bake treats like chocolate-covered strawberries or pretzel bark for a fun dessert spread that doesn’t require turning on the oven.
Storage Instructions
Keep Fresh: These Oreo balls are best kept in an airtight container in the refrigerator. They’ll stay fresh and tasty for up to 2 weeks – if they last that long! The cool temperature helps keep the cream cheese filling firm and the chocolate coating nice and snappy.
Freeze: Want to make these ahead? Place your Oreo balls in a freezer-safe container, separating layers with parchment paper, and they’ll keep in the freezer for up to 3 months. It’s super handy when you need a quick treat for unexpected guests or late-night cravings!
Serve: If frozen, let them thaw in the refrigerator for about 2 hours before serving. For the best taste and texture, I like to let them sit at room temperature for about 10 minutes before enjoying – this allows the centers to soften slightly while keeping the chocolate coating intact.
| Preparation Time | 15-20 minutes |
| Cooking Time | 10-15 minutes |
| Total Time | 55-70 minutes |
| Level of Difficulty | Easy |
Estimated Nutrition
Estimated nutrition for the whole recipe (without optional ingredients):
- Calories: 2400-2600
- Protein: 20-25 g
- Fat: 140-160 g
- Carbohydrates: 300-320 g
Ingredients
- 8 oz cream cheese (softened to room temperature)
- 36 chocolate sandwich cookies (Oreo brand recommended for best flavor)
- 2 cups white chocolate chips (Ghirardelli brand melts smoothly)
Step 1: Prepare the Oreo Mixture
In a blender or food processor, crush the Oreos into a fine powder.
Once powdered, transfer to a mixing bowl.
Combine the crushed Oreos with cream cheese using a stand mixer or an electric hand mixer.
Mix until the ingredients are well combined into a smooth, homogenous mixture.
Step 2: Portion and Chill the Mixture
Using a cookie scoop or two spoons, portion out the Oreo mixture into small portions, about 1/2 tablespoon each, dropping them onto a parchment paper or silicone-lined cookie sheet.
Once all portions are made, place the entire cookie sheet into the fridge and allow the mixture to chill for 30 minutes.
Step 3: Shape the Oreo Balls
After chilling, remove the Oreo mixture from the fridge.
Roll each portion into a smooth ball between your hands.
Repeat this process with the remaining portions.
Return the Oreo balls to the fridge to keep them firm while you prepare the chocolate coating.
Step 4: Melt the Chocolate
Place the white chocolate chips in a microwave-safe bowl.
Microwave the chocolate at 50% power for 30 seconds, then stir.
Repeat this step as necessary until the chocolate is almost completely melted, then continuously stir until the remaining chips melt and the chocolate is smooth.
Step 5: Coat the Oreo Balls
Remove the Oreo balls from the fridge.
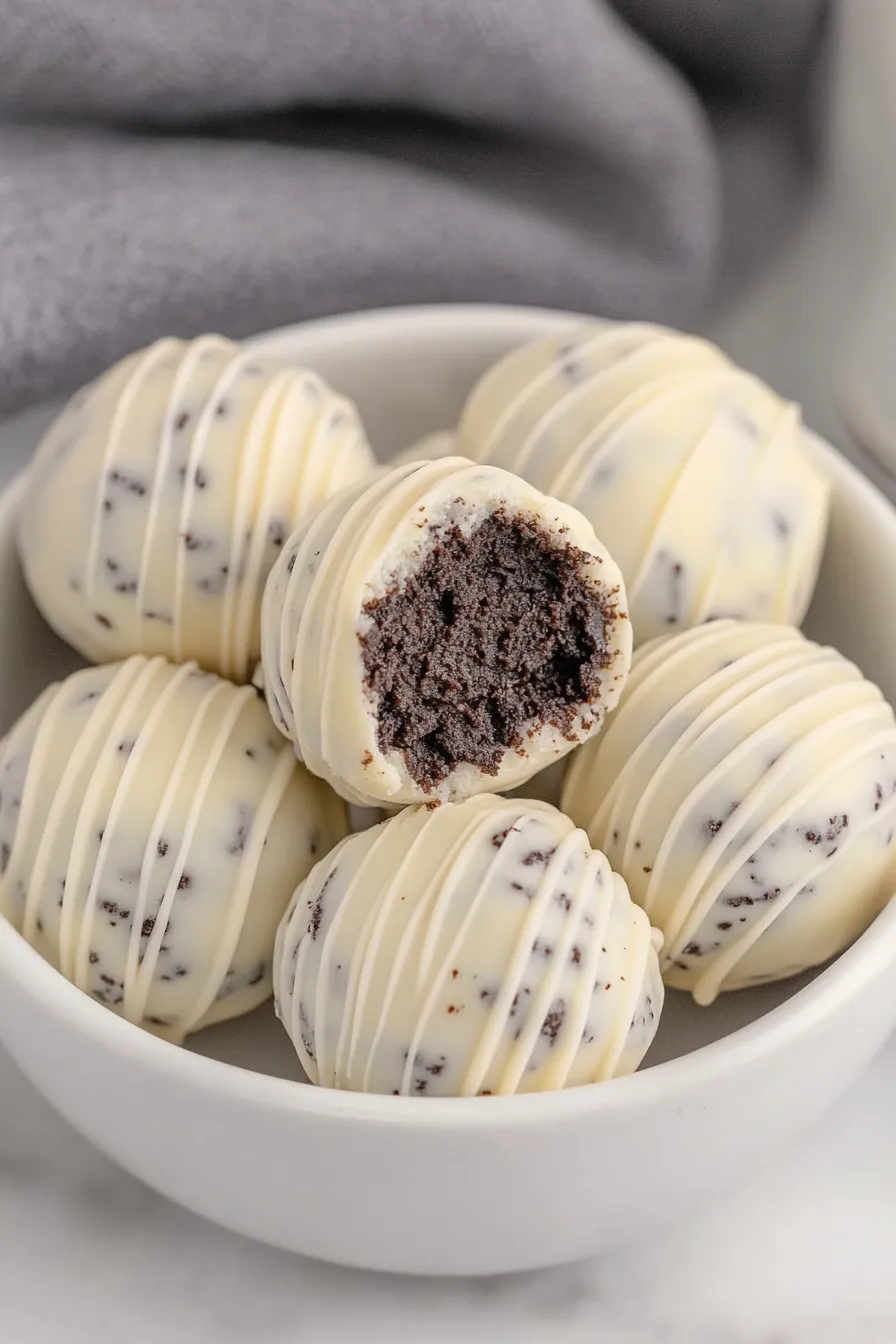
Dip each ball into the melted chocolate, making sure it’s fully coated, then return it to the prepared pan.
Alternatively, you can drizzle the chocolate over the tops of the Oreo balls for a decorative finish.
Allow the chocolate to set completely before serving.
Step 6: Serve and Store
Once the chocolate has set, serve the Oreo balls.
These treats can be stored in the fridge for up to 1 week to ensure freshness.
Enjoy your delicious, creamy bites!
