Let’s talk about pork belly strips – one of those dishes that makes my mouth water just thinking about it. I started making these a few years ago when I wanted something different for Sunday dinner, and now my family asks for them at least twice a month. The best part? They’re actually pretty simple to make, even though they look like something from a fancy restaurant.
I’ve learned a few tricks along the way that make these pork belly strips turn out perfect every time. The secret is taking it slow and letting that fat render down until it’s nice and crispy. Sure, it takes a bit of patience, but trust me – when you hear that first crackle and see that golden-brown color, you’ll know it was worth the wait.
Whether you’re cooking for a special occasion or just want to make your weeknight dinner feel a bit more special, these pork belly strips won’t let you down. And the leftovers (if you have any!) make amazing sandwiches the next day.
Why You’ll Love These Pork Belly Strips
- Simple ingredients – You only need pork belly and a few basic seasonings from your spice rack – no fancy ingredients or special shopping trips required.
- Easy preparation – Just season the meat and cook – there’s no complicated technique or multiple steps involved. Perfect for both beginner and experienced cooks.
- Keto and low-carb friendly – With zero carbs and plenty of healthy fats, these pork belly strips fit perfectly into keto and low-carb eating plans.
- Restaurant-quality results – You’ll get crispy, flavorful pork belly strips that taste like they came from your favorite restaurant, but at a fraction of the cost.
What Kind of Pork Belly Should I Use?
For this recipe, you’ll want to look for skinless pork belly strips that are cut to about 1/2-inch thickness – these are sometimes labeled as “pork belly slices” at the meat counter. Fresh pork belly is best, though you might find it frozen at some stores, which works fine too as long as you thaw it completely in the refrigerator before cooking. When shopping, look for pieces with a good ratio of meat to fat – you want to see distinctive layers of both, with the fat marbled throughout. If your store only carries whole pork belly, you can ask the butcher to slice it for you, or you can slice it yourself at home (just make sure it’s very cold, which makes cutting easier).
Options for Substitutions
While this recipe is pretty straightforward, here are some helpful substitution tips:
- Pork belly strips: Pork belly is really the star here and tough to substitute since it has that unique mix of meat and fat. But if you absolutely can’t find it, thick-cut bacon (about 1/4 inch) can work in a pinch, though cooking time will need to be reduced by half.
- Kosher salt: Regular table salt can be used instead of kosher salt, but reduce the amount to 3/4 teaspoon since table salt is more concentrated.
- Smoked paprika: If you don’t have smoked paprika, regular paprika works too. To add back some smokiness, you can add 1/4 teaspoon of chipotle powder or a tiny drop of liquid smoke.
- Garlic powder: Fresh minced garlic can replace garlic powder – use 2 cloves, finely minced. Just be careful as fresh garlic can burn more easily.
Watch Out for These Mistakes While Cooking
The biggest challenge when cooking pork belly strips is managing the heat – cooking them too hot will cause the fat to burn before the meat gets tender, while too low heat won’t give you that perfect crispy exterior. To nail the perfect temperature, start with a cold pan and heat it gradually to medium, allowing the fat to render slowly. Another common mistake is overcrowding the pan, which traps steam and prevents proper browning – instead, leave some space between the strips and cook in batches if needed. For the juiciest results, resist the urge to move the strips too frequently; let them cook for 5-6 minutes on each side, and only flip once when they’re golden brown. Remember to let the meat rest for 5 minutes after cooking, as this helps the juices redistribute and keeps the pork belly moist and tender.
What to Serve With Pork Belly?
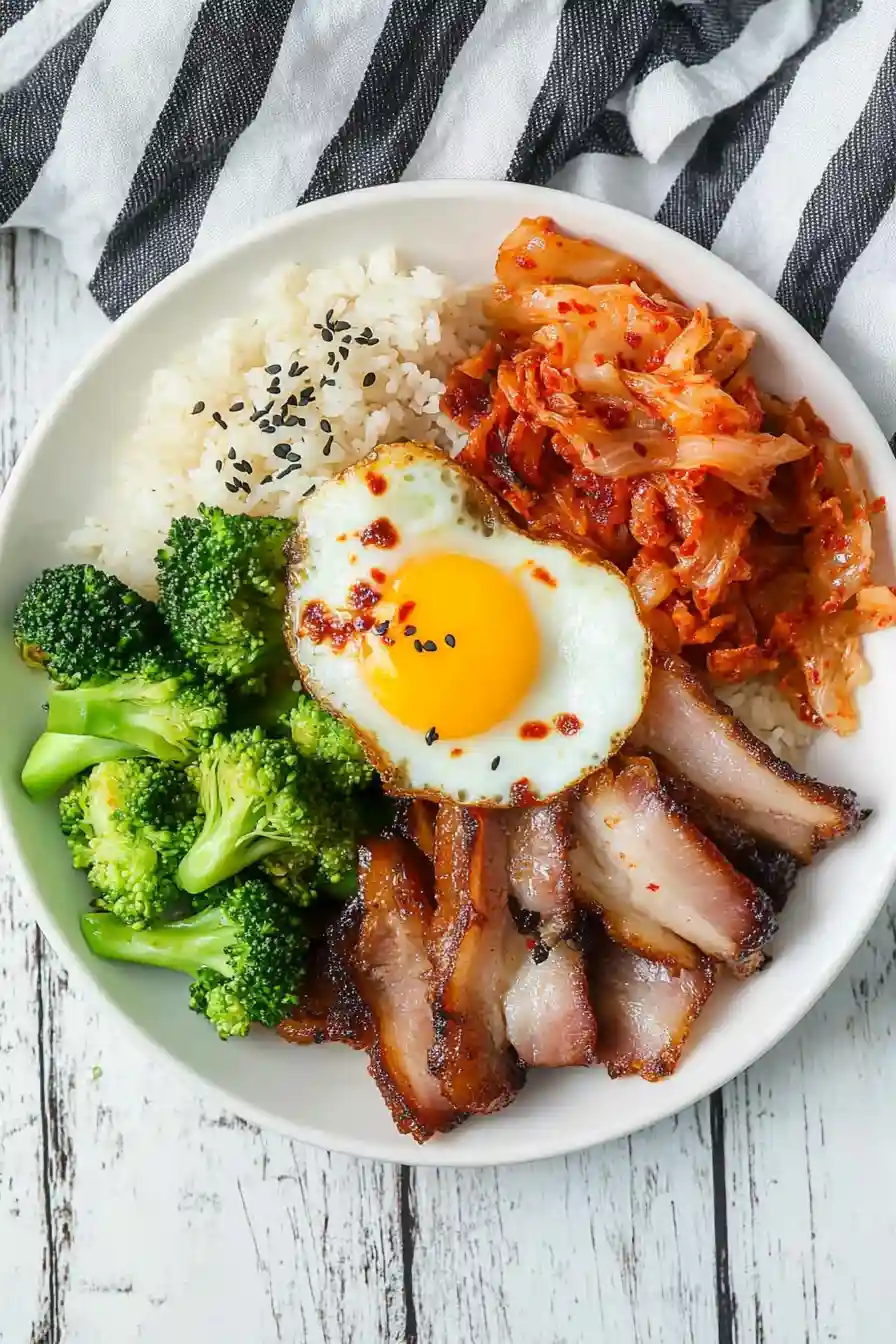
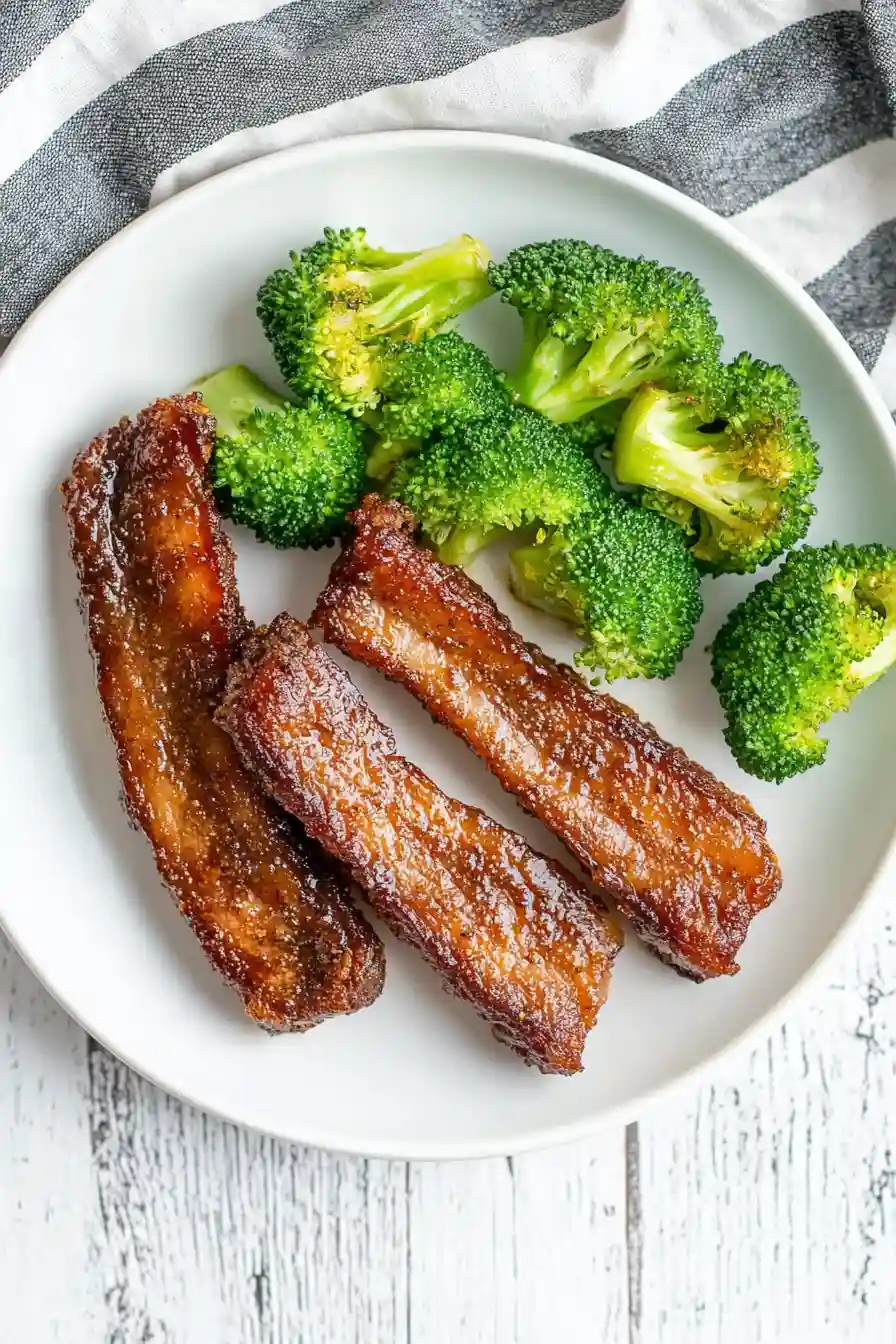
Since pork belly is pretty rich, it pairs really well with sides that can balance out all that delicious fattiness. A crisp, tangy coleslaw or a simple Asian-inspired cucumber salad makes a perfect match, cutting through the richness of the meat. For a more filling meal, try serving it over fluffy white rice or creamy mashed potatoes to soak up all those tasty juices. If you want to keep things on the lighter side, some simple roasted vegetables like Brussels sprouts or green beans work great too – just toss them with a little olive oil and garlic before roasting.
Storage Instructions
Keep Fresh: Got leftover pork belly? Place it in an airtight container and pop it in the fridge – it’ll stay good for up to 3 days. The flavors actually get even better as they sit, making your next meal something to look forward to!
Freeze: These tasty strips freeze really well for up to 3 months. Just wrap them tightly in foil or plastic wrap, then place in a freezer bag. Remember to squeeze out as much air as possible to prevent freezer burn.
Reheat: To bring back that crispy exterior, reheat your pork belly in a skillet over medium heat for a few minutes on each side. You can also warm them in the oven at 350°F for about 10-15 minutes. I’d skip the microwave – it tends to make the meat a bit chewy.
| Preparation Time | 10-15 minutes |
| Cooking Time | 40-50 minutes |
| Total Time | 50-65 minutes |
| Level of Difficulty | Easy |
Estimated Nutrition
Estimated nutrition for the whole recipe (without optional ingredients):
- Calories: 2000-2200
- Protein: 100-120 g
- Fat: 180-200 g
- Carbohydrates: 5-10 g
Ingredients
- 1.5 lb skinless pork belly strips (1/2-inch thick, preferably uncured)
- 1/2 tsp smoked paprika (I use La Chinata smoked paprika for richness)
- 1 tsp kosher salt
- 1/2 tsp garlic powder
- 1/4 tsp ground black pepper (freshly ground for best flavor)
Step 1: Preheat and Prepare the Baking Sheet
Start by preheating your oven to 400°F (200°C).
While the oven is heating, line a large, rimmed baking sheet with high-heat-resistant parchment paper.
This will prevent sticking and make cleanup easier.
Step 2: Season the Pork Belly Strips
Place the pork belly strips in the baking sheet in a single layer, ensuring they are not overlapping.
Sprinkle them evenly with salt, pepper, garlic powder, and smoked paprika.
Alternatively, you can season them with half a teaspoon of smoked salt for a simplified flavor profile.
Step 3: Roast the Pork Belly
Place the baking sheet in the preheated oven and roast the pork belly strips for 20 minutes.
This will begin to render the fat and start the crisping process.
Step 4: Flip and Continue Baking
Carefully remove the baking sheet from the oven.
Drain any excess fat from the pan and flip the pork belly strips to ensure even cooking.
Return the pan to the oven, and continue baking the strips on the second side until they are browned and crispy, approximately 20 more minutes.
If you find the strips are not yet browned to your liking, flip them again and bake for an additional 5-10 minutes.
Keep an eye on them to prevent burning, especially if the strips are thin.
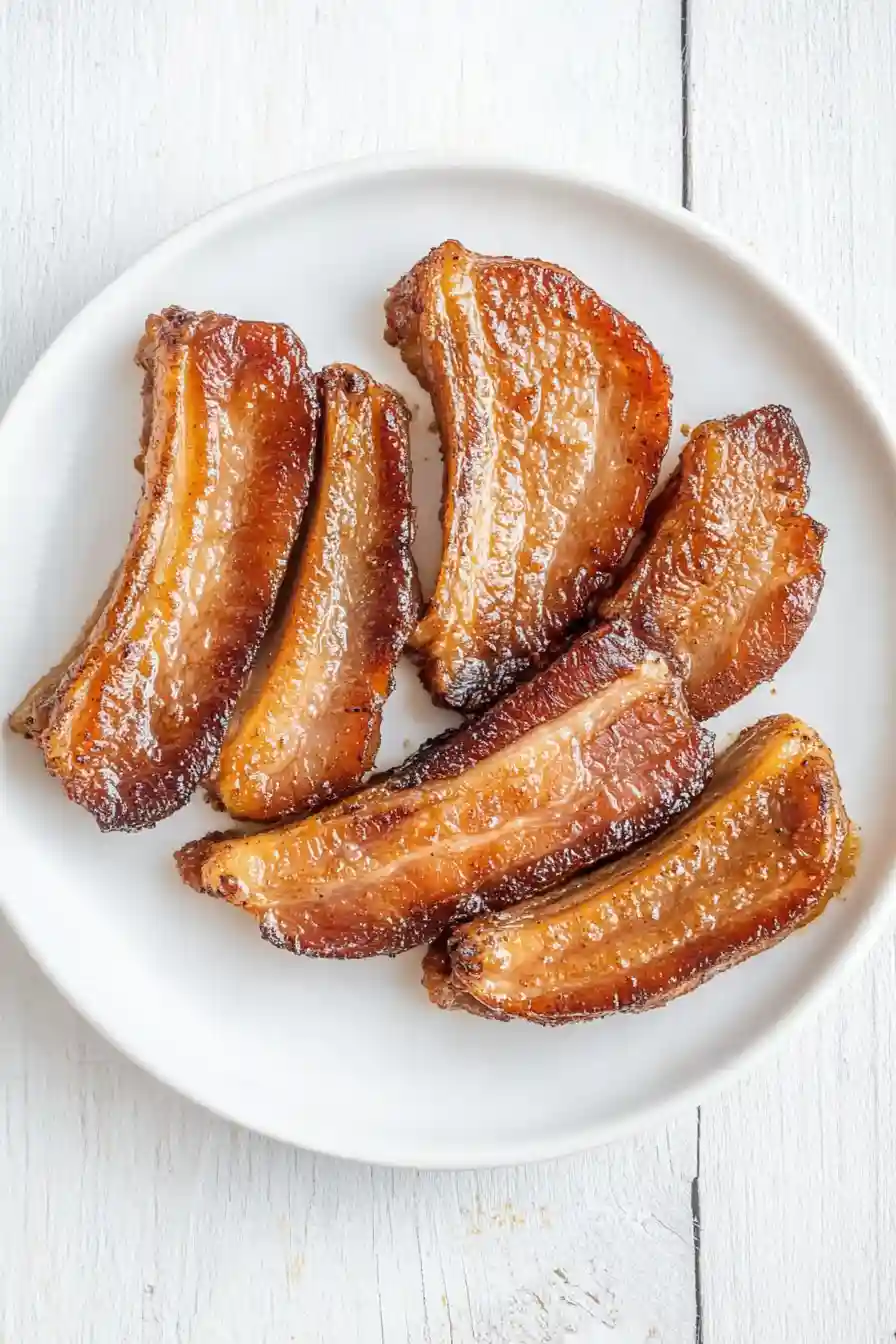
Step 5: Drain and Serve
Once the pork belly strips are beautifully browned and crispy, remove the baking sheet from the oven.
Drain any excess oil by placing the pork belly strips on paper towels.
Serve hot, and enjoy your crispy, savory pork belly snack or side dish.
