Finding a dessert that’s both crowd-pleasing and easy to make can feel like mission impossible, especially when you’re juggling after-school activities and trying to put together something for the neighborhood potluck. Between work deadlines and helping with homework, who has time to spend hours in the kitchen creating elaborate treats?
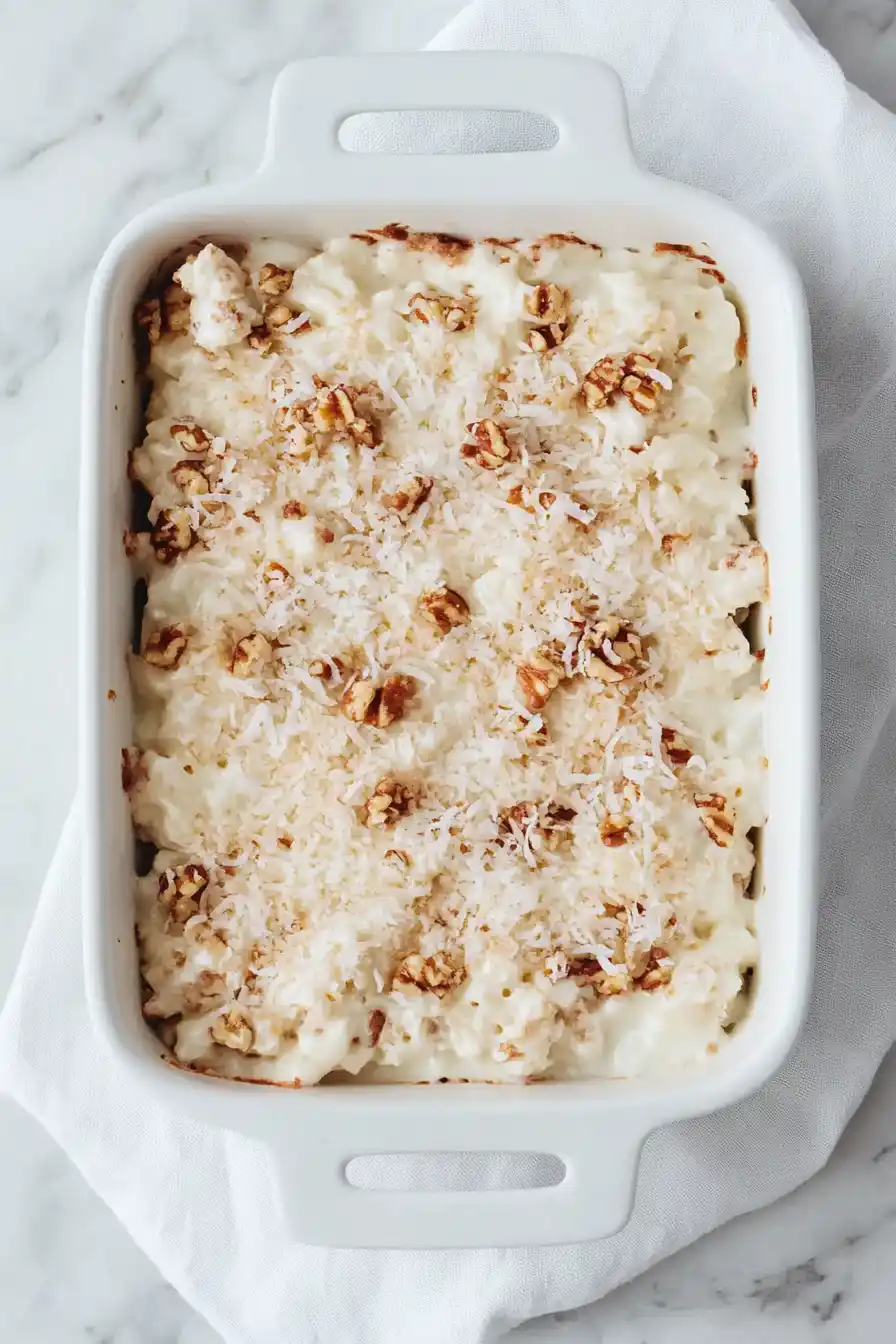
Enter this rice krispies ice cream dessert – it’s the perfect solution for busy families who want something sweet and satisfying. It combines the nostalgic crunch of rice krispies with cool, creamy ice cream, and best of all, you can make it ahead of time with just a handful of ingredients you probably already have in your pantry.
Why You’ll Love This Rice Krispies Ice Cream Dessert
- Make-ahead friendly – You can prepare this dessert hours or even a day before serving, making it perfect for entertaining or family gatherings.
- No-bake recipe – There’s no need to turn on your oven – just layer, freeze, and enjoy! It’s especially nice during hot summer months when you don’t want to heat up the kitchen.
- Simple ingredients – With basic items like ice cream, Rice Krispies, and coconut, you can create this impressive dessert without any fancy or hard-to-find ingredients.
- Customizable treat – You can easily switch up the ice cream flavors, toppings, or nuts to create your perfect version of this dessert.
- Kid-friendly preparation – Little ones can help layer the ingredients, making this a fun family cooking project that everyone will enjoy eating.
What Kind of Ice Cream Should I Use?
While the recipe calls for vanilla ice cream, you’ve got plenty of options to play with here. A good-quality vanilla bean ice cream will give you the classic flavor that lets the other ingredients shine through, but French vanilla works great too if you want something a bit richer. If you’re buying from the store, look for ice cream that lists “cream” as the first ingredient – this means it’s real ice cream rather than a frozen dairy dessert. For the best texture when assembling your dessert, let the ice cream soften at room temperature for about 10-15 minutes, but don’t let it melt completely. Just make sure it’s scoopable and easy to spread.

Options for Substitutions
This cool and crunchy dessert can be customized in several ways to suit your taste or pantry ingredients:
- Vanilla ice cream: Any ice cream flavor works here! Try chocolate, strawberry, or even mint chocolate chip. Just keep in mind that vanilla provides the most neutral base for the other flavors to shine.
- Crispy rice cereal: While Rice Krispies are the classic choice, you can use any crispy rice cereal brand. In a pinch, crushed corn flakes or even crushed graham crackers can work too.
- Coconut: Not a fan of coconut? Simply leave it out or replace it with more crushed cereal or chopped nuts. Both sweetened and unsweetened coconut work fine here.
- Pecans: Any nuts will do! Try walnuts, almonds, or even peanuts. For nut allergies, you can use sunflower seeds or just skip them altogether.
- Brown sugar: Light or dark brown sugar both work. You could also use regular sugar mixed with a tablespoon of molasses. Just don’t skip this ingredient as it’s key for the caramel-like coating.
- Whipped cream: Feel free to make your own whipped cream from heavy cream, or skip it completely. Cool Whip works great too!
Watch Out for These Mistakes While Making
The biggest challenge when making Rice Krispies ice cream dessert is timing – letting your ice cream get too soft will result in a soupy mess, while working with it too frozen makes it impossible to spread evenly. The sweet spot is letting your ice cream soften at room temperature for about 15-20 minutes until it’s just spreadable.
Another common mistake is rushing the caramel topping – cooking the butter and brown sugar mixture too quickly on high heat can lead to burning or crystallization, so keep it at medium heat and stir constantly until smooth.
For the crunchiest texture, avoid adding the cereal mixture to the ice cream while it’s still hot from toasting – let it cool completely first, or your crispy rice will turn chewy and lose that satisfying crunch. To keep the dessert from becoming rock-hard when frozen, remember to let it sit at room temperature for 5-10 minutes before serving, which makes scooping much easier and allows the flavors to fully develop.
What to Serve With Rice Krispies Ice Cream Dessert?
This sweet and crunchy ice cream dessert is pretty satisfying on its own, but you can make it even more fun with a few simple additions! Hot fudge or caramel sauce drizzled over the top adds a warm, gooey contrast to the cold ice cream. I like to set up a little toppings bar with chopped nuts, sprinkles, maraschino cherries, and extra Rice Krispies so everyone can customize their portion. For a coffee-lover’s twist, serve it with a shot of hot espresso on the side – pour it over top for an instant affogato-style treat!
Storage Instructions
Keep Frozen: This rice krispies ice cream dessert needs to stay in the freezer to maintain its perfect texture. Place it in an airtight container or cover the serving dish tightly with plastic wrap and aluminum foil. It’ll stay fresh and tasty for up to 2 weeks in the freezer.
Make Ahead: This is a great dessert to prepare in advance for parties or gatherings! You can make it up to a week before your event. Just hold off on adding any whipped cream or extra toppings until right before serving – they’re best when fresh.
Serve: When you’re ready to dig in, take the dessert out of the freezer about 5-10 minutes before serving. This short rest makes it easier to slice and gives it that perfect, creamy consistency. Add your whipped cream and favorite toppings just before bringing it to the table.
| Preparation Time | 30-45 minutes |
| Cooking Time | 10-15 minutes |
| Total Time | 40-60 minutes |
| Level of Difficulty | Easy |
Estimated Nutrition
Estimated nutrition for the whole recipe (without optional ingredients):
- Calories: 4000-4500
- Protein: 40-50 g
- Fat: 250-270 g
- Carbohydrates: 500-550 g
Ingredients
For the base and topping:
- 1/2 cup pecan pieces (finely chopped for better texture)
- 1 cup grated coconut
- 1 cup packed brown sugar
- 1/2 cup butter (unsalted, melted)
- 2 cups crispy rice cereal (I use Kellogg’s Rice Krispies)
For the ice cream layer:
- 2 qt vanilla ice cream (softened for easier spreading)
For serving:
- favorite topping(s) (like chocolate fudge or caramel sauce)
- canned whipped cream
Step 1: Prepare Ingredients and Equipment
Start by setting out the ice cream to soften at room temperature for about 30 minutes before beginning the preparation.
While waiting, prepare a 9×13 pan by spraying it with cooking spray.
As an alternative, you can use the butter wrapper to grease the pan if it still has some butter on it, ensuring the dessert will not stick to the pan.
Step 2: Mix Rice Krispie Topping
In a medium-sized mixing bowl, combine your Rice Krispies, shredded coconut, and chopped pecans, then set this mixture aside.
This will form both the base and the topping for the dessert.
Step 3: Create the Binding Mixture
In a small saucepan over low heat, melt the butter together with the brown sugar, stirring constantly.
Ensure the mixture is only melted and does not boil or simmer.
As soon as it’s ready, pour this mixture over the Rice Krispie blend, stirring until all the dry ingredients are well coated.
Step 4: Form the Base Layer
Take the prepared Rice Krispie mixture and press all but 1 cup of it into the bottom of the greased 9×13 pan, forming a compact and even base layer.
Step 5: Add Ice Cream Layer
With the ice cream softened, scoop it out and spread it evenly over the Rice Krispie crust layer.
To achieve an even surface, use your hand covered with a sandwich bag or plastic wrap to gently press down and even out the ice cream layer.
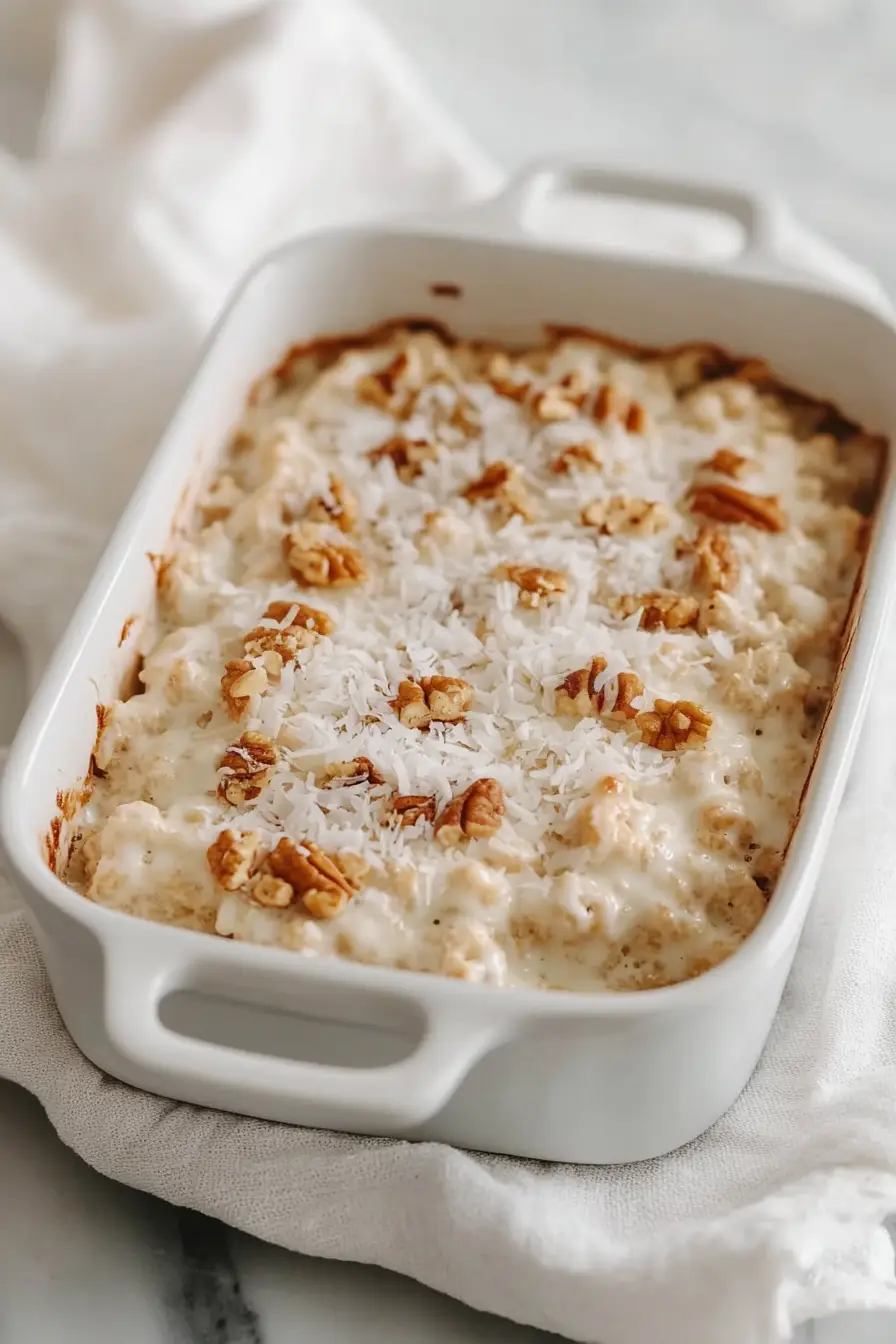
Step 6: Final Topping and Freezing
Sprinkle the reserved 1 cup of Rice Krispie mixture evenly over the top of the ice cream.
Ensure the dessert is covered tightly with a lid or tin foil to prevent freezer burn, and place it in the freezer, making sure it stays as level as possible.
Allow it to freeze completely before serving.
Step 7: Serve
When ready to enjoy, remove the dessert from the freezer and let it sit for a few minutes to soften slightly for easier slicing.
Cut into servings and indulge in your delicious, layered ice cream dessert!
