Finding a creative way to use up that sourdough starter discard sitting in your fridge can feel like a puzzle, especially when you’re tired of making the same old crackers and pancakes. Plus, if you’re anything like me, you’re always on the lookout for a cookie recipe that feels a little special without requiring hours in the kitchen or fancy techniques.
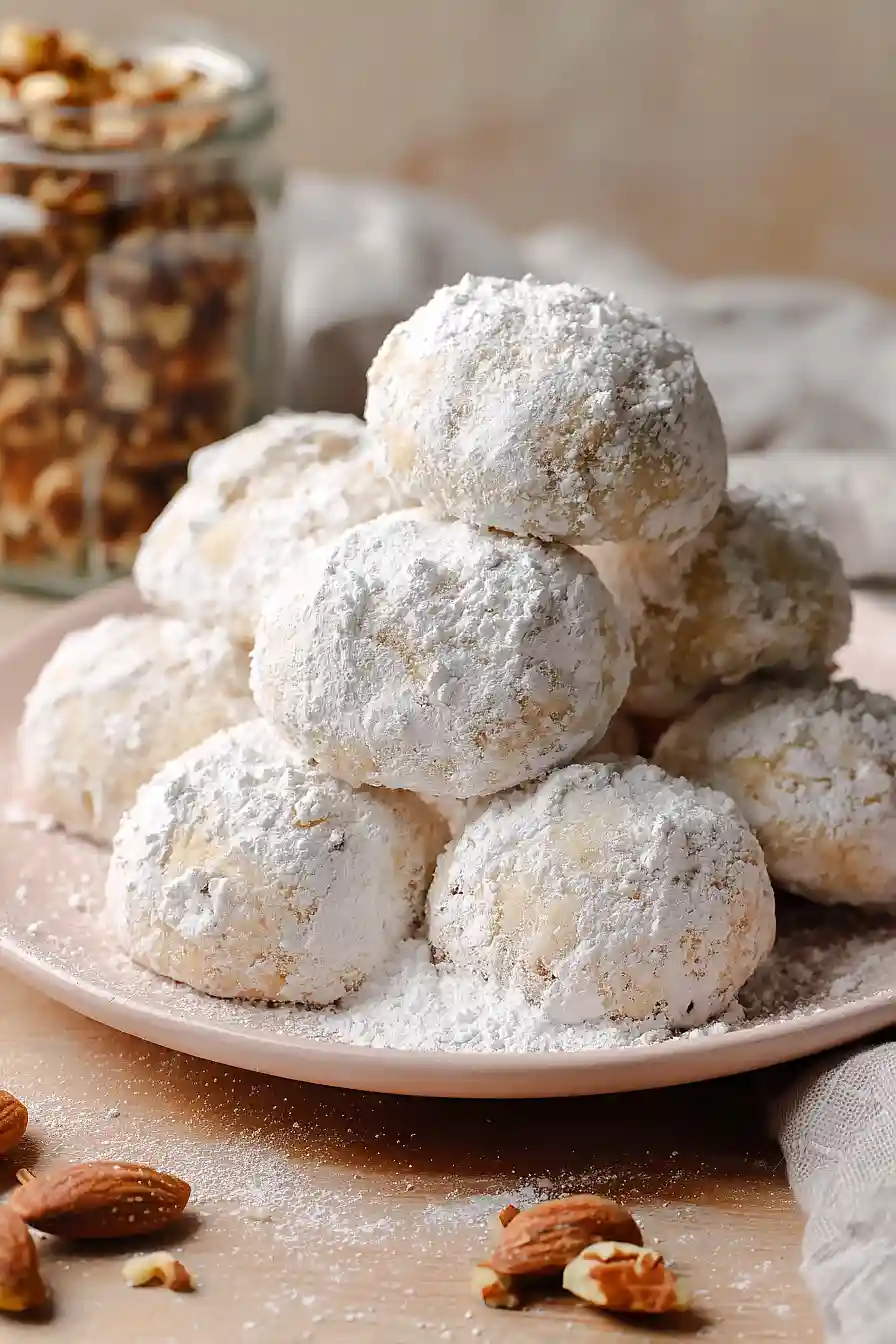
That’s where these sourdough Russian tea cakes come in. They take a classic, melt-in-your-mouth cookie and give it a tangy twist with sourdough discard, all while staying incredibly easy to make. Whether you’re baking for the holidays or just need something sweet with your afternoon coffee, these cookies deliver every single time.
Why You’ll Love These Sourdough Russian Tea Cakes
- Uses sourdough discard – This recipe gives your leftover sourdough starter a delicious purpose instead of tossing it in the trash, making it perfect for regular sourdough bakers.
- Quick and easy – These cookies come together in under an hour, so you can have fresh-baked treats without spending your whole afternoon in the kitchen.
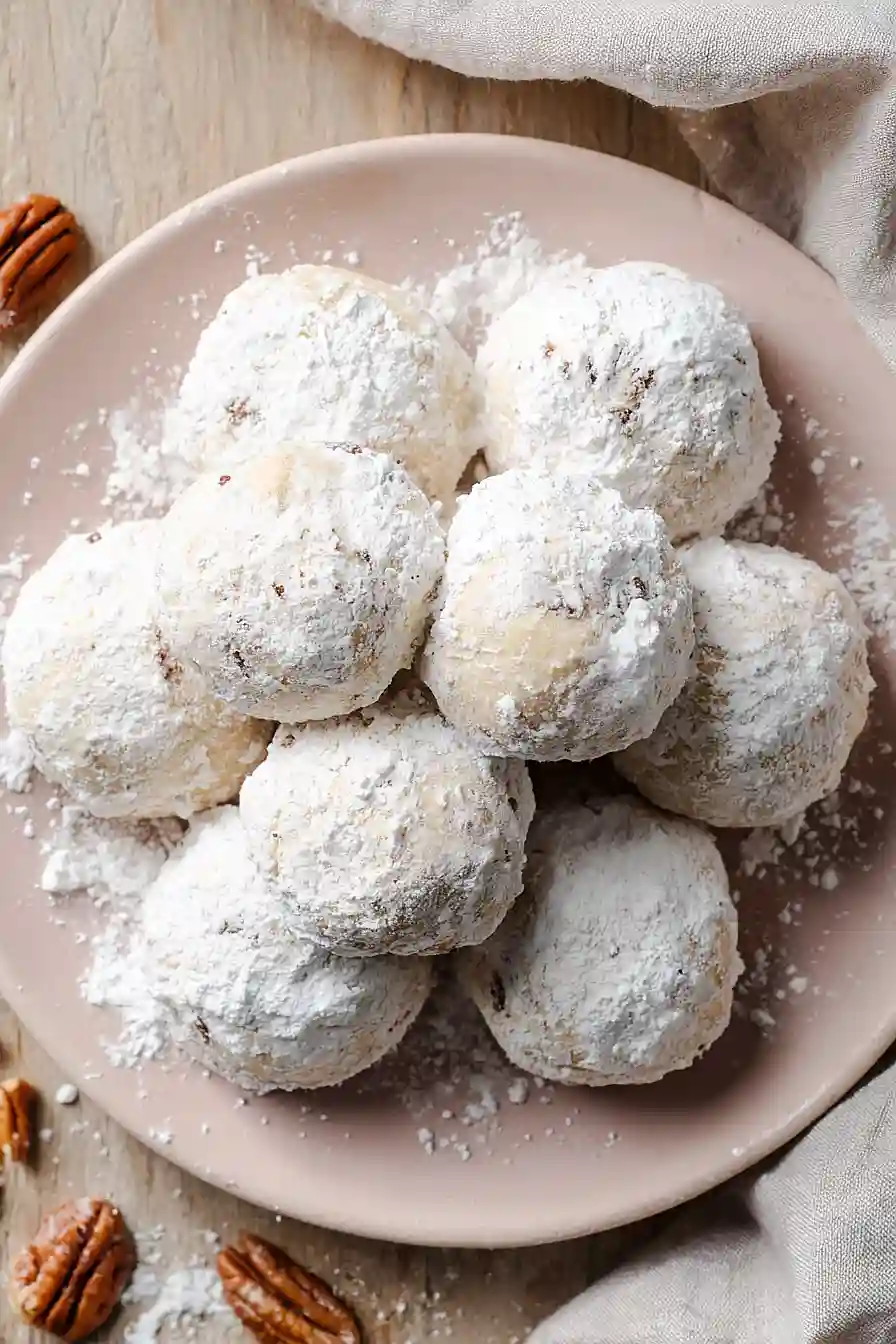
- Melt-in-your-mouth texture – The buttery, tender cookies coated in powdered sugar practically dissolve on your tongue, making them impossible to resist.
- Perfect for sharing – These classic cookies are ideal for holiday cookie exchanges, gift boxes, or serving at gatherings since they look fancy but are actually simple to make.
What Kind of Sourdough Starter Should I Use?
For this recipe, you’ll want to use sourdough starter discard, which is the portion you’d normally throw away during your regular feeding routine. It doesn’t matter if your discard is a day old or has been sitting in the fridge for a week – either will work just fine here. The discard adds a subtle tangy flavor to these cookies without making them taste overly sour, so don’t worry if your starter is pretty mature or unfed. If you keep your starter at different hydration levels, a standard 100% hydration (equal parts flour and water by weight) is what this recipe assumes, but slight variations won’t make or break your cookies.
Options for Substitutions
These cookies are pretty forgiving when it comes to swaps, so here are some options:
- Sourdough starter discard: If you don’t have sourdough discard, you can use an equal amount of sour cream or Greek yogurt to get that tangy flavor. The texture will be slightly different but still delicious.
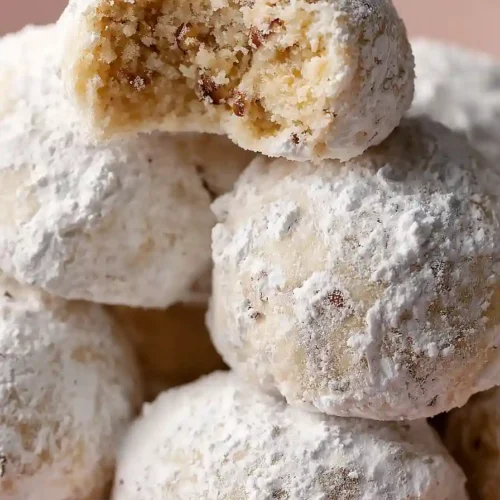
- Nuts: Traditional Russian tea cakes use walnuts or pecans, but almonds, hazelnuts, or even pistachios work great too. Make sure to chop them finely so they blend well into the dough. If you have a nut allergy, you can leave them out entirely, though the cookies will be less traditional.
- Unsalted butter: Salted butter can work in a pinch – just reduce or omit the added salt in the recipe to balance things out.
- Vanilla extract: Almond extract makes a nice substitute and pairs really well with the nuts. Use the same amount, or try half vanilla and half almond for a more complex flavor.
- All-purpose flour: Don’t substitute this with other flours – the all-purpose flour is what gives these cookies their signature crumbly, melt-in-your-mouth texture.
Watch Out for These Mistakes While Baking
The biggest mistake when making Russian tea cakes is overbaking them, which turns these delicate cookies into dry, crumbly disappointments – pull them from the oven when they’re just barely golden on the bottom, not browned all over.
Rolling the cookies in powdered sugar while they’re still piping hot will cause the sugar to melt and disappear, so let them cool for about 5 minutes first, then roll them again once they’re completely cool for that signature snowy coating.
Another common error is making the cookies too large, which prevents them from holding together properly – stick to balls about 1 inch in diameter, roughly the size of a walnut.
Finally, don’t skip chilling your dough if it feels too soft to handle, as warm dough will spread too much in the oven and lose that classic round shape.

What to Serve With Russian Tea Cakes?
These buttery cookies are perfect alongside a hot cup of coffee or tea – hence the name! I love setting them out during the holidays with a pot of Earl Grey or a rich hot chocolate for an afternoon treat. They also make a great addition to a cookie platter with other favorites like chocolate chip cookies or snickerdoodles. Since they’re on the sweeter side, I like pairing them with something simple like fresh berries or a small scoop of vanilla ice cream for dessert.
Storage Instructions
Store: These cookies stay fresh in an airtight container at room temperature for up to a week. Just make sure they’re completely cooled before storing, and keep some parchment paper between layers if you’re stacking them to prevent sticking.
Freeze: Russian tea cakes freeze really well for up to 3 months. You can freeze them before or after rolling in powdered sugar, though I prefer freezing them plain and adding a fresh coating of sugar after thawing. Just layer them between parchment paper in a freezer-safe container.
Refresh: If your cookies lose their powdered sugar coating after a few days, just give them another quick roll in fresh powdered sugar before serving. They’ll look and taste like you just made them!
| Preparation Time | 15-25 minutes |
| Cooking Time | 21-23 minutes |
| Total Time | 36-48 minutes |
| Level of Difficulty | Medium |
Estimated Nutrition
Estimated nutrition for the whole recipe (without optional ingredients):
- Calories: 2800-3000
- Protein: 35-40 g
- Fat: 200-220 g
- Carbohydrates: 270-290 g
Ingredients
For the dough:
- 1.75 cups all-purpose flour (I use King Arthur all-purpose flour)
- 0.5 cup powdered sugar
- 1.5 cups unsalted butter (softened to room temperature)
- 0.25 tsp salt
- 1 cup chopped nuts (pecans or walnuts work well, finely chopped)
- 0.5 cup sourdough starter discard (active and bubbly)
- 2 tsp vanilla extract (pure vanilla preferred for best flavor)
For rolling:
- 0.75 cup powdered sugar (for coating after baking)
Step 1: Prepare Mise en Place and Preheat
- 1 cup nuts, finely chopped
- 1.75 cups all-purpose flour
- 0.25 tsp salt
- 1.5 cups unsalted butter
- 0.5 cup sourdough starter discard
- 2 tsp vanilla extract
Preheat your oven to 350°F.
While it heats, finely chop your nuts and set them aside in a small bowl.
Measure out all your dry ingredients (flour and salt) into one bowl, and all your wet ingredients (softened butter, sourdough starter, and vanilla) into another.
This preparation ensures smooth mixing and prevents scrambling to find ingredients mid-process.
Step 2: Cream Butter and Sugar Base
- 1.5 cups unsalted butter
- 0.5 cup powdered sugar
In a large mixing bowl, combine the softened butter with 0.5 cup powdered sugar.
Beat together until the mixture is light, fluffy, and pale in color—this usually takes 2-3 minutes with an electric mixer.
This creaming process incorporates air into the dough, which helps create the tender, delicate crumb these cookies are known for.
Step 3: Incorporate Sourdough and Vanilla
- butter-sugar mixture from Step 2
- 0.5 cup sourdough starter discard
- 2 tsp vanilla extract
Add the vanilla extract and sourdough starter discard to the butter-sugar mixture from Step 2.
Mix until fully combined, scraping down the bowl as needed.
The sourdough starter adds subtle tang and moisture while the vanilla provides aromatic depth.
I find that active, bubbly starter works best here—it brings fermented complexity to what would otherwise be a straightforward butter cookie.
Step 4: Build the Dough
- dry ingredient mixture from Step 1
- wet mixture from Step 3
- 1 cup chopped nuts from Step 1
Add the dry ingredient mixture (flour and salt) from Step 1 to the wet mixture from Step 3.
Mix on low speed just until the flour is fully incorporated—don’t overmix.
Fold in the chopped nuts until evenly distributed throughout the dough.
The dough should come together into a soft, cohesive mass that holds together well.
Step 5: Shape and Bake
- dough from Step 4
Working with a tablespoon or small cookie scoop, roll the dough into uniform balls (about 1 inch diameter) and place them on a lined baking sheet, spacing them about 1 inch apart.
Bake for 21-23 minutes until the edges are light golden brown but the centers still feel slightly soft to the touch.
I like to slightly underbake these—they’ll continue cooking from residual heat and stay wonderfully tender inside.
Step 6: Double-Coat with Powdered Sugar
- 0.75 cup powdered sugar
Remove the cookies from the oven and let them cool on the baking sheet for 2-3 minutes until they’re cool enough to handle but still warm.
Place the 0.75 cup powdered sugar for coating in a shallow bowl.
Working in batches, roll each warm cookie in the powdered sugar until fully coated, then set aside on a wire rack to cool completely.
Once cool, roll them in powdered sugar one more time for a thicker, more luxurious coating.
This double-coating technique ensures an even, generous sugar shell.
Quick Sourdough Russian Tea Cakes
Ingredients
For the dough:
- 1.75 cups all-purpose flour (I use King Arthur all-purpose flour)
- 0.5 cup powdered sugar
- 1.5 cups unsalted butter (softened to room temperature)
- 0.25 tsp salt
- 1 cup chopped nuts (pecans or walnuts work well, finely chopped)
- 0.5 cup sourdough starter discard (active and bubbly)
- 2 tsp vanilla extract (pure vanilla preferred for best flavor)
For rolling:
- 0.75 cup powdered sugar (for coating after baking)
Instructions
- Preheat your oven to 350°F. While it heats, finely chop your nuts and set them aside in a small bowl. Measure out all your dry ingredients (flour and salt) into one bowl, and all your wet ingredients (softened butter, sourdough starter, and vanilla) into another. This preparation ensures smooth mixing and prevents scrambling to find ingredients mid-process.
- In a large mixing bowl, combine the softened butter with 0.5 cup powdered sugar. Beat together until the mixture is light, fluffy, and pale in color—this usually takes 2-3 minutes with an electric mixer. This creaming process incorporates air into the dough, which helps create the tender, delicate crumb these cookies are known for.
- Add the vanilla extract and sourdough starter discard to the butter-sugar mixture from Step 2. Mix until fully combined, scraping down the bowl as needed. The sourdough starter adds subtle tang and moisture while the vanilla provides aromatic depth. I find that active, bubbly starter works best here—it brings fermented complexity to what would otherwise be a straightforward butter cookie.
- Add the dry ingredient mixture (flour and salt) from Step 1 to the wet mixture from Step 3. Mix on low speed just until the flour is fully incorporated—don't overmix. Fold in the chopped nuts until evenly distributed throughout the dough. The dough should come together into a soft, cohesive mass that holds together well.
- Working with a tablespoon or small cookie scoop, roll the dough into uniform balls (about 1 inch diameter) and place them on a lined baking sheet, spacing them about 1 inch apart. Bake for 21-23 minutes until the edges are light golden brown but the centers still feel slightly soft to the touch. I like to slightly underbake these—they'll continue cooking from residual heat and stay wonderfully tender inside.
- Remove the cookies from the oven and let them cool on the baking sheet for 2-3 minutes until they're cool enough to handle but still warm. Place the 0.75 cup powdered sugar for coating in a shallow bowl. Working in batches, roll each warm cookie in the powdered sugar until fully coated, then set aside on a wire rack to cool completely. Once cool, roll them in powdered sugar one more time for a thicker, more luxurious coating. This double-coating technique ensures an even, generous sugar shell.
