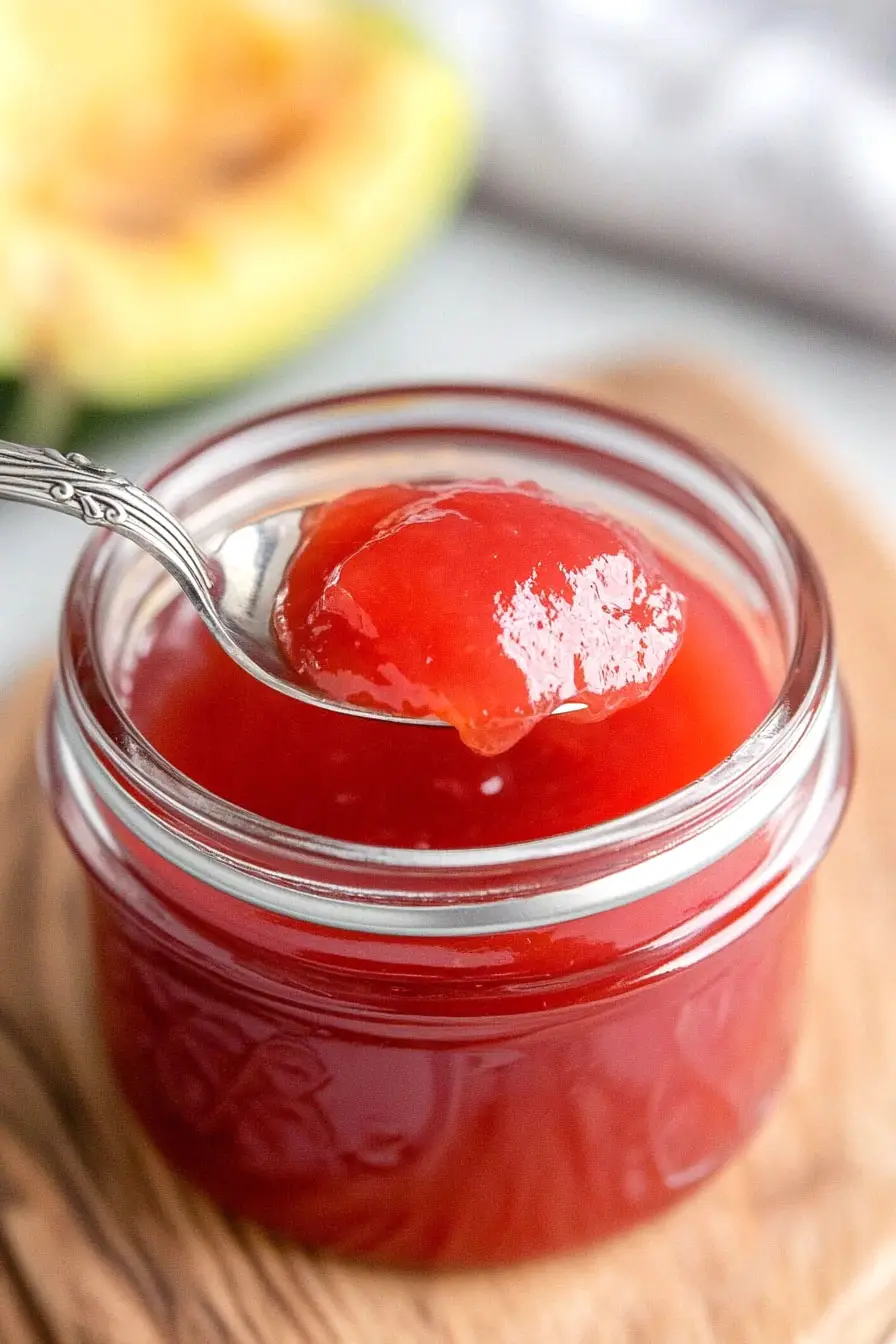
If you ask me, watermelon jam is one of summer’s best-kept secrets.
This bright pink spread takes the sweet, familiar taste of fresh watermelon and turns it into something completely unexpected. The natural sugars concentrate during cooking, creating a jam that’s both familiar and different at the same time.
It’s made with just a handful of ingredients – fresh watermelon, sugar, lemon juice, and a touch of pectin to help it set properly. The result is a smooth, spreadable jam that captures pure summer flavor in every spoonful.
It’s a fun twist on traditional preserves that’s perfect on morning toast, stirred into yogurt, or used as a unique sandwich spread.
Why You’ll Love This Watermelon Jam
- Unique spread – This isn’t your typical strawberry or grape jam – it’s a fun and refreshing twist that will make your breakfast toast something special.
- Quick preparation – You’ll have homemade jam ready in less than an hour, making this perfect for a weekend project that doesn’t take all day.
- Simple ingredients – With just four basic ingredients – watermelon, sugar, lemon juice, and pectin – you can create something totally different from store-bought jams.
- Great way to use extra watermelon – Got leftover watermelon from a summer party? This jam is the perfect solution to avoid food waste and create something delicious.
What Kind of Watermelon Should I Use?
For making watermelon jam, you’ll want to start with a ripe, sweet watermelon that has bright red flesh. Seedless watermelons are the easiest to work with since you won’t have to spend time removing seeds, but seeded varieties work just fine if you’re willing to do a bit more prep work. The most important thing is choosing a watermelon that’s at its peak ripeness – look for one that feels heavy for its size and has a yellow spot where it sat on the ground. If you tap it, you should hear a hollow sound. Keep in mind that while you can use any part of the watermelon flesh, the darker red portions near the center typically have the most flavor and will give your jam the best color.

Options for Substitutions
Making this jam? Here are some helpful substitution tips to keep in mind:
- White sugar: You can use cane sugar instead of white sugar in equal amounts. However, I don’t recommend using artificial sweeteners or reducing the sugar significantly, as it’s crucial for proper setting and preservation.
- Lemon juice: Fresh lemon juice works best, but if you’re in a pinch, you can use bottled lemon juice – about 4 tablespoons will do. Lime juice can also work as a substitute, though it might add a slightly different flavor.
- Dry pectin: If you have liquid pectin instead of dry, use 2 pouches (about 6 ounces total). You can also use low-sugar pectin, but don’t reduce the amount of sugar in the recipe as it might not set properly.
- Watermelon: Any variety of watermelon works fine here – seedless or regular (just remove the seeds before blending). The key is using ripe, sweet watermelon. If your watermelon isn’t very sweet, you might need to add a bit more sugar.
Watch Out for These Mistakes While Cooking
The biggest challenge when making watermelon jam is dealing with excess water content, which can prevent your jam from setting properly – be sure to cook it down until you see the mixture thickening and leaving a clear path when you drag a spoon across the bottom of the pot.
Getting the temperature right is crucial, so use a candy thermometer to reach the gel point of 220°F (104°C), as cooking at too low a temperature will give you syrup instead of jam, while overcooking will create a tough, overly sticky consistency.
Many home cooks skip the important step of skimming off the foam that forms during cooking, but removing this foam is essential for achieving that beautiful, clear red color and preventing a cloudy appearance in your final product.
For the best texture, add the pectin gradually while whisking constantly to prevent clumping, and remember to let the jam sit in the jars for 24 hours before moving them – this resting period helps it set completely.
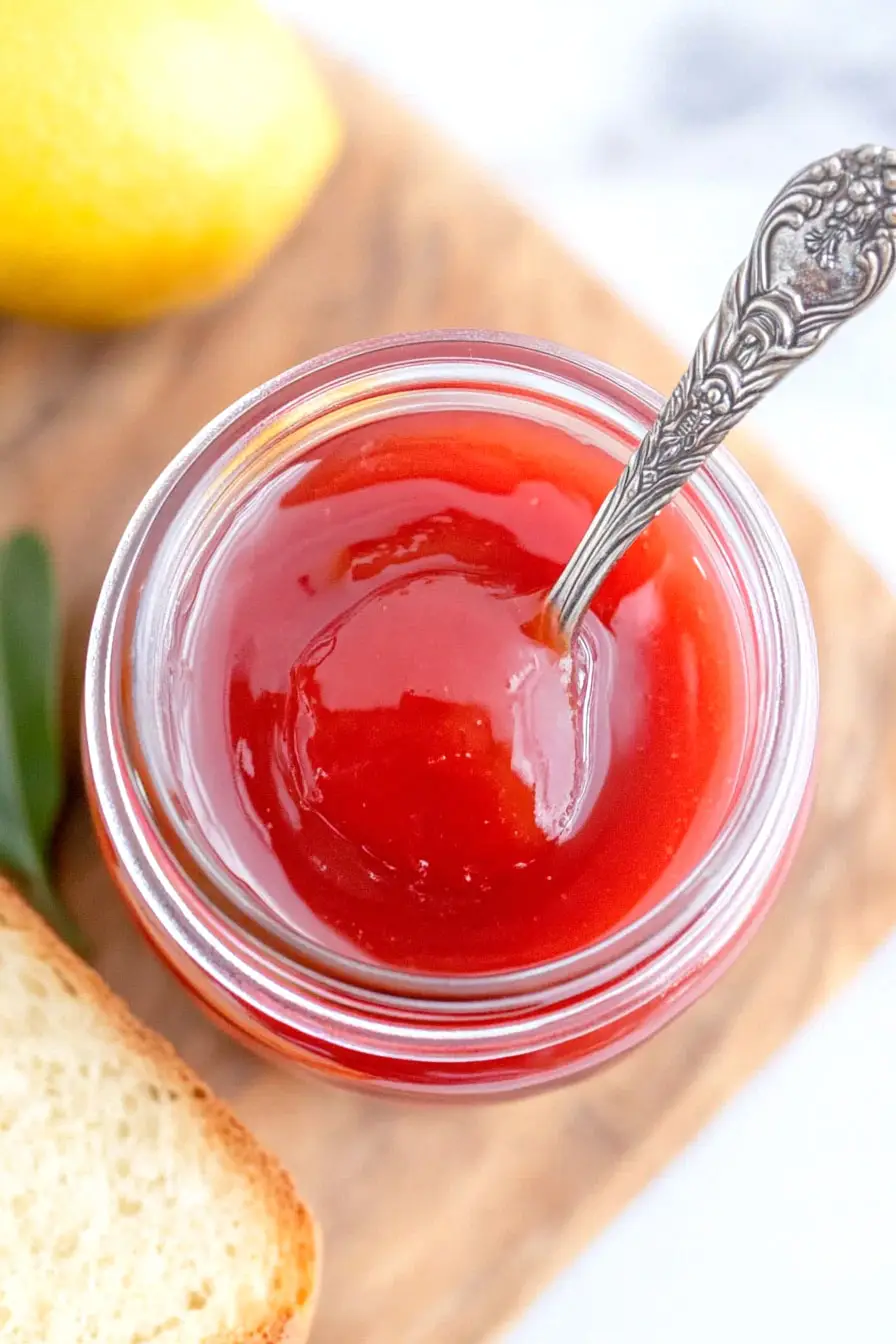
What to Serve With Watermelon Jam?
This sweet and summery watermelon jam is super versatile and goes well with all sorts of breakfast favorites! Spread it on warm, buttery toast, English muffins, or freshly baked scones for a morning treat that tastes like sunshine. For brunch, try dolloping it on plain Greek yogurt or swirling it into oatmeal – the fruity sweetness adds such a nice pop of flavor. If you’re feeling fancy, you can also serve it alongside a cheese board with mild cheeses like brie or cream cheese, where the sweet-tangy jam creates a really nice balance.
Storage Instructions
Keep Fresh: Once you’ve made your watermelon jam, let it cool completely before storing. Keep unopened jars in a cool, dark place like your pantry for up to 12 months. After opening, pop it in the fridge where it’ll stay good for about 3-4 weeks.
Preserve: For long-term storage, make sure to properly sterilize your jars and lids before filling. Once filled and sealed, process the jars in a water bath for 10 minutes. You’ll hear that satisfying ‘pop’ sound when the lids seal properly – that’s how you know they’re ready for storage!
Gift: This jam makes wonderful homemade gifts! Just dress up the jars with pretty labels and ribbons. Make sure to note the date it was made and tell recipients to refrigerate after opening. It’s such a fun and unique treat to share with friends and family.
| Preparation Time | 15-20 minutes |
| Cooking Time | 25-30 minutes |
| Total Time | 40-50 minutes |
| Level of Difficulty | Medium |
Estimated Nutrition
Estimated nutrition for the whole recipe (without optional ingredients):
- Calories: 3000-3500
- Protein: 0-5 g
- Fat: 0-5 g
- Carbohydrates: 750-800 g
Ingredients
- 12 tbsp dry pectin (such as Sure-Jell, to ensure proper gelling)
- 3 3/4 cups white sugar (granulated sugar works best for jam setting)
- juice from 1 large lemon (freshly squeezed for brighter flavor)
- 4 cups blended watermelon (from about 6-8 lbs of fresh watermelon)
Step 1: Prepare Watermelon and Plate
Start by placing a small plate in the freezer; this will be used later to check if the jam is set.
Prepare the watermelon by removing any black seeds and the rind.
Chop the watermelon pulp into manageable pieces and puree it using an immersion blender.
Straining through a sieve is optional if you wish to remove any remaining white seeds.
You will need about 1 kg (or 2.2 lbs) of pureed watermelon for the jam.
Step 2: Mix Watermelon, Sugar, and Lemon
Transfer the pureed watermelon to a large pot.
Add 750 grams (or 3¾ cups) of granulated sugar and the juice of one large lemon to the pot.
Bring this mixture to a boil over medium heat.
Step 3: Add Pectin
Once the mixture reaches a boil, carefully sprinkle 12 tablespoons of powdered pectin over the top.
Use a whisk to incorporate the pectin thoroughly, ensuring there are no clumps.
This is crucial for the jam to set correctly.
Step 4: Cook the Jam
Bring the mixture to a boil once more, then reduce the heat and let it simmer for about 20 minutes.
Stir often to prevent sticking and ensure even cooking.
Monitor the consistency of the jam as it cooks.
Step 5: Test Jam Consistency
Remove the pot from heat temporarily while you check if the jam has set.
Take the plate from the freezer and pour about ½ teaspoon of jam onto it.
Place the plate back in the freezer for 2-3 minutes.
Test by gently pushing the jam with your finger; if it wrinkles slightly and separates, it is ready.
If it remains liquid, cook the jam for an additional 5 minutes and test again.
Step 6: Transfer and Seal Jam
Once the jam has reached the desired consistency, pour it into sterilized jars and seal.
If you prefer, you can can the jars in a water bath canner or large pot for added preservation.
Allow the jars to cool completely before storing them in a cool, dark place.
