You know those nights when you need something quick and satisfying for dinner but don’t want to spend hours in the kitchen? That’s exactly why I keep coming back to these pesto chicken sliders. They’re perfect for busy weeknights, game days, or anytime I want to make something that’ll get my family excited about dinner without too much fuss.
I started making these sliders a few years ago when I was looking for new ways to use leftover chicken. Now they’re a regular in our dinner rotation. The combination of tender chicken and fresh pesto on soft, warm rolls hits all the right notes. Plus, they’re easy to customize – my kids like theirs with extra cheese, while my husband adds a few red pepper flakes for heat.
The best part? You can prep most of the ingredients ahead of time, which means dinner comes together in just minutes. Talk about a weeknight win!
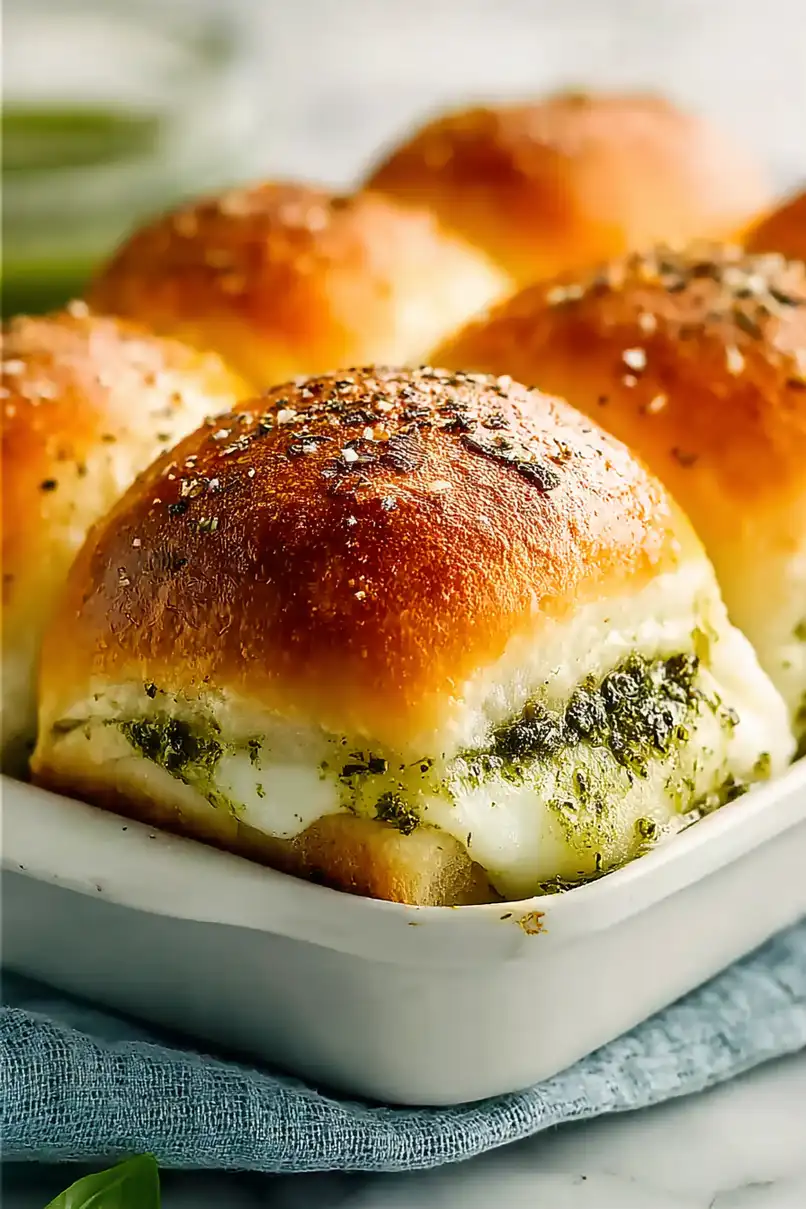
Why You’ll Love These Pesto Chicken Sliders
- Quick assembly – Using pre-cooked rotisserie chicken and ready-made pesto, these sliders come together in just minutes – perfect for busy weeknights or last-minute gatherings.
- Kid-friendly meal – The combination of tender chicken, melty cheese, and soft rolls makes these sliders a hit with children and adults alike.
- Great for crowds – This recipe makes 18 sliders at once, making it perfect for game days, parties, or feeding a hungry family.
- Simple ingredients – With just 6 basic ingredients that you can easily find at any grocery store, these sliders are both convenient and delicious.
What Kind of Chicken Should I Use?
Rotisserie chicken is your best friend for these sliders – it’s pre-cooked, well-seasoned, and saves you tons of time in the kitchen. The meat is usually tender and moist, making it perfect for shredding. If you’re not using rotisserie chicken, you can definitely cook your own chicken breasts or thighs – just make sure not to overcook them, as dry chicken can make your sliders less enjoyable. For the best results when cooking your own, try poaching boneless, skinless chicken breasts in water or broth until they reach 165°F, then let them cool slightly before shredding. Whether you’re using rotisserie or home-cooked chicken, make sure to use a mix of both white and dark meat if possible, as this gives you the best flavor and texture combination.
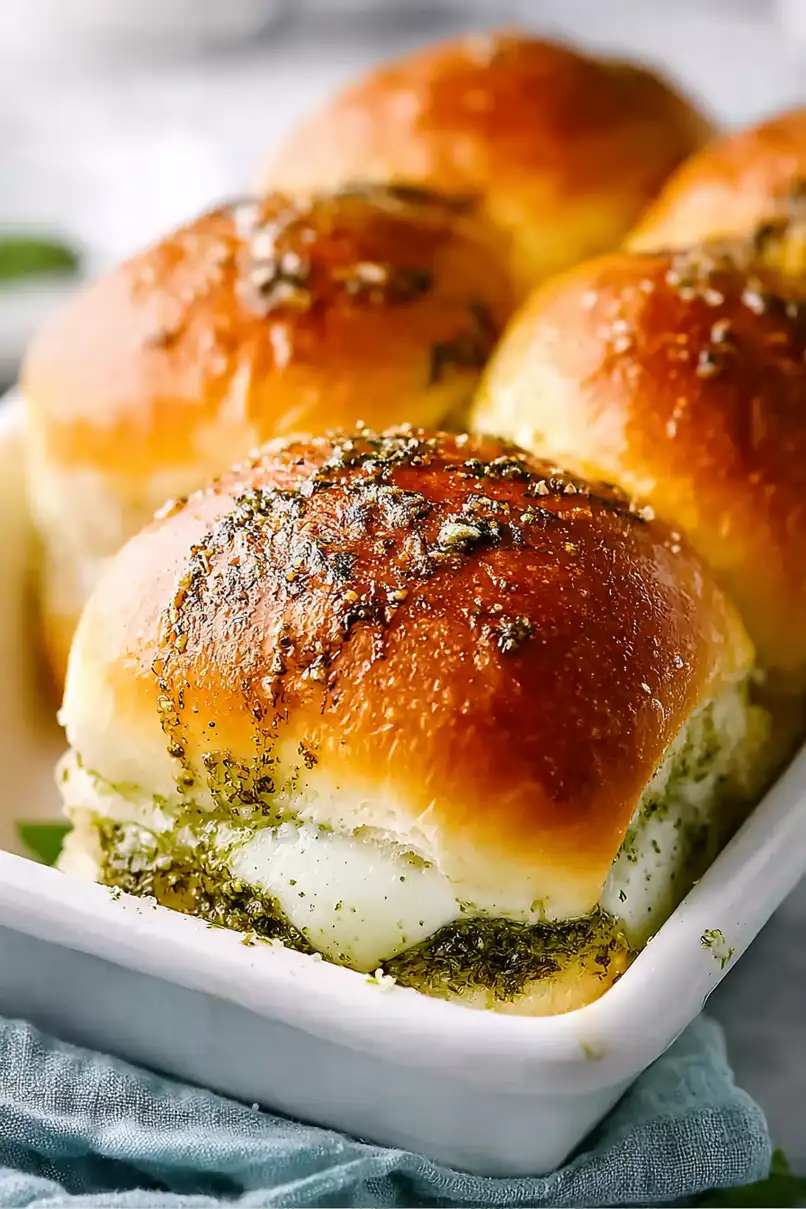
Options for Substitutions
These sliders are pretty easy to customize based on what you have in your kitchen:
- Slider rolls: Can’t find slider rolls? Regular dinner rolls work great, or you can even cut regular hamburger buns into quarters. Hawaiian rolls add a nice touch of sweetness if you want to try something different.
- Rotisserie chicken: While rotisserie chicken is super convenient, you can use any cooked chicken – grilled chicken breast, leftover roasted chicken, or even canned chicken in a pinch. Turkey works great too!
- Store-bought pesto: Store-bought pesto is quick and easy, but homemade works just as well. You can also try sun-dried tomato pesto or arugula pesto for a different spin.
- Mozzarella cheese: Feel free to swap mozzarella with provolone, Swiss, or even fontina cheese. Any mild, melty cheese will do the job nicely.
- Mayonnaise: Not a mayo fan? Try using Greek yogurt, ranch dressing, or even a light layer of softened cream cheese instead. Since it’s optional anyway, you can skip it completely.
Watch Out for These Mistakes While Making
The biggest challenge when making pesto chicken sliders is ending up with a soggy bottom bun – to prevent this, try toasting your slider rolls lightly before assembly and avoid using too much pesto or mayo. A common mistake is using cold chicken straight from the fridge, which can make the cheese harder to melt and create an uneven temperature in your sliders; instead, let your shredded chicken come to room temperature before mixing it with the pesto. For the perfect cheese melt, cover your sliders with foil for the first few minutes of baking, then uncover them for the final few minutes to achieve that golden-brown top – but keep a close eye on them, as the small size of sliders means they can go from perfectly toasted to burnt quickly. To make these sliders even better, brush the tops with melted butter mixed with a pinch of garlic powder before baking, and consider adding a thin layer of mayonnaise to both sides of the buns to create a moisture barrier between the bread and fillings.
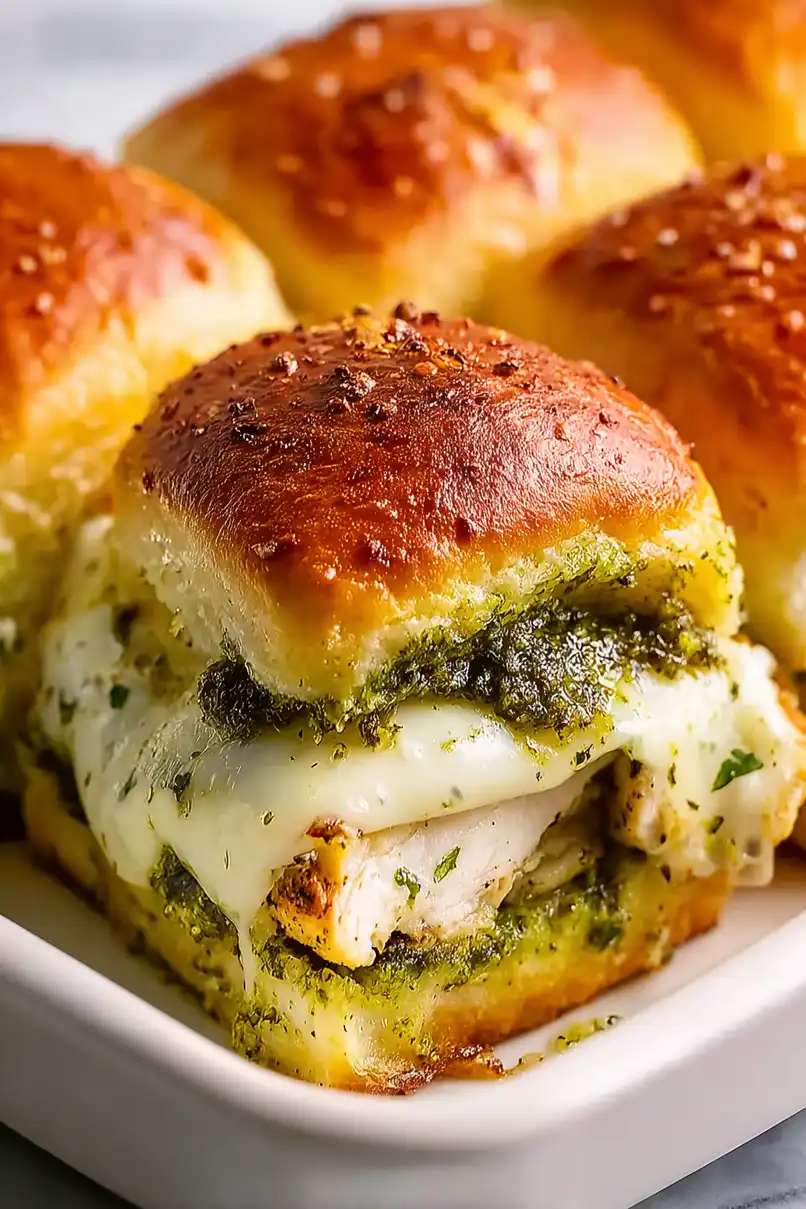
What to Serve With Pesto Chicken Sliders?
These little pesto chicken sliders are perfect for casual gatherings and pair really well with a variety of sides! Since they’re Italian-inspired, I love serving them with a simple pasta salad tossed with cherry tomatoes, fresh mozzarella, and a light Italian dressing. For something lighter, a crisp arugula salad with lemon dressing complements the basil pesto flavors perfectly. You can also go the classic route with some crispy potato chips or french fries – the salty crunch is just right with these soft, cheesy sliders. If you’re serving these at a party, put out some marinated olives and roasted red peppers on the side for folks to add to their sliders or enjoy as appetizers.
Storage Instructions
Keep Fresh: These pesto chicken sliders are best enjoyed right after making them, but if you have leftovers, wrap them individually in aluminum foil and pop them in the fridge. They’ll stay good for up to 3 days, though the bread might get a bit softer over time.
Make Ahead: Want to prep these sliders in advance? You can mix the chicken with pesto and store it separately in the fridge for up to 2 days. When you’re ready to serve, just assemble the sliders with the cheese and butter, then bake them fresh. This way, your bread stays nice and crispy!
Warm Up: To enjoy leftover sliders, wrap them in foil and warm them in a 350°F oven for about 10 minutes, or until the cheese gets melty again. I don’t recommend microwaving them as the bread can get tough – the oven method keeps them tasting fresh and delicious.
| Preparation Time | 10-15 minutes |
| Cooking Time | 20-25 minutes |
| Total Time | 30-40 minutes |
| Level of Difficulty | Easy |
Estimated Nutrition
Estimated nutrition for the whole recipe (without optional ingredients):
- Calories: 3000-3200
- Protein: 150-170 g
- Fat: 180-200 g
- Carbohydrates: 200-220 g
Ingredients
- 2 cups shredded cooked chicken
- 1/3 cup mayonnaise (Hellmann’s makes it extra creamy)
- 15 slices mozzarella cheese
- 18 slider rolls
- 11 oz basil pesto (I like Buitoni for this recipe)
- 2 tbsp melted butter
Step 1: Prepare the Baking Equipment
Begin by preheating your oven to 400 degrees Fahrenheit (204 degrees Celsius).
While the oven is warming up, lightly grease a 9×13 inch baking pan to prevent the sliders from sticking during baking.
Step 2: Arrange and Prepare Slider Buns
Arrange the bottom halves of the slider buns side by side in the prepared baking pan.
If desired, spread a layer of mayo on these bottom halves to add extra flavor.
This step is optional and can be adjusted based on personal preference.
Step 3: Layer the Ingredients
Evenly layer the bottom slider buns with shredded chicken.
Follow this with a layer of pesto, spreading it evenly over the chicken.
Add mozzarella slices on top, ensuring each slider receives a generous amount of cheese.
Place the top halves of the slider buns over the layers.
Step 4: Prepare and Apply the Pesto-Butter Mixture
In a small bowl, stir together melted butter and 2 tablespoons of pesto until well combined.
Use a brush to apply this pesto-butter mixture liberally over the tops of the sliders, ensuring an even coating that will enhance flavor and create a golden crust as it bakes.
Step 5: Bake the Sliders
Place the sliders in the oven, baking them uncovered for 10 minutes.
This will allow the tops to get golden brown.
Then, cover the pan with foil and continue to bake for an additional 10-15 minutes, or until the cheese has completely melted and everything is heated through.
The foil cover helps retain moisture while ensuring the cheese becomes perfectly gooey.
Step 6: Serve and Enjoy
Remove the sliders from the oven and let them cool slightly.
Serve them warm as they are, or with your favorite dipping sauces for added flavor.
These sliders are perfect for gatherings, parties, or as a delicious meal on their own.