I never thought I’d put beets in my hummus until I saw my neighbor doing it at a block party last summer. Growing up, hummus was always the plain beige stuff from the grocery store that mom would serve with carrots. When I tried making it at home, I stuck to the basics.
But that pink hummus got me curious. Turns out, adding beets isn’t just about the color – they bring a slight sweetness that works really well with the chickpeas. And when you throw in some fresh mint? It’s like the hummus got a whole new personality. Even my kids, who usually run from anything with beets, ask for this version by name.
Why You’ll Love This Beet Hummus
- Quick preparation – This colorful dip comes together in just 10-15 minutes – perfect for last-minute entertaining or a quick healthy snack.
- Healthy ingredients – Packed with protein from chickpeas, antioxidants from beets, and good fats from olive oil and tahini, this hummus is as nutritious as it is tasty.
- Make-ahead friendly – You can prepare this hummus up to 5 days in advance and keep it in the fridge, making it perfect for meal prep or party planning.
- Versatile dip – Use it as a spread on sandwiches, a dip for vegetables, or a colorful addition to your mezze platter – this hummus works in so many ways.
What Kind of Beetroot Should I Use?
For this hummus recipe, you’ve got several options when it comes to your beetroot. Pre-cooked vacuum-packed beets from the produce section work great and save you tons of time – just make sure they’re not packed in vinegar or other seasonings that could throw off the flavor balance. If you prefer to cook your own, both golden and red beets will work nicely, though red beets will give you that classic bright pink color that makes this hummus so fun. When cooking your own beets, you can either roast them wrapped in foil (which concentrates their natural sweetness) or boil them until tender. Just remember to peel your beets after cooking when they’re cool enough to handle – the skins will slip right off with a gentle rub using a paper towel.
Options for Substitutions
This pretty pink hummus recipe can be adapted with several ingredient swaps if needed:
- Chickpeas: Since chickpeas are the base of hummus, they’re pretty essential. But in a pinch, you could use white beans (like cannellini) – just know the texture will be slightly different and it won’t be traditional hummus.
- Beetroot: Both fresh cooked and pre-cooked vacuum-packed beets work great here. If using canned beets, make sure to drain them well. For a different spin, try roasted carrots instead – you’ll get orange hummus!
- Tahini: While tahini gives hummus its classic taste, you can substitute with unsweetened sunflower seed butter if you have a sesame allergy. The flavor will be different, but still good.
- Fresh mint: Out of fresh mint? Try fresh basil or parsley instead. If using dried mint, start with just 1 tablespoon as it’s more concentrated.
- Lemon juice: Lime juice works as a good substitute, or try apple cider vinegar (use half the amount) for that needed acidity.
- Olive oil: Any neutral oil will work here, like grapeseed or avocado oil. You can also use the liquid from the chickpea can (aquafaba) for a lower-fat version.
Watch Out for These Mistakes While Making
The biggest challenge when making beet hummus is achieving the right consistency – using the liquid from your canned chickpeas (aquafaba) rather than discarding it helps create a smooth, creamy texture, so add it gradually while blending.
A common error is adding all ingredients at once, which can lead to uneven mixing – instead, start by blending the chickpeas and tahini until smooth, then gradually add the beets and remaining ingredients while the food processor is running.
Raw garlic can quickly overpower the delicate flavors of beet and mint, so try roasting the garlic first or starting with just one clove and adjusting to taste.
For the brightest color and best flavor, peel your cooked beets while they’re still warm and process them while they’re at room temperature – cold beets won’t blend as smoothly and might leave unwanted chunks in your hummus.
What to Serve With Beet Hummus?
This pretty pink hummus is perfect for setting out as part of a snack spread or appetizer platter! I love serving it with a mix of fresh veggies like cucumber slices, carrot sticks, and bell pepper strips for dipping. Warm pita bread or pita chips are classic choices that pair really well with the earthy flavors of the beets and chickpeas. For a fun party spread, try setting out some crackers, toasted baguette slices, and pretzel crisps alongside your hummus – people can try different combinations and find their favorite way to enjoy it. You can also spread this hummus on sandwiches or wraps for an extra punch of flavor and color.
Storage Instructions
Keep Fresh: This pretty pink hummus stays good in the fridge for up to 5 days when kept in an airtight container. The flavors actually get better after a day or two as they have time to mingle together! Just give it a quick stir before serving if you notice any separation.
Portion: You can divide this hummus into smaller portions using mini containers – it’s perfect for lunch boxes or snack prep! If the hummus thickens up in the fridge, just mix in a splash of olive oil or a squeeze of lemon juice to bring it back to your preferred consistency.
Make Ahead: This beet hummus is great for making ahead for parties or weekly meal prep. You can prepare it up to 2 days before serving – just keep it covered in the fridge. When you’re ready to serve, let it sit at room temperature for about 15 minutes and give it a good stir.
| Preparation Time | 10-15 minutes |
| Cooking Time | 0 minutes |
| Total Time | 10-15 minutes |
| Level of Difficulty | Easy |
Estimated Nutrition
Estimated nutrition for the whole recipe (without optional ingredients):
- Calories: 600-700
- Protein: 20-25 g
- Fat: 40-45 g
- Carbohydrates: 50-60 g
Ingredients
- 1 handful fresh mint leaves (about 1/4 cup, tightly packed)
- salt to taste
- 2 cooked beets (peeled and roughly chopped)
- 1 to 2 cloves garlic
- 1/2 lemon juice (freshly squeezed for best flavor)
- pepper to taste
- 1 can chickpeas
- 2 tbsp olive oil
- 3 tbsp tahini (I use Baron’s brand for its creaminess)
Step 1: Blend Tahini and Lemon Juice
Begin by adding your tahini and lemon juice to a food processor.
Blend the mixture for a few minutes until it’s well combined.
This process will turn the tahini into a fluffy, almost whipped texture, which is key to creating a creamy hummus.
Step 2: Add Chickpeas and Basic Ingredients
Once the tahini and lemon juice are well mixed, add the cooked chickpeas, garlic, olive oil, salt, and pepper to the food processor.
Blend until the mixture becomes smooth and free of lumps.
If you prefer plain hummus, you can stop at this stage.
Step 3: Incorporate Beetroots and Mint
For a twist of flavor and color, add two roughly chopped cooked beetroots and a handful of finely chopped mint to the hummus mixture.
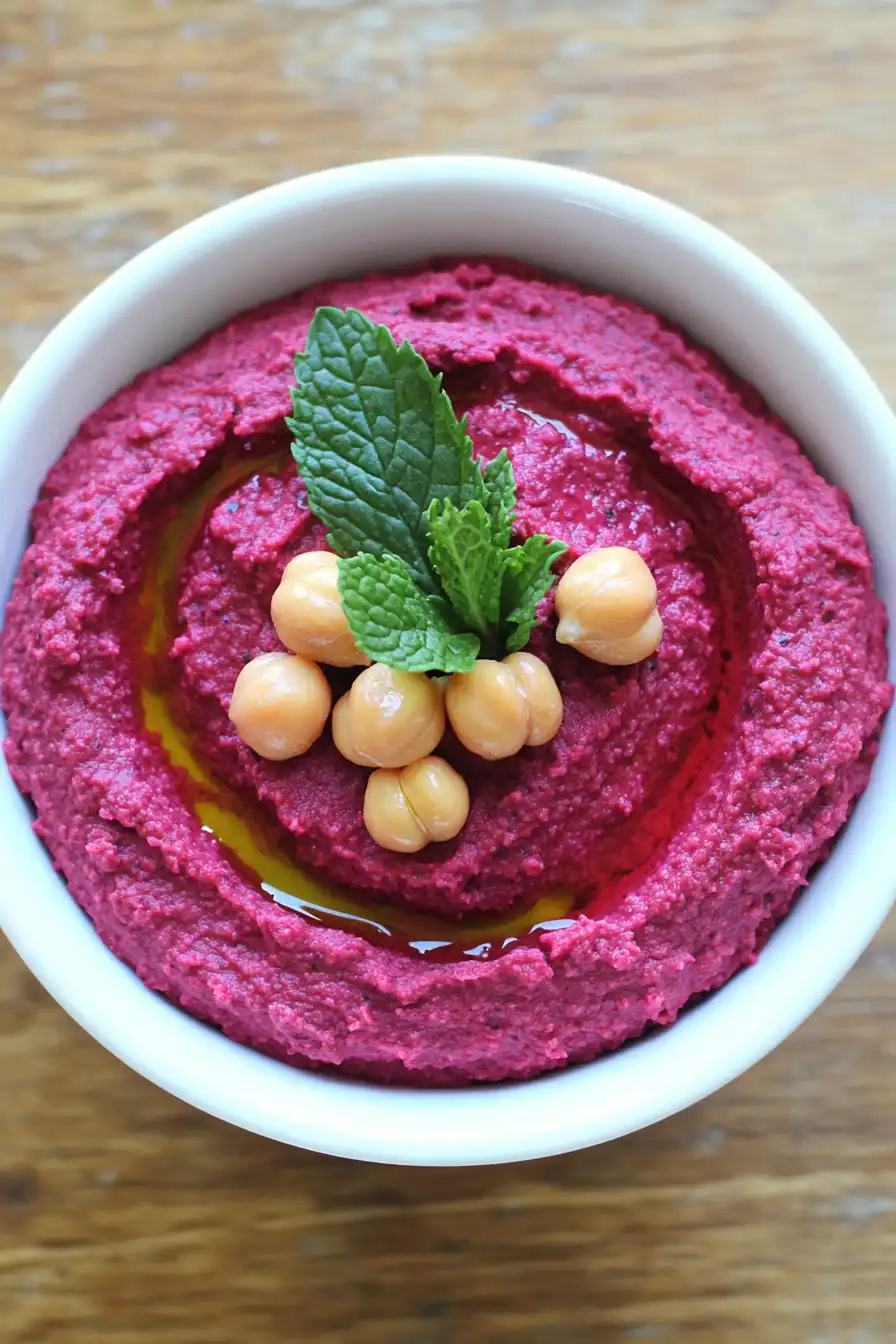
Blend everything together until the color is vibrant and pink, ensuring the mint is well integrated.
Step 4: Season to Taste
Taste the beetroot and mint hummus to adjust the seasoning.
Add more salt, pepper, lemon juice, or mint as desired to tailor the flavor to your liking.
Make sure it’s balanced with the right amount of freshness and zing.
Step 5: Serve and Garnish
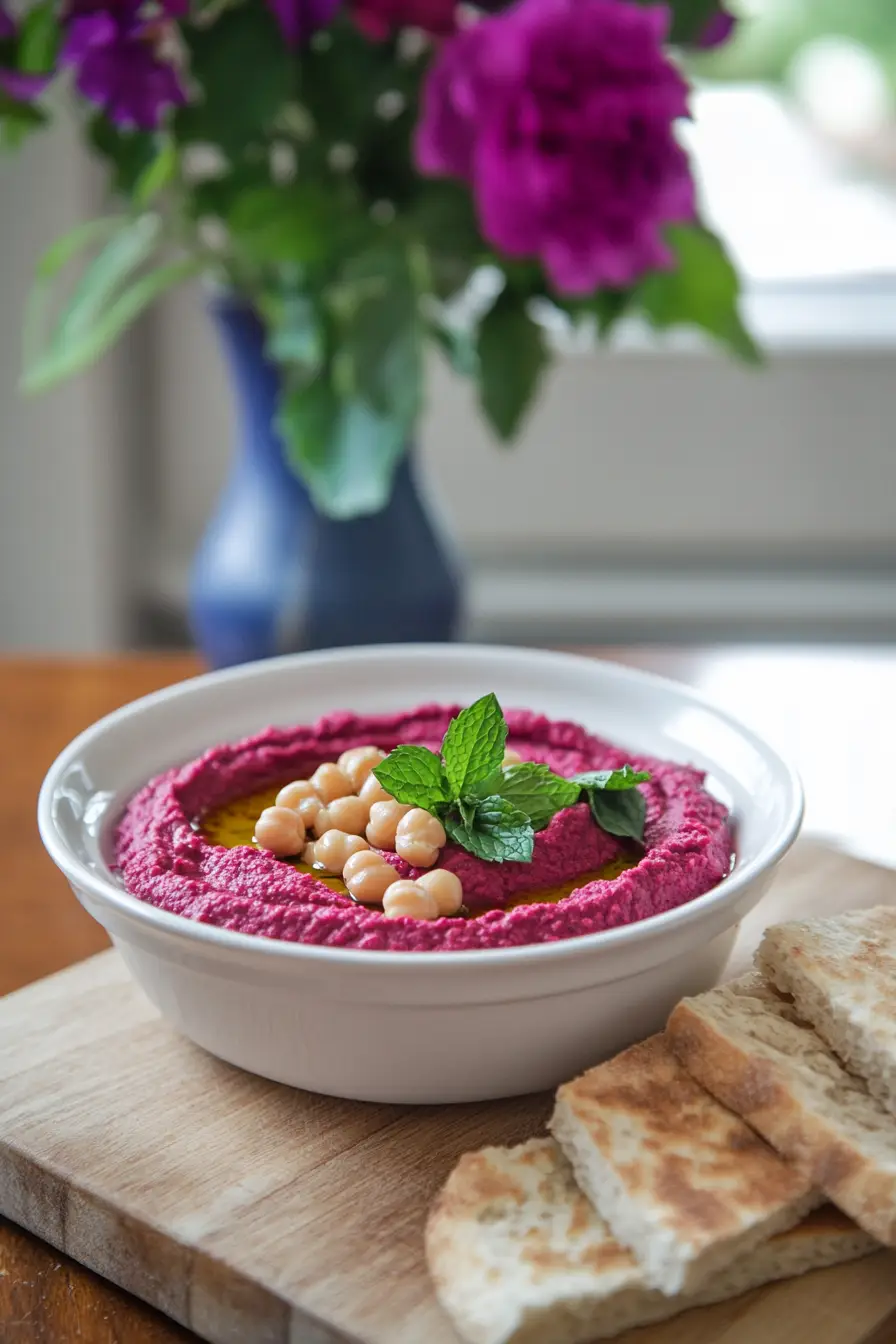
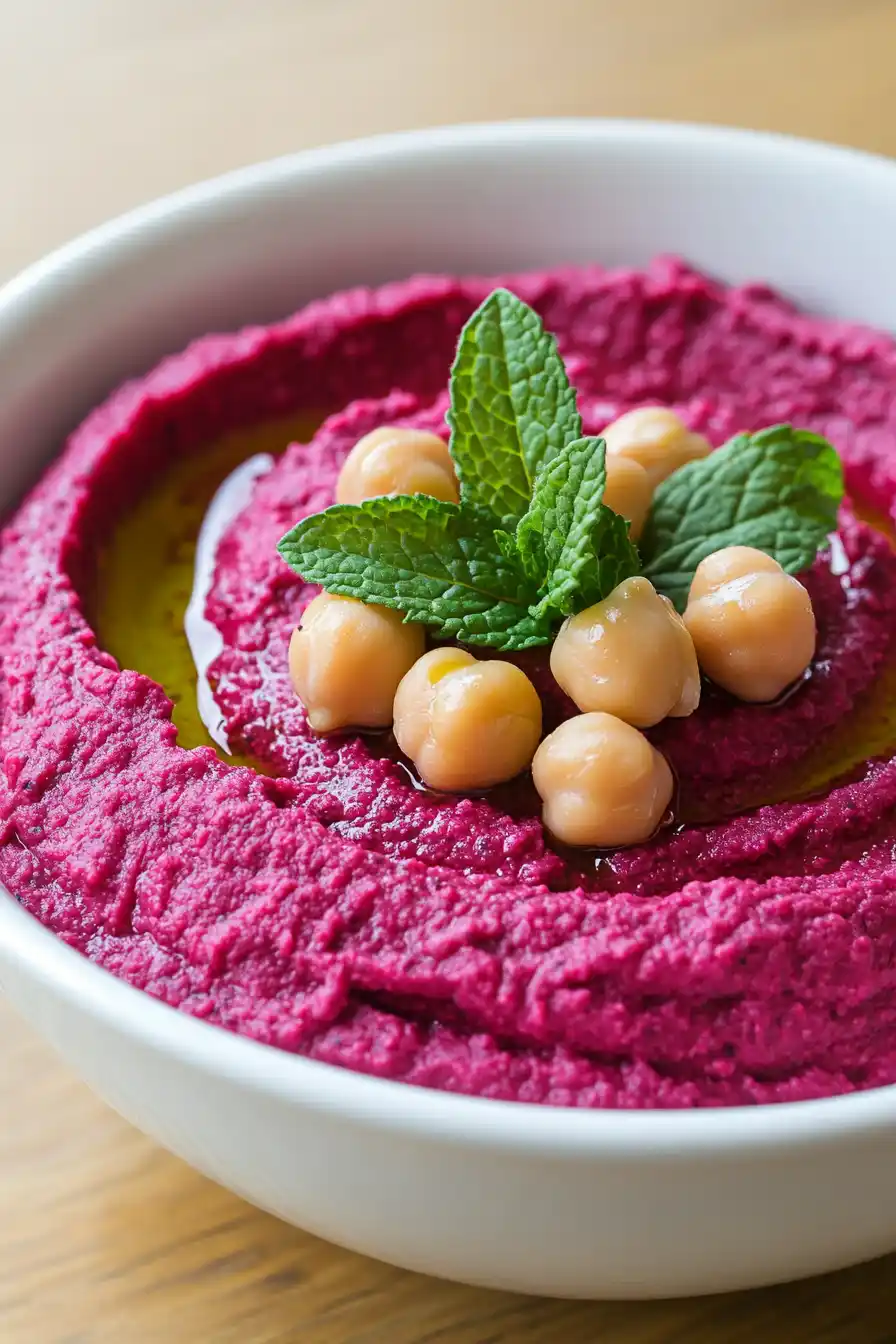
Transfer your finished beetroot and mint hummus to a serving dish.
Drizzle a little extra olive oil on top for richness.
Garnish with a few fresh mint leaves and some leftover chickpeas to enhance the presentation.
Serve the hummus with toasted pita breads, crudités, crackers, or fresh bread for dipping.
