Growing up, my mom always served fruit salad the same way – chunks of fruit swimming in juice at the bottom of a big glass bowl. Don’t get me wrong, I loved it, but half the fruit would end up soggy by the time we got to it.
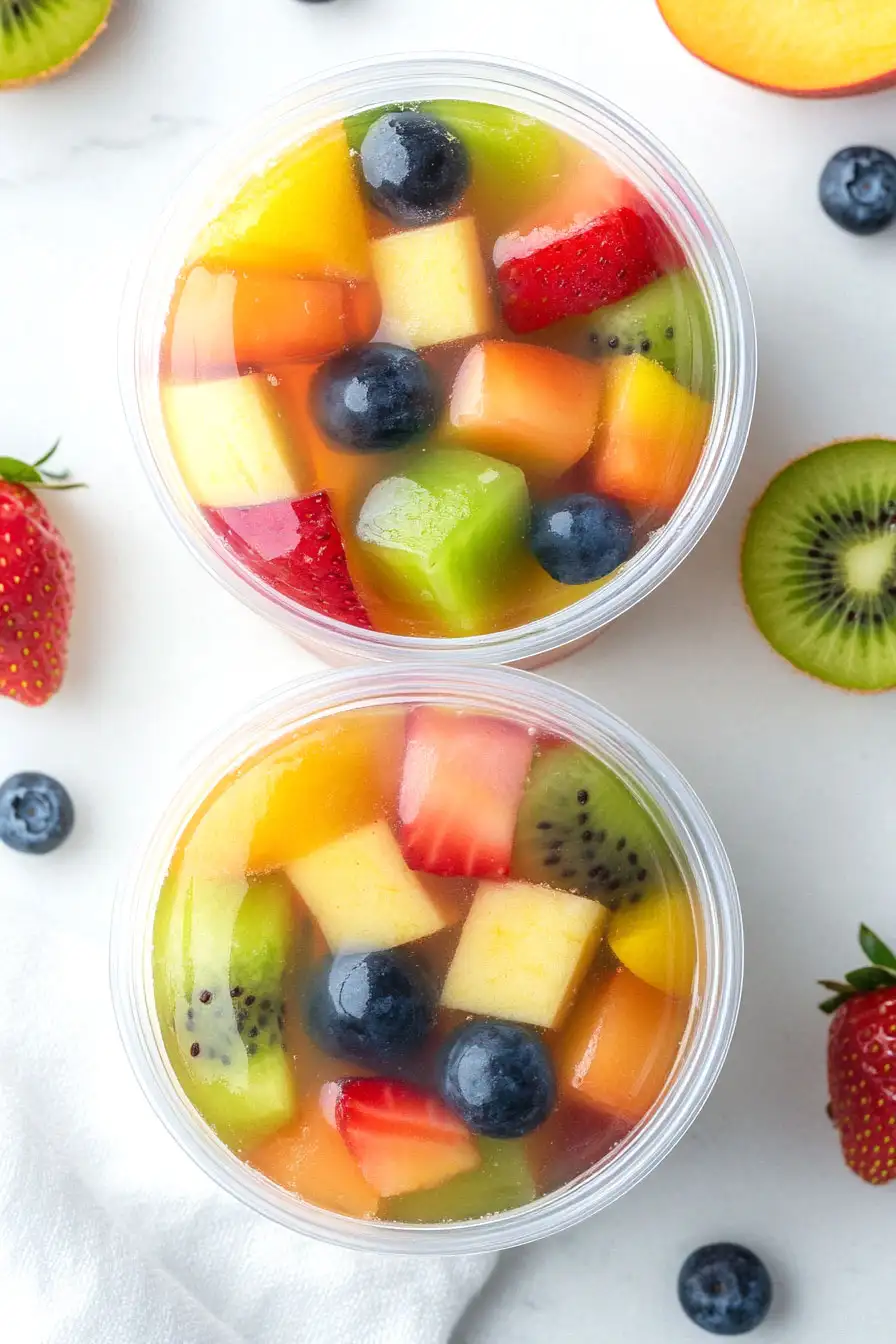
That’s why I started making these fruit salad jelly cups. They’re basically the same fruit salad I grew up with, but setting the fruit in jelly keeps everything fresh and makes single servings super easy. Plus, my kids think eating fruit suspended in jello is way more fun than plain old fruit salad in a bowl.
Why You’ll Love These Fruit Jelly Cups
- Quick and easy – These jelly cups come together in just 20-30 minutes of prep time, making them perfect for last-minute entertaining or a fun weekend treat.
- Kid-friendly recipe – This is a great way to get kids excited about eating fruit – they’ll love the fun, jiggly texture and bright colors.
- Fresh ingredients – Made with real fruit and juice instead of artificial flavors, you’ll get natural sweetness and nutrients in every bite.
- Make-ahead friendly – You can prepare these jelly cups in advance and keep them in the fridge, perfect for parties or when you need a ready-to-go snack.
What Kind of Fruit Should I Use?
The great thing about fruit jelly cups is that you can mix and match different fruits based on what’s in season or available at your local store. Firmer fruits like apples, pears, and nectarines work really well because they hold their shape and don’t get mushy when suspended in the jelly. Berries are also excellent choices since they add nice pops of color and flavor without releasing too much liquid into the mixture. When selecting your fruits, look for pieces that are ripe but still firm – overripe fruit can become too soft in the jelly. If you want to switch things up, you can also try using fruits like grapes, mangoes, or peaches, just make sure to avoid fruits like bananas or very soft melons that might turn brown or break down quickly.
Options for Substitutions
This fun jelly recipe is super adaptable – here’s how you can mix things up:
- Gelatin powder: This is the one ingredient you shouldn’t skip, but you can use agar agar powder for a vegetarian version. Just note that agar sets more firmly than gelatin, so use 2 teaspoons less than the recipe calls for.
- Fruit juice: Any clear fruit juice works here! Try apple, white grape, or even coconut water. Just avoid pineapple juice as it prevents gelatin from setting properly.
- Fresh fruits: The beauty of this recipe is that you can swap any of the fruits. Try mangoes instead of nectarines, oranges for kiwis, or raspberries for strawberries. Just keep the total amount of fruit similar to maintain the right jelly-to-fruit ratio.
- Blueberries: No blueberries? Use any small berries like blackberries or cut-up strawberries. You can even try using canned fruit in a pinch – just make sure to drain it well.
- Apple and pear: These fruits can be swapped with any firm fruit that won’t get too mushy – try firm peaches, firm plums, or even dragon fruit for something different.
Watch Out for These Mistakes While Making
The biggest challenge when making fruit jelly cups is getting the timing wrong with your gelatin – adding fruit too early while the mixture is hot can cook your delicate fruits and make them lose their fresh taste and texture. A simple fix is to let your gelatin mixture cool until it’s just starting to thicken (but not set) before adding your fruit pieces.
Getting the wrong gelatin-to-liquid ratio can leave you with either a too-firm or too-soft jelly, so always measure precisely – 2 teaspoons of gelatin powder per cup of liquid is the magic number for the perfect wobble.
Watch out for fruit pieces that are cut too large, as they’ll sink straight to the bottom instead of staying suspended throughout the jelly – try cutting your fruits into small, uniform pieces (about 1/2 inch cubes) and adding them in layers as the jelly begins to set. For extra clear jellies, avoid stirring once you’ve added the fruit, and instead gently push pieces down with a spoon to distribute them evenly.
What to Serve With Fruit Jelly Cups?
These sweet and refreshing fruit jelly cups make a perfect light dessert or snack on their own, but they’re even better with a few simple additions! A dollop of whipped cream or vanilla yogurt on top adds a nice creamy contrast to the fruity jellies. For breakfast or brunch, serve these alongside some warm scones or buttery croissants to make it feel more special. If you’re hosting afternoon tea, these jelly cups pair wonderfully with some butter cookies or shortbread on the side for a bit of crunch.
Storage Instructions
Keep Cool: These fruit salad jelly cups need to stay chilled to maintain their jiggly texture. Pop them in the fridge in an airtight container, and they’ll stay fresh for up to 3 days. The fresh fruits inside are happiest when kept cold!
Make Ahead: Want to prep these for a party? You can make these jelly cups up to 2 days before serving. Just keep them covered in the fridge until you’re ready to serve. The gelatin will keep everything perfectly set, and the fruits will stay fresh inside their jelly cocoon.
Serving Tips: Take these cups out of the fridge about 5 minutes before serving – they’re best enjoyed cold but not freezing. If you notice any condensation on top, just give them a quick pat with a paper towel before serving.
| Preparation Time | 10-15 minutes |
| Cooking Time | 0-10 minutes |
| Total Time | 20-30 minutes |
| Level of Difficulty | Easy |
Estimated Nutrition
Estimated nutrition for the whole recipe (without optional ingredients):
- Calories: 480-520
- Protein: 4-6 g
- Fat: 0-2 g
- Carbohydrates: 120-130 g
Ingredients
For the fruit:
- 1 pear (firm but ripe)
- 5 strawberries
- 1 apple
- 1 kiwi
- 1/2 punnet blueberries (Wescott brand for sweetness)
- 2 nectarines
For the jelly:
- 6 tsp gelatin powder (Knox is a reliable brand)
- 1 liter fruit juice (like apple or white grape)
Step 1: Prepare the Fruit
Start by peeling the kiwifruit, then quarter them lengthways and slice each quarter.
Remove the top from the strawberries, halve them, and slice.
Dice the apple, pear, and nectarines into small, bite-sized pieces.
Set aside all the prepared fruit, as you will use these in layers.
Step 2: Make the Gelatine Mixture
Dissolve 3 teaspoons of gelatine in 1/4 cup of boiling water.
Whisk the mixture well until the gelatine is fully dissolved.
Allow it to cool for about 5 minutes, then stir in 2 cups of juice of your choice (e.g., apple or berry juice).
Step 3: Assemble the First Layer
Take several plastic cups and spoon a portion of the prepared fruit and some blueberries into the base of each cup.
Feel free to mix the varieties of fruit according to your preference.
Pour a portion of the gelatine juice mixture over the fruit in each cup, just enough to cover the fruit.
Carefully place a spoon into the juice in each cup to hold the fruit in place as it sets.
Chill the cups in the refrigerator for about 20 minutes until the gelatine starts to set.
Step 4: Prepare Additional Gelatine and Repeat
While the first layer of jelly is setting, dissolve the remaining gelatine in boiling water, repeating as you did before.
Once the first layer is set, repeat the process by adding more fruit and then pouring the gelatine juice mixture over the top.
Repeat this layering until your cups are filled to your desired level, ensuring each layer is set before adding the next.
Step 5: Final Chill and Serve
Once all the layers are assembled and set, keep the fruit jelly cups chilled in the refrigerator until ready to serve.
This ensures that the jelly is firm and the flavors are well combined.
Enjoy this refreshing and colorful treat!
