Finding the perfect gravy to complement your favorite comfort foods can feel like an uphill battle. Most store-bought versions are loaded with artificial ingredients and lack that rich, homemade taste we’re all craving, and making gravy from scratch often seems too complicated for busy weeknight dinners.
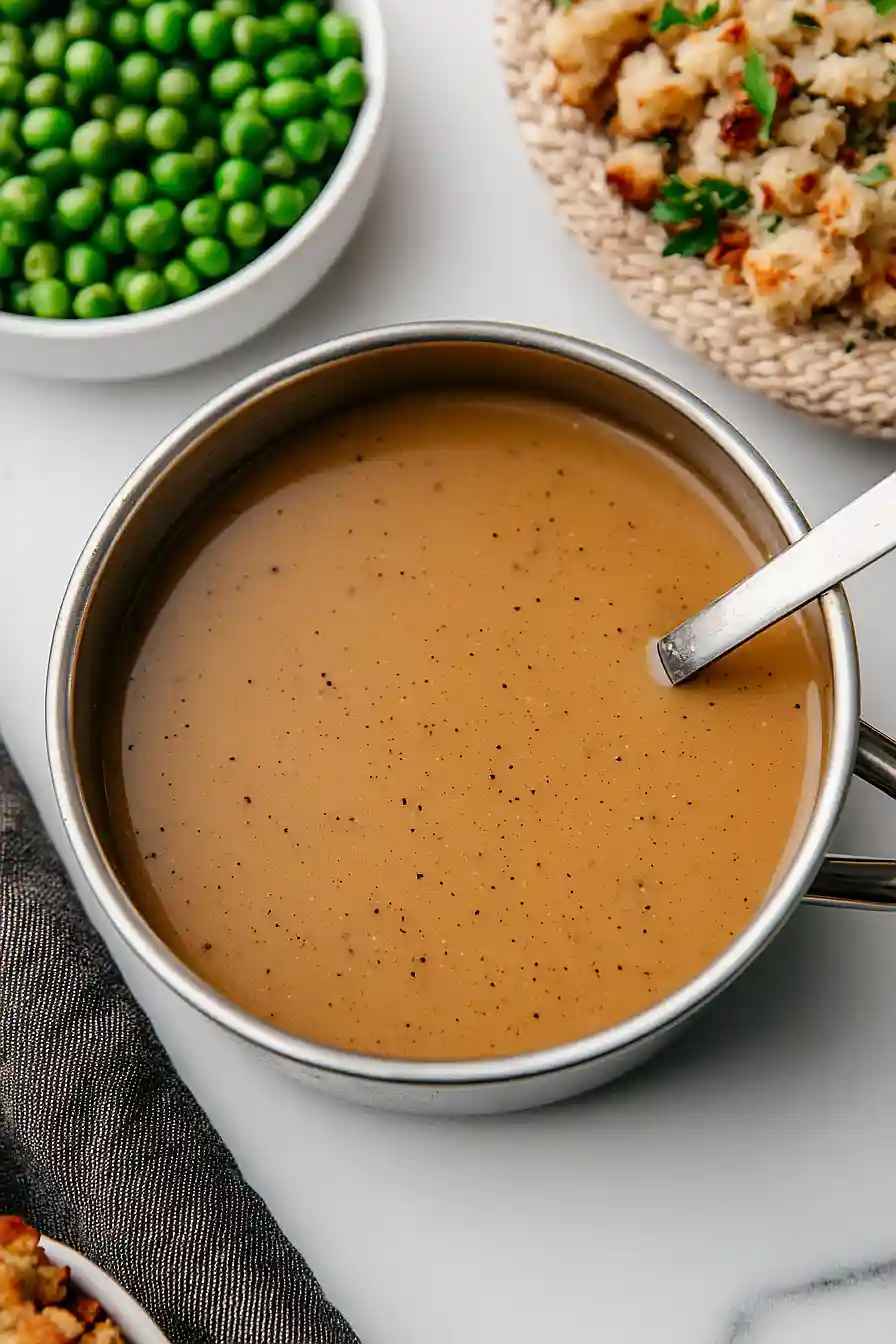
Thankfully, this caramelized onion gravy hits all the right notes: it’s packed with deep, savory flavor, surprisingly easy to make with just a few simple ingredients, and pairs beautifully with everything from mashed potatoes to roasted chicken.
Why You’ll Love This Caramelized Onion Gravy
- Rich, deep flavor – The slow-cooked caramelized onions create a sweet, savory base that makes this gravy taste like it’s been simmering for hours.
- Simple ingredients – You probably have everything you need in your pantry already – just onions, stock, and a few basic seasonings.
- Perfect for any meal – This gravy pairs beautifully with mashed potatoes, roast beef, chicken, or even biscuits for a comforting side that elevates any dish.
- Easy to make – Despite the fancy name, this recipe is straightforward and forgiving – just caramelize the onions and let the flavors build naturally.
What Kind of Onion Should I Use?
For caramelized onion gravy, yellow onions are your best bet since they have the perfect balance of sweetness and flavor that really shines when cooked low and slow. Sweet onions like Vidalia or Walla Walla work great too if you want an even milder, sweeter result. White onions will also do the job, though they tend to be a bit sharper and won’t caramelize quite as beautifully. The key is to slice them thin and evenly so they cook at the same rate – aim for slices about 1/8 inch thick for the best caramelization.

Options for Substitutions
This gravy is pretty forgiving when it comes to swaps, so here are some options if you need to make changes:
- Chicken stock: Beef stock works great here and actually gives you a richer, deeper flavor. Vegetable stock is fine too if you want to keep it lighter, though you might want to add an extra splash of Worcestershire for more depth.
- Olive oil: Butter gives you even better flavor for caramelizing the onions, though it can brown faster so keep the heat a bit lower. Regular vegetable oil works in a pinch too.
- Cornflour: Regular all-purpose flour works just as well – use the same amount mixed with water. You can also use arrowroot powder if you prefer a cleaner thickening agent.
- Large onion: Yellow onions are best for caramelizing, but sweet onions like Vidalia work too and give you a milder flavor. Avoid red onions as they don’t caramelize as nicely.
- Worcestershire sauce: Soy sauce mixed with a splash of vinegar can work if you’re out of Worcestershire, though the flavor will be slightly different. Start with 1 tablespoon soy sauce and add more to taste.
Watch Out for These Mistakes While Cooking
The biggest mistake when making caramelized onion gravy is rushing the onion caramelization process – those golden, sweet onions need at least 20-30 minutes of slow, patient cooking over medium-low heat to develop their deep flavor.
Another common error is adding the cornflour mixture too quickly, which can create lumps in your gravy – always whisk the cornflour and water together first to make a smooth slurry, then slowly drizzle it into the simmering gravy while whisking constantly.
Don’t forget to scrape up all those brown bits (fond) from the bottom of your pan after cooking the onions, as these add incredible depth to your gravy’s flavor.
If your gravy turns out too thick, simply whisk in a bit more warm chicken stock; if it’s too thin, let it simmer uncovered for a few extra minutes to reduce and thicken naturally.
What to Serve With Caramelized Onion Gravy?
This rich, savory gravy is perfect for drizzling over mashed potatoes, roasted chicken, or a hearty meatloaf dinner. I love serving it alongside roast beef or pork chops since the sweet caramelized onions complement the meat so well. It’s also fantastic over biscuits for a comforting breakfast or brunch, or you can pour it over bangers and mash for a classic British-style meal. Don’t forget it makes an excellent topping for shepherd’s pie or even just some buttered egg noodles when you want something simple and satisfying.
Storage Instructions
Refrigerate: This caramelized onion gravy keeps really well in the fridge for up to 5 days in a covered container. I actually think it tastes even better the next day because all those flavors have time to meld together. Just give it a good stir before using since it might separate a bit.
Freeze: You can freeze this gravy for up to 3 months in freezer-safe containers or ice cube trays for individual portions. I love having gravy cubes ready to go for quick weeknight dinners! Just remember to leave some room at the top of your container since it will expand when frozen.
Warm Up: To bring your gravy back to life, gently heat it on the stove over medium-low heat, whisking frequently. If it seems too thick, just add a splash of chicken stock or water until you get the consistency you want. Sometimes I need to whisk in a tiny bit more cornflour slurry if it’s gotten too thin.
| Preparation Time | 10-15 minutes |
| Cooking Time | 25-30 minutes |
| Total Time | 35-45 minutes |
| Level of Difficulty | Easy |
Estimated Nutrition
Estimated nutrition for the whole recipe (without optional ingredients):
- Calories: 120-160
- Protein: 3-5 g
- Fat: 7-10 g
- Carbohydrates: 15-20 g
Ingredients
For the gravy base:
- Pan drippings (optional, for extra richness)
- 3 cups chicken broth
- 1 tbsp olive oil (I prefer California Olive Ranch extra virgin olive oil)
- Freshly ground black pepper (for best flavor)
- 2 tbsp Worcestershire sauce
- Sea salt
- 1 large onion (thinly sliced using a mandoline or sharp knife)
For the thickener:
- 2 tbsp water
- 1 tbsp cornstarch
Step 1: Caramelize the Onions
- 1 large onion, peeled and thinly sliced
- 1 tbsp olive oil
- sea salt, as needed
Heat the olive oil in a medium saucepan over medium-high heat for about 30 seconds.
Add the sliced onions and stir to coat them with the oil.
Let the onions brown slightly for 3-5 minutes, stirring occasionally.
If the onions begin to stick, add a splash of water.
Reduce the heat to medium-low and give the onions a thorough stir.
Continue to cook, stirring occasionally, for 15 to 20 minutes, or until the onions are deeply caramelized and light brown.
Add small splashes of water as needed to prevent sticking.
Step 2: Simmer with Broth and Worcestershire Sauce
- 3 cups chicken broth
- 2 tbsp Worcestershire sauce
- pan drippings (optional)
Add all of the chicken broth at once to the caramelized onions, along with the Worcestershire sauce.
If you have pan drippings from a roasted chicken, you can add them now for extra flavor—just be sure to skim the fat off after a few minutes if needed.
Increase the heat to high and bring the mixture to a simmer for about a minute.
Then reduce the heat to low, cover the pan, and let it simmer gently for 5 minutes.
Step 3: Blend and Thicken the Gravy
- 1 tbsp cornstarch
- 2 tbsp water
- freshly ground black pepper, to taste
- sea salt, as needed
Transfer the hot mixture to a blender and blend until completely smooth.
Return the blended mixture to the saucepan over medium-high heat and bring it back to a simmer.
In a small bowl, mix the cornstarch with water to make a slurry.
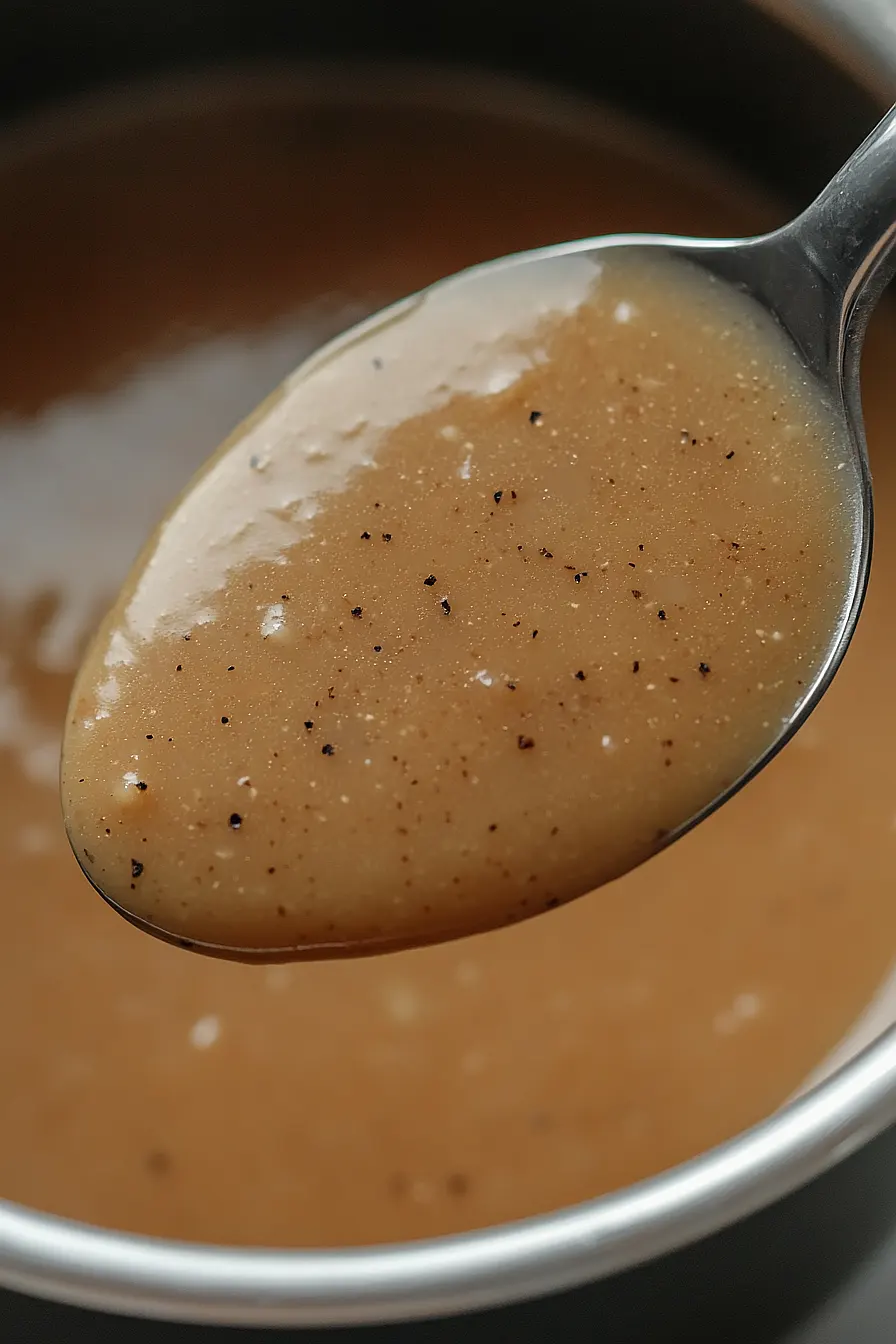
Stir this slurry into the simmering gravy and cook, stirring constantly, until the sauce thickens.
Season with freshly ground black pepper and additional salt if needed.
Serve straight away.
I like to taste and adjust with a bit more Worcestershire if I want extra depth of flavor.
