Growing up, I never paid much attention to rutabagas. They were just those waxy root vegetables that sat quietly in the produce section. But one chilly afternoon, while looking for new ways to use up extra root vegetables from my garden, I decided to try something different. Who knew that rutabagas could make such a wonderful bread? Now, this recipe has become a regular in my kitchen, especially during fall when root vegetables are at their peak.
I’ve found that rutabaga bread is perfect for those times when you want something a little different from your usual banana or zucchini bread. It’s slightly sweet, surprisingly moist, and has become one of my family’s favorite afternoon snacks. The best part? It’s a great way to sneak some extra vegetables into my kids’ diets without any complaints. Trust me, even if you’re not sure about rutabagas, this bread might just change your mind.
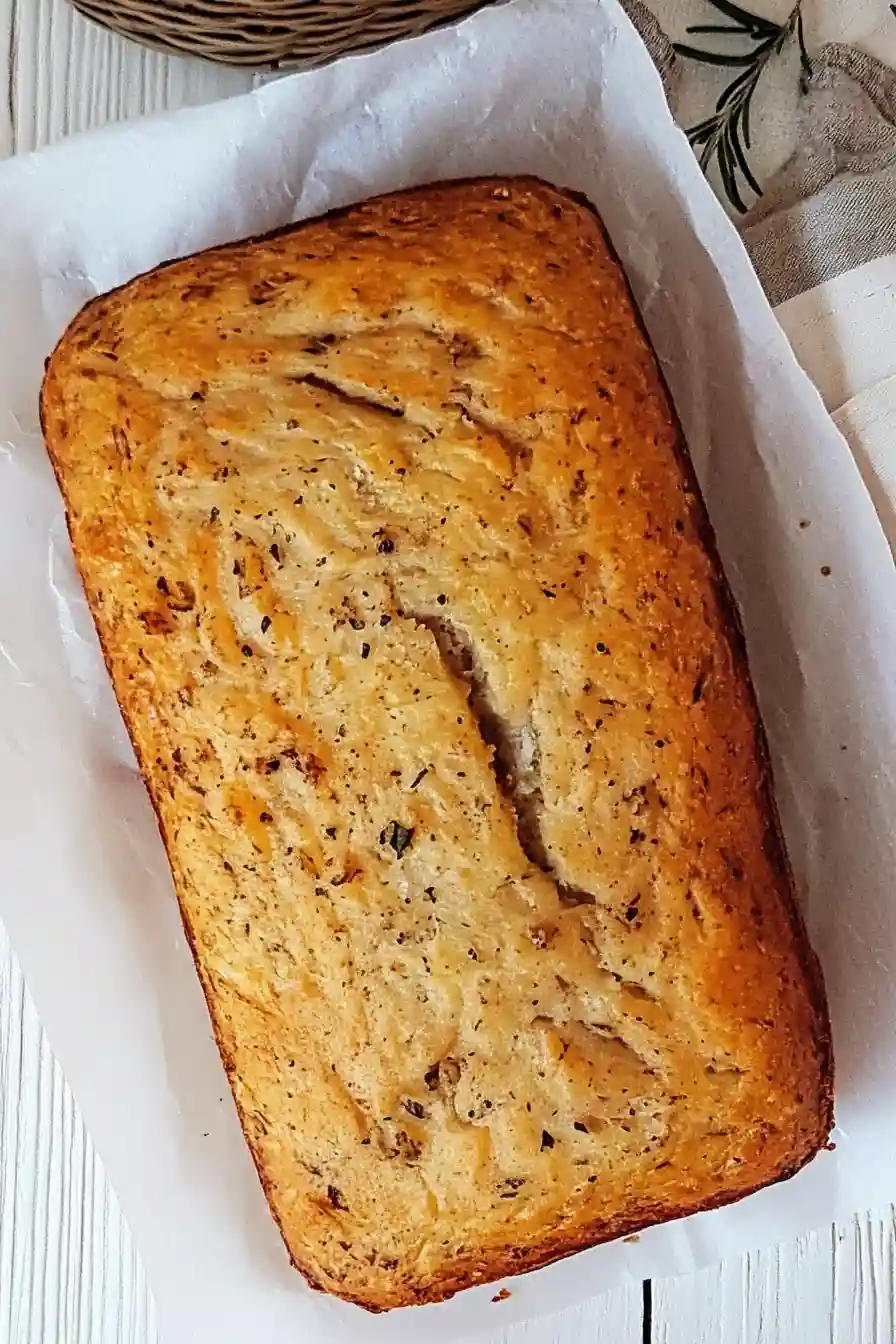
Why You’ll Love This Rutabaga Bread
- Keto and gluten-free friendly – Made with almond and coconut flour instead of wheat, this bread fits perfectly into low-carb and gluten-free eating plans.
- Unique flavor profile – The combination of rutabaga and fresh rosemary creates an interesting taste that’s different from typical grain-based breads.
- Nutrient-rich ingredients – Packed with protein from eggs and almond flour, plus vegetables sneaked right in, this bread offers more nutrition than traditional loaves.
- Meal prep friendly – You can slice and store this bread in the freezer, making it perfect for quick breakfast toast or sandwich prep throughout the week.
What Kind of Rutabaga Should I Use?
When shopping for rutabagas, look for ones that feel heavy for their size and have smooth, firm skin without major blemishes or soft spots. Most grocery stores carry rutabagas that are about 4-6 inches in diameter – these medium-sized ones are perfect since they’re usually less woody than the larger ones. You’ll want to peel your rutabaga before using it, as the skin can be quite tough and waxy (this wax coating is actually added to help preserve freshness). While yellow turnips and rutabagas are sometimes confused for each other at the store, make sure you’re getting a rutabaga – they’re larger, have a more yellowish interior, and tend to be sweeter than their turnip cousins.
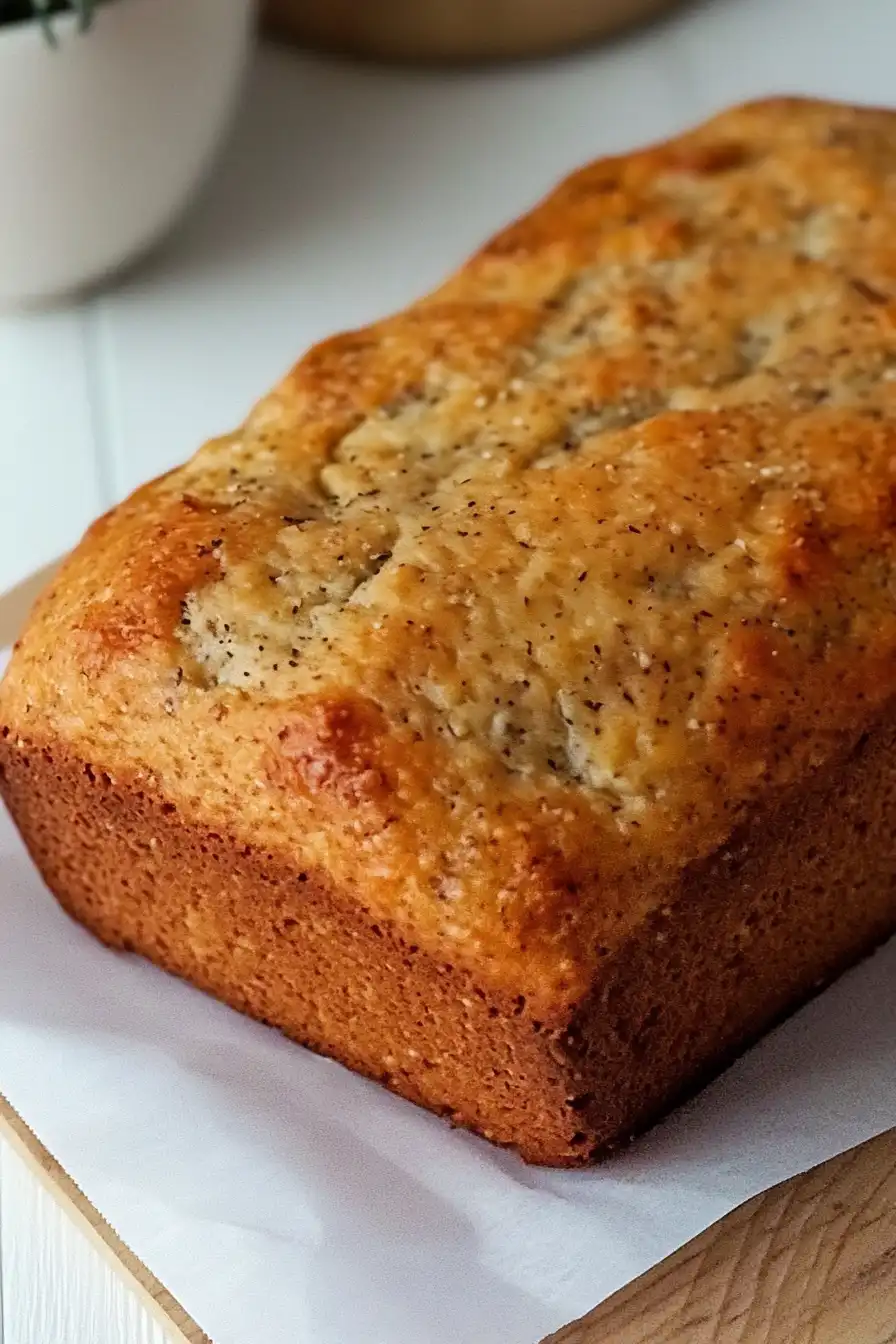
Options for Substitutions
This unique bread recipe can be adapted with several substitutions if needed:
- Rutabaga puree: If rutabaga isn’t available, you can use pureed turnip or cauliflower instead. Just make sure to drain and pat dry the substitute vegetable really well to maintain the right moisture balance.
- Almond flour: While almond flour is key for the texture, you could try using ground sunflower seeds (for a nut-free version) or cashew flour. Keep in mind that sunflower seeds might turn the bread slightly green due to a natural reaction – but it’s still safe to eat!
- Coconut flour: Coconut flour is tricky to substitute since it’s super absorbent. If you must replace it, try using 2 cups of extra almond flour instead of the 1/2 cup coconut flour – but know that the texture won’t be exactly the same.
- Apple cider vinegar: Regular white vinegar or lemon juice work just as well here – you just need something acidic to help with the rise.
- Fresh rosemary: You can use 1 teaspoon dried rosemary instead of fresh, or try other herbs like thyme or sage. Each will give the bread its own nice flavor twist.
Watch Out for These Mistakes While Baking
The success of rutabaga bread heavily depends on properly preparing the rutabaga puree – make sure to cook it until completely tender and blend until perfectly smooth, as chunks can create an uneven texture in your final loaf. A common mistake is not draining the rutabaga puree well enough, which can make your bread too wet – after pureeing, let it sit in a fine-mesh strainer for about 10 minutes to remove excess moisture. When mixing the dry ingredients, don’t skip the step of sifting the coconut flour, as it tends to clump and can create dense patches in your bread if not properly incorporated. For the best texture, avoid overmixing the batter once the wet and dry ingredients are combined – stir just until everything is incorporated, as excessive mixing can make the bread heavy and dense. Finally, test for doneness by inserting a toothpick in the center – it should come out clean, and remember that this bread needs to cool completely before slicing to achieve the perfect texture.
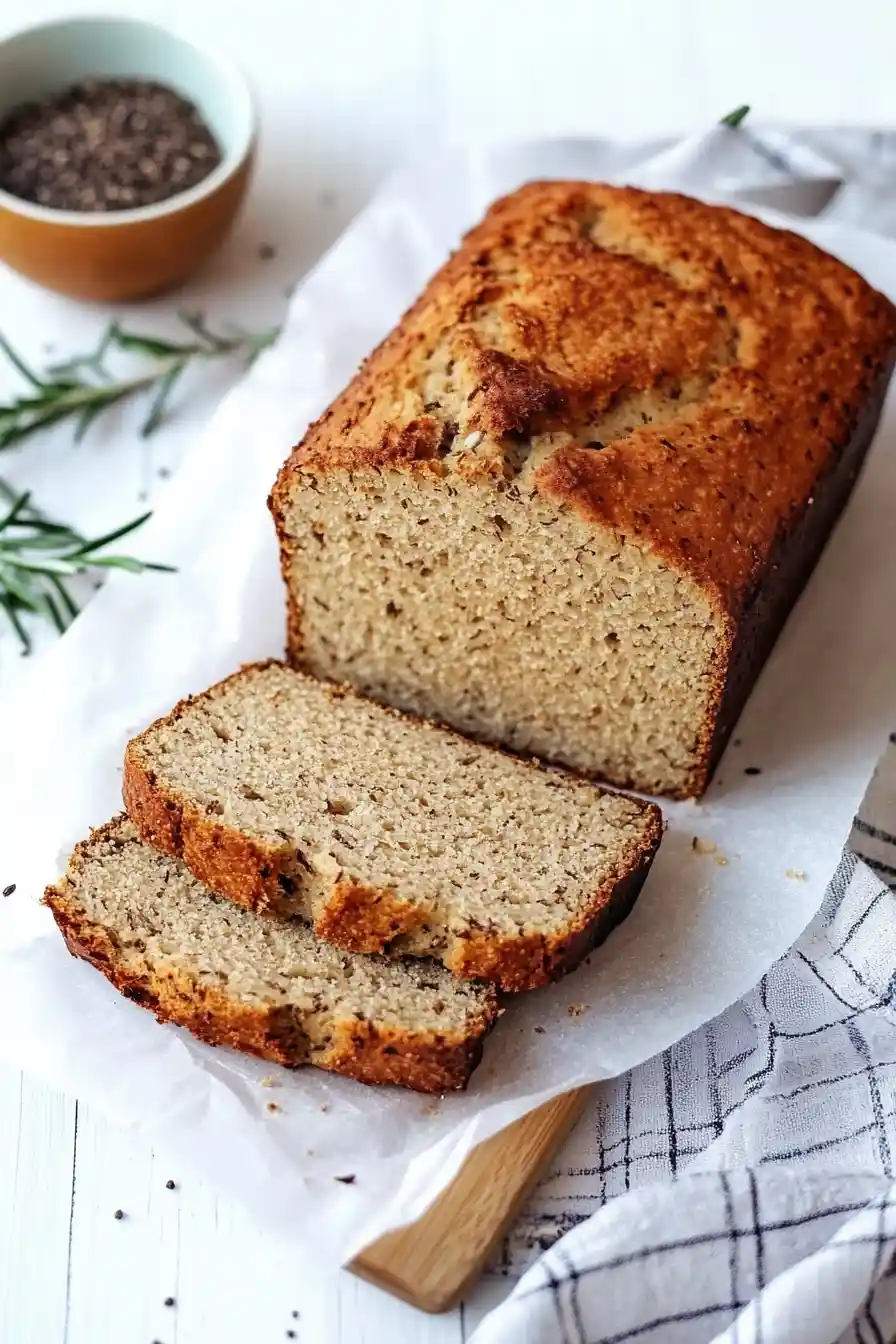
What to Serve With Rutabaga Bread?
This savory bread pairs wonderfully with soups and stews, making it perfect for cozy fall and winter meals. Since it has a slightly earthy flavor from the rutabaga and rosemary, it tastes great with a pat of butter or a spread of cream cheese. You can also use it as a base for open-faced sandwiches – try topping it with sliced turkey, chicken salad, or smashed avocado. For breakfast or brunch, toast a slice and serve it alongside eggs and bacon, or use it to make a hearty breakfast sandwich.
Storage Instructions
Counter Storage: This rustic rutabaga bread stays good at room temperature for about 2 days when wrapped well in parchment paper or stored in an airtight container. The rosemary adds a nice aroma that gets even better over time!
Refrigerate: For longer storage, keep your bread in the fridge in an airtight container or wrapped in foil. It’ll stay fresh for up to a week this way. The almond and coconut flour actually help maintain the moisture really well.
Freeze: This bread freezes really well! Slice it before freezing, place parchment paper between each slice, and pop it in a freezer bag. It’ll keep for up to 3 months. This way, you can grab just what you need when you want it.
Enjoy Later: When you’re ready to eat your frozen bread, let it thaw in the fridge overnight or at room temperature for a few hours. A quick toast in the toaster or oven will bring back that fresh-baked taste and make it slightly crispy on the outside.
| Preparation Time | 15-30 minutes |
| Cooking Time | 40-45 minutes |
| Total Time | 55-75 minutes |
| Level of Difficulty | Medium |
Estimated Nutrition
Estimated nutrition for the whole recipe (without optional ingredients):
- Calories: 2200-2500
- Protein: 90-100 g
- Fat: 150-160 g
- Carbohydrates: 150-160 g
Ingredients
- 1/2 cup sifted coconut flour
- 1 cup pureed rutabaga (steamed until tender and then pureed for best texture)
- 3 cups ground almond flour (blanched almond flour works best here)
- 1 tsp baking soda
- 1 tsp salt
- 1 tsp apple cider vinegar
- 1 tbsp finely chopped fresh rosemary
- 4 eggs (room temperature for better emulsification)
- black pepper as desired (freshly ground for best flavor)
- 1/2 tbsp olive oil (I prefer extra virgin olive oil)
Step 1: Prepare and Cook the Rutabaga
Start by peeling and cutting a large rutabaga (about 1 1/2 lbs) into 1-inch cubes.
Place these in a medium saucepan and add a pinch of salt, then enough water to just cover the cubes.
Bring the water to a boil, then cover the pan and reduce the heat.
Let the rutabaga simmer for about 30 minutes, or until the cubes are tender and can be easily pierced with a fork.
Step 2: Make the Rutabaga Puree
Transfer the cooked rutabaga cubes along with the cooking water to a food processor or blender and puree until the mixture is very smooth.
Alternatively, you can mash the cooked cubes directly in the saucepan with a potato masher, adding a bit of the cooking water to reach your desired consistency.
Allow the puree to cool, then store it in a covered container in the refrigerator until ready to use, or for up to 3 to 5 days.
This should yield about 2 1/2 cups of puree.
Step 3: Prepare the Loaf Pan and Dry Ingredients
Preheat the oven to 325 degrees F (163 degrees C).
Brush a loaf pan lightly with oil, then line it with parchment paper to prevent sticking, and set it aside.
In a medium-sized bowl, whisk together almond flour, coconut flour, baking soda, salt, pepper, and finely minced rosemary.
Set this mixture aside as well.
Step 4: Combine Wet and Dry Ingredients
In a large bowl, combine the rutabaga puree, oil, eggs, and apple cider vinegar.
Mix these ingredients well to ensure they are fully incorporated.
Add the dry ingredients to the wet mixture and stir until everything is just combined.
Pour the prepared batter into the lined loaf pan.
Step 5: Bake the Bread
Place the loaf pan in the preheated oven and bake for 40 to 45 minutes, or until a toothpick inserted into the center of the bread comes out clean.
Remove the bread from the oven and allow it to cool in the pan for about 10 minutes.
Afterward, carefully remove the bread from the pan and let it cool completely on a wire rack before slicing and serving.