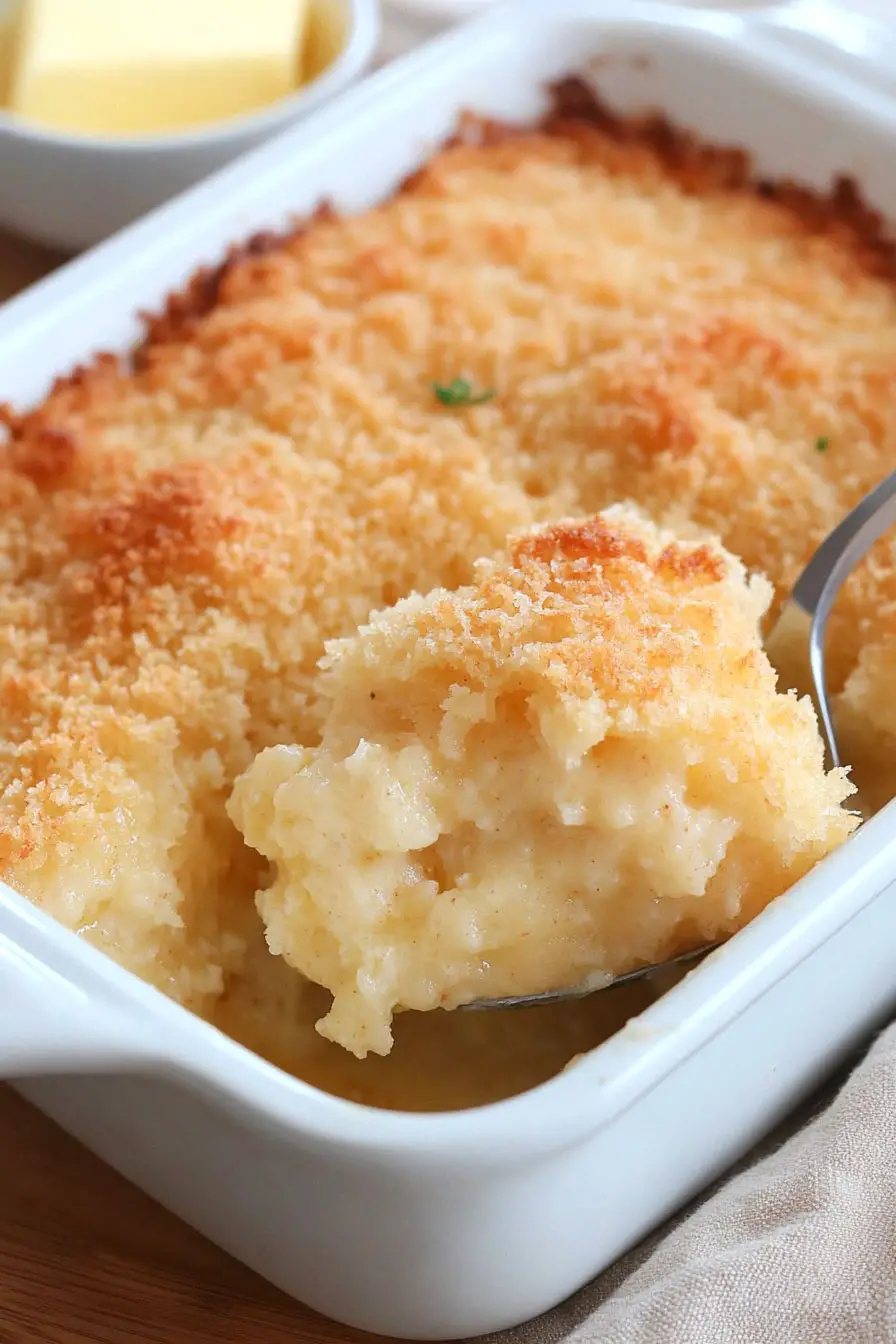
Let me tell you about turnip puff – a side dish that’s become a regular at our family dinners. For years, I walked right past turnips at the grocery store, not quite sure what to do with them. But this recipe changed everything. It’s like mashed potatoes got dressed up for a party, but with a lighter, slightly sweet twist that even my picky eaters enjoy.
I started making this dish when I was looking for ways to add more vegetables to our meals without the usual dinnertime negotiations. What I love most is how simple it is – just a few ingredients and minimal prep time. Plus, you can make it ahead and pop it in the oven right before dinner, which is perfect for those busy weeknight meals or holiday gatherings when your stove is already working overtime.

Why You’ll Love This Turnip Puff
- Easy veggie upgrade – This recipe transforms plain turnips into a light, fluffy side dish that even vegetable skeptics will enjoy – it’s nothing like regular boiled turnips!
- Make-ahead friendly – You can prepare this dish in advance and pop it in the oven just before dinner, making it perfect for busy weeknights or holiday meals.
- Simple ingredients – Everything you need is likely already in your pantry – just grab some turnips and basic baking staples.
- Budget-friendly side dish – Turnips are an inexpensive vegetable, and this recipe stretches them into a satisfying side dish that can feed a whole family.
What Kind of Turnips Should I Use?
For this comforting turnip puff, you’ll want to look for fresh, young turnips that are small to medium in size – about 2 to 3 inches across. These smaller turnips tend to be sweeter and more tender than their larger counterparts, which can sometimes be woody and bitter. The most common variety you’ll find at the grocery store is the purple-top white globe turnip, and it works perfectly in this recipe. When selecting your turnips, pick ones that feel heavy for their size and have smooth, unblemished skin. If the turnips come with the greens attached, look for fresh, bright leaves, as this is usually a good indicator that the turnips themselves are fresh too.
Options for Substitutions
Here are some helpful swaps you can try with this recipe:
- Turnips: If turnips aren’t your thing, try using rutabaga or parsnips instead. You could even use cauliflower, but you’ll need to drain it really well after cooking to avoid excess moisture.
- All-purpose flour: For a gluten-free version, you can use rice flour or a 1:1 gluten-free flour blend. Cornstarch works too, but reduce the amount to 2 tablespoons.
- Brown sugar: Feel free to swap with maple syrup or honey – use the same amount. You can even skip it if you prefer a more savory dish.
- Breadcrumbs: Try crushed crackers, crushed cornflakes, or ground nuts for a different texture. For gluten-free options, use gluten-free breadcrumbs or crushed rice crackers.
- Butter: You can use olive oil or coconut oil instead. For dairy-free needs, plant-based butter works just as well.
- Eggs: For each egg, you can use 1/4 cup of unsweetened applesauce or a flax egg (1 tablespoon ground flaxseed mixed with 3 tablespoons water). Just note that the texture might be slightly different.
Watch Out for These Mistakes While Cooking
The biggest challenge when cooking turnips is avoiding that bitter, overwhelming taste that can turn people away – the solution is to boil them in salted water until they’re very tender, then drain thoroughly and let them steam dry for a few minutes.
Another common mistake is not mashing the turnips well enough before adding other ingredients, which can lead to a lumpy, uneven texture – take the time to mash them completely smooth while they’re still hot, and your puff will turn out light and fluffy.
Temperature control is crucial: if your oven is too hot, the outside will brown too quickly while the inside stays dense and heavy – stick to 375°F (190°C) and check for even browning about halfway through baking.
For the best texture, make sure to squeeze out any excess moisture from the mashed turnips before mixing in the other ingredients, and don’t skip the breadcrumb topping – it adds a wonderful crunch that contrasts beautifully with the creamy interior.
What to Serve With Turnip Puff?
This light and fluffy turnip side dish pairs really well with roasted meats – especially a nice Sunday roast chicken or holiday turkey. Since it’s already got a slightly sweet note from the brown sugar, it works great alongside other savory dishes like meatloaf or grilled pork chops. I like to round out the meal with some green vegetables like roasted Brussels sprouts or steamed green beans to add different colors and textures to the plate. If you’re serving this for a holiday meal, it fits right in with other classic sides like cranberry sauce and stuffing.
Storage Instructions
Keep Fresh: Once your turnip puff has cooled down, pop it in an airtight container and store it in the fridge for up to 3 days. The texture stays pretty good, though it might not be quite as light as when it’s fresh from the oven.
Make Ahead: You can prep this dish a day in advance! Just assemble everything up to the point before adding the breadcrumb topping, cover it well, and keep it in the fridge. When you’re ready to bake, add the breadcrumb-butter mixture and pop it in the oven. It might need an extra 5-10 minutes of baking time if it’s coming straight from the fridge.
Warm Up: To bring back that fresh-baked taste, warm your turnip puff in a 350°F oven for about 15-20 minutes. Cover it with foil to prevent the top from getting too brown. You can also microwave individual portions, though the breadcrumb topping won’t be as crispy.
| Preparation Time | 20-30 minutes |
| Cooking Time | 25-30 minutes |
| Total Time | 45-60 minutes |
| Level of Difficulty | Medium |
Estimated Nutrition
Estimated nutrition for the whole recipe (without optional ingredients):
- Calories: 450-500
- Protein: 12-15 g
- Fat: 25-30 g
- Carbohydrates: 50-55 g
Ingredients
For the turnip base:
- 1 tbsp packed brown sugar (dark brown sugar for richer flavor)
- a pinch nutmeg
- 2 beaten eggs (large, at room temperature)
- salt to taste
- 2 tbsp butter
- black pepper to taste (freshly ground for best aroma)
- 6 cups diced turnips
For the dry ingredients:
- 3 tbsp all-purpose flour
- 1 tsp baking powder
For the topping:
- 1/2 cup fine breadcrumbs
- 2 tbsp melted butter
Step 1: Prepare and Mash the Turnips
Begin by cooking the turnips until they become tender.
Once cooked, drain the turnips thoroughly and mash them by hand until they reach a smooth consistency.
This step can be done a day ahead to save time.
Step 2: Add Butter and Eggs
To the mashed turnips, add the desired amount of butter and eggs.
Beat the mixture well to ensure that all the ingredients are thoroughly combined and the mixture is smooth and homogeneous.
Step 3: Prepare the Dry Ingredients
In a separate bowl, combine your choice of flour with sugar, baking powder, preferred seasoning, and a pinch of nutmeg.
Mix the dry ingredients well until they are uniformly distributed.
Step 4: Combine Wet and Dry Mixtures
Stir the prepared dry ingredients into the mashed turnip mixture, ensuring everything is well combined.
This will form a smooth batter.
Step 5: Prepare the Casserole Dish
Pour the mixture into a buttered casserole dish, spreading it evenly.
This will ensure an even bake and allow for a uniform texture throughout the dish.
Step 6: Add the Topping and Bake
In a small bowl, mix breadcrumbs with some butter until they are well coated.
Evenly sprinkle the breadcrumb mixture on top of the turnip mixture in the casserole dish.
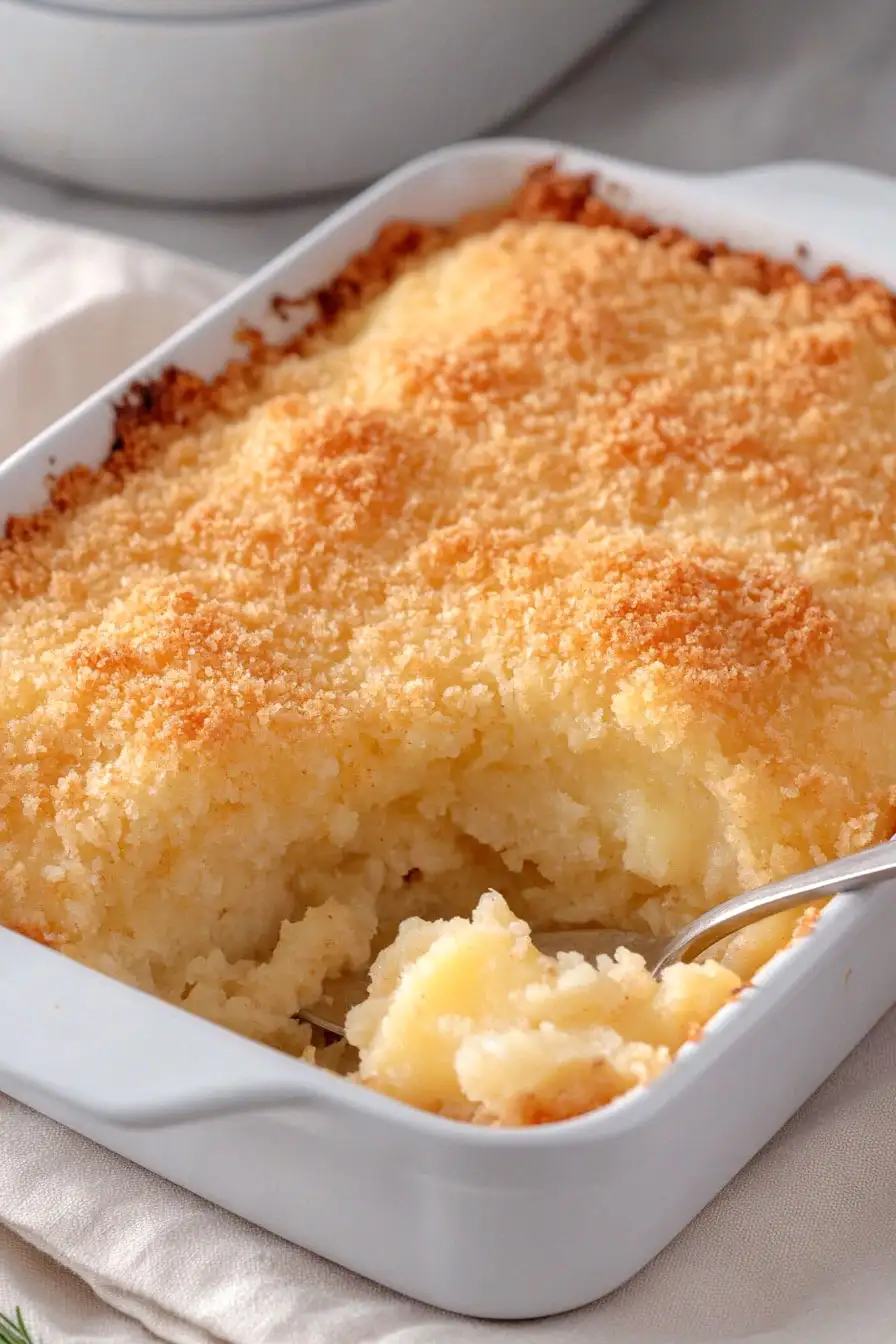
Bake in a preheated oven at 375°F (190°C) for 25 minutes or until the top is light brown and crispy.
Step 7: Serve
Once baked to a golden brown, remove the casserole dish from the oven.
Allow it to cool slightly before serving.
Enjoy this savory and comforting dish as a delightful side or main course.
