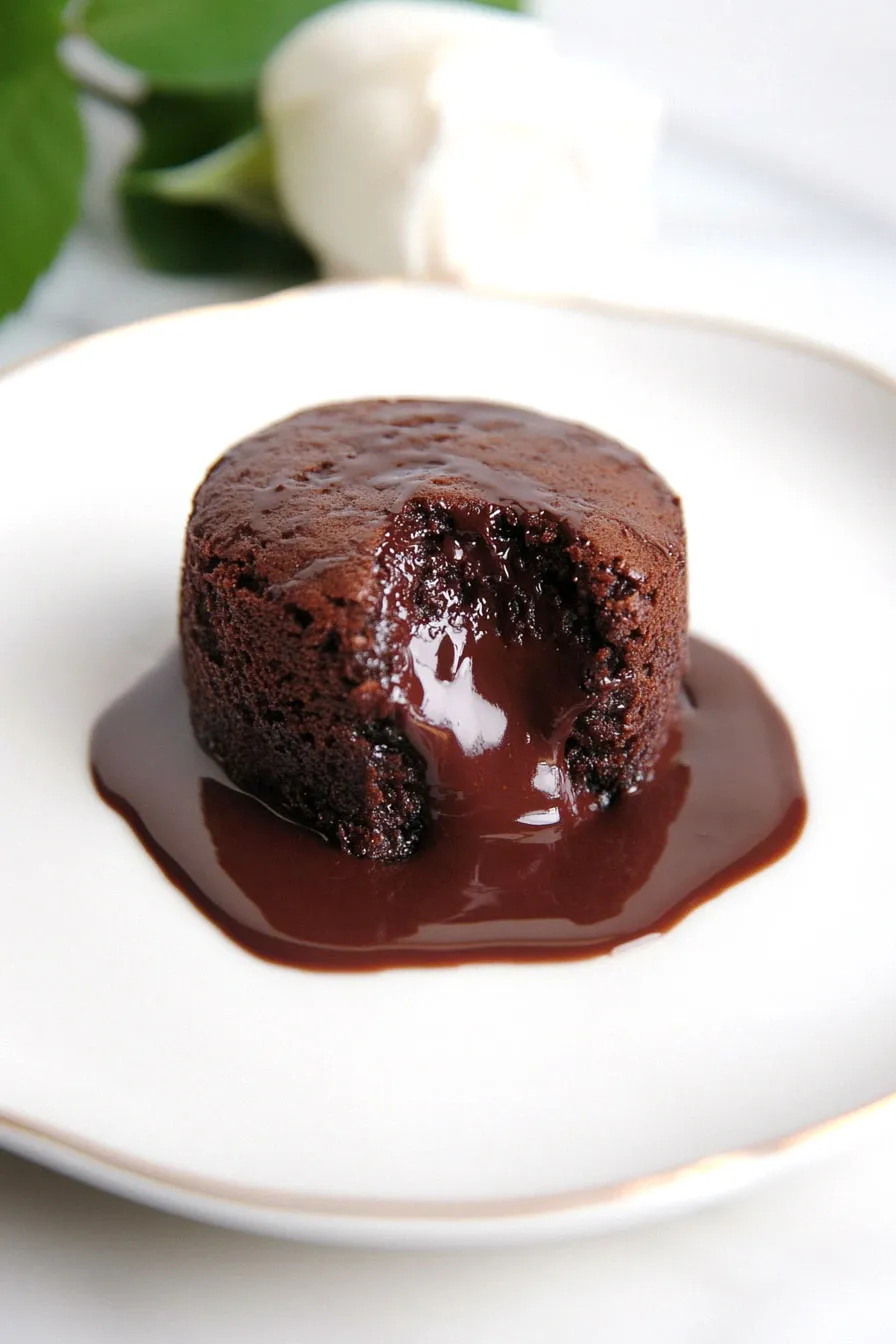
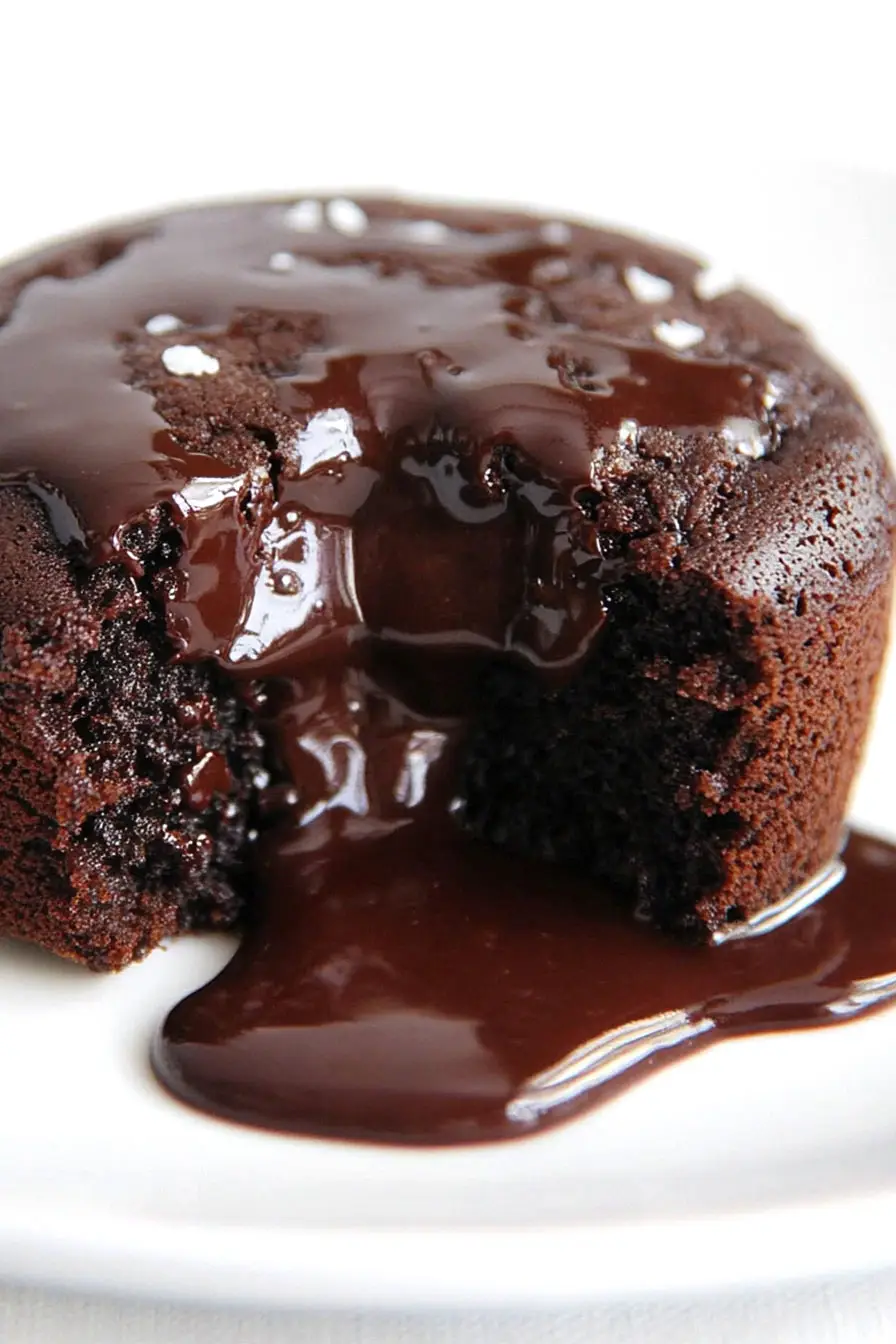
If you ask me, chocolate lava cakes are one of the best desserts ever created.
This no-oven version brings all the warm, gooey goodness of a traditional lava cake right to your stovetop. The rich chocolate center flows like magic when you break into the cake, and you don’t even need to turn on your oven.
It’s made with basic pantry ingredients and comes together in just a few simple steps using a regular pan and steam method. The outside stays perfectly soft while hiding that irresistible molten chocolate inside.
It’s a cozy dessert that feels fancy but is actually super easy to make, perfect for those chocolate cravings when you want something special.

Why You’ll Love This No-Bake Chocolate Lava Cake
- No oven needed – Perfect for those hot summer days or when you don’t have access to an oven – you can still enjoy a warm, gooey chocolate dessert using just your stovetop.
- Quick preparation – Ready in just about 30 minutes from start to finish, making it perfect for those sudden dessert cravings or last-minute guests.
- Simple ingredients – Uses basic pantry staples that you likely already have at home – no fancy or hard-to-find ingredients required.
- Budget-friendly dessert – Made with affordable ingredients like flour, cocoa powder, and milk, this recipe gives you a restaurant-style dessert without the restaurant price tag.
- Foolproof recipe – With just a few simple steps and basic ingredients, even beginner bakers can create this impressive dessert successfully.
What Kind of Chocolate Should I Use?
For this no-bake lava cake, compound chocolate is the star ingredient, and picking the right one matters. Dark compound chocolate typically works best since it has a stronger chocolate flavor that really shines through in the final dessert, though milk compound chocolate can work if you prefer a sweeter taste. Since compound chocolate contains vegetable oils instead of cocoa butter, it melts more easily and stays more stable at room temperature than regular chocolate – which is perfect for this recipe. Just make sure your compound chocolate is fresh and stored properly, as old chocolate can develop a whitish coating (called bloom) that might affect the texture of your cake.
Options for Substitutions
Making this no-oven chocolate lava cake but missing some ingredients? Here are some helpful swaps you can try:
- All-purpose flour: You can use cake flour for an even softer texture, or substitute with whole wheat flour (though this will make it denser). If using whole wheat, reduce the amount to 60 grams.
- Cocoa powder: Both natural and Dutch-processed cocoa powder work here. Just avoid hot chocolate powder as it contains sugar and won’t give the same results.
- Icing sugar: Regular granulated sugar works too – just blend it in a food processor until fine. You can also use castor sugar without any adjustments.
- Compound chocolate: Feel free to use regular dark chocolate or semi-sweet chocolate chips instead. If using chocolate chips, add an extra 5 grams of butter to help with melting.
- Milk: Any type of milk works here – whole, 2%, or plant-based options like almond or soy milk. For a richer taste, you can even use a mix of milk and cream.
- Butter: Margarine or neutral-flavored oil can work as substitutes, keeping the same measurement. However, butter gives the best flavor, so try to stick with it if possible.
Watch Out for These Mistakes While Cooking
The biggest challenge when making stovetop lava cake is maintaining the right temperature – too high heat will burn the bottom while leaving the center raw, so keep your flame on medium-low and use a heavy-bottomed pan with a tight-fitting lid.
Getting that perfect molten center depends on your timing – removing the cake too early will leave it completely liquid inside, while cooking too long will give you a regular chocolate cake without the signature gooey center, so aim for about 15-20 minutes or until the edges are set but the center still jiggles slightly.
Many home cooks skip greasing their pan properly, which leads to the cake sticking and breaking apart when unmolding – be generous with butter and dust with cocoa powder, not flour, to maintain that rich chocolate color.
For the smoothest chocolate mixture, make sure to sift your dry ingredients and melt the chocolate gradually using a double-boiler method (or short bursts in the microwave), as direct heat can cause the chocolate to seize up and become grainy.
What to Serve With Chocolate Lava Cake?
This warm, gooey chocolate lava cake is begging for some cool, creamy toppings to make it even more special! A scoop of vanilla ice cream is the most popular choice – the way it melts into the warm cake creates the perfect temperature contrast. You can also keep it simple with a dollop of whipped cream and some fresh berries like strawberries or raspberries on the side. For an extra special touch, try drizzling some caramel sauce over the top, or dust the plate with a little powdered sugar before serving.
Storage Instructions
Keep Fresh: These no-bake chocolate lava cakes are best enjoyed right after they’re made while the center is still warm and gooey. If you have any leftovers, you can keep them in the fridge in an airtight container for up to 2 days, though the molten center will firm up.
Make Ahead: Want to prep these ahead? You can mix the batter and pour it into your ramekins or molds, then keep them in the fridge for up to 24 hours before steaming. Just remember to bring them to room temperature for about 30 minutes before cooking.
Warm Up: If you’re working with leftover lava cakes from the fridge, steam them gently for about 1-2 minutes to warm them up. Keep in mind that reheating might change the texture of the molten center, so they might not be quite as gooey as when freshly made.
| Preparation Time | 15-20 minutes |
| Cooking Time | 10-12 minutes |
| Total Time | 25-32 minutes |
| Level of Difficulty | Medium |
Estimated Nutrition
Estimated nutrition for the whole recipe (without optional ingredients):
- Calories: 950-1050
- Protein: 20-25 g
- Fat: 40-50 g
- Carbohydrates: 130-140 g
Ingredients
- 1 oz cocoa powder (natural unsweetened preferred)
- 0.09 oz baking powder
- 1.8 oz icing sugar
- 6.5 oz milk (whole milk for richness)
- 3.5 oz compound chocolate (finely chopped for easier melting)
- 0.35 oz room temp butter (I like Kerrygold unsalted butter)
- 2.4 oz all-purpose flour
Step 1: Prepare the Mold
Start by preparing your mold: place a sheet of aluminum foil inside a small glass or bowl, folding it four times to cover the base.
Adjust the height of the foil to about 7 – 9.5 cm, and fold the top edge over to make it stiffer and more stable.
Step 2: Preheat the Pressure Cooker
In your pressure cooker, evenly spread a layer of salt over the bottom to create a buffer for even heat distribution.
Place a stovetop plate where the mold will be positioned.
Cover the pressure cooker and preheat it over medium to high heat for about 10 minutes, ensuring it reaches the right temperature for baking.
Step 3: Sift the Dry Ingredients
In a sieve, combine the flour, Tulip Bordeaux Cocoa Powder, powdered sugar, and baking powder.
Sift these ingredients into a bowl to ensure all lumps are removed, resulting in a smooth mixture.
Step 4: Prepare the Chocolate Mixture
Melt the Tulip Compound Chocolate using a double boiler, stirring continuously until completely melted.
Once melted, add room temperature butter to the chocolate and stir until they are fully combined, resulting in a smooth chocolate mixture.
Step 5: Combine Ingredients
Add the melted chocolate mixture to the bowl of sifted dry ingredients.
Mix thoroughly to ensure the chocolate is evenly distributed.
Next, incorporate the prepared milk, mixing until you have a uniform batter.
Step 6: Fill and Tap the Molds
Lightly grease the inside of the aluminum foil molds with a bit of oil to prevent sticking.
Pour the batter into each mold, filling them about ¾ full—avoid overfilling to allow the batter room to rise.
Tap the molds gently on the counter to eliminate any air bubbles trapped inside.
Step 7: Bake in the Pressure Cooker
Carefully place the filled molds into the preheated pressure cooker.
Allow them to bake for 10 to 12 minutes over medium to high heat, checking they don’t overcook.
Once done, remove the molds, let them cool slightly, and enjoy your creation!
