If you ask me, pickled okra is seriously underrated.
This Southern-inspired snack brings a tangy crunch that’ll make you wonder why you haven’t tried it before. Fresh okra pods meet the perfect blend of garlic and dill, all swimming in a zesty brine that gives them just the right kick.
The pickling process is wonderfully simple – just pack your okra into jars with fresh garlic and dill sprigs, then pour in the hot vinegar mixture. After a few days in the fridge, they’re ready to enjoy.
It’s a great way to preserve summer’s okra harvest, and these crunchy bites make the perfect addition to any appetizer spread or sandwich plate.
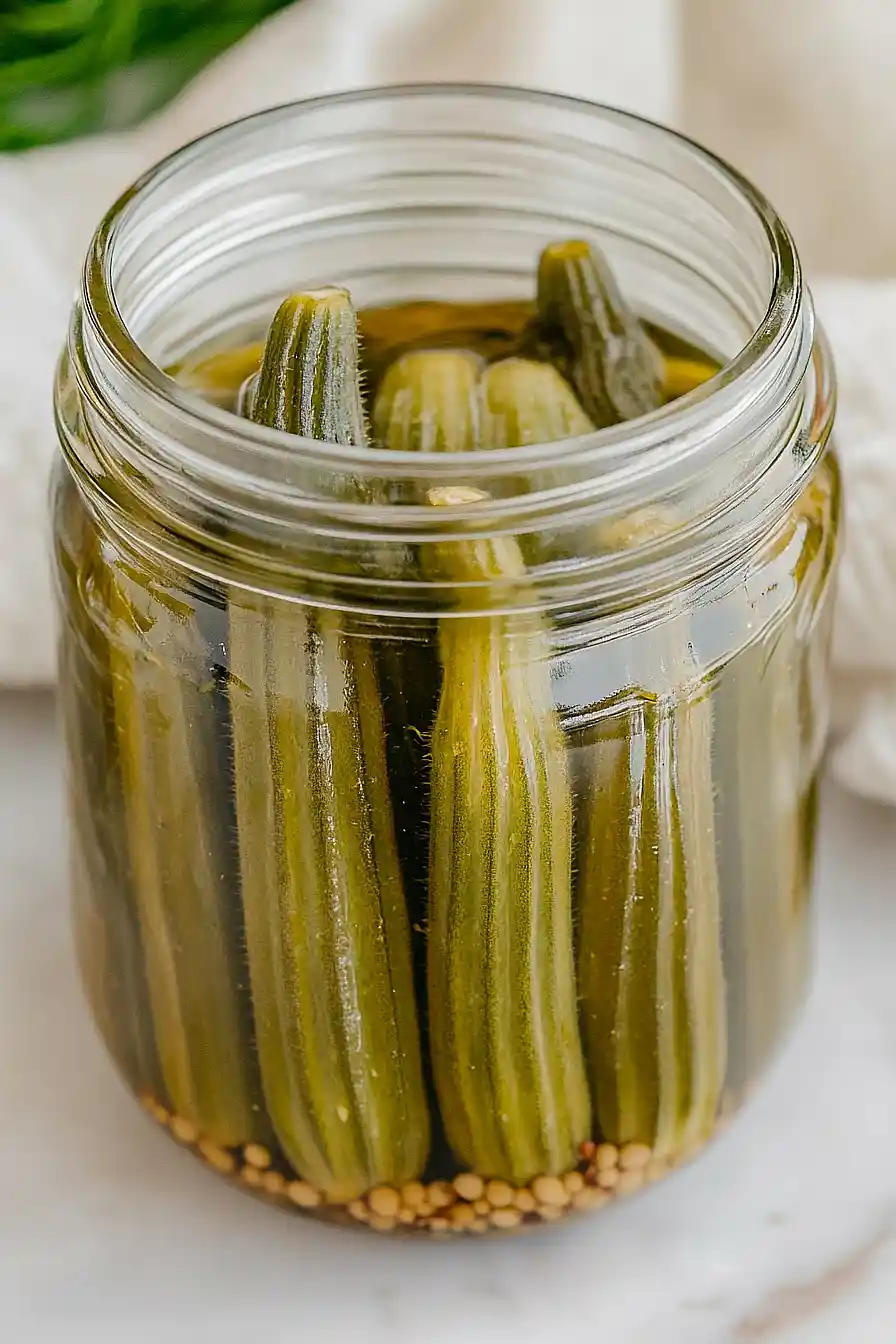
Why You’ll Love This Pickled Okra
- Easy preservation method – If you’ve never pickled before, this recipe is perfect for beginners – just pack the jars, pour in the brine, and let time do the work.
- No special equipment needed – All you need are basic mason jars and simple ingredients from your pantry – no fancy canning equipment required.
- Healthy snack option – These pickles are naturally low-carb, probiotic-rich, and make a perfect tangy side dish or snack that’s both paleo and keto-friendly.
- Long shelf life – These pickles will keep in your refrigerator for several months, making them perfect for preserving summer okra well into fall.
What Kind of Okra Should I Use?
For pickling, you’ll want to look for young, small to medium-sized okra pods that are bright green and feel firm when you give them a gentle squeeze. The smaller pods (about 2-3 inches long) are ideal since they’ll fit nicely in your mason jars and tend to be more tender than larger ones. Try to pick okra that’s free from brown spots or blemishes, and avoid any pods that feel soft or mushy. Fresh okra is best when used within 2-3 days of purchase, so try to pickle them soon after bringing them home. If you’re growing your own okra, harvest the pods in the morning when they’re at their crispest and use them the same day for the best results.
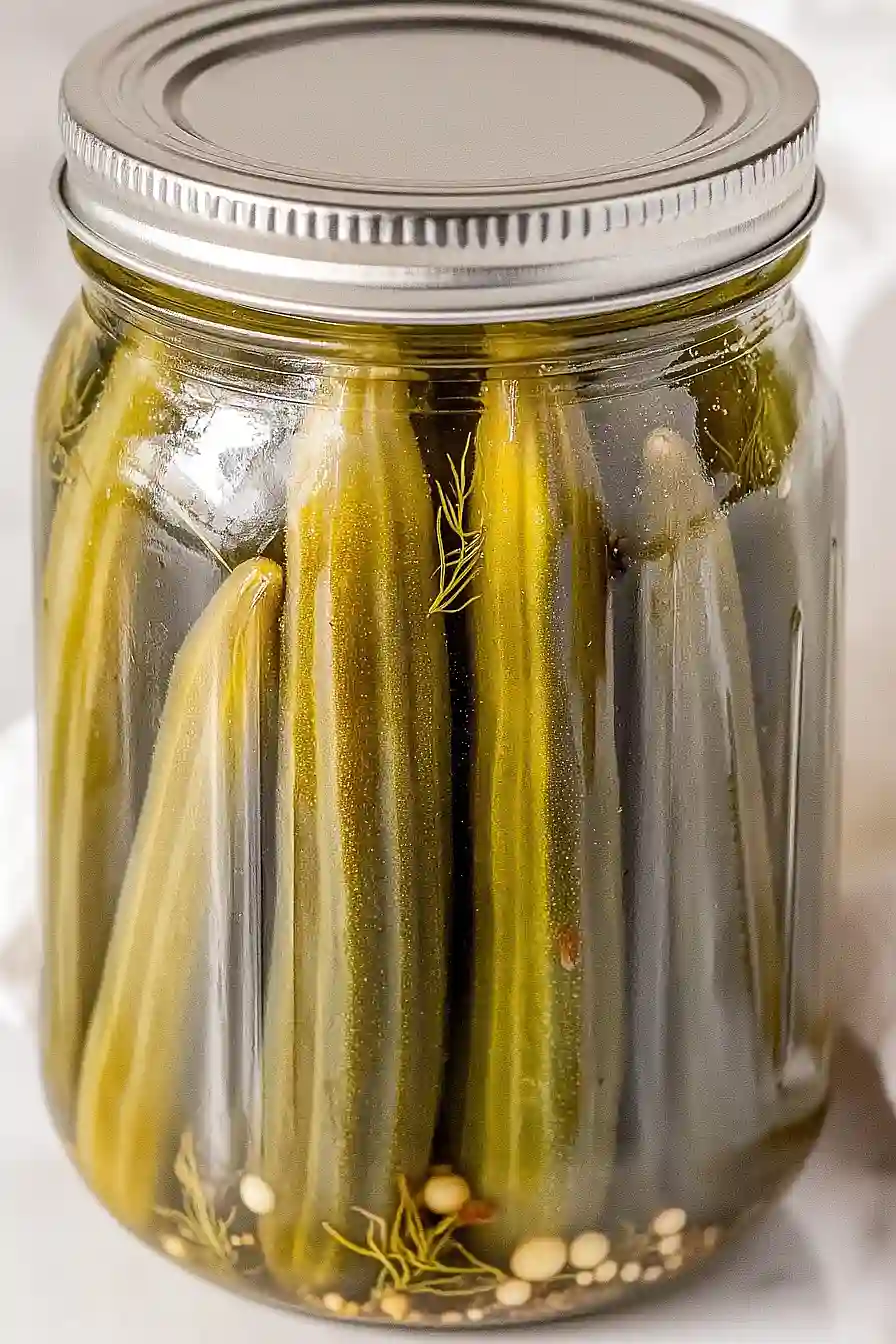
Options for Substitutions
While pickling is pretty specific, there are still some ways you can switch things up in this recipe:
- Okra: Fresh okra is key here and can’t really be substituted – you’ll want firm, young pods for the best results. But if you’re into experimenting, you can use this same brine for green beans or small cucumbers.
- Apple cider vinegar: While apple cider vinegar gives a nice flavor, you can use white vinegar or rice vinegar instead. Just make sure whatever vinegar you use is at least 5% acidity for safe pickling.
- Dried dill: Fresh dill works great too – use about 4-6 sprigs per jar. You could also try other herbs like fresh thyme or tarragon for a different flavor profile.
- Garlic: If you’re out of fresh garlic, you can use 1/2 teaspoon of garlic powder per jar. Though fresh really does work best here!
- Sea salt: Any pure, non-iodized salt works fine – kosher salt or pickling salt are good alternatives. Just don’t use table salt as it can make your brine cloudy and affect the taste.
Watch Out for These Mistakes While Pickling
The biggest challenge when pickling okra is choosing the wrong size pods – for the crispiest results, select young, small okra pods that are no longer than 3 inches, as larger ones tend to become woody and tough during the pickling process.
A common mistake is not trimming the stems properly – leave about 1/4 inch of the stem intact to prevent the okra from becoming mushy and to keep the seeds from spilling out during fermentation.
Temperature control is crucial – storing your pickled okra in a spot that’s too warm can lead to soft, mushy results, so keep your jars in a cool, dark place between 65-75°F during the fermentation process.
For the best flavor development, resist the urge to open the jars too early – let them pickle for at least 48 hours, though waiting a full week will give you the perfect balance of tanginess and crunch.
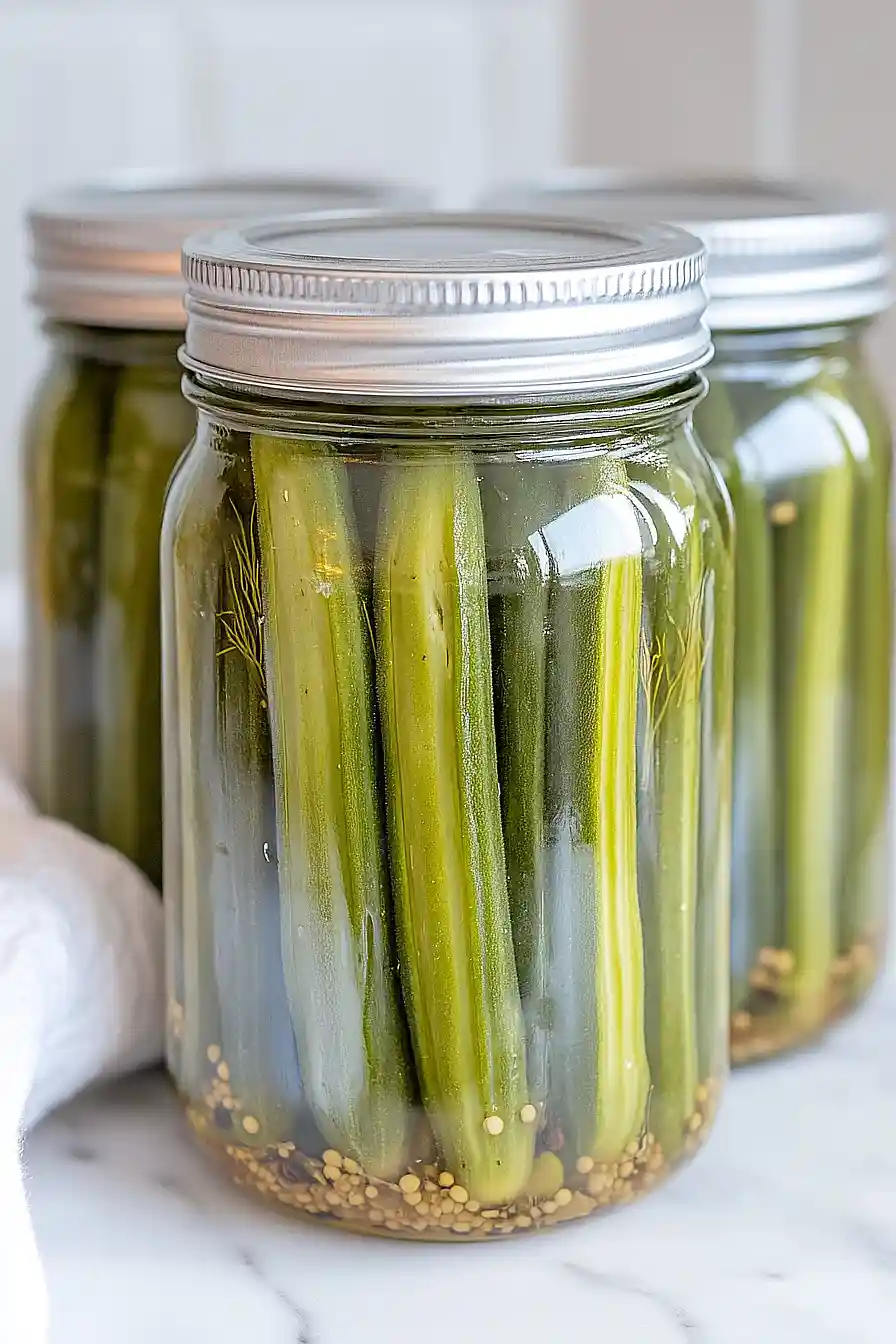
What to Serve With Pickled Okra?
Pickled okra makes an awesome addition to so many meals – I love putting these crunchy pods out as part of a bigger spread! They’re perfect on a charcuterie board alongside some sharp cheddar, salami, and crackers. For casual gatherings, try adding them to a Bloody Mary as a garnish, or chop them up to add some zip to potato salad or tuna salad. These tangy pickles also work great as a side dish with barbecue, fried chicken, or any Southern-style meal where you want something acidic to cut through rich flavors.
Storage Instructions
Keep Fresh: Once your pickled okra is ready, these tangy treats will stay good in the refrigerator for up to 6 months when stored in their sealed mason jars. Just make sure the okra stays completely submerged in the brine to maintain that perfect pickle crunch!
Before Opening: Unopened jars of pickled okra can hang out in a cool, dark pantry for up to a year. I like to keep them in the back of my cabinet where it’s nice and dark. Just remember to check that the seal is tight and there’s no bulging on the lid.
After Opening: Once you crack open a jar, keep it in the fridge and try to eat the okra within 3-4 weeks. The longer they sit in the brine, the more intense the flavor becomes – some folks love this! Give the jar a gentle shake now and then to distribute the spices.
| Preparation Time | 20-30 minutes |
| Cooking Time | 0-5 minutes |
| Total Time | 24 hours + 20-30 minutes |
| Level of Difficulty | Easy |
Estimated Nutrition
Estimated nutrition for the whole recipe (without optional ingredients):
- Calories: 50-100
- Protein: 2-4 g
- Fat: 0-1 g
- Carbohydrates: 12-15 g
Ingredients
For the pickled okra:
- 2 lb fresh okra pods (look for small, tender pods, about 2-4 inches long)
- 2 garlic cloves (minced for best flavor)
- 2 tsp black pepper
- 2 tsp dried dill weed (I use the McCormick brand)
For the brine:
- 1/4 cup sea salt
- 2 cups apple cider vinegar
- 2 cups warm water
Equipment:
- 1 jar (about 48 oz capacity, like a large mason jar)
Step 1: Sterilize the Mason Jars
- mason jars (to hold 48 oz total)
- 2 cups apple cider vinegar
Begin by sterilizing your mason jars to ensure they are clean and safe for pickling.
You can do this by boiling the jars for several minutes or rinsing them with a bit of apple cider vinegar.
Make sure your jars collectively hold 48 ounces to fit all the ingredients.
Step 2: Prepare and Pack the Okra
- 2 lb fresh okra pods
- mason jars (from Step 1)
Clean the fresh okra pods thoroughly under cool running water.
Once cleaned, carefully pack the okra into the sterilized jars, leaving at least 1 inch of space from the top of each jar to allow room for the brine.
Step 3: Add Aromatics to the Jars
- 2 minced garlic cloves
- 2 tsp dried dill weed
- 2 tsp ground black pepper
Divide the minced garlic, dried dill weed, and ground black pepper evenly among the packed jars, sprinkling them over the okra.
I like to gently tap the jars after adding the spices so they’re distributed around the okra for more even flavor.
Step 4: Make and Pour the Brine
- 2 cups warm water
- 2 cups apple cider vinegar (remaining from Step 1)
- 1/4 cup sea salt
In a large bowl or measuring cup, whisk together the warm water, apple cider vinegar, and sea salt until the salt is fully dissolved.
Carefully pour the brine mixture over the okra in each jar, making sure to leave about 1/2 inch of space from the top.
This headspace is important for proper pickling.
Step 5: Seal and Marinate the Pickled Okra
Seal the jars tightly with their lids.
Place the jars in the refrigerator and let them marinate for at least 24 hours before serving.
The flavors will continue to develop over the next few days.
I like to give the jars a gentle shake after a few hours to make sure the spices are well distributed.
Store the pickled okra in the refrigerator for up to three weeks.

