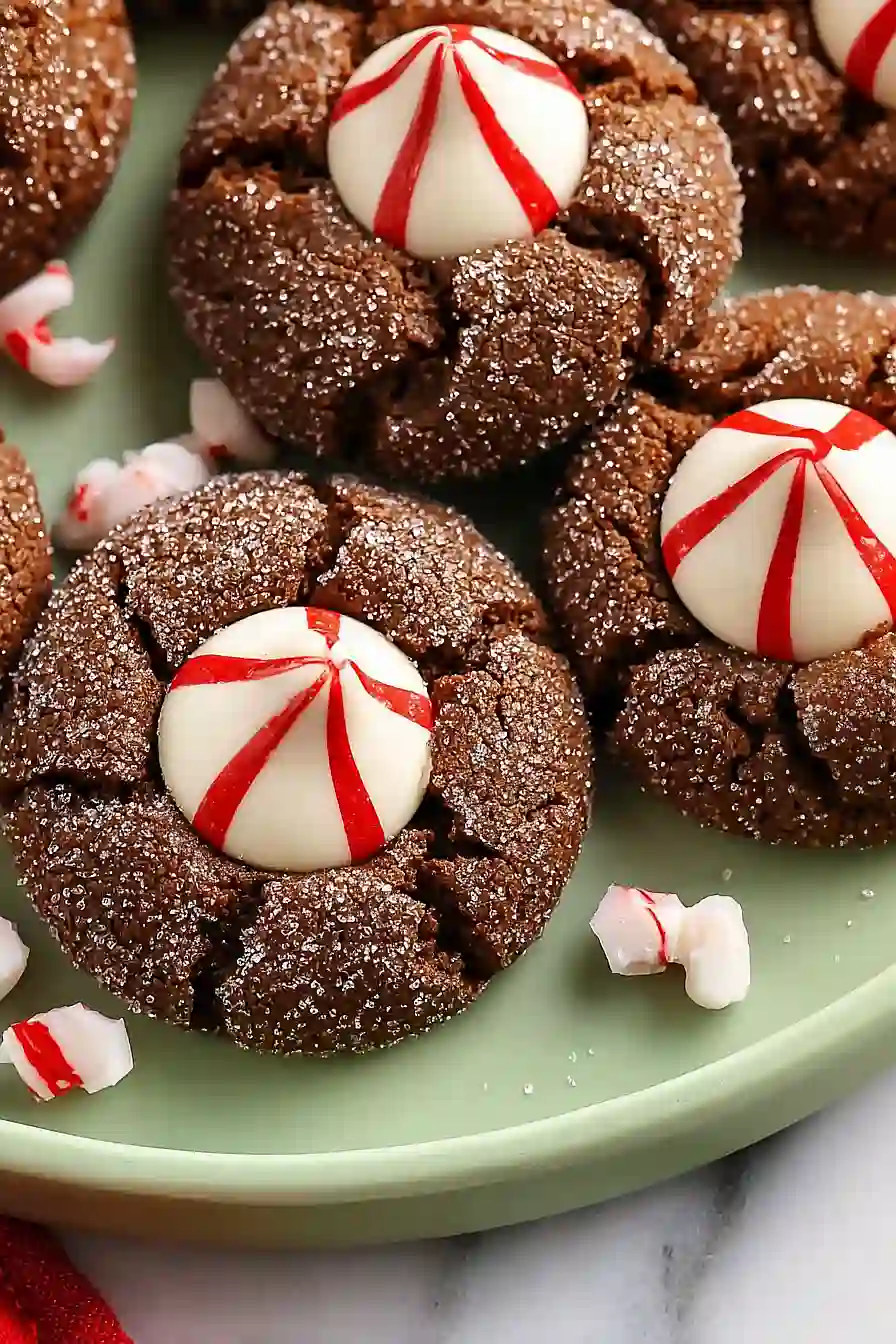
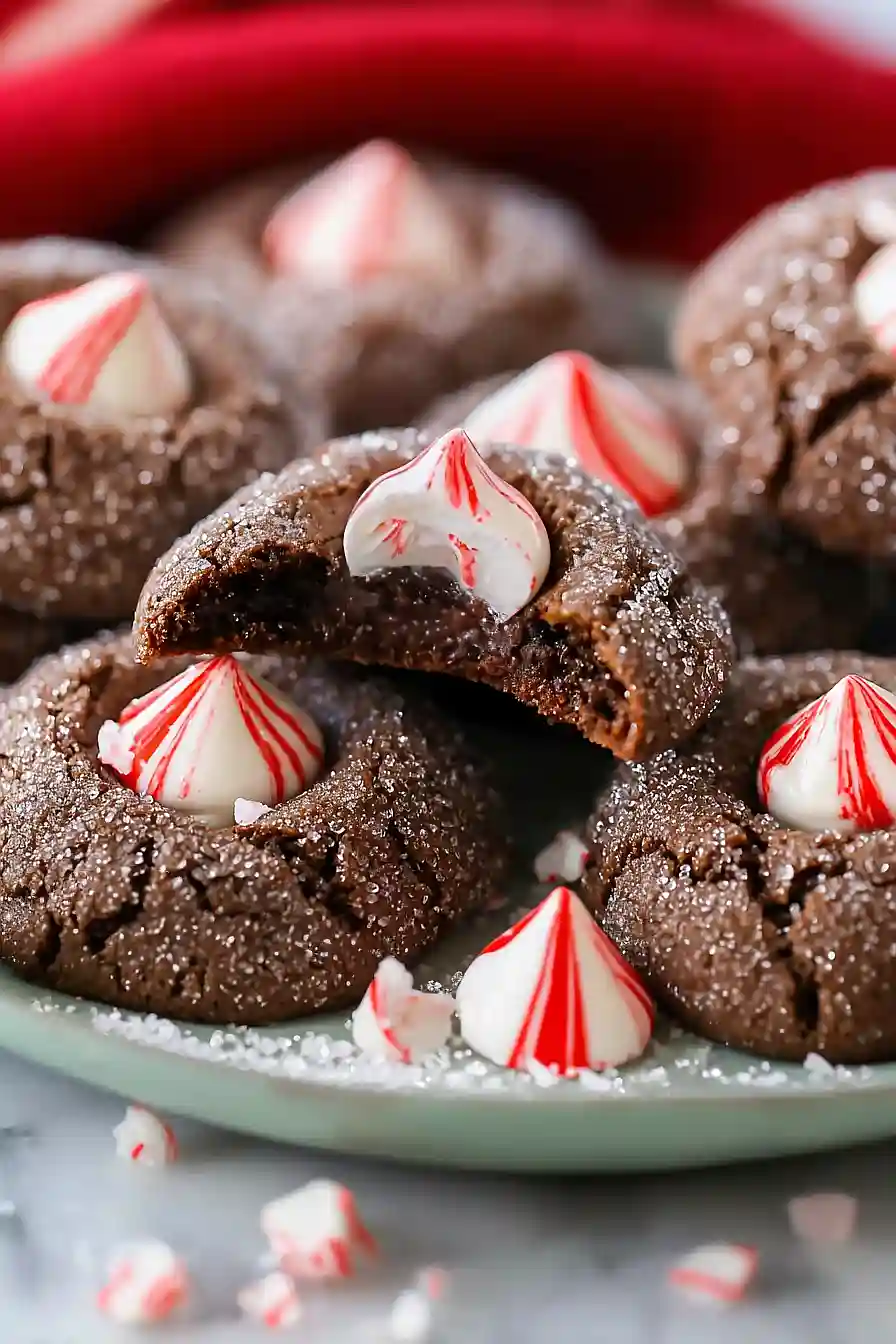
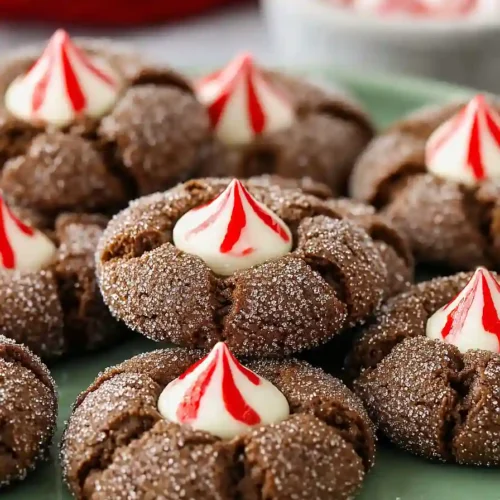
Here are my peppermint chocolate thumbprint cookies, with a rich cocoa dough rolled in sugar, and topped with a peppermint candy cane Hershey’s Kiss right in the center.
These cookies are always a hit during the holiday season. The chocolate and peppermint combo is just perfect for Christmas, and my kids love helping me press the Kisses into the warm cookies fresh from the oven.

Why You’ll Love These Peppermint Chocolate Thumbprint Cookies
- Quick and easy – These cookies come together in under 25 minutes, making them perfect for last-minute holiday baking or when you need a festive treat fast.
- Festive flavor combination – The rich chocolate cookie paired with a peppermint kiss creates that classic holiday taste everyone loves during the winter season.
- Simple ingredients – You probably have most of these pantry staples on hand already, and the special candy cane kisses are easy to find at any grocery store during the holidays.
- Fun to make with kids – Rolling the dough in sugar and pressing the kisses into warm cookies is an activity the whole family can enjoy together.
- Perfect for gifting – These cookies look impressive and festive, making them ideal for cookie exchanges, holiday parties, or packaging up as homemade gifts for friends and neighbors.
What Kind of Chocolate Should I Use?
For this recipe, you’ll want to grab those seasonal Candy Cane Hershey’s Kisses, which are usually available from late fall through the winter holidays. If you can’t find the peppermint version, regular Hershey’s Kisses work just fine, or you could try the Hugs variety for a fun twist. The key is to have them unwrapped and ready to go before you start baking, since you’ll need to press them into the warm cookies right when they come out of the oven. If peppermint Kisses are sold out in your area, you can always use regular chocolate Kisses and add a small piece of crushed candy cane or peppermint candy on top for that minty flavor.
Options for Substitutions
These cookies are pretty forgiving when it comes to swaps, so here are some options if you need them:
- Unsalted butter: If you only have salted butter on hand, go ahead and use it – just skip the 1/4 teaspoon of salt in the recipe to keep things balanced.
- Brown sugar: You can use all white sugar instead of brown sugar, though your cookies will be slightly less chewy and won’t have that molasses flavor. Or mix 1/2 cup white sugar with 1 tablespoon of molasses to make your own brown sugar.
- Natural unsweetened cocoa powder: Dutch-process cocoa works too, though it’ll give you a slightly darker color and milder chocolate taste. Don’t substitute with hot cocoa mix – it has sugar and milk powder added.
- Candy Cane Hershey’s Kisses: Regular Hershey’s Kisses work perfectly fine if you can’t find the candy cane version. You could also use peppermint patties cut into small pieces, or even fill the thumbprints with melted chocolate and crushed candy canes on top.
- Egg: For an egg-free version, try using 3 tablespoons of applesauce or a flax egg (1 tablespoon ground flaxseed mixed with 3 tablespoons water, let sit for 5 minutes).
Watch Out for These Mistakes While Baking
The biggest mistake with thumbprint cookies is pressing the indentation too early – if you press right after they come out of the oven, the cookies will crack and fall apart, so wait about 2-3 minutes until they’re set but still warm enough to shape.
Another common issue is making the thumbprint too shallow, which means your Hershey’s Kiss won’t sit properly and might roll off, so press down firmly enough to create a deep well that can hold the candy securely.
Don’t skip chilling the dough if it feels too soft to handle – sticky dough will spread too much in the oven and lose its shape, resulting in flat cookies instead of thick, chewy ones.
Finally, unwrap all your Candy Cane Kisses before you start baking so they’re ready to press into the warm cookies immediately, because if you wait too long, the cookies will cool down and crack when you try to add the chocolate.
What to Serve With Peppermint Chocolate Thumbprint Cookies?
These cookies are perfect alongside a mug of hot chocolate or coffee, especially during the holiday season when you want something sweet to enjoy while relaxing. I love setting them out on a cookie platter with other festive treats like sugar cookies or gingerbread for a nice variety at holiday parties. They also pair really well with a cold glass of milk, which helps balance out the rich chocolate and refreshing peppermint flavors. If you’re putting together a dessert spread, consider adding some vanilla ice cream on the side – the cool creaminess goes great with the chocolate cookie base.
Storage Instructions
Store: Keep your peppermint chocolate thumbprint cookies in an airtight container at room temperature for up to 5 days. I like to place a sheet of parchment paper between layers to keep the kisses from getting squished or sticking together.
Freeze: These cookies freeze really well for up to 3 months. Just make sure they’re completely cool before freezing, and layer them with parchment paper in a freezer-safe container. You can also freeze the dough balls before baking and add a few extra minutes to the baking time when you’re ready to make them.
Serve: If you’ve frozen the baked cookies, just let them thaw at room temperature for about 30 minutes before serving. They taste great straight from the fridge too if you like a firmer, chewier texture!
| Preparation Time | 10-15 minutes |
| Cooking Time | 6-7 minutes |
| Total Time | 16-22 minutes |
| Level of Difficulty | Easy |
Estimated Nutrition
Estimated nutrition for the whole recipe (without optional ingredients):
- Calories: 3150-3350
- Protein: 28-34 g
- Fat: 170-185 g
- Carbohydrates: 410-440 g
Ingredients
For the cookie dough:
- 1 egg (room temperature)
- 1/2 cup brown sugar (packed)
- 1/2 cup unsweetened cocoa powder (for deeper chocolate flavor)
- 1/4 tsp salt
- 1 tsp baking soda
- 1.25 cups all-purpose flour (I use King Arthur all-purpose)
- 1 tsp vanilla extract
- 1/2 cup granulated sugar
- 10 tbsp unsalted butter (softened to room temperature)
For rolling:
- 3 tbsp granulated sugar (for coating)
For the filling:
- 26 peppermint candy cane Hershey’s Kisses (or any peppermint chocolate kiss)
Step 1: Prepare Equipment and Mise en Place
- 1.25 cups all-purpose flour
- 1/2 cup unsweetened cocoa powder
- 1 tsp baking soda
- 1/4 tsp salt
Preheat your oven to 350°F and line a baking sheet with parchment paper.
While the oven heats, measure out all your dry ingredients—flour, cocoa powder, baking soda, and salt—into a small bowl and whisk them together.
This ensures even distribution of the leavening agent and cocoa throughout the dough.
Having everything prepped and ready means you can work smoothly through the mixing process without interruptions.
Step 2: Cream Butter and Sugars for Fluffy Cookie Base
- 10 tbsp unsalted butter
- 1/2 cup brown sugar
- 1/2 cup granulated sugar
In a large bowl, beat the softened butter with 1/2 cup brown sugar and 1/2 cup granulated sugar (reserve the 3 tablespoons of granulated sugar for coating) until the mixture is light and fluffy, about 2-3 minutes.
This creaming process incorporates air into the dough, which helps create cookies with a tender crumb.
I like to scrape down the sides of the bowl halfway through to ensure all the butter is properly incorporated—it makes a real difference in texture.
Step 3: Incorporate Wet Ingredients and Dry Mixture
- 1 egg
- 1 tsp vanilla extract
- dry ingredient mixture from Step 1
Add the room temperature egg and vanilla extract to the creamed butter and sugars, then mix until fully combined.
Now add the dry ingredient mixture from Step 1 to the wet mixture and fold everything together until just combined—avoid overmixing, as this can develop too much gluten and result in tough cookies.
The dough should be thick and cohesive but not overworked.
Step 4: Shape and Coat Cookie Dough Balls
- cookie dough from Step 3
- 3 tbsp granulated sugar
Portion the dough into 26 balls using about 1 tablespoon of dough per ball—an ice cream scoop works perfectly for this.
Pour the reserved 3 tablespoons of granulated sugar into a shallow dish, then roll each dough ball in the sugar until fully coated.
The sugar coating will create a subtle crystalline crust on the cookies that contrasts beautifully with the chewy interior.
Arrange the coated balls evenly on your prepared baking sheet, spacing them about 2 inches apart.
Step 5: Bake Cookies Until Set but Underbaked
Bake the cookies for 6-7 minutes—they should look slightly underbaked and still have a soft appearance on top.
Don’t overbake them at this stage, as they’ll continue to cook slightly after you remove them from the oven and will firm up as they cool.
This is the key to getting that perfect chewy-yet-structured thumbprint cookie texture.
Step 6: Add Peppermint Kiss and Cool
- 26 peppermint candy cane Hershey’s Kisses
Remove the baking sheet from the oven and immediately press one peppermint Hershey’s Kiss gently into the center of each warm cookie—the residual heat will soften the candy enough to create a proper indent while it holds its shape.
Let the cookies rest on the baking sheet for 2-3 minutes to set slightly, then transfer them to a wire rack to cool completely.
I find that this two-stage cooling process helps the cookies develop the right structure without cracking around the candy.
Simple Peppermint Chocolate Thumbprint Cookies
Ingredients
For the cookie dough:
- 1 egg (room temperature)
- 1/2 cup brown sugar (packed)
- 1/2 cup unsweetened cocoa powder (for deeper chocolate flavor)
- 1/4 tsp salt
- 1 tsp baking soda
- 1.25 cups all-purpose flour (I use King Arthur all-purpose)
- 1 tsp vanilla extract
- 1/2 cup granulated sugar
- 10 tbsp unsalted butter (softened to room temperature)
For rolling:
- 3 tbsp granulated sugar (for coating)
For the filling:
- 26 peppermint candy cane Hershey's Kisses (or any peppermint chocolate kiss)
Instructions
- Preheat your oven to 350°F and line a baking sheet with parchment paper. While the oven heats, measure out all your dry ingredients—flour, cocoa powder, baking soda, and salt—into a small bowl and whisk them together. This ensures even distribution of the leavening agent and cocoa throughout the dough. Having everything prepped and ready means you can work smoothly through the mixing process without interruptions.
- In a large bowl, beat the softened butter with 1/2 cup brown sugar and 1/2 cup granulated sugar (reserve the 3 tablespoons of granulated sugar for coating) until the mixture is light and fluffy, about 2-3 minutes. This creaming process incorporates air into the dough, which helps create cookies with a tender crumb. I like to scrape down the sides of the bowl halfway through to ensure all the butter is properly incorporated—it makes a real difference in texture.
- Add the room temperature egg and vanilla extract to the creamed butter and sugars, then mix until fully combined. Now add the dry ingredient mixture from Step 1 to the wet mixture and fold everything together until just combined—avoid overmixing, as this can develop too much gluten and result in tough cookies. The dough should be thick and cohesive but not overworked.
- Portion the dough into 26 balls using about 1 tablespoon of dough per ball—an ice cream scoop works perfectly for this. Pour the reserved 3 tablespoons of granulated sugar into a shallow dish, then roll each dough ball in the sugar until fully coated. The sugar coating will create a subtle crystalline crust on the cookies that contrasts beautifully with the chewy interior. Arrange the coated balls evenly on your prepared baking sheet, spacing them about 2 inches apart.
- Bake the cookies for 6-7 minutes—they should look slightly underbaked and still have a soft appearance on top. Don't overbake them at this stage, as they'll continue to cook slightly after you remove them from the oven and will firm up as they cool. This is the key to getting that perfect chewy-yet-structured thumbprint cookie texture.
- Remove the baking sheet from the oven and immediately press one peppermint Hershey's Kiss gently into the center of each warm cookie—the residual heat will soften the candy enough to create a proper indent while it holds its shape. Let the cookies rest on the baking sheet for 2-3 minutes to set slightly, then transfer them to a wire rack to cool completely. I find that this two-stage cooling process helps the cookies develop the right structure without cracking around the candy.
