Making dinner for one can feel like more trouble than it’s worth. After all, most recipes serve 4-6 people, leaving you with days of leftovers, or they require you to do complicated math to scale everything down – and who wants to deal with that after a long day at work?
That’s why these stuffed bell peppers for one are such a perfect solution: they’re perfectly portioned for a single serving, easy to put together, and give you all the satisfaction of a home-cooked meal without the hassle of dealing with extras.
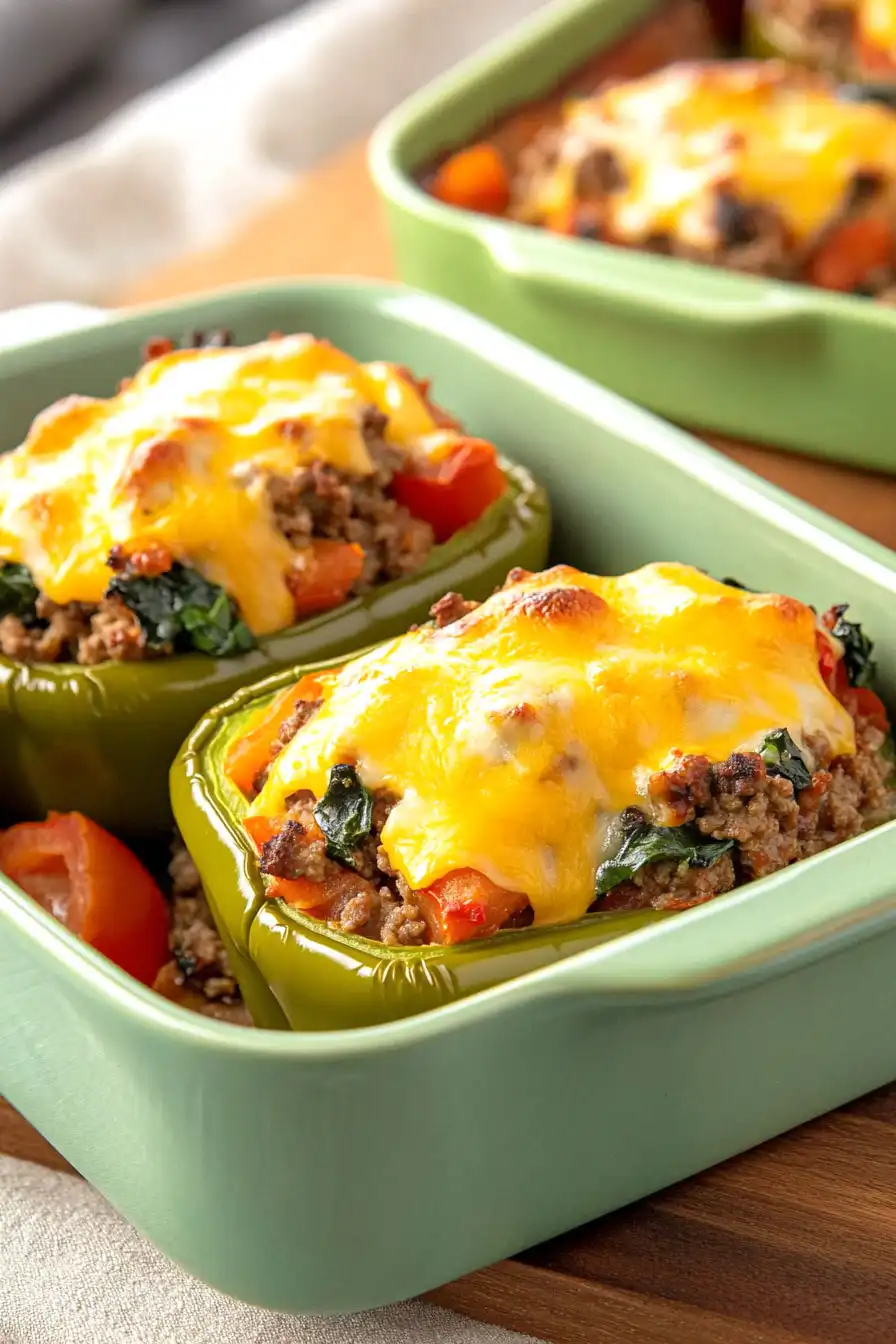
Why You’ll Love This Stuffed Bell Pepper
- Perfect single serving – No need to worry about too many leftovers or waste – this recipe is perfectly portioned for one person.
- Quick weeknight dinner – Ready in under an hour, this meal fits perfectly into your busy schedule when you want something homemade but don’t have hours to spend in the kitchen.
- Protein-packed and nutritious – With lean beef, fresh vegetables, and cheese, you’re getting a balanced meal with protein, vitamins, and minerals all in one pepper.
- Customizable recipe – You can easily swap the ground beef for turkey, choose your favorite bell pepper color, or change up the cheese to match your preferences.
What Kind of Bell Pepper Should I Use?
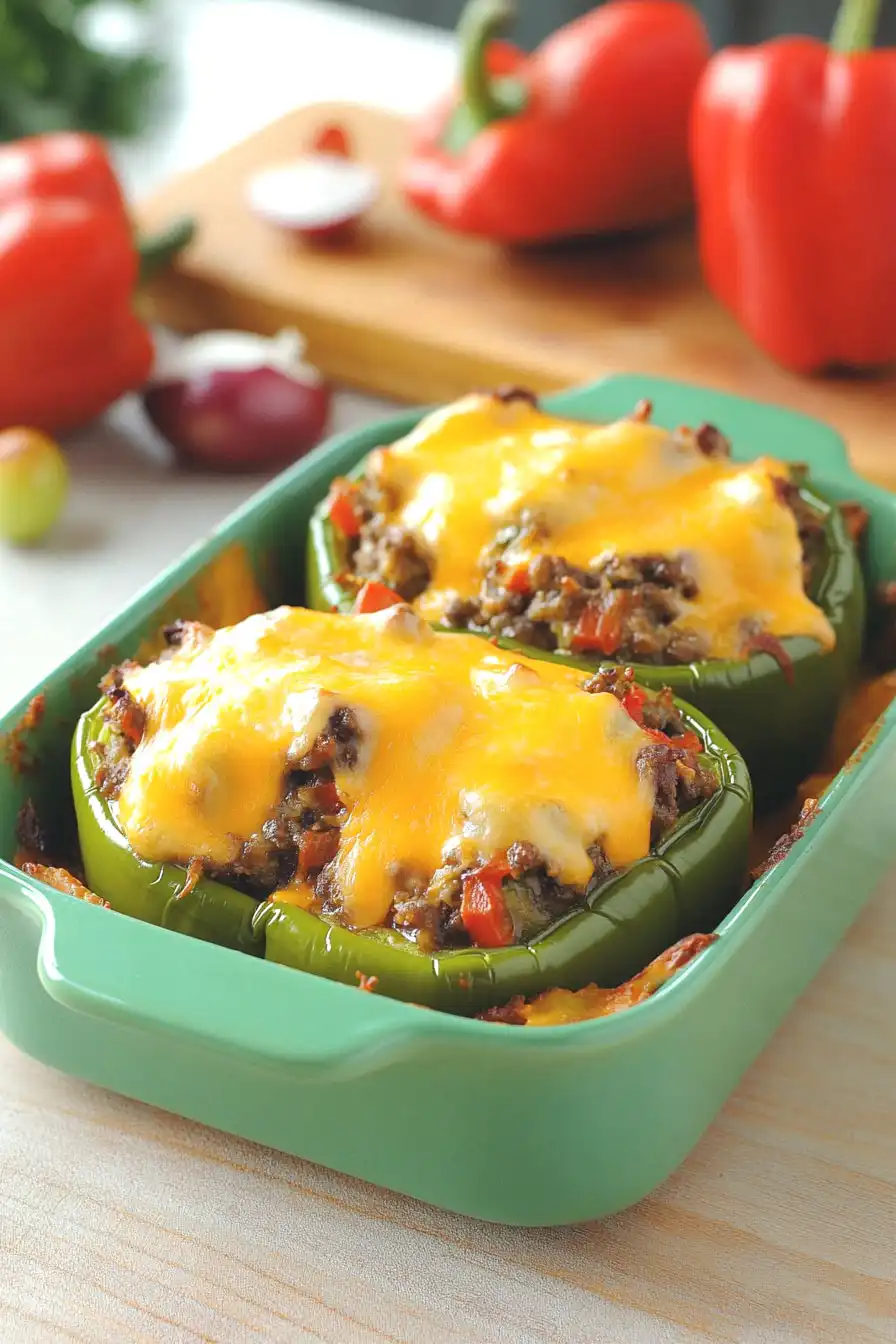
You’ve got options when it comes to choosing your bell pepper for this recipe – each color brings something different to the table. Green peppers have a slightly bitter, earthy taste and are usually the least expensive choice. Red peppers are the sweetest and most mellow since they’ve been left on the vine the longest, while yellow and orange ones fall somewhere in between. For stuffed peppers, look for ones that are large, firm, and can stand up straight on their own – this makes them easier to fill and bake. Before using, make sure to give them a good rinse and check that they don’t have any soft spots or blemishes.
Options for Substitutions
This single-serving recipe is super adaptable – here’s how you can switch things up:
- Bell pepper: Any color bell pepper works great here! If you’re not a pepper fan, you can even use a hollowed-out zucchini or small eggplant as your vessel.
- Ground beef: Feel free to swap the beef with ground turkey, chicken, or pork. For a vegetarian version, try crumbled tempeh or a plant-based ground meat substitute.
- Spinach: Out of fresh spinach? Use frozen spinach (thawed and squeezed dry), kale, or skip the greens altogether.
- Cheddar cheese: Pretty much any melting cheese works here – try mozzarella, pepper jack, or provolone. For dairy-free options, use your favorite plant-based shredded cheese.
- Italian herbs: If you don’t have an Italian herb blend, use a mix of dried basil and oregano, or whatever dried herbs you have on hand.
- Fresh tomato: No fresh tomatoes? Use 2 tablespoons of canned diced tomatoes, or even a splash of tomato sauce instead.
Watch Out for These Mistakes While Cooking
The biggest challenge when making stuffed peppers is ending up with undercooked peppers that are too firm or overcooked ones that turn mushy – to get them just right, pre-cook your pepper in the microwave for 2-3 minutes before stuffing. Another common mistake is not draining excess fat from the ground beef, which can make your filling greasy and cause the pepper to collapse during baking – be sure to drain the meat after browning and before adding other ingredients. The filling moisture level is crucial too – if it’s too wet, your pepper will become soggy, so make sure to cook off any excess liquid from the tomatoes and spinach before stuffing. For the best results, wait 5 minutes after baking before cutting into your pepper, as this allows the cheese to set and the filling to settle, making it easier to eat and more enjoyable.
What to Serve With Stuffed Bell Peppers?
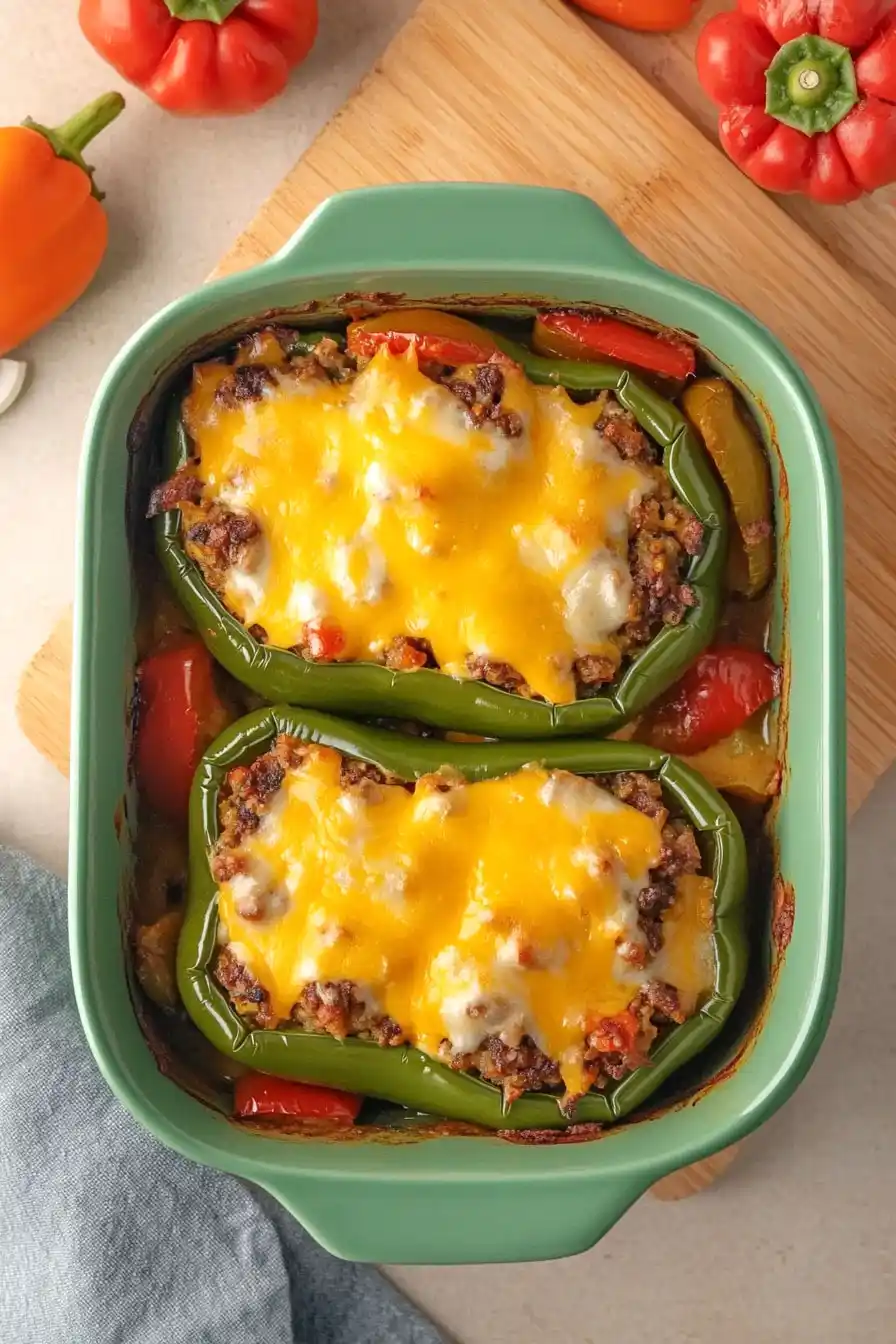
Since stuffed peppers already pack protein, veggies, and cheese into one neat package, you don’t need anything too heavy on the side. A simple green salad dressed with lemon and olive oil makes a fresh companion, or you might enjoy some fluffy rice to soak up any extra juices from the pepper. For a low-carb option, try roasted vegetables like zucchini or broccoli – they cook at the same temperature as your peppers, so you can pop them in the oven together. If you’re extra hungry, warmed pita bread or crusty French bread on the side works great for scooping up any filling that escapes the pepper.
Storage Instructions
Keep Fresh: If you have any leftover stuffed pepper, place it in an airtight container and pop it in the fridge. It’ll stay good for up to 3 days. This recipe is actually perfect for making ahead – the flavors get even better as they hang out together!
Freeze: Want to save it for later? These stuffed peppers freeze really well. Just wrap it tightly in foil or place in a freezer-safe container and freeze for up to 2 months. It’s like having a homemade frozen dinner ready to go!
Reheat: When you’re ready to enjoy your pepper again, heat it in the microwave for 2-3 minutes or pop it in the oven at 350°F for about 15-20 minutes until it’s heated through. If it’s frozen, thaw it in the fridge overnight first. You might want to add a sprinkle of fresh cheese on top before reheating.
| Preparation Time | 10-15 minutes |
| Cooking Time | 30-40 minutes |
| Total Time | 40-55 minutes |
| Level of Difficulty | Medium |
Estimated Nutrition
Estimated nutrition for the whole recipe (without optional ingredients):
- Calories: 600-700
- Protein: 45-50 g
- Fat: 35-40 g
- Carbohydrates: 20-25 g
Ingredients
- 1/2 cup fresh spinach (roughly chopped)
- 1/4 cup diced onions
- 1/2 tbsp olive oil (I use extra virgin olive oil)
- 1/4 tsp kosher salt
- 1/2 tsp Italian herbs
- 1 bell pepper (any color you prefer)
- 5 oz lean ground beef
- 1/2 cup grated cheddar cheese (shredded from a block melts best)
- 1 minced garlic clove (freshly minced for best flavor)
- 1 small chopped tomato
- 1/8 tsp black pepper
Step 1: Preheat the Oven
Start by preheating your oven to 375°F (190°C) to ensure it reaches the ideal temperature for baking the stuffed peppers.
Step 2: Prepare and Blanch the Bell Peppers
Trim the bell pepper by cutting ¼ inch off the stem end to remove the top.
Remove the seeds and membrane, giving the inside a rinse, then slice the pepper in half lengthwise.
Fill a 2-quart pot halfway with water and bring it to a boil.
Submerge the pepper halves in the boiling water for 3 minutes.
Using tongs, carefully remove them and place them on a clean kitchen towel.
Sprinkle ⅛ teaspoon of salt inside each half and invert them to drain.
Step 3: Cook the Vegetables
In a 10-inch skillet, heat oil over medium-high heat.
Add the onions and cook for about 2 minutes, stirring occasionally.
Add the garlic and cook for an additional 30 seconds, continuing to stir now and then to prevent them from burning.
Step 4: Brown the Meat and Add Ingredients
Add the ground beef, Italian seasoning, salt, and pepper to the skillet.
Cook while breaking up the meat until it is browned, which should take roughly 3 minutes.
Next, stir in the chopped tomatoes and spinach and cook for 2 minutes, stirring frequently until the spinach wilts.
Step 5: Combine and Fill the Peppers
Remove the skillet from the heat and stir in all but 1 tablespoon of the cheese.
Spoon the meat mixture into the prepared pepper halves.
Arrange the filled peppers in a lightly greased 5×7 inch baking dish.
Step 6: Bake the Stuffed Peppers
Top the filled peppers with the remaining cheese.
Cover the dish with aluminum foil and bake for 15 minutes.
If the cheese hasn’t fully melted to your liking, remove the foil and bake for an additional 5 minutes.
Step 7: Serve
Once the cheese has melted and the peppers are cooked through, remove them from the oven.
Enjoy the stuffed peppers warm as a delightful meal.