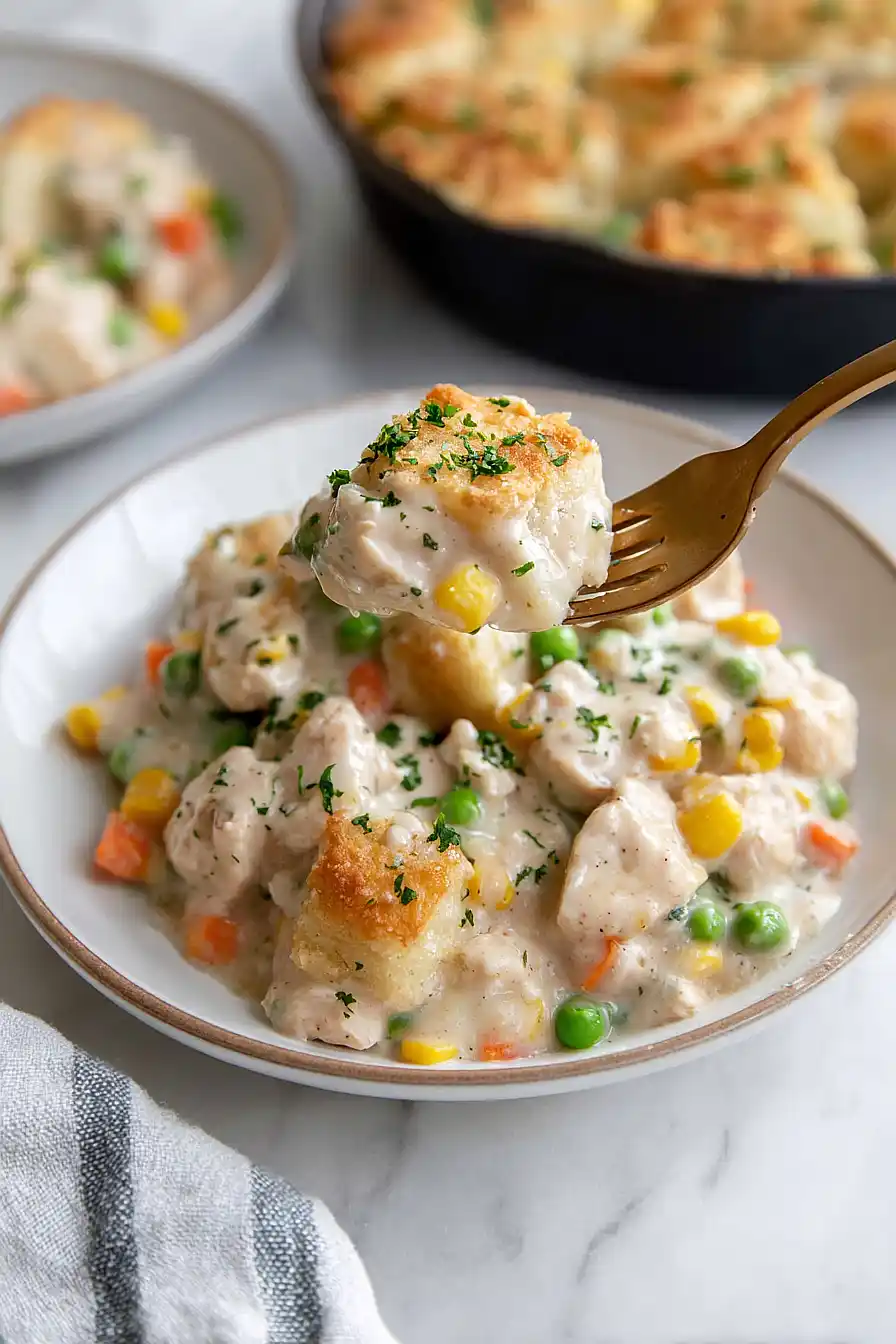
Comfort food doesn’t get much better than chicken pot pie. There’s something about that creamy, savory filling that just makes everything feel right in the world. But let’s be honest – making a full pot pie from scratch can feel like a lot of work on a busy weeknight.
That’s why I love making just the filling. You get all that cozy, home-cooked goodness without rolling out pastry or waiting for a crust to bake. I can spoon it over biscuits, serve it with rice, or even eat it straight from the bowl like a thick soup. My kids don’t complain either way.
The best part? This filling freezes really well. I’ll make a big batch on Sunday and portion it out for those crazy weeknights when everyone’s asking “what’s for dinner?” and I’m still in my work clothes. Sometimes the simplest solutions are the smartest ones.
Why You’ll Love This Chicken Pot Pie Filling
- Quick weeknight dinner – Ready in just 30-45 minutes, this comforting filling comes together fast when you need a satisfying meal without the wait.
- Simple pantry ingredients – You probably already have most of these basics on hand – chicken, frozen veggies, milk, and flour make this an easy go-to recipe.
- Kid-friendly comfort food – The creamy, mild flavors and familiar ingredients make this a hit with little ones who might turn their noses up at more adventurous dishes.
- Flexible serving options – Serve it over bread, biscuits, rice, or even pasta – this filling works however your family likes to eat it.
- Perfect portion size – This recipe makes just enough for a small family without tons of leftovers, so you’re not eating the same thing all week.
What Kind of Chicken Should I Use?
Chicken tenders are called for in this recipe, but you can easily swap them out for other cuts if that’s what you have on hand. Boneless, skinless chicken thighs work great and actually stay more tender during cooking, while chicken breast will also do the job perfectly. If you’re using frozen chicken, just make sure to thaw it completely and pat it dry before dicing. The key is cutting whatever chicken you choose into small, bite-sized pieces so they cook evenly and quickly with the vegetables.
Options for Substitutions
This pot pie filling is pretty forgiving when it comes to swaps and substitutions:
- Chicken tenders: You can easily use boneless chicken thighs, chicken breast, or even leftover rotisserie chicken. If using cooked chicken, add it at the end just to warm through.
- Heavy cream and milk: No heavy cream? Use all milk instead, or try half-and-half for a middle ground. You can also substitute the milk with chicken broth for a lighter version, though it won’t be quite as creamy.
- Frozen vegetables: Mix and match your frozen veggies based on what you have – green beans, lima beans, or diced bell peppers all work great. Fresh vegetables are fine too, just cook them a bit longer until tender.
- Butter: Olive oil or vegetable oil can replace the butter if needed, though you’ll lose some of that rich flavor.
- Flour: For thickening, you can use cornstarch instead – just mix 1 tablespoon cornstarch with cold milk before adding to avoid lumps.
- Thick bread: Any bread works here – dinner rolls, biscuits, or even puff pastry if you want to get fancy. Just adjust cooking time based on what you choose.
Watch Out for These Mistakes While Cooking
The biggest mistake when making chicken pot pie filling is not cooking the flour long enough after adding it, which can leave you with a raw flour taste and a filling that won’t thicken properly – make sure to cook the flour with the vegetables for at least 2-3 minutes before adding any liquids.
Another common error is adding the milk too quickly, which often results in lumps, so pour it in slowly while whisking constantly to create a smooth, creamy base.
Don’t forget to cook your chicken pieces completely before combining everything, as undercooked chicken in the final dish is both unsafe and unappetizing, and always season your filling well since bland pot pie filling is a real disappointment.
For the best texture, let your filling cool slightly before using it, as this helps it thicken up and makes it easier to work with when assembling your pot pie.
What to Serve With Chicken Pot Pie Filling?
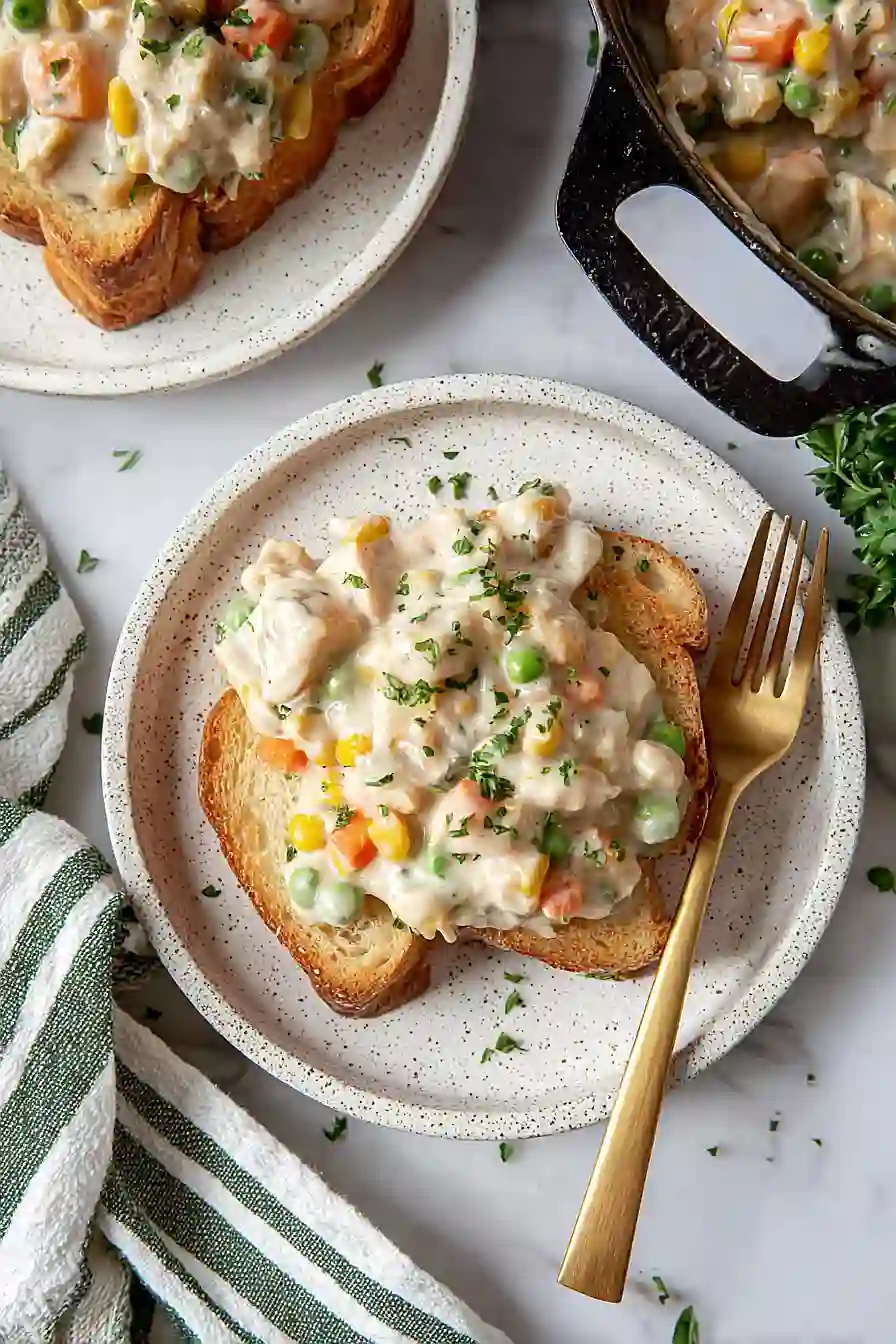
This hearty chicken pot pie filling is perfect served over warm biscuits, mashed potatoes, or even rice for a cozy weeknight dinner. Since it’s already loaded with chicken and veggies, you really just need something to soak up all that creamy goodness – try spooning it over toasted bread slices or puff pastry for an easy twist on the classic pot pie. A simple side salad with mixed greens and a light vinaigrette helps balance out the richness of the filling. You could also serve it alongside some buttery dinner rolls if you want to make it feel more like a complete meal.
Storage Instructions
Refrigerate: This chicken pot pie filling keeps really well in the fridge for up to 4 days in a covered container. I actually think it tastes even better the next day because all those flavors have time to meld together. It’s perfect for making ahead when you want to prep your pot pie components separately.
Freeze: You can freeze this filling for up to 3 months in freezer-safe containers or bags. Just make sure to let it cool completely first, and leave a little room at the top since it will expand when frozen. This is great for batch cooking when you want homemade pot pie filling ready to go.
Reheat: Warm the filling gently on the stovetop over medium-low heat, stirring occasionally until heated through. If it seems too thick after reheating, just add a splash of milk or chicken broth to loosen it up. From frozen, let it thaw in the fridge overnight before reheating for best results.
| Preparation Time | 10-15 minutes |
| Cooking Time | 20-30 minutes |
| Total Time | 30-45 minutes |
| Level of Difficulty | Medium |
Estimated Nutrition
Estimated nutrition for the whole recipe (without optional ingredients):
- Calories: 700-850
- Protein: 35-45 g
- Fat: 30-38 g
- Carbohydrates: 70-85 g
Ingredients
For the creamy chicken mixture:
- 1 small onion (finely chopped for even cooking)
- 1 small carrot (peeled and finely diced)
- 1/4 tsp dried thyme
- 1/2 lb chicken tenders (cut into 1-inch pieces)
- 2 tbsp all-purpose flour (for thickening)
- 1/4 cup frozen green peas
- 2 tbsp butter (I like Kerrygold unsalted butter for this)
- Salt, as needed
- 2 tbsp heavy cream
- 1/4 cup frozen corn
- 1 cup 2% milk
- Pepper, as needed
For serving:
- 2 slices thick-cut bread (for dipping)
Step 1: Cook the Chicken
- 1 tbsp butter
- 1/2 lb uncooked chicken tenders, cut into pieces
- salt, as needed
- pepper, as needed
Heat 1 tablespoon of the butter in a small skillet over medium heat.
While the butter melts, cut the chicken tenders into pieces.
Once the butter is melted, add the chicken pieces to the skillet with a pinch of salt and pepper.
Cook the chicken for about 4 minutes per side until both sides are nicely browned.
It’s okay if the insides are slightly pink at this stage.
Remove the chicken from the pan with tongs or a slotted spoon, leaving as much butter in the skillet as possible, and set the chicken aside.
Step 2: Sauté the Vegetables
- 1 tbsp butter
- 1 small onion, chopped
- 1 small carrot, chopped
Return the pan to the heat and add the remaining 1 tablespoon of butter.
Add the chopped onion and chopped carrot to the skillet.
Sauté the vegetables over low heat for about 5 minutes, stirring occasionally, until they have softened but have not browned.
The onions should remain translucent and not take on any color.
Step 3: Add Peas, Corn, Herbs, and Flour
- 1/4 cup frozen green peas
- 1/4 cup frozen corn kernels
- 1/4 tsp dried thyme
- 2 tbsp all-purpose flour
Turn the heat up to medium and add the frozen green peas and frozen corn kernels to the softened vegetables.
Crush the dried thyme in your hand to release its oils, then sprinkle it over the mixture.
Stir everything to combine.
Sprinkle the all-purpose flour over the vegetables and stir well, allowing the flour to coat everything.
Let the mixture cook for 1 minute to remove the raw flour taste.
Step 4: Make the Creamy Sauce and Simmer
- 2 tbsp heavy cream
- 1 cup 2% milk
- salt, as needed
- pepper, as needed
- cooked chicken (from Step 1)
Pour the heavy cream and milk into the skillet.
Add a few pinches of salt and pepper to your taste.
Stir well to combine, scraping the bottom of the pan to deglaze and incorporate any browned bits.
Return the browned chicken from Step 1 to the skillet and toss to coat with the sauce.
Bring the mixture to a gentle simmer over medium heat and cook until the sauce thickens, about 1–2 minutes.
I like to taste this sauce at the end and adjust the seasoning with a bit more salt and pepper if needed for extra flavor.
Step 5: Toast and Plate the Bread
- 2 slices thick-cut bread
- creamy chicken and vegetable mixture (from Step 4)
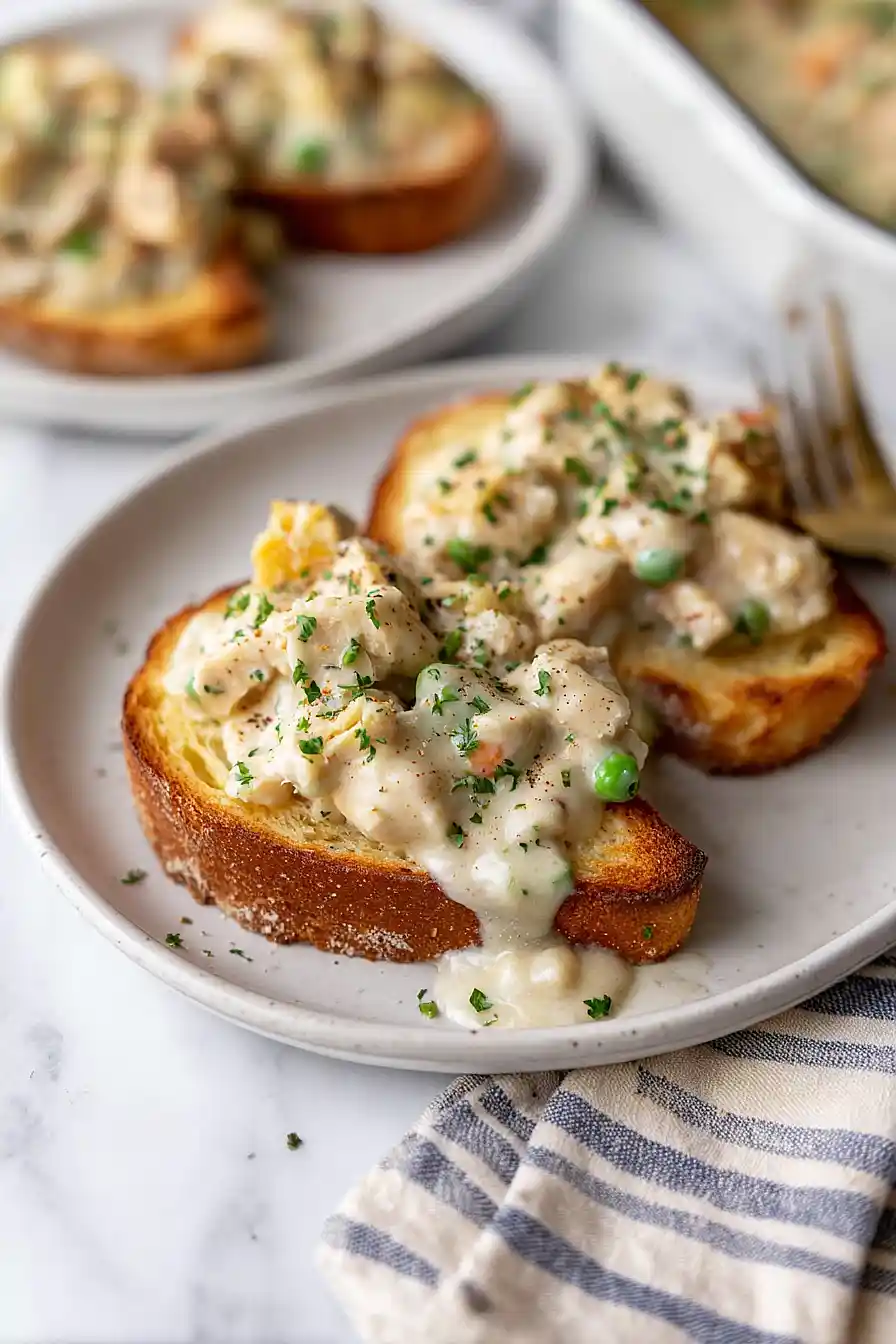
While the chicken mixture is simmering, toast the thick-cut bread slices until golden and crisp.
Slice each toast diagonally to form triangles.
Divide the toast pieces onto two serving plates, then generously spoon the creamy chicken and vegetable mixture over the top.
Serve immediately for a comforting meal.
