Making chocolate truffles at home can feel pretty intimidating at first glance. Between tempering chocolate, achieving the right consistency, and creating those perfectly round shapes, it’s easy to think these treats are best left to professional chocolatiers and candy shops. And let’s be honest – with our busy schedules, who has time for complicated dessert-making?
Well, these molded chocolate truffles are here to change all that. They’re straightforward to make, require just a handful of basic ingredients, and can be customized with whatever flavors and toppings you’re in the mood for.
Why You’ll Love These Chocolate Truffles
- Professional-looking results – Using candy molds gives these truffles a polished, store-bought appearance that will impress your friends and family – no fancy chocolate-making skills required!
- Simple ingredients – You only need a handful of basic ingredients to make these luxurious treats – just chocolate, cream, and your molds.
- Perfect homemade gift – These truffles make wonderful presents for holidays, special occasions, or just because – package them in a pretty box and you’ve got a thoughtful handmade gift.
- Cost-effective – Making your own molded truffles costs way less than buying fancy chocolates from specialty shops, while giving you the same high-end result.
What Kind of Chocolate Should I Use?
For chocolate truffles, you’ll want to use high-quality chocolate that contains real cocoa butter, not palm oil or other substitutes. Semi-sweet chocolate chips work well for the ganache filling, but you could also use dark chocolate if you prefer a less sweet treat. When it comes to the outer coating, milk chocolate, dark chocolate, or white chocolate all work nicely – just make sure you’re using real chocolate bars or wafers meant for candy making, not regular chocolate chips which can be tricky to temper. If you’re new to making truffles, consider starting with dark chocolate that’s around 55-60% cacao, as it’s generally easier to work with than higher percentages or milk chocolate. Just avoid using chocolate chips for the outer coating since they contain stabilizers that can affect how well the chocolate tempers and sets.
Options for Substitutions
While chocolate truffles need some specific ingredients to turn out right, here are some substitution options you can try:
- Heavy cream: You can use coconut cream (the thick part from a can of full-fat coconut milk) as a dairy-free option. Just make sure it’s room temperature before using.
- Chocolate chips: For the filling, you can use chopped chocolate bars instead of chips. Dark, milk, or semi-sweet all work well – just pick what you like best. Avoid using white chocolate chips as they behave differently.
- Tempered chocolate: This is one ingredient you shouldn’t substitute, as proper tempered chocolate is crucial for the shells to set correctly and have that nice snap. Different brands are fine, but make sure it’s real chocolate made for candy making.
- Candy molds: While silicone molds are most common, you can use hard plastic molds too. Just avoid metal molds as they can be tricky to work with for chocolates.
- Painting brush: Any clean, food-safe brush will work – silicone or natural bristle brushes are both fine. If you don’t have a brush, you can use a small spoon to coat the molds, though it might be a bit more challenging.
Watch Out for These Mistakes While Making
The biggest challenge when making molded chocolate truffles is temperature control – if your chocolate gets too hot during melting (above 115°F), it will become grainy and lose its glossy finish, so always use gentle, indirect heat and stir frequently.
Working with the ganache filling requires patience – rushing to fill the molds before the ganache has cooled properly (it should be around 85°F) will result in uneven shells and potential leakage, so give it time to reach the right consistency.
When painting the molds, a common mistake is applying too thick a layer of chocolate – instead, use thin, even strokes with your brush and tap out any excess chocolate to ensure clean release after setting.
For perfectly professional-looking truffles, don’t skip the crucial step of letting the chocolates set completely at room temperature (never in the refrigerator, which can cause condensation) before attempting to unmold them.
What to Serve With Chocolate Truffles?
These homemade chocolate truffles make a perfect ending to any meal, and they’re especially nice when paired with the right drinks and accompaniments. A good cup of coffee or espresso makes an excellent partner, as the bitter notes complement the chocolate’s sweetness. If you’re hosting a get-together, try serving these truffles alongside fresh berries or a small glass of red wine – port is particularly nice with chocolate. For a cozy night in, I like to arrange them on a pretty plate with some fresh mint leaves and serve them with hot tea or a glass of cold milk.
Storage Instructions
Keep Fresh: These chocolate truffles stay best when stored in an airtight container at room temperature, away from direct sunlight and heat. They’ll maintain their perfect texture and taste for up to 2 weeks. Pro tip: place a sheet of wax paper between layers to prevent any sticking.
Refrigerate: If your kitchen runs warm or you’re in a humid climate, you can keep your truffles in the fridge. Just pop them in an airtight container and they’ll stay fresh for up to 3 weeks. Remember to let them come to room temperature for about 15 minutes before serving to get the best flavor and texture.
Make Ahead: These truffles are perfect for making ahead of time for special occasions or gifts. You can make them up to 3 weeks in advance – just make sure to store them properly. If you’re planning to give them as gifts, wait until just before gifting to package them in decorative boxes.
| Preparation Time | 15-30 minutes |
| Cooking Time | 30-45 minutes |
| Total Time | 45-75 minutes |
| Level of Difficulty | Medium |
Estimated Nutrition
Estimated nutrition for the whole recipe (without optional ingredients):
- Calories: 3800-4000
- Protein: 24-30 g
- Fat: 220-240 g
- Carbohydrates: 450-480 g
Ingredients
For the ganache:
- 2 cups chocolate chips (Ghirardelli semi-sweet are great for this)
- 6 oz heavy cream
For the molded shell and sealing:
- 1 lb tempered chocolate
Equipment:
- a painting brush
- candy molds (polycarbonate molds work best for a glossy finish)
Step 1: Prepare the Ganache
Pour the heavy cream into a microwave-safe bowl.
Heat the cream in 30-second increments, stirring in between, until it reaches nearly boiling, around 200°F.
Once the cream is heated, add the chocolate chips and stir continuously until they are completely melted and the mixture is smooth.
Place the ganache in the fridge to chill for 15 minutes.
Step 2: Coat the Molds with Chocolate
Using your tempered chocolate, spoon a small amount into each mold and use a brush or the back of a spoon to coat the sides of the mold evenly with the chocolate.
Place the molds in the fridge to chill until the chocolate is set, ensuring a sturdy shell for the truffles.
Step 3: Fill the Truffle Molds with Ganache
Transfer the chilled ganache into a piping bag or a Ziplock baggie, cutting off the tip to allow for piping.
Take the molds out of the fridge and pipe a dot of ganache into the center of each chocolate-coated mold.
Lightly tap the mold to remove any air bubbles and ensure even filling.
Return the molds to the fridge for another 10 minutes to allow the ganache to set.
Step 4: Seal the Truffles
Spoon the remaining tempered chocolate over the filled molds.
Use a spatula to scrape off excess chocolate, ensuring a smooth, even base for your truffles.
Place the molds back in the fridge for 15 minutes to allow the chocolate to harden completely.
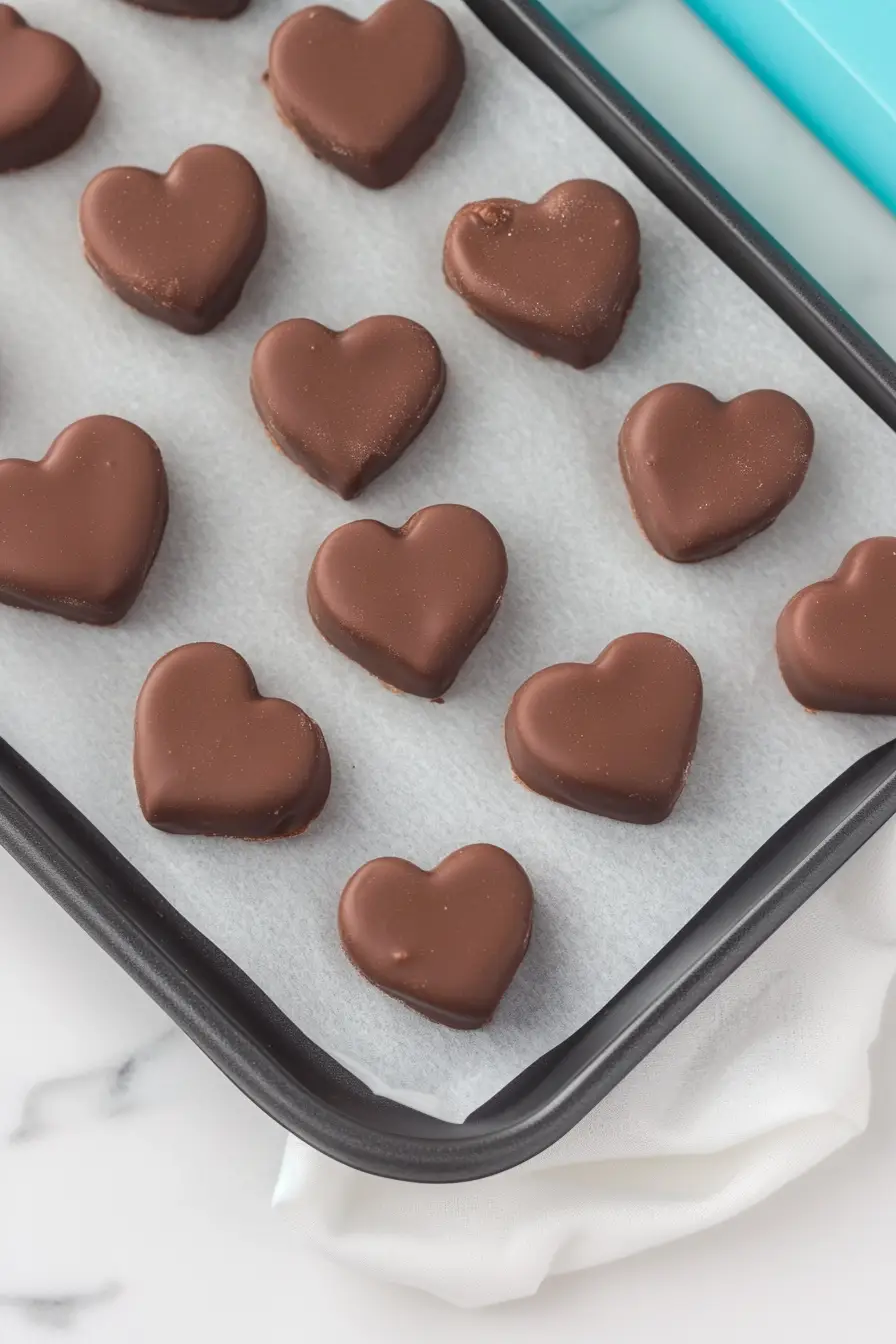
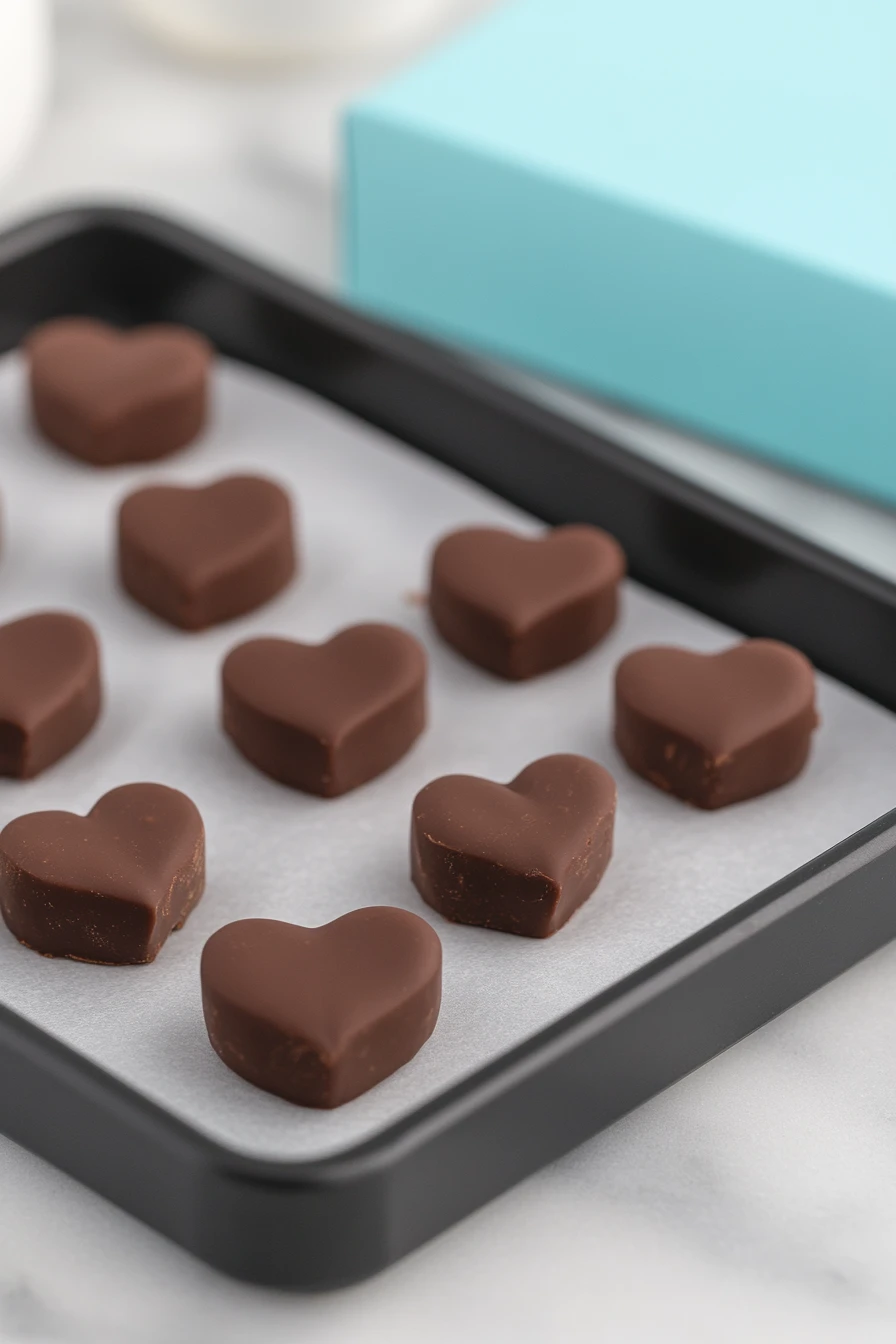
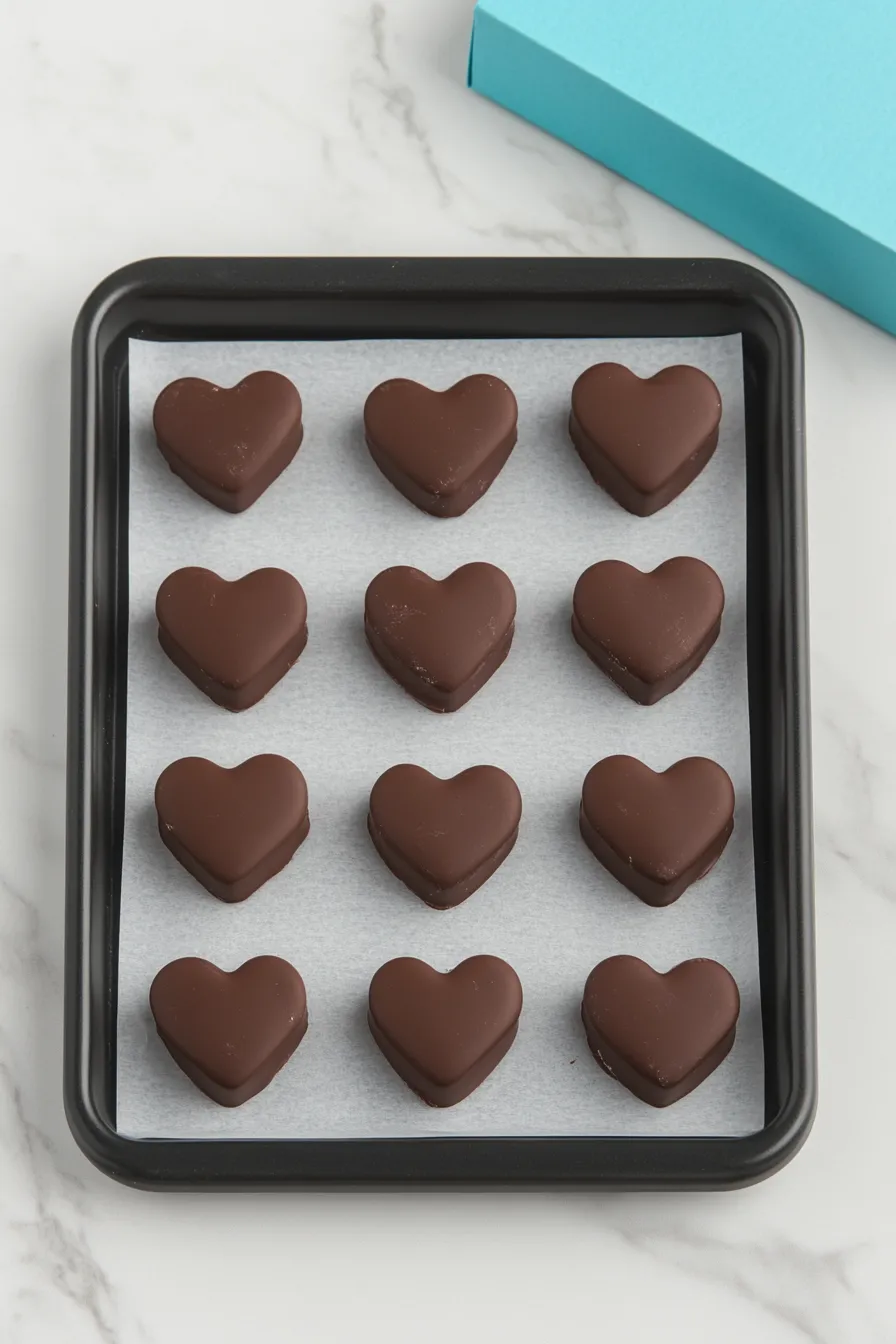
Step 5: Unmold the Truffles
Once the truffles have completely hardened, carefully remove them from the molds.
Gently press on the mold to release each truffle, taking care not to crack the delicate chocolate shell.
Enjoy your beautifully crafted homemade truffles!
