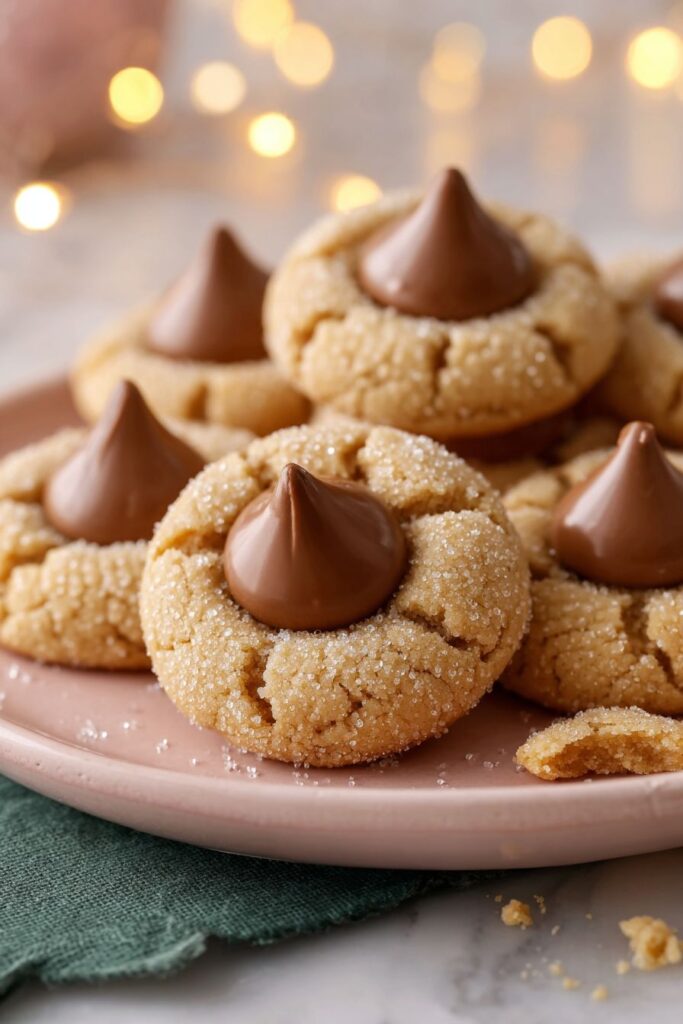
Growing up, I thought peanut butter kiss cookies were some kind of magical creation that only appeared during Christmas. My mom would make them every December, and I’d watch in wonder as she pressed those chocolate kisses into the warm cookies. The first time I tried making them on my own, I pushed the kisses in too soon and ended up with a melted chocolate mess.
Now I know the secret is all in the timing – you can’t rush that moment when cookie meets kiss. These cookies are basically foolproof as long as you follow that one simple rule. And honestly, even the “mess-ups” taste just as good as the pretty ones.
Why You’ll Love These Peanut Butter Kiss Cookies
- Quick preparation – These cookies come together in just 30 minutes, making them perfect for last-minute baking or when you need a quick sweet treat.
- Simple ingredients – You likely have most of these pantry staples on hand already – just grab some chocolate kisses and you’re ready to bake!
- Kid-friendly baking project – Little ones love helping to roll the dough balls in sugar and pressing the chocolate kisses into the warm cookies – it’s a fun family activity.
- Classic combination – The combo of soft peanut butter cookies and chocolate kisses creates that perfect sweet and salty mix that everyone loves.
- Make-ahead friendly – You can freeze the dough balls for later or store the baked cookies in an airtight container for up to a week.
What Kind of Peanut Butter Should I Use?
Regular smooth peanut butter is your best bet for these classic kiss cookies – skip the natural stuff that separates and needs stirring. Commercial brands like Jif or Skippy work perfectly because they stay well-blended and create that consistent, chewy texture we’re after in these cookies. While crunchy peanut butter might be tempting, it can make the dough harder to shape and might interfere with how the cookies spread while baking. If you’re working with natural peanut butter because that’s what you have on hand, make sure to stir it really well and expect that your cookies might spread a bit differently than ones made with conventional peanut butter.
Options for Substitutions
Need to make some changes to these classic cookies? Here are some helpful swaps you can try:
- Peanut butter: While smooth peanut butter gives the best texture, you can use crunchy peanut butter for added crunch. Almond or cashew butter work too, though they’ll change the classic taste. Note: Don’t use natural peanut butter as it can make the cookies too oily and spread too much.
- Chocolate kisses: No Hershey’s Kisses? Try other chocolate candies like Rolos, mini peanut butter cups, or even a chunk of your favorite chocolate bar. Just press them in while the cookies are hot from the oven.
- Plain flour: All-purpose gluten-free flour blend can work as a 1:1 replacement if you need a gluten-free version. Make sure it contains xanthan gum for the right texture.
- Brown sugar: Out of brown sugar? Mix 1/2 cup white sugar with 1 tablespoon molasses. Light or dark brown sugar both work fine in this recipe.
- Butter: While real butter gives the best flavor, you can use margarine in a pinch. Just avoid using oil as it will change the texture too much.
Watch Out for These Mistakes While Baking
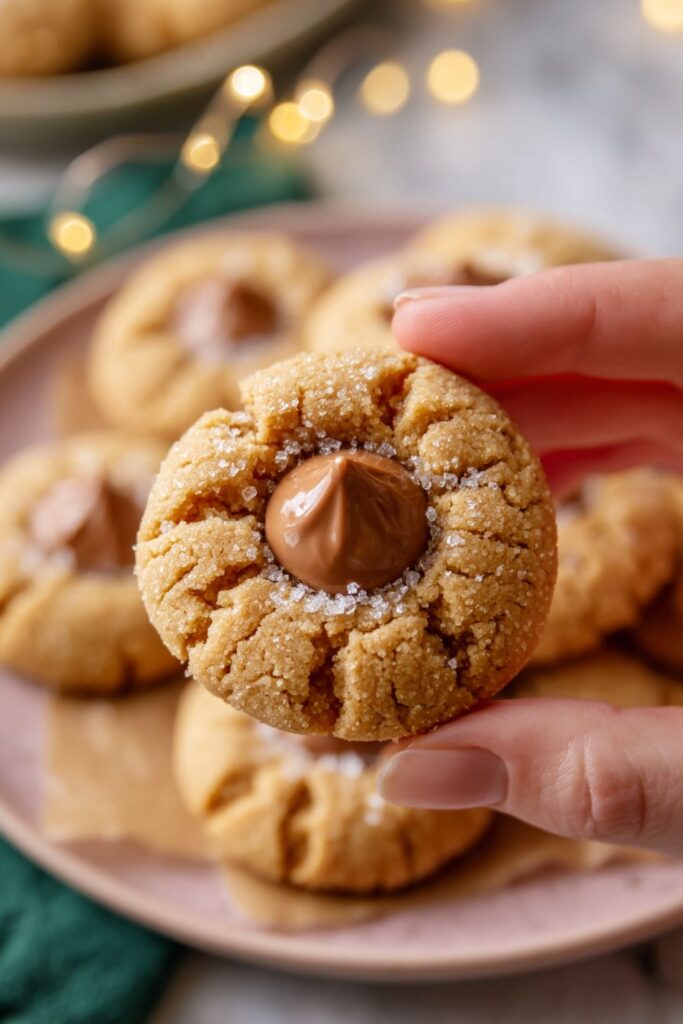
The biggest challenge with peanut butter kiss cookies is timing – if you add the chocolate kisses too early when the cookies are hot, they’ll melt completely, and if you wait too long, the cookies will be too firm to press the kisses into. The perfect moment is about 2 minutes after the cookies come out of the oven, when they’re still warm but not blazing hot. Another common mistake is overbaking these cookies – they should look slightly underdone and puffy when you take them out, as they’ll continue cooking on the baking sheet. For the best texture, avoid overmixing the dough once you add the flour, as this can make your cookies tough instead of tender. To prevent your cookies from spreading too much, make sure your butter isn’t too soft – it should be cool room temperature and still hold its shape when lightly pressed, not completely soft or melted.
What to Serve With Peanut Butter Kiss Cookies?
These classic peanut butter cookies are perfect for serving alongside a cold glass of milk – it’s a combination that never gets old! For a cozy afternoon treat, pair them with hot chocolate or a warm cup of coffee, which really brings out the chocolate and peanut butter flavors. If you’re putting together a cookie platter, these work great next to other holiday favorites like sugar cookies or chocolate chip cookies since they add nice variety to the mix. You can also serve them with a scoop of vanilla ice cream for an extra special dessert that both kids and adults will love.
Storage Instructions
Counter Storage: These peanut butter kiss cookies stay fresh in an airtight container at room temperature for up to 5 days. Just place them in a single layer or separate layers with parchment paper to keep the chocolate kisses from sticking to other cookies.
Freeze: Want to make these ahead? You can freeze the baked cookies for up to 3 months in a freezer-safe container. For best results, layer them between pieces of parchment paper. You can also freeze the cookie dough balls (without the kisses) for up to 2 months – just add the chocolate kisses right after baking!
Make Ahead: The cookie dough can be made up to 24 hours in advance and stored in the fridge. Just let it sit at room temperature for about 30 minutes before rolling into balls and baking. This actually helps develop a deeper peanut butter flavor!
| Preparation Time | 15-20 minutes |
| Cooking Time | 8-10 minutes |
| Total Time | 23-30 minutes |
| Level of Difficulty | Easy |
Estimated Nutrition
Estimated nutrition for the whole recipe (without optional ingredients):
- Calories: 2500-2700
- Protein: 35-45 g
- Fat: 150-160 g
- Carbohydrates: 280-300 g
Ingredients
For the cookies:
- 1 1/2 cups all-purpose flour
- 1/2 cup packed brown sugar
- 1 tsp vanilla extract
- 1 large egg
- 1/2 cup granulated sugar
- 3/4 cup smooth peanut butter (I use Jif creamy peanut butter for consistency)
- 1/2 tsp baking soda
- 1/4 tsp salt
- 1/2 cup unsalted butter (softened to room temperature)
For the topping:
- extra granulated sugar (for rolling the cookies)
- 36 unwrapped chocolate kisses (Hershey’s Kisses are traditional)
Step 1: Preheat the Oven and Prepare Baking Sheets
Begin by preheating your oven to 375°F (190°C).
Line your cookie sheets with parchment paper to ensure the cookies do not stick and spread evenly.
Step 2: Cream Butter and Sugars
In a large mixing bowl or the bowl of a stand mixer fitted with the paddle attachment, combine peanut butter, unsalted butter, sugars, and salt.
Cream these ingredients together by beating on medium speed until well combined and smooth.
Step 3: Add Egg and Vanilla
Add the egg and vanilla extract to the creamed mixture.
Beat on medium speed until everything is well combined.
Make sure to scrape down the sides of the bowl to incorporate all of the ingredients evenly.
Step 4: Mix in Flour and Baking Soda
Add the flour and baking soda to the mixture.
Beat on low speed just until the ingredients are combined and a dough forms.
Be cautious not to overmix.
Step 5: Shape and Arrange the Cookies
Scoop the dough and roll it into 1-inch balls.
If desired, coat the balls in additional granulated sugar for extra texture and sweetness.
Place the dough balls on the prepared baking sheets, spacing them 2 inches apart to allow for spreading.
Step 6: Bake and Add Chocolate Kisses
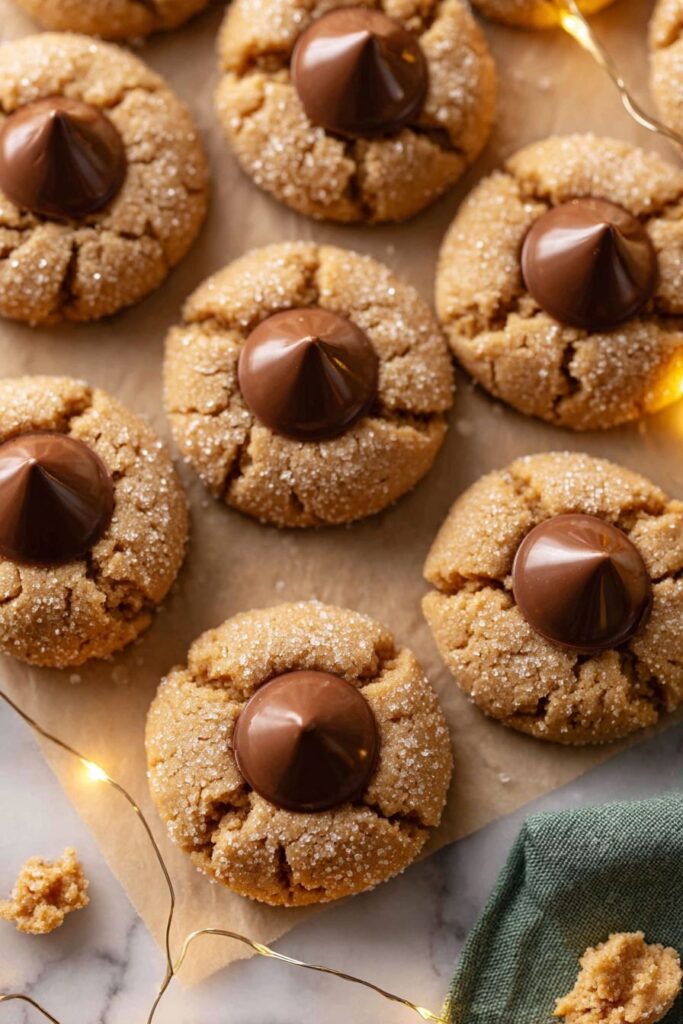
Bake the cookies in the preheated oven for 8 to 10 minutes, or until they look puffy and cracked and the bottoms begin to turn brown.
Upon removing them from the oven, immediately press a chocolate kiss into the center of each cookie.
The cookies will crack slightly, which is expected and adds character to their appearance.
Allow the cookies to cool completely on the pan, giving the chocolate time to set.
Step 7: Cool and Store
Once fully cooled, serve the cookies immediately or store them in an airtight container for up to 1 week, maintaining their fresh flavor and texture.

Soft Peanut Butter Kiss Cookies
Ingredients
Cookies
- 1 1/2 cups all-purpose flour
- 1/2 cup packed brown sugar
- 1 tsp vanilla extract
- 1 large egg
- 1/2 cup granulated sugar
- 3/4 cup smooth peanut butter (I use Jif creamy peanut butter for consistency)
- 1/2 tsp baking soda
- 1/4 tsp salt
- 1/2 cup unsalted butter (softened to room temperature)
Topping
- extra granulated sugar (for rolling the cookies)
- 36 unwrapped chocolate kisses (Hershey’s Kisses are traditional)
Instructions
- Begin by preheating your oven to 375°F (190°C). Line your cookie sheets with parchment paper to ensure the cookies do not stick and spread evenly.
- In a large mixing bowl or the bowl of a stand mixer fitted with the paddle attachment, combine peanut butter, unsalted butter, sugars, and salt. Cream these ingredients together by beating on medium speed until well combined and smooth.
- Add the egg and vanilla extract to the creamed mixture. Beat on medium speed until everything is well combined. Make sure to scrape down the sides of the bowl to incorporate all of the ingredients evenly.
- Add the flour and baking soda to the mixture. Beat on low speed just until the ingredients are combined and a dough forms. Be cautious not to overmix.
- Scoop the dough and roll it into 1-inch balls. If desired, coat the balls in additional granulated sugar for extra texture and sweetness. Place the dough balls on the prepared baking sheets, spacing them 2 inches apart to allow for spreading.
- Bake the cookies in the preheated oven for 8 to 10 minutes, or until they look puffy and cracked and the bottoms begin to turn brown. Upon removing them from the oven, immediately press a chocolate kiss into the center of each cookie. The cookies will crack slightly, which is expected and adds character to their appearance. Allow the cookies to cool completely on the pan, giving the chocolate time to set.
- Once fully cooled, serve the cookies immediately or store them in an airtight container for up to 1 week, maintaining their fresh flavor and texture.
