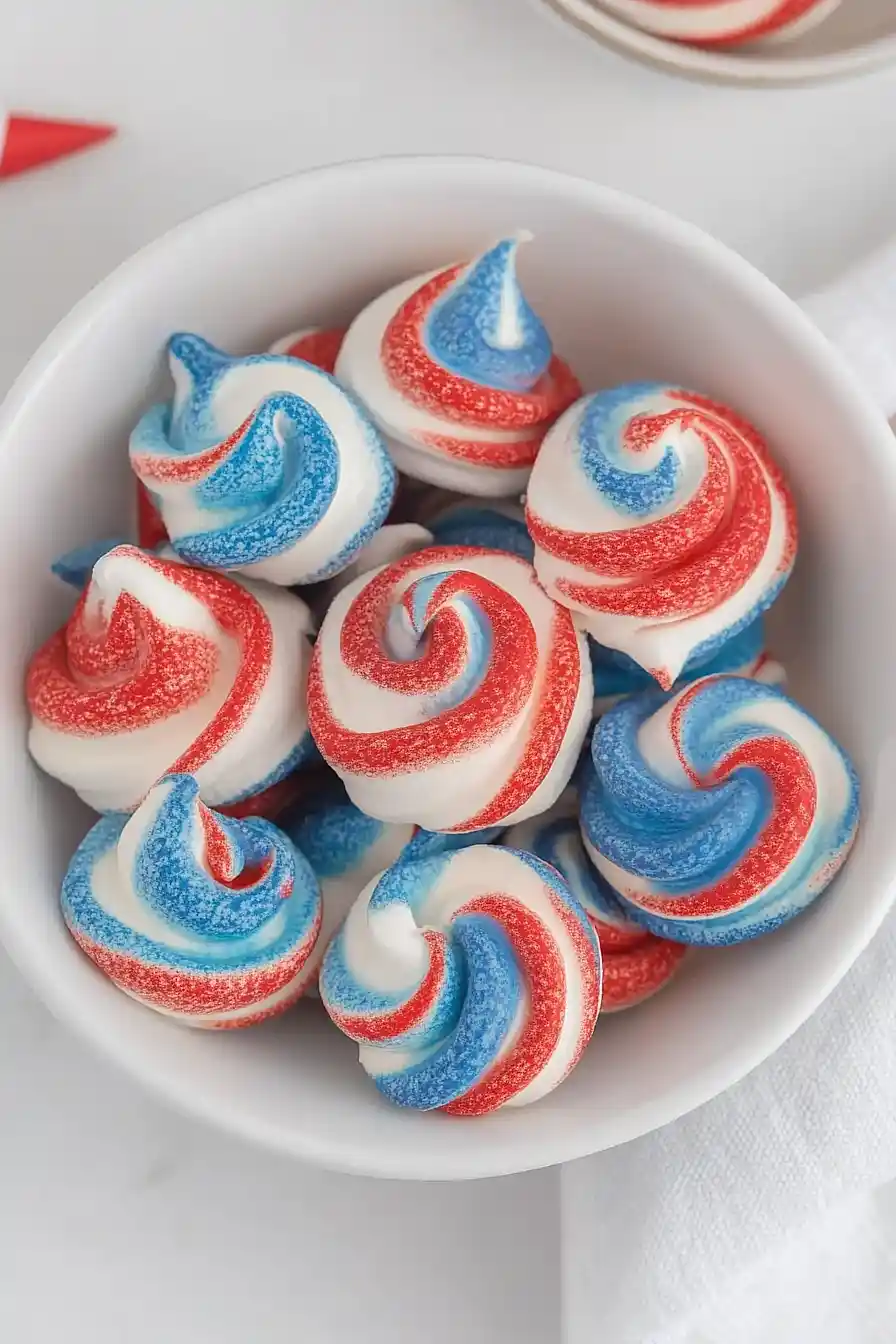
If you ask me, meringue cookies are one of the most fun treats to make in the kitchen.
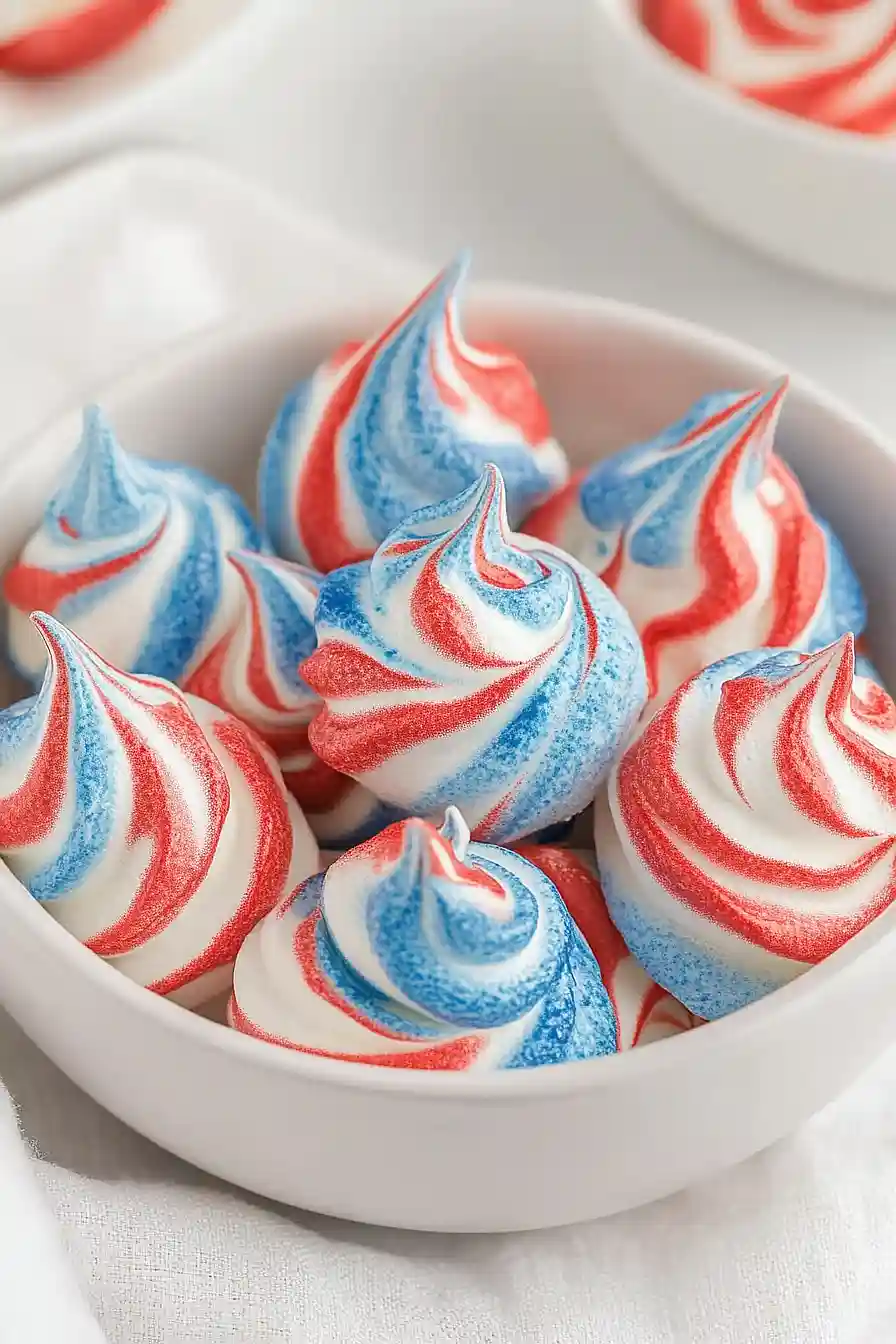
These red, white, and blue meringue cookies bring a festive touch to any summer celebration or patriotic holiday. Light and airy meringues get a playful swirl of color, creating a sweet treat that looks like it came from a fancy bakery.
The simple combination of egg whites, sugar, and a few drops of food coloring turns into these crispy-on-the-outside, slightly chewy-on-the-inside cookies. A quick sprinkle of red and blue sugar adds an extra bit of sparkle.
They’re perfect for Memorial Day picnics, Fourth of July parties, or any time you want to make someone smile with a little bit of whimsy on their plate.
Why You’ll Love These Meringue Cookies
- Light and airy texture – These meringue cookies are wonderfully crisp on the outside and melt in your mouth with each bite – they’re like eating sweet, flavored clouds!
- Perfect for holidays – The red, white, and blue colors make these cookies ideal for patriotic celebrations like Fourth of July or Memorial Day parties.
- Simple ingredients – You only need a handful of basic ingredients to make these impressive-looking treats – most of which you probably already have in your pantry.
- Naturally fat-free – Made primarily from egg whites and sugar, these light cookies are a great option when you want a sweet treat without the heaviness of traditional cookies.
- Make-ahead friendly – These cookies store well in an airtight container, so you can make them a few days before your event and they’ll still taste fresh.
What Kind of Egg Whites Should I Use?
Fresh egg whites are definitely the way to go when making meringues, since they’ll give you the best volume and stability. While you can use egg whites from a carton, they often don’t whip up as well as fresh ones since they’ve been pasteurized. The most important thing is to make sure your egg whites are completely free of any yolk – even a tiny bit of yolk will prevent them from whipping up properly. For best results, separate your eggs while they’re still cold from the fridge, but let the whites come to room temperature before beating them. This will help them whip up to their fullest potential and create those perfect, airy meringues.
Options for Substitutions
Let’s talk about what you can (and can’t) swap in these festive meringue cookies:
- Egg whites: This is the one ingredient you absolutely can’t substitute – fresh egg whites are essential for proper meringues. While some recipes use aquafaba (chickpea liquid) for vegan meringues, it requires different techniques and ratios.
- Confectioner’s sugar: Stick to confectioner’s sugar here – regular granulated sugar won’t work as it’s too grainy. If you’re in a pinch, you can make your own by blending granulated sugar in a food processor until very fine.
- Vanilla/peppermint essence: Feel free to experiment with different extracts! Almond, lemon, or orange extract would all work nicely. Just make sure to use clear extracts to keep the white portions bright.
- Gel food coloring: While gel colors work best, you can use regular liquid food coloring. Just be careful not to add too much as extra liquid can affect the meringue’s texture. Skip natural food dyes as they often fade during baking.
- Edible gold stars: These are purely decorative – you can skip them or use other sprinkles, colored sugar, or even crushed candy canes for a holiday twist.
Watch Out for These Mistakes While Baking
The biggest challenge when making meringue cookies is moisture – even a tiny bit of egg yolk or water in your whites will prevent them from whipping up properly, so make sure your bowl and beaters are completely clean and dry, and separate your eggs carefully.
Temperature plays a crucial role too – room temperature egg whites whip up better than cold ones, but avoid making meringues on humid days as they can become sticky and won’t dry properly in the oven.
When adding your food coloring, less is more – gel colors are concentrated, so start with tiny amounts and build up gradually to avoid overwhelming your meringue mixture and affecting its texture.
For the perfect finish, don’t rush the drying process – these cookies need to cool completely in the oven (with the door closed) after baking, as sudden temperature changes can cause them to crack or collapse.
What to Serve With Meringue Cookies?
These light and airy meringue cookies make a perfect addition to any dessert spread or afternoon tea setup. Since they’re sweet on their own, try serving them alongside fresh berries or a cup of unsweetened coffee or tea to balance out the flavors. For a lovely dessert platter, pair them with some dark chocolate pieces and maybe some fresh whipped cream for dipping. If you’re hosting a party, these cookies look great on a dessert board next to other small treats like chocolate-covered strawberries or mini fruit tarts – just remember that meringues don’t like humidity, so serve them in a cool, dry spot!
Storage Instructions
Keep Fresh: These pretty meringue cookies need to be stored properly to maintain their crispness. Place them in an airtight container, layered between pieces of parchment paper. Keep them at room temperature in a cool, dry place (avoid the refrigerator as moisture is their enemy!) and they’ll stay crisp for up to 2 weeks.
Make Ahead: These meringues are perfect for making in advance! Once they’re completely cool after baking, you can store them right away. Just remember that humid weather can affect their texture, so try to make them on a dry day for best results.
Tips: If your meringues start getting soft, you can try to crisp them up again by placing them in a 200°F oven for about 10 minutes, then letting them cool completely. But remember – once they get really soft or sticky, there’s no bringing them back to their original texture.
| Preparation Time | 30-45 minutes |
| Cooking Time | 80-90 minutes |
| Total Time | 110-135 minutes |
| Level of Difficulty | Medium |
Estimated Nutrition
Estimated nutrition for the whole recipe (without optional ingredients):
- Calories: 600-700
- Protein: 12-15 g
- Fat: 0-2 g
- Carbohydrates: 150-160 g
Ingredients
For the meringue:
- 4 large egg whites (must be at room temperature for best volume)
- 1 tsp vanilla extract (I use Nielsen-Massey for rich flavor)
- red gel food coloring (I use AmeriColor Super Red)
- 2 1/2 cups confectioners’ sugar (sifted to prevent lumps)
- blue gel food coloring
For decorating:
- edible gold stars (optional, for a festive touch)
Step 1: Prepare the Meringue Base
Add 3 inches of water to a medium/small pot and bring it to a simmer.
In a heat-safe bowl (preferably a metal bowl of a stand mixer), transfer the egg whites and add powdered sugar.
Briefly whisk or stir to combine.
Place the mixing bowl on the rim of the pot, ensuring it is above the water line to create a double boiler effect.
Constantly whisk or stir the mixture until the sugar has completely dissolved.
Use a candy thermometer to check the temperature; once the mixture reaches 113°F, remove the bowl from the heat.
Step 2: Whip the Meringue
Attach the mixing bowl to a stand mixer with the whisk attachment.
Whisk the hot mixture at high speed for 5 minutes.
As it whips, the meringue will thicken, cool, become shiny, and double in volume.
Check that the meringue reaches a medium-soft peak consistency, similar to fluffy, clingy shaving foam.
If necessary, continue whipping.
At the end, add your desired flavoring extract and whip to incorporate fully.
Step 3: Prepare the Piping Bag and Baking Tray
Prepare a baking tray with a silicone baking mat.
If using parchment paper, secure it with dots of meringue at the corners of the tray to prevent movement in the oven.
Adjust an #804 tip inside a decorating bag, ensuring it is tight and secure.
Cut the end of the bag accordingly.
Fold back the top of the piping bag by 1/3 and paint stripes of red and blue food coloring inside the bag.
Hold the piping bag open with your non-dominant hand and fill it 1/3 full with the whipped meringue.
Press the meringue forward to minimize air pockets and twist the top of the bag.
Step 4: Pipe the Meringue Cookies
Position the metal tip above the prepared baking tray.
For kiss-shaped cookies, hold the tip 1/8 inch above the paper, and for meringue swirls, hold it 1/4 inch above.
Apply pressure to pipe the meringue and release pressure gradually to form a peak.
Stagger cookies on the tray for even baking.
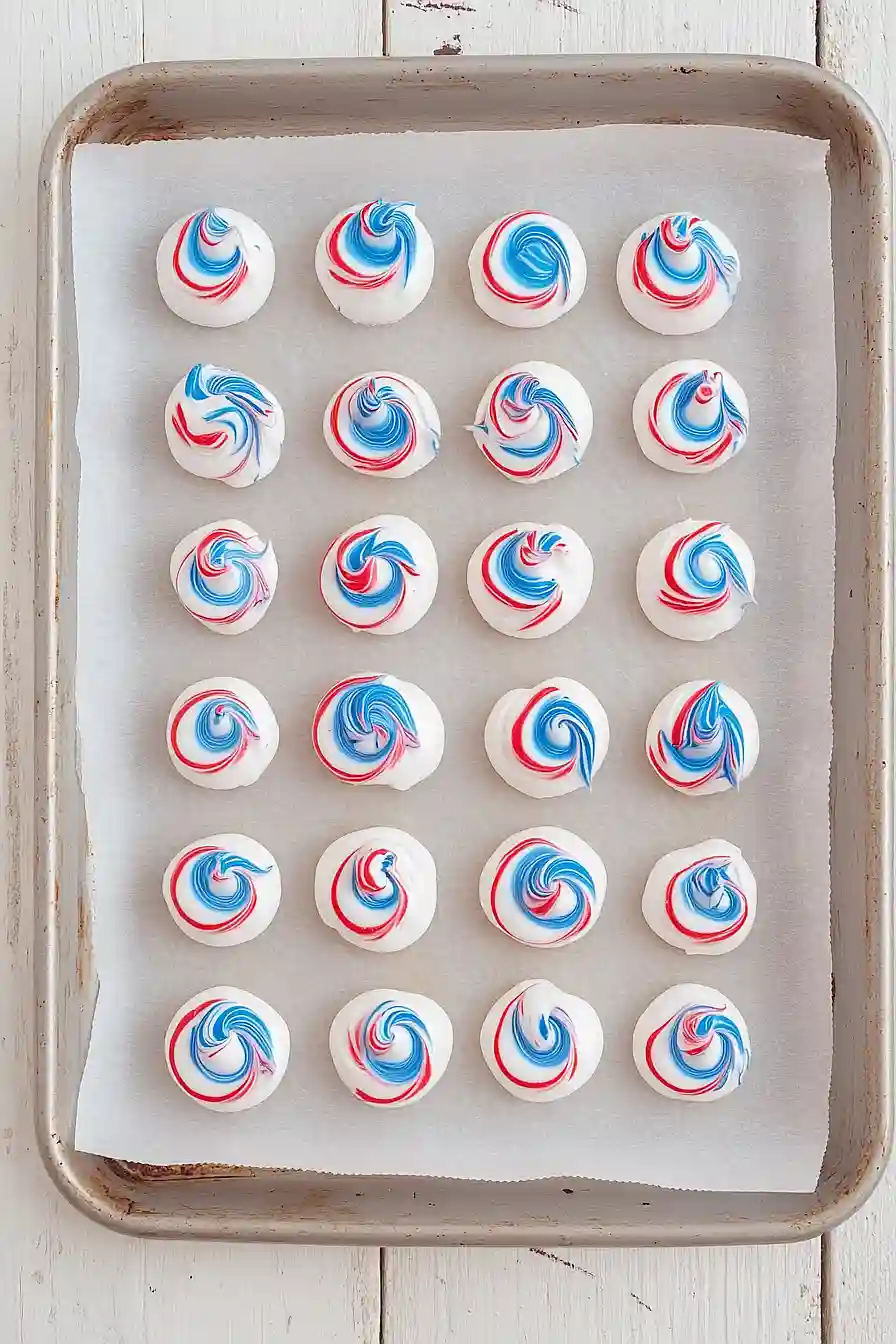
For patriotic-themed meringue cookies, pipe them in a spiral for red, white, and blue swirls.
If making large batches, work in halves, cleaning the tip before each load.
Step 5: Bake the Meringue Cookies
Preheat your oven to 200°F for a conventional oven or 175°F for a convection oven.
Bake the cookies for about 80 minutes, rotating the tray 180 degrees every 20 minutes.
The cookies are done when they’re crisp throughout.
If you notice surface cracks, remove them immediately from the oven.
Step 6: Cool and Decorate
With the cookies still on the parchment paper, transfer them to a cool surface or a cooling rack.
While the cookies are cooling and slightly sticky, lightly sprinkle edible stars over them.
Allow the cookies to continue air drying for a few hours in a cool, non-humid spot to achieve the best texture.
