Christmas cookies are one of my favorite holiday traditions. I love the smell of butter browning in the pan almost as much as I love watching my kids sneak bites of cookie dough when they think I’m not looking. But let’s be honest – I don’t always have time for elaborate decorated sugar cookies that take all day.
That’s why these brown butter cookies have become my go-to recipe every December. The brown butter adds this nutty, caramel-like flavor that makes people think you spent hours in the kitchen. But really? They come together in about 30 minutes. I can make a batch after dinner and still have time to wrap presents.
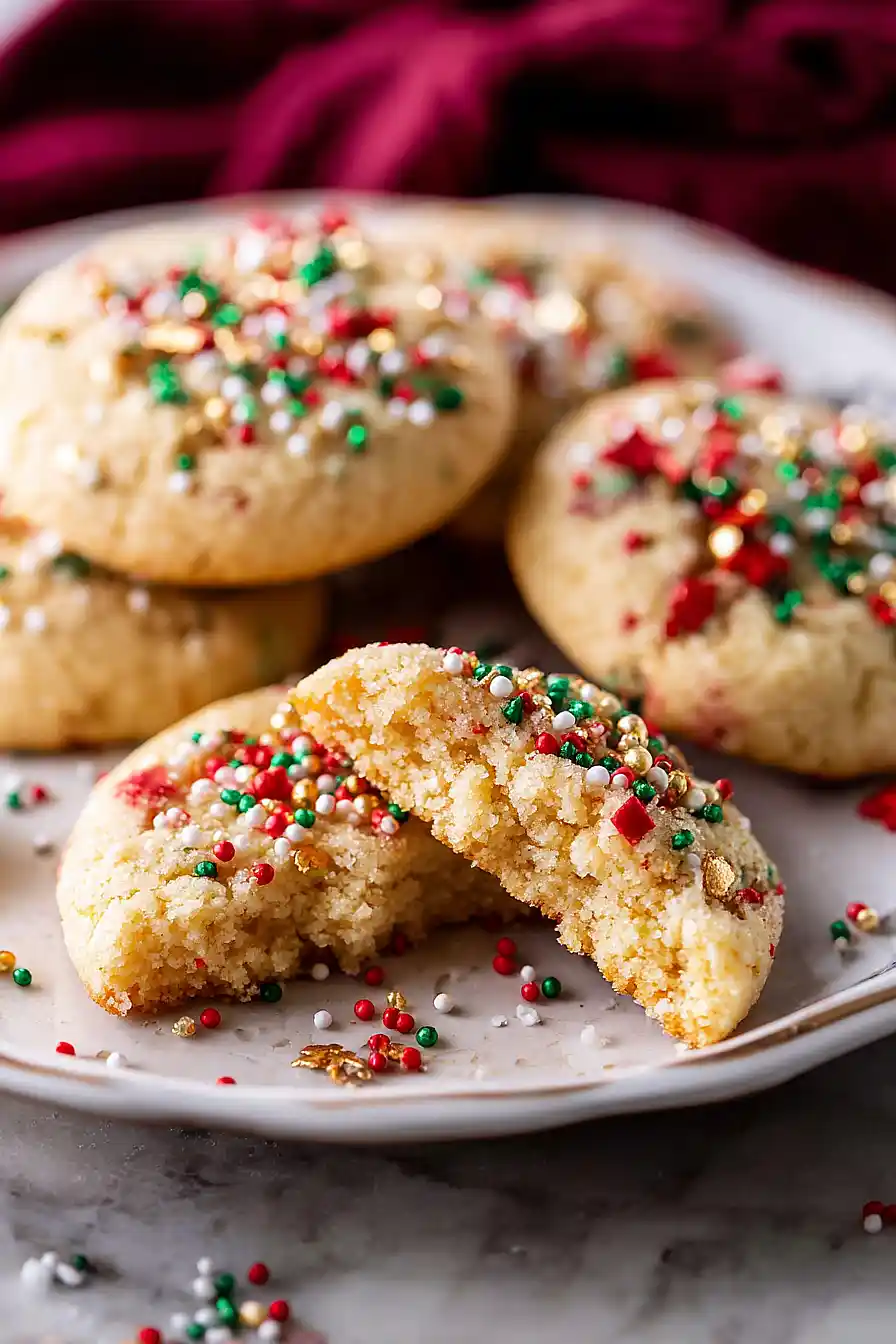
Want something that tastes fancy but doesn’t stress you out? These are your cookies. They’re soft, chewy, and have that warm spice blend that screams Christmas morning.

Why You’ll Love These Christmas Brown Butter Cookies
- Rich brown butter flavor – The nutty, caramelized taste from browning the butter takes these cookies from ordinary to extraordinary with just one simple step.
- Quick and easy – Ready in under 45 minutes from start to finish, these cookies are perfect when you need a sweet treat fast or want to bake with the kids.
- Simple pantry ingredients – You probably have everything you need already – just basic baking staples that come together to create something special.
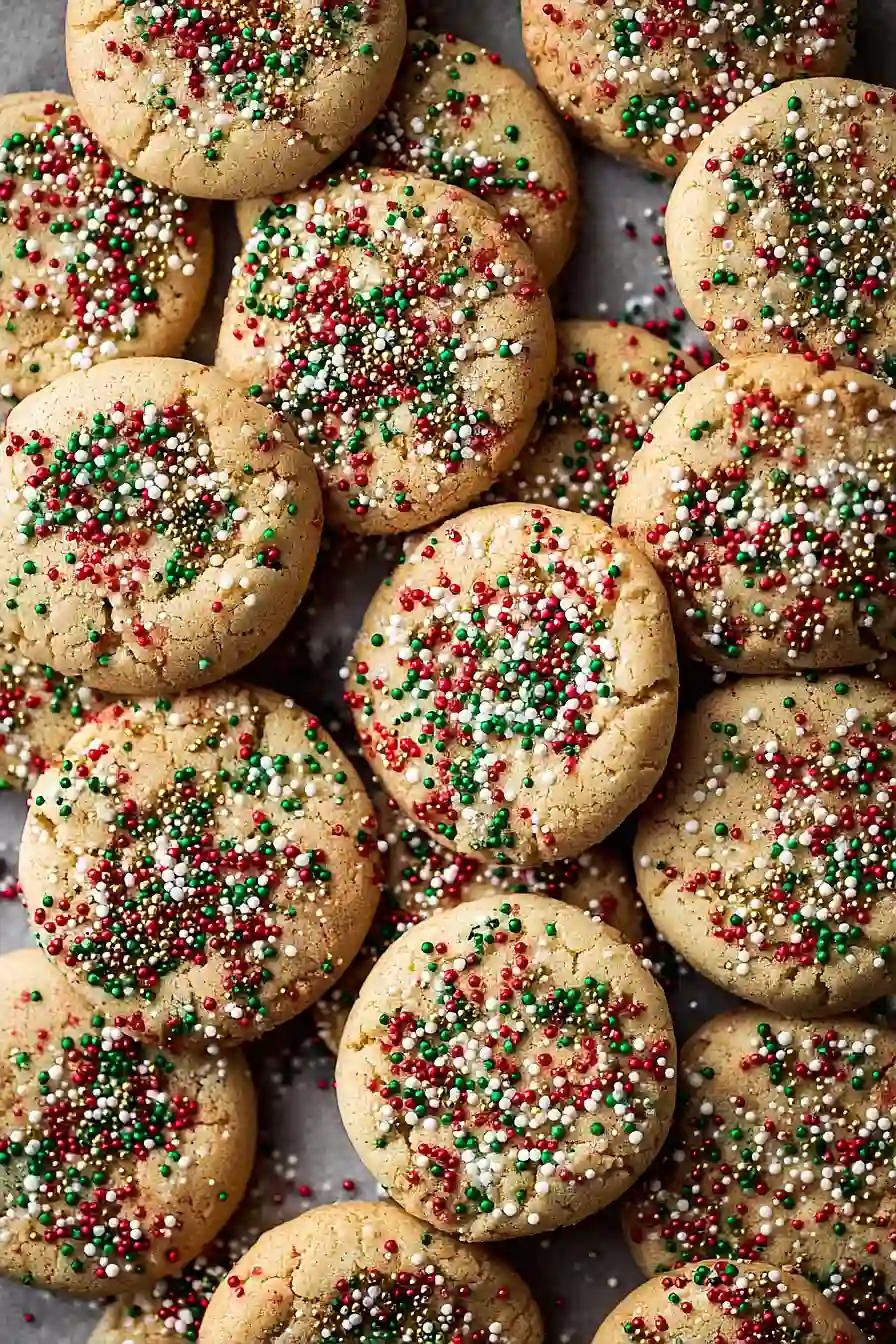
- Perfect for holiday gifting – These cookies look festive with colorful sprinkles and taste amazing, making them ideal for cookie exchanges or giving to neighbors and friends.
- Soft and chewy texture – The combination of both granulated and brown sugar creates the perfect tender cookie that’s not too crispy or too cake-like.
What Kind of Butter Should I Use?
For brown butter cookies, you’ll definitely want to use unsalted butter since it gives you better control over the salt content in your recipe. The quality of your butter really matters here because browning butter concentrates all those flavors, so using a good European-style butter with higher fat content will give you richer, nuttier results. Make sure your butter is fresh and doesn’t have any off flavors, since browning will make any funky tastes more noticeable. When you’re browning the butter, watch it carefully and look for those golden brown bits at the bottom of the pan – that’s where all the nutty flavor comes from!
Options for Substitutions
These cookies are pretty forgiving when it comes to swaps, so here’s what you can do if you’re missing something:
- Unsalted butter: You can use salted butter instead – just reduce the added salt to 1/4 teaspoon. The brown butter is really what makes these cookies special, so I wouldn’t skip that step.
- All-purpose flour: In a pinch, you can substitute with 1:1 baking flour or even cake flour, though the texture might be slightly more tender. Avoid using bread flour as it’ll make the cookies too chewy.
- Light brown sugar: Dark brown sugar works great and will give you a deeper molasses flavor. You can also make your own by mixing 3/4 cup granulated sugar with 1 tablespoon molasses.
- Vanilla extract: Almond extract is a nice holiday swap – just use half the amount since it’s stronger. You could also try rum extract for a festive twist.
- Sprinkles: Get creative with your toppings! Try crushed candy canes, mini chocolate chips, or even a light dusting of powdered sugar after baking for that snowy look.
Watch Out for These Mistakes While Baking
The biggest mistake when making brown butter cookies is not letting the butter cool down enough after browning, which can scramble your egg when you mix everything together – let that golden, nutty butter sit for about 10 minutes until it’s warm but not hot.
Another common error is over-browning the butter, so watch for those milk solids to turn a deep amber color and smell nutty, then immediately remove from heat since it can go from perfect to burnt in seconds.
Don’t skip chilling the dough for at least 30 minutes before baking, as brown butter makes the dough softer than regular cookie dough and chilling helps prevent excessive spreading.
Finally, these cookies can go from perfectly golden to overdone quickly because of the already-browned butter, so keep a close eye on them and remove when the edges are just set but the centers still look slightly underbaked.
What to Serve With Christmas Brown Butter Cookies?
These cookies are perfect on their own, but they really shine when paired with a tall glass of cold milk or a warm mug of hot chocolate during the holiday season. I love setting them out on a festive platter alongside other Christmas treats like fudge, candy canes, or homemade truffles for a sweet holiday spread. They also make wonderful gifts when packed in decorative tins or cookie bags tied with ribbon. For a cozy evening treat, try dunking them in coffee or tea while you’re wrapping presents or watching holiday movies.
Storage Instructions
Store: These brown butter cookies stay soft and chewy when kept in an airtight container at room temperature for up to a week. I like to toss a slice of bread in the container to help keep them extra soft. They’re perfect for cookie exchanges or keeping around during the holidays!
Freeze: You can freeze the baked cookies in a freezer-safe container for up to 3 months. I also love making the cookie dough ahead and freezing it in balls on a baking sheet, then transferring to a bag once frozen solid. This way you can bake fresh cookies whenever you want them!
Make Ahead: The brown butter can be made up to 3 days ahead and stored in the fridge – just let it come back to room temperature before using. You can also scoop the dough and refrigerate it overnight, which actually makes the cookies even more flavorful when you bake them the next day.
| Preparation Time | 20-30 minutes |
| Cooking Time | 12-13 minutes |
| Total Time | 32-43 minutes |
| Level of Difficulty | Medium |
Estimated Nutrition
Estimated nutrition for the whole recipe (without optional ingredients):
- Calories: 3500-3700
- Protein: 28-32 g
- Fat: 200-220 g
- Carbohydrates: 410-430 g
Ingredients
For the cookie dough:
- 1 large egg (at room temperature for better emulsification)
- 1 tsp baking soda
- 3/4 cup granulated sugar
- 1/2 tsp salt (fine grain for even distribution)
- 1 cup unsalted butter (for browning, I like Kerrygold unsalted butter)
- 3/4 cup light brown sugar, packed (adds moisture and chewiness)
- 2 cups plus 2 tbsp all-purpose flour
- 2 tsp pure vanilla extract (I use Nielsen-Massey brand for best flavor)
For decorating:
- Sprinkles or nonpareils (optional, for festive decoration)
Step 1: Brown the Butter
- 1 cup unsalted butter (16 tbsp, 226g)
Slice the unsalted butter into pieces and place them in a light-colored skillet.
Melt over medium heat, whisking occasionally.
The butter will foam and, after 5–8 minutes, develop browned specks and a nutty aroma.
Immediately remove from heat and pour the browned butter into a large heat-proof bowl.
Allow it to cool for 5 minutes before using.
I like to use a light-colored skillet to help see the browning more clearly.
Step 2: Prepare the Dry Ingredients
- 2 cups plus 2 tbsp all-purpose flour (265g)
- 1 tsp baking soda
- 1/2 tsp salt
While the butter cools, whisk together the all-purpose flour, baking soda, and salt in a medium bowl.
Set the mixture aside for later use.
Step 3: Combine Wet Ingredients and Sugars
- browned butter (from Step 1)
- 3/4 cup granulated sugar (150g)
- 3/4 cup light brown sugar, packed (150g)
- 1 large egg, room temperature
- 2 tsp pure vanilla extract
Add the granulated sugar and packed light brown sugar to the browned butter (from Step 1).
Using a handheld mixer or a stand mixer fitted with a paddle attachment, beat the mixture on medium-high speed until relatively combined, about 1 minute.
Then, beat in the egg and pure vanilla extract until fully incorporated.
Step 4: Make and Chill the Dough
- dry mixture (from Step 2)
- wet mixture (from Step 3)
- sprinkles or nonpareils (optional)
Add the dry ingredients (from Step 2) to the wet mixture (from Step 3).
Begin mixing on low speed and gradually increase to high speed until everything is fully combined into a thick, slightly greasy dough.
Roll about 1 tablespoon of dough into balls, dipping the tops in sprinkles if desired.
Place the dough balls close together on a lined baking sheet or large plate, cover loosely with plastic wrap, and refrigerate for 30 minutes to chill.
Step 5: Bake the Cookies
- chilled dough balls (from Step 4)
Preheat your oven to 350°F (177°C).
Line large baking sheets with parchment paper or silicone baking mats for easier cleanup and better cookie texture.
Arrange the chilled dough balls (from Step 4) about 3 inches apart on the prepared sheets.
Bake for 12–13 minutes, or until the cookies are lightly browned on the sides.
Allow the cookies to cool on the baking sheet for 5 minutes before transferring them to a rack to cool completely.
For a little extra flavor, I sometimes sprinkle a pinch of sea salt on top right after baking.
