Getting juicy, perfectly cooked chicken breasts can feel like an impossible task, especially after a long day at work when you’re trying to get dinner on the table quickly. Between monitoring the temperature, fighting with sticky pans, and hoping they don’t end up dry, chicken breasts can sometimes seem more trouble than they’re worth.
That’s why I love this Blackstone chicken breast recipe – it takes the guesswork out of cooking chicken and delivers consistently tender results every time. The flat top griddle gives you that nice outer sear while keeping all the moisture locked inside, and the best part is you can cook several pieces at once for easy meal prep.
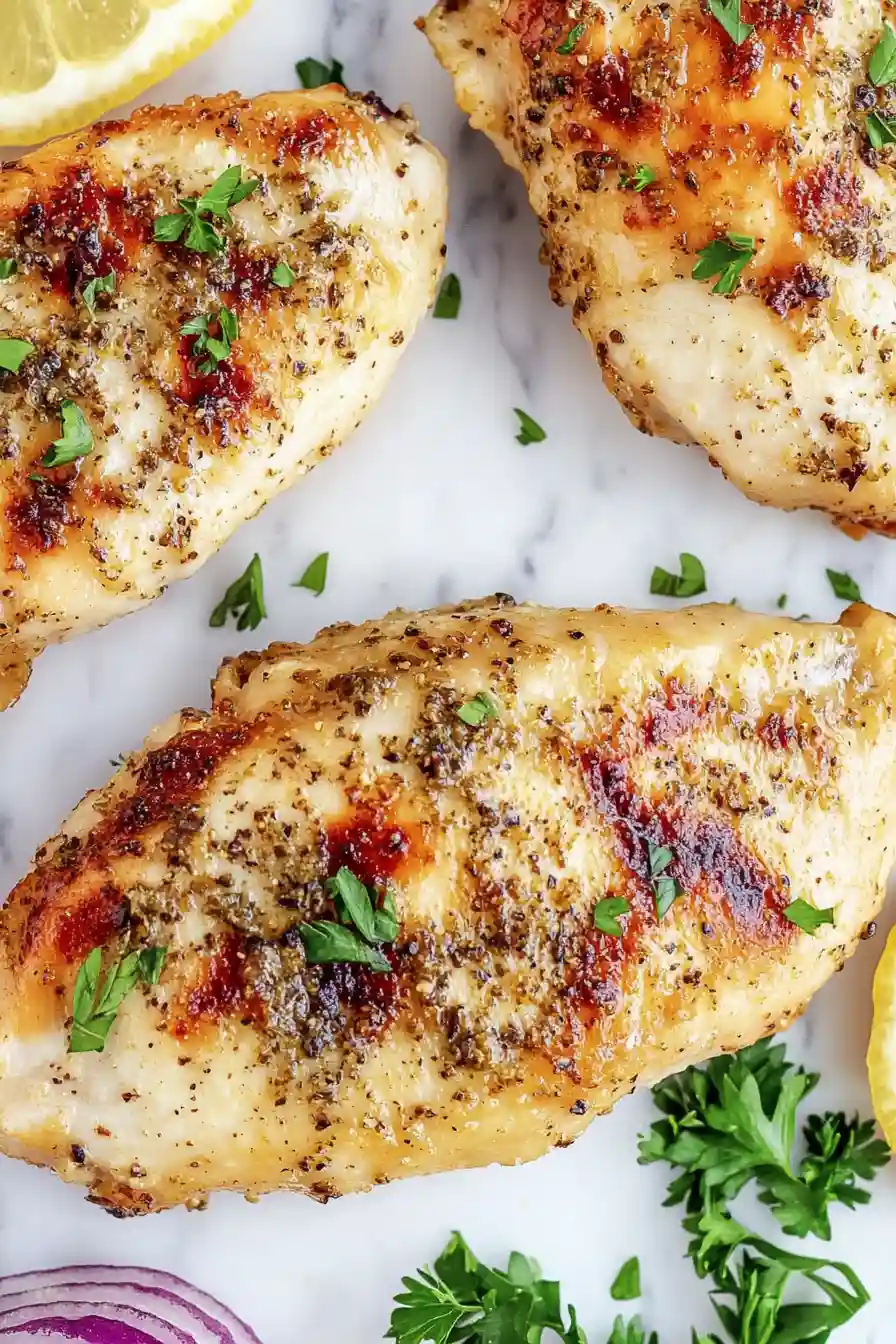
Why You’ll Love This Blackstone Chicken
- Perfect meal prep option – Make a big batch on the weekend and enjoy tender, flavorful chicken all week long in salads, sandwiches, or grain bowls.
- Simple marinade – The marinade uses common pantry ingredients you likely already have, and it’s as easy as mix and pour.
- Juicy results – The combination of mayonnaise and oil in the marinade helps lock in moisture, ensuring your chicken stays tender and never dry.
- Versatile protein – This chicken works great as a main dish, but you can also slice it for tacos, dice it for pasta, or shred it for sandwiches.
- Diet-friendly – It’s naturally low-carb, gluten-free (with tamari), and high in protein, making it perfect for various dietary needs.
What Kind of Chicken Breast Should I Use?
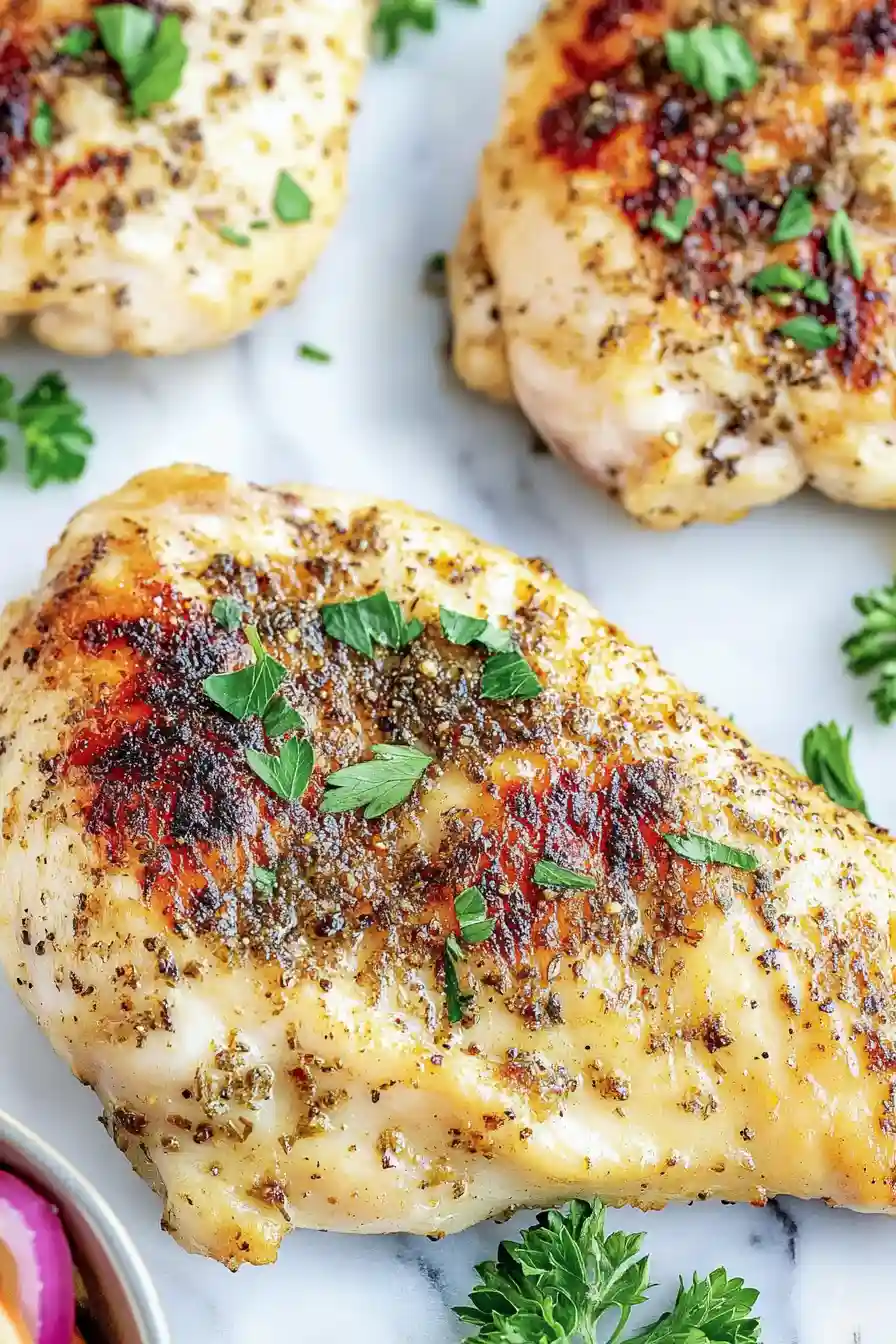
For grilling on a Blackstone, boneless skinless chicken breasts are your best bet, and you’ll find them readily available at any grocery store. Try to choose pieces that are similar in size and thickness – this helps them cook evenly and ensures they’ll all be done at the same time. If your chicken breasts are particularly thick, you might want to butterfly them or pound them to an even thickness of about 1/2 inch. Fresh chicken is great, but if you’re using frozen, make sure it’s completely thawed and patted dry before cooking to help get that perfect sear on the griddle.
Options for Substitutions
This Blackstone chicken recipe is pretty adaptable – here are some easy swaps you can make:
- Mayonnaise: If mayo isn’t your thing, try Greek yogurt or sour cream instead. These will still give you that nice creamy coating, though the flavor will be a bit tangier.
- Avocado oil: Any high-heat cooking oil works here – try vegetable oil, grapeseed oil, or even light olive oil. Just avoid extra virgin olive oil as it can smoke at high temperatures.
- Dijon mustard: Yellow mustard or whole grain mustard can work in place of Dijon. If you’re out of mustard completely, try horseradish for that nice kick.
- Soy sauce: Besides tamari, you can use coconut aminos for a soy-free option, or Worcestershire sauce (use half the amount as it’s stronger).
- Chicken breasts: Feel free to use chicken thighs instead – they’re actually more forgiving and harder to overcook. Just adjust cooking time as needed since thighs typically take a few minutes longer.
- Dried thyme: Out of thyme? Italian seasoning, herbs de Provence, or dried oregano make good substitutes. If using fresh herbs, triple the amount called for.
Watch Out for These Mistakes While Grilling
The biggest challenge when cooking chicken on a Blackstone griddle is maintaining the right temperature – too hot and you’ll end up with a charred exterior and raw interior, too low and you’ll miss out on those perfect grill marks and caramelization. For best results, preheat your griddle to medium-high (around 400°F) and maintain that temperature throughout cooking. A common mistake is constantly moving the chicken around – instead, let it cook undisturbed for 5-7 minutes on each side to develop a nice crust and ensure even cooking. To avoid dry chicken, use a meat thermometer and remove the breasts from the griddle when they reach 155°F internally, as they’ll continue cooking to the safe temperature of 165°F while resting. For extra juicy results, let the chicken rest for at least 5-10 minutes before cutting, and always slice against the grain to maintain tenderness.
What to Serve With Blackstone Chicken?
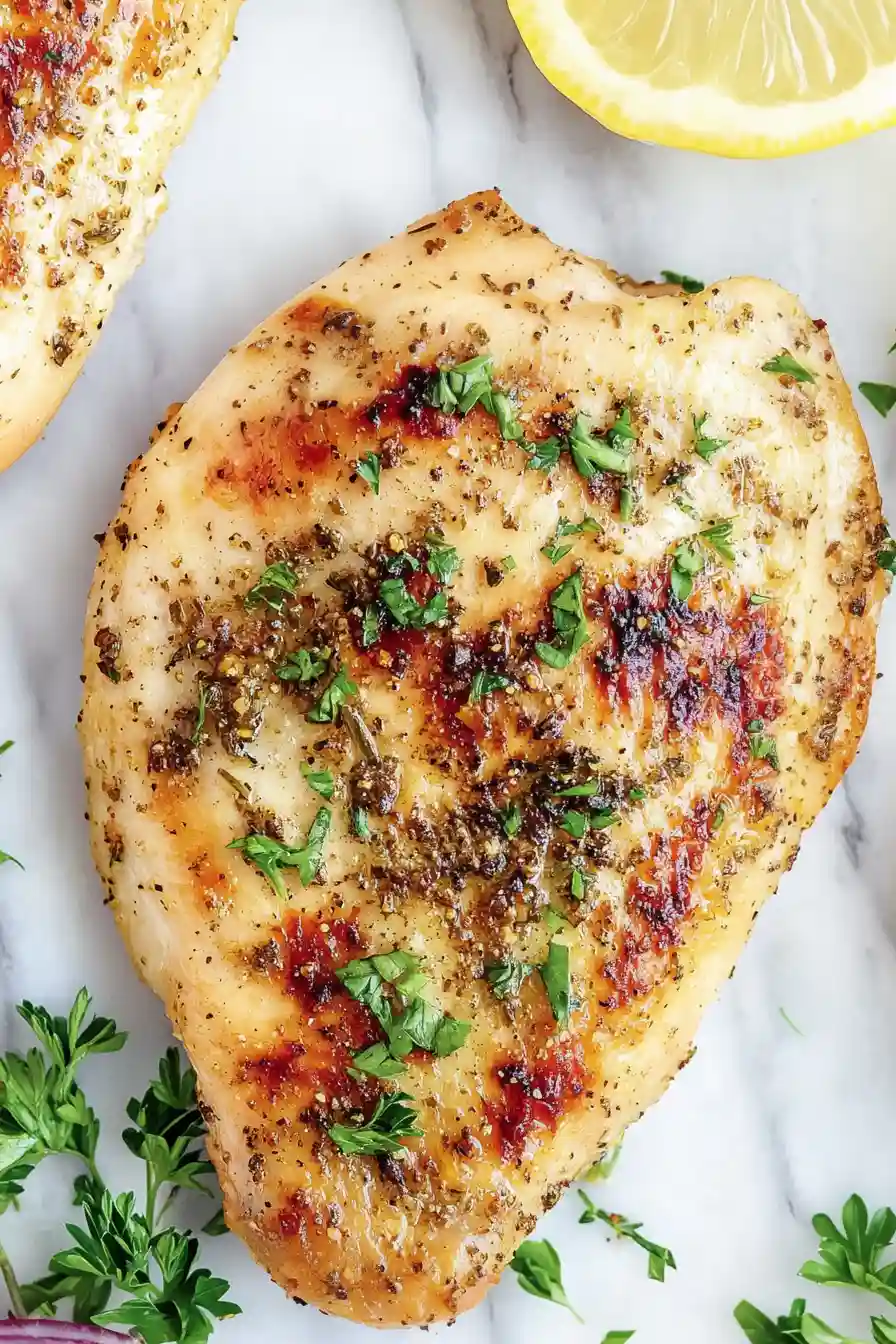
This juicy grilled chicken pairs perfectly with classic BBQ sides that can be cooked right alongside it on your Blackstone griddle. Try throwing some corn on the cob or colorful bell peppers on the griddle while your chicken cooks – the smoky flavor from the flat top makes everything taste amazing. A simple rice pilaf or baked potato makes a great base for soaking up all those tasty chicken juices. For a complete meal, I like to add a crisp green salad or some coleslaw on the side to balance out the richness of the chicken. You can also slice up the leftover chicken to serve on sandwiches or salads the next day!
Storage Instructions
Keep Fresh: After your Blackstone chicken has cooled down, place it in an airtight container and pop it in the fridge. It’ll stay good for up to 4 days, making it perfect for meal prep. I like to slice it up before storing – it makes it super easy to add to salads or sandwiches throughout the week!
Freeze: This chicken freezes really well! Let it cool completely, then wrap individual portions in plastic wrap or foil and place them in a freezer bag. They’ll keep nicely for up to 3 months. It’s such a time-saver to have ready-to-go portions in the freezer for busy weeknights.
Reheat: To warm up your chicken without drying it out, place it in a covered skillet over low heat with a splash of water, or microwave it at 50% power with a damp paper towel on top. If reheating from frozen, thaw in the fridge overnight first for the best results.
| Preparation Time | 10-15 minutes |
| Cooking Time | 30-40 minutes |
| Total Time | 4 hours 40 minutes – 4 hours 55 minutes |
| Level of Difficulty | Medium |
Estimated Nutrition
Estimated nutrition for the whole recipe (without optional ingredients):
- Calories: 1800-2000
- Protein: 160-170 g
- Fat: 130-140 g
- Carbohydrates: 10-15 g
Ingredients
For the marinade:
- 1 tbsp soy sauce
- 1/4 cup mayonnaise (I use Hellmann’s mayonnaise)
- 1 tsp dried thyme
- 1/2 tsp ground black pepper
- 1 tsp sea salt
- 1/4 cup avocado oil
- 1 tbsp Dijon mustard (smooth or whole grain, based on preference)
- 1/4 tsp cayenne pepper
For the chicken:
- 2 lb boneless, skinless chicken breasts (cut into 1-inch thick pieces)
Step 1: Prepare the Marinade
In a small bowl, combine mayonnaise, avocado oil, Dijon mustard, soy sauce, thyme, salt, pepper, and a dash of cayenne pepper.
Mix thoroughly to ensure all the ingredients are well incorporated.
Step 2: Marinate the Chicken
Place the chicken pieces in a shallow dish or zip-top plastic bag.
Pour the marinade over the chicken, ensuring that it’s fully coated.
Seal the dish or bag and refrigerate for at least four hours, or ideally overnight, allowing the flavors to infuse into the chicken.
Step 3: Prepare to Cook
Once marinated, remove the chicken from the marinade and discard any excess.
Heat your Blackstone griddle to low to medium heat, roughly around 350°F.
Drizzle or spray a small amount of oil over the griddle’s surface to prevent sticking.
Step 4: Cook the Chicken on the Griddle
Place the chicken on the preheated griddle and cook for approximately 7 minutes.
Flip the chicken pieces and continue cooking for an additional 7 to 10 minutes, or until an instant-read thermometer reads 160°F to ensure it’s cooked safely.
Step 5: Rest the Chicken
Transfer the cooked chicken to a plate and tent loosely with foil.
This helps the juices redistribute, making the chicken even more tender.
Let it rest for 5 to 10 minutes before serving for the best flavor and texture.
Step 6: Alternative Cooking Method (Optional)
If using a skillet instead of a griddle, heat a tablespoon of oil in a large skillet over medium heat.
Cook the chicken for 7 minutes, then flip and cook for another 7 to 10 minutes until an instant-read thermometer registers 160°F.
Allow to rest for 5 minutes before serving.