Mac and cheese has always been comfort food in our house. My kids could eat it every day if I let them. But when we discovered my daughter’s dairy sensitivity a few years ago, I thought our mac and cheese days were over. Turns out, I was totally wrong.
That’s when I started experimenting with dairy-free versions that could fool even the pickiest eaters. I’ll use cashew cream for richness and nutritional yeast for that cheesy flavor we all crave. The secret is baking it until the top gets golden and crispy. No one misses the regular cheese.
Want something creamy and satisfying? This recipe delivers. Need to feed a crowd without dairy? Same. Honestly, I make this even when we don’t need it to be dairy-free because it’s just that good.
Why You’ll Love This Dairy Free Mac and Cheese
- Dairy-free and vegan-friendly – Perfect for anyone avoiding dairy or following a plant-based diet, this recipe delivers all the creamy, cheesy comfort you crave without any animal products.
- Gluten-free option – Using gluten-free pasta makes this accessible for those with celiac disease or gluten sensitivity, so everyone at the table can enjoy it.
- Rich, creamy texture – The combination of coconut milk, silken tofu, and vegan cream cheese creates that classic mac and cheese creaminess you remember from childhood.
- Family-friendly comfort food – Even non-vegans will be surprised by how satisfying and delicious this baked version is, making it a great dish for mixed dietary households.
- Make-ahead friendly – You can prep this casserole earlier in the day and bake it when you’re ready to eat, making weeknight dinners so much easier.
What Kind of Vegan Cheese Should I Use?
For the best results in this dairy-free mac and cheese, you’ll want to use a good melting vegan cheese that’s specifically designed for cooking. Brands like Violife, Daiya, or Follow Your Heart work well because they’re formulated to melt smoothly and create that creamy texture we’re all looking for. You can use a sharp cheddar style for that classic mac and cheese flavor, or mix different varieties like cheddar and mozzarella for more depth. Just make sure whatever brand you choose says “melts” or “shreds” on the package – some vegan cheeses are better for snacking than cooking. If you’re having trouble finding good vegan cheese in your area, check the refrigerated section rather than the shelf-stable area, as the refrigerated versions tend to melt better.
Options for Substitutions
This dairy-free mac and cheese is pretty adaptable, so here are some swaps you can make:
- Gluten-free elbow pasta: Regular wheat pasta works perfectly if gluten isn’t a concern. You can also try other short pasta shapes like shells, rotini, or cavatappi – they all hold the cheese sauce well.
- Chickpea flour: All-purpose flour or oat flour can replace chickpea flour in equal amounts. The chickpea flour adds a slightly nutty flavor, but regular flour works just fine for thickening.
- Coconut milk and almond milk: Feel free to mix and match your plant milks! Oat milk, soy milk, or cashew milk all work great. Just make sure at least one is full-fat (like canned coconut milk) to keep the sauce creamy.
- Silken tofu: If you can’t find silken tofu, blend ¾ cup of cashews soaked in hot water for 15 minutes, then drained. This creates a similar creamy texture.
- Vegan cream cheese: You can skip this entirely and add an extra ½ cup of vegan cheese, or substitute with 3 tablespoons of tahini mixed with 1 tablespoon lemon juice for tanginess.
- Liquid smoke: Smoked paprika gives a similar smoky flavor, or you can leave it out completely – the mac and cheese will still be delicious without it.
Watch Out for These Mistakes While Baking
The biggest mistake when making dairy-free mac and cheese is not cooking your roux long enough – that mixture of vegan butter and chickpea flour needs at least 2-3 minutes of constant whisking to eliminate the raw flour taste and create a smooth base for your cheese sauce. Another common error is adding the plant milk too quickly, which can cause lumps, so pour it in slowly while whisking continuously to keep everything smooth. Don’t skip draining your silken tofu well and patting it dry, as excess water will make your sauce thin and watery instead of creamy. Finally, resist the urge to use all your vegan cheese in the sauce – save about 1-2 cups to sprinkle on top for that golden, bubbly finish that makes baked mac and cheese so appealing.
What to Serve With Dairy Free Baked Mac and Cheese?
This creamy, cheesy comfort food pairs perfectly with some fresh greens to balance out all that richness – try a simple arugula salad with lemon vinaigrette or steamed broccoli on the side. Since mac and cheese is pretty filling on its own, I like to keep the sides light and fresh, so roasted Brussels sprouts or green beans work great too. If you want to make it a heartier meal, some crispy baked chicken or grilled portobello mushrooms make excellent protein additions. A slice of crusty bread is also nice for scooping up any extra cheesy goodness from your bowl!
Storage Instructions
Store: This dairy-free mac and cheese keeps really well in the fridge for up to 5 days in a covered container. The creamy sauce might thicken up a bit as it sits, but that’s totally normal. I actually think it tastes even better the next day once all those flavors have had time to meld together!
Freeze: You can definitely freeze portions of this mac and cheese for up to 3 months in freezer-safe containers. I like to portion it out into individual servings so I can grab just what I need. Let it thaw overnight in the fridge before reheating for best results.
Reheat: To warm it back up, add a splash of almond milk and heat it gently on the stovetop over medium-low heat, stirring frequently. You can also microwave it in 30-second intervals, stirring between each round. The sauce will loosen back up as it warms and taste just as creamy as when you first made it.
| Preparation Time | 15-20 minutes |
| Cooking Time | 30-40 minutes |
| Total Time | 45-60 minutes |
| Level of Difficulty | Medium |
Estimated Nutrition
Estimated nutrition for the whole recipe (without optional ingredients):
- Calories: 3300-3700
- Protein: 95-120 g
- Fat: 170-210 g
- Carbohydrates: 320-360 g
Ingredients
For the pasta:
- 6 to 8 cups water
- Pinch salt
- 12 to 16 oz gluten-free elbow macaroni (I use Barilla brand)
For seasoning the pasta:
- 2 tbsp plant-based butter
- 1/4 tsp salt
- 1 tsp garlic powder
For the cheese sauce:
- 2 vegetable bouillon cubes
- 1/2 cup dairy-free cream cheese
- 1/4 tsp liquid smoke (optional)
- 1/4 tsp turmeric (optional, for color)
- 12 oz soft silken tofu
- 1 can unsweetened coconut milk (full-fat for richness)
- 3 cups almond milk
- 1/4 tsp black pepper
- 1/2 tsp sea salt
- 1/2 cup vegan butter (I like Earth Balance sticks)
- 4 cups shredded vegan cheese
- 1 tsp garlic powder
- 6 tbsp chickpea flour
- 1 tsp onion powder
For baking and assembly:
- 2 cups vegan cheddar shreds (Violife makes a great one)
- 1 tsp vegan butter
Step 1: Cook the Gluten-Free Elbow Macaroni
- 6 to 8 cups water
- pinch salt
- 12 to 16 oz gluten-free elbow macaroni
Bring 6 to 8 cups of water to a boil over high heat with a pinch of salt.
Once boiling, add the gluten-free elbow macaroni and cook according to package instructions until al dente.
Drain the pasta and transfer it to a large mixing bowl.
This step ensures your pasta is perfectly cooked and ready to absorb flavors.
Step 2: Season the Warm Pasta
- 2 tbsp plant-based butter
- 1 tsp garlic powder
- 1/4 tsp salt
- cooked and drained pasta (from Step 1)
While the pasta is still warm, add 2 tablespoons of plant-based butter, 1 teaspoon of garlic powder, and 1/4 teaspoon of salt.
Toss well to evenly coat the pasta with the seasonings.
Taste a shell to ensure the flavors are to your liking.
I find seasoning the pasta before adding the sauce brings out a deeper flavor in each bite.
Set the seasoned pasta aside.
Step 3: Preheat and Prepare the Baking Dish (For Baked Version)
- 1 tsp vegan butter
Preheat your oven to 400°F (200°C).
Lightly grease a 9×13-inch baking dish with 1 teaspoon of vegan butter and set it aside.
This step is optional if you want to bake your mac and cheese instead of serving it stovetop.
Greasing the pan prevents sticking and makes for easier serving later.
Step 4: Make the Creamy Vegan Cheese Sauce
- 1/2 cup vegan butter
- 6 tbsp chickpea flour (or other preferred flour)
- 1 can (14 oz) unsweetened coconut milk
- 3 cups almond milk
- 2 vegetable bouillon cubes (or 1 tbsp vegetable base)
- 1/2 cup dairy-free cream cheese spread
- 12 oz soft silken tofu
- 1 tsp garlic powder
- 1 tsp onion powder
- 1/2 tsp sea salt
- 1/4 tsp ground black pepper
- 1/4 tsp turmeric (optional)
- 1/4 tsp liquid smoke or 1/2 tsp smoked paprika (optional)
- 4 cups shredded vegan cheese
In the same pot used to boil your pasta, melt 1/2 cup vegan butter completely over medium heat.
Add 6 tablespoons of chickpea flour and stir vigorously to form a roux.
Gradually pour in the canned coconut milk and almond milk, whisking until smooth with no lumps.
Continue whisking and reduce the heat to medium, allowing the mixture to thicken slightly over 7 to 10 minutes.
Then, add the vegetable bouillon cubes, dairy-free cream cheese, silken tofu, 1 teaspoon garlic powder, 1 teaspoon onion powder, 1/2 teaspoon sea salt, 1/4 teaspoon black pepper, turmeric (if using), liquid smoke or smoked paprika (if using), and 4 cups shredded vegan cheese.
Stir continuously over medium heat for about 5 minutes until everything is melted, smooth, and thickened.
I like to taste the sauce at this point and adjust seasonings if needed to make sure it’s really flavorful.
Step 5: Combine Pasta and Cheese Sauce
- seasoned pasta (from Step 2)
- cheese sauce (from Step 4)
Remove the cheese sauce from heat.
Add the seasoned pasta from Step 2 to the cheese sauce in the pot.
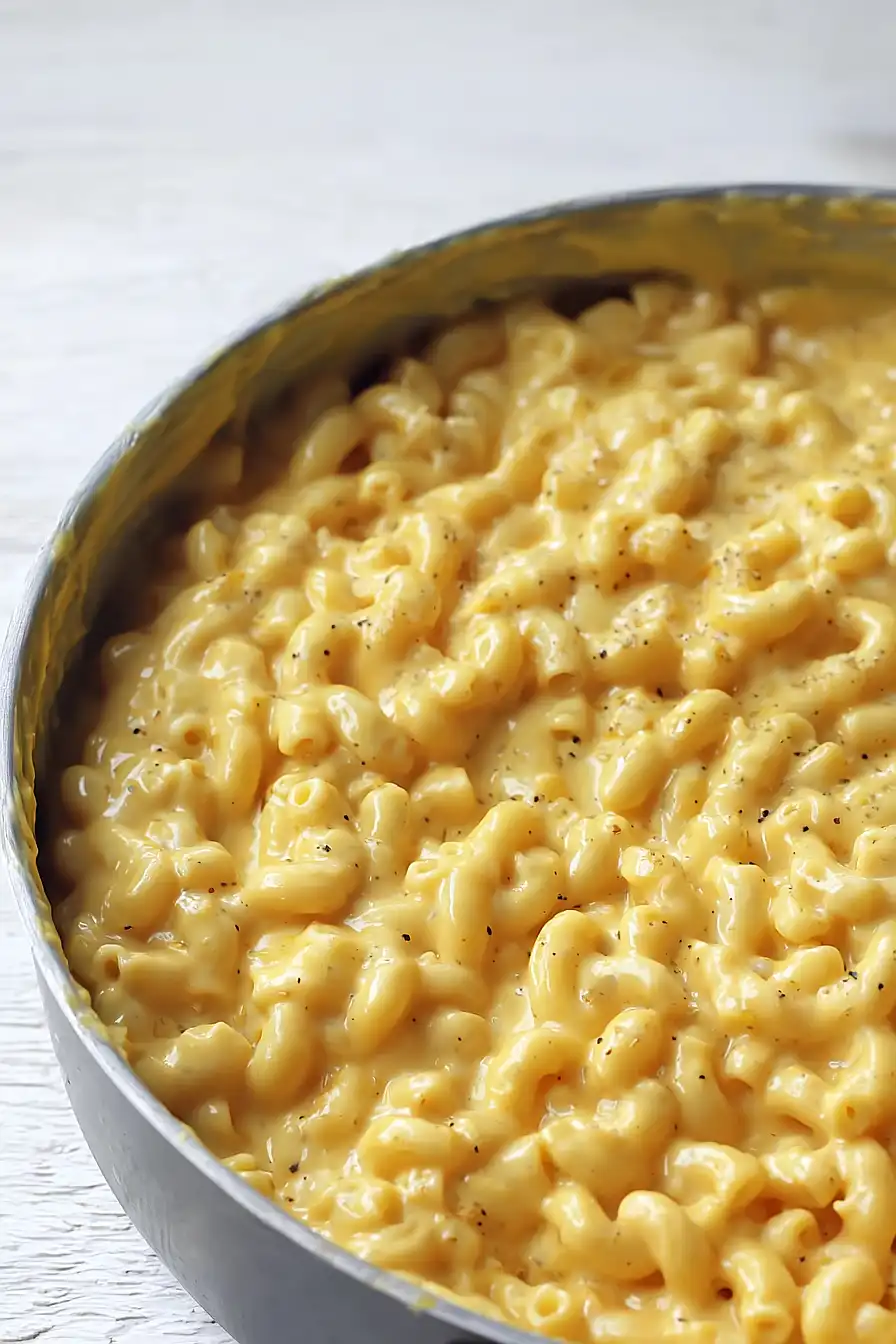
Gently fold everything together until the pasta is evenly coated in the creamy sauce.
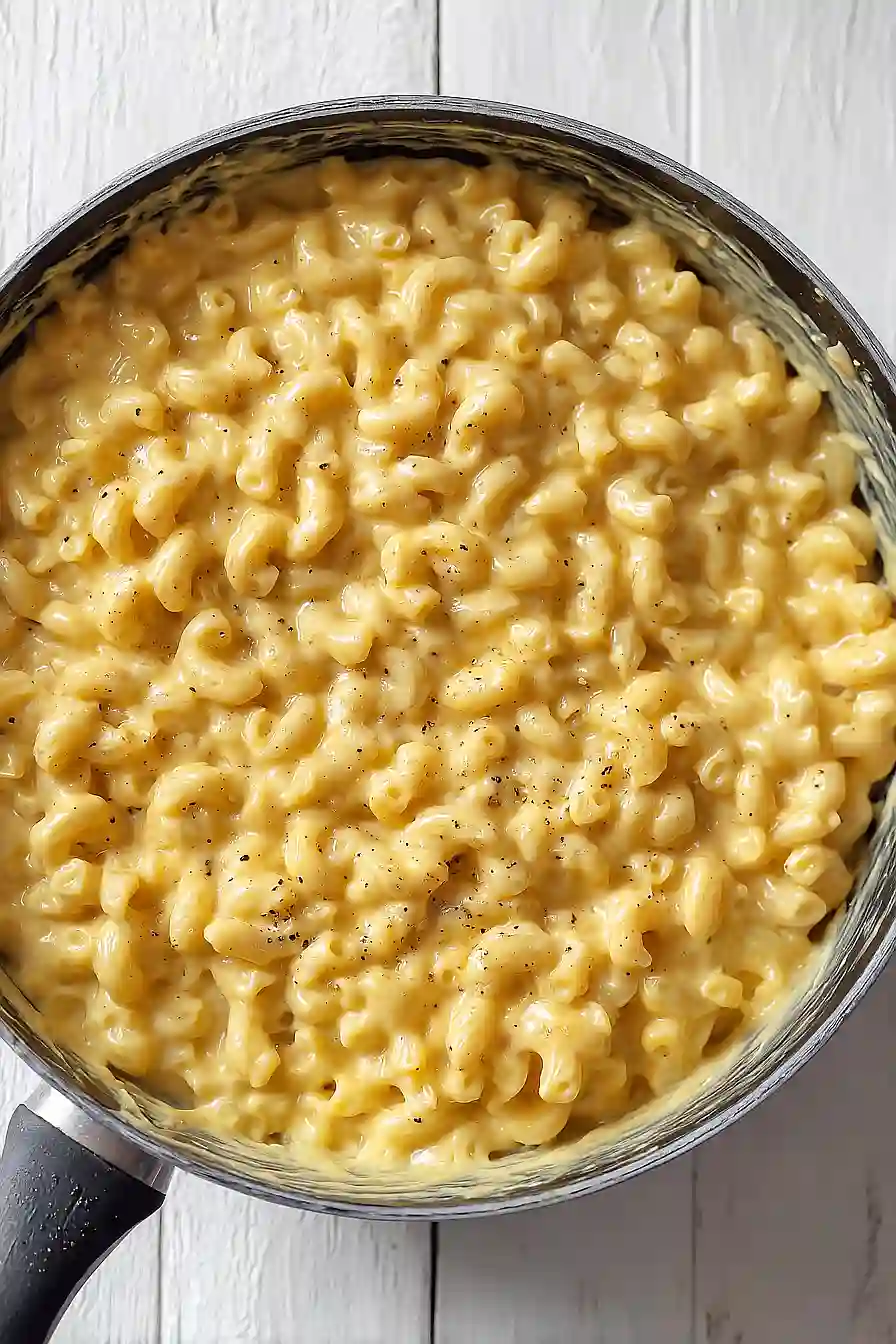
At this point, you can either serve the macaroni and cheese as is for a stovetop version or proceed to baking for an extra cheesy crust.
Step 6: Bake the Mac and Cheese
- macaroni and cheese mixture (from Step 5)
- 2 cups vegan cheddar shreds
Spread the macaroni and cheese mixture evenly in the prepared baking dish from Step 3.
Top with 2 cups of vegan cheddar shreds.
Cover the dish with aluminum foil and bake for 10 minutes to help the cheese melt and keep the dish moist.
After 10 minutes, remove the foil and bake for another 15 minutes until the top is golden brown and bubbly.
For an even richer flavor, I sometimes sprinkle a bit more smoked paprika on top before baking.
Step 7: Cool and Serve
Remove the baked mac and cheese from the oven and allow it to cool for several minutes.
The cheese will settle and form a delicious crust on top.
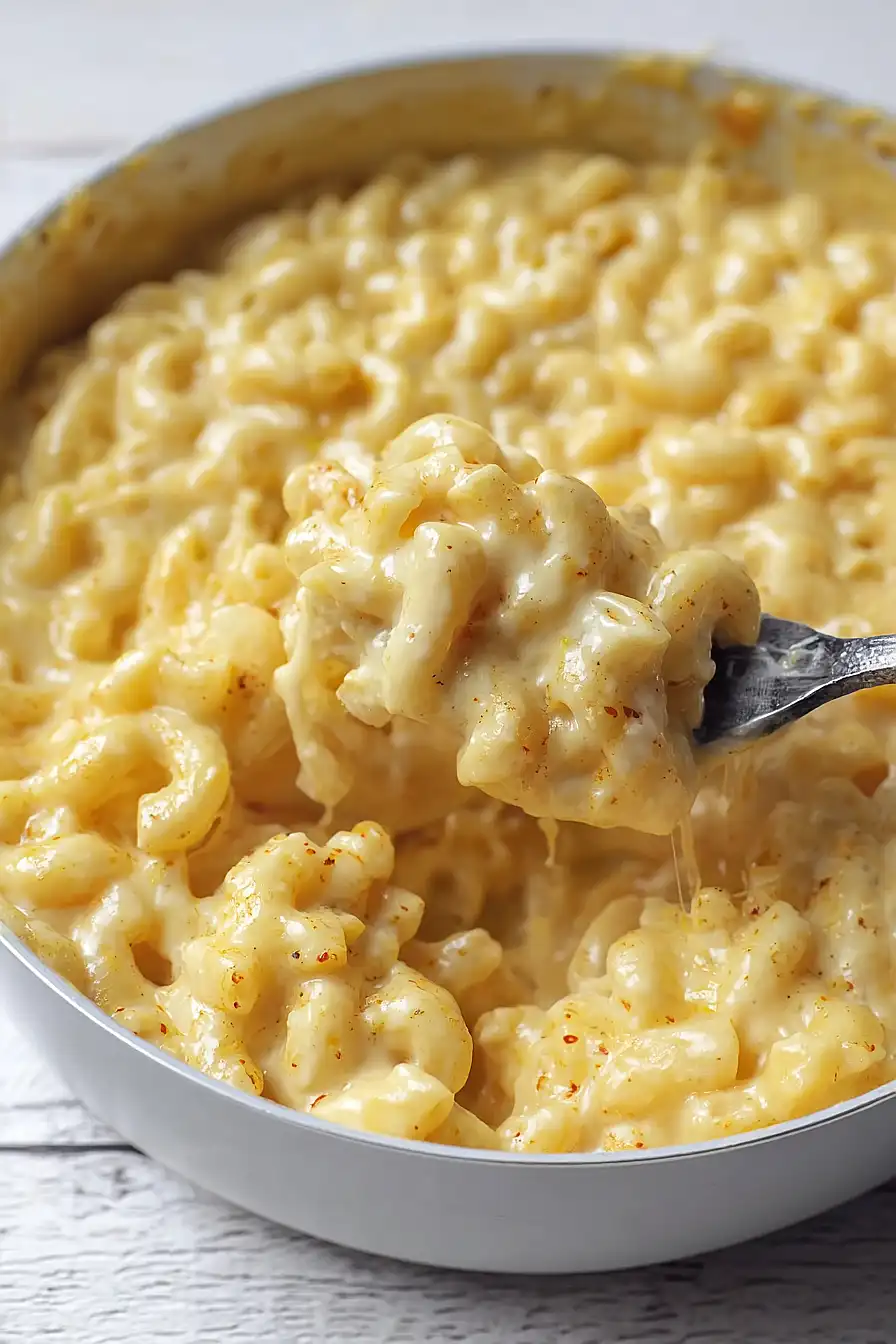
Serve as a main course or side dish.
Leftovers keep well in the fridge for 3-4 days and can be frozen for up to 3 months.
Enjoy!
