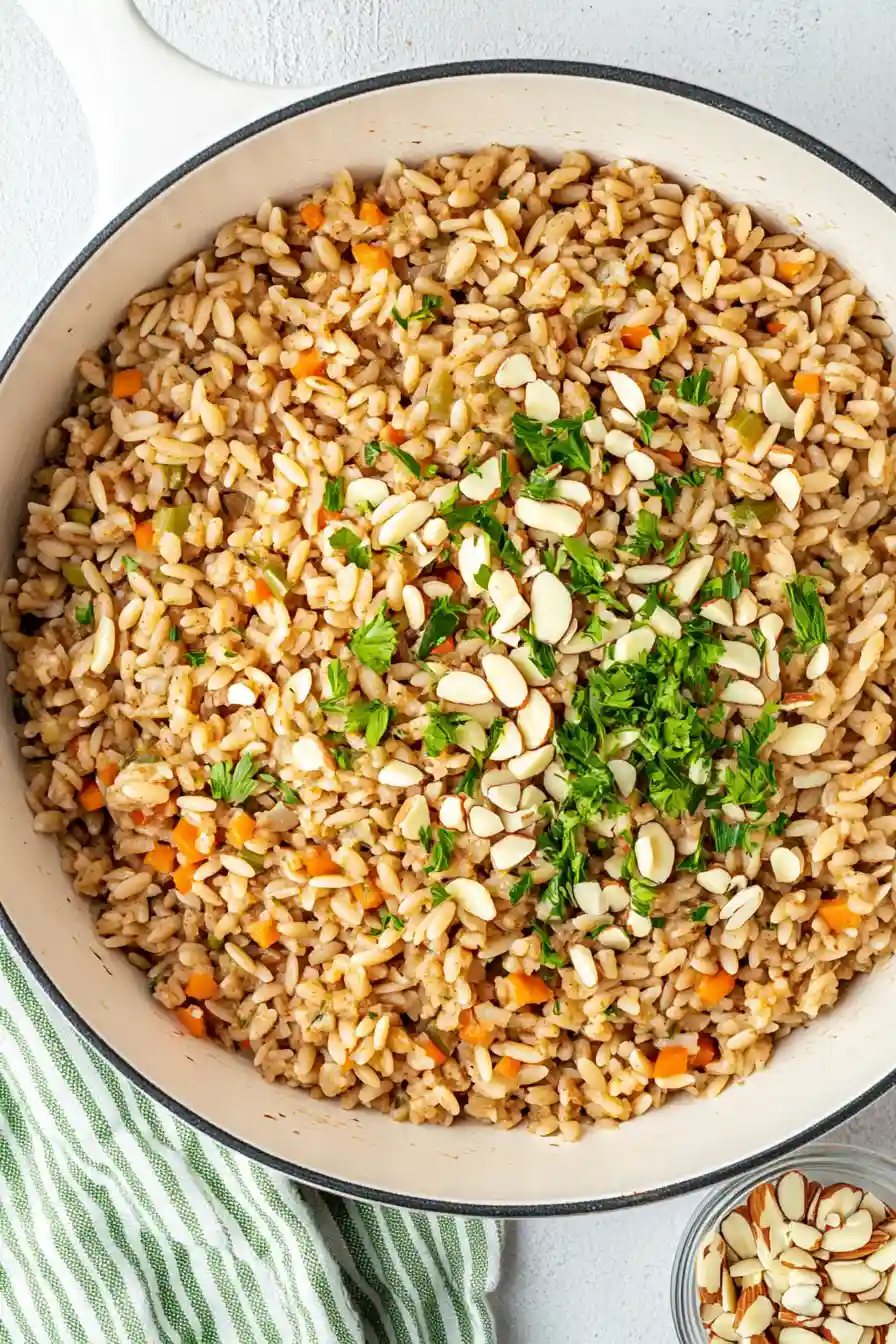
Here’s my go-to farro pilaf recipe, with perfectly cooked grains, a mix of fresh vegetables, herbs, and a touch of lemon that brings everything together nicely.
This farro pilaf has become my weeknight dinner hero – it’s the dish I make when I want something filling but not too heavy. I often make extra because the leftovers are just as good the next day for lunch. Sometimes even better, if you ask me!
Why You’ll Love This Farro Pilaf
- Nutritious whole grains – Farro brings a hearty, nutty flavor and plenty of fiber and protein to this dish, making it more filling and nutritious than regular rice pilaf.
- One-pot meal – Everything cooks together in a single pot, which means less cleanup and easier cooking for you.
- Basic ingredients – Most of these ingredients are pantry staples, and you can easily swap the vegetables based on what you have available.
- Make-ahead friendly – This pilaf keeps well in the fridge and actually tastes even better the next day as the flavors continue to develop.
What Kind of Farro Should I Use?
You’ll find three main types of farro at the store: pearled, semi-pearled, and whole. For this pilaf recipe, pearled farro is your best bet since it cooks the fastest (usually in about 20-25 minutes) and doesn’t require pre-soaking. Semi-pearled takes a bit longer to cook, but it’ll work just fine too if that’s what you have on hand. Whole farro keeps all of its outer bran intact, which means it’s more nutritious but needs a longer cooking time and usually requires overnight soaking – so maybe save that one for when you’re not in a hurry. Just check the package label before you start cooking, as different types will need different amounts of liquid and cooking time.
Options for Substitutions
This pilaf recipe can work with several ingredient swaps if you need them:
- Farro: While farro gives this dish its nutty flavor and chewy texture, you can use pearl barley or wheat berries instead. Just note that cooking times might need to be adjusted – pearl barley usually takes about 25-30 minutes, while wheat berries need 45-60 minutes to cook.
- Orzo: No orzo? Try using broken vermicelli pasta, small shell pasta, or even regular white rice. Rice will need about 20 minutes to cook through.
- Butter: You can swap butter with olive oil or another cooking oil for a dairy-free version.
- Chicken broth: Feel free to use vegetable broth to make this dish vegetarian. You can also use water with a bouillon cube, or even plain water with a bit of extra salt.
- Almonds: Any toasted nuts work great here – try pine nuts, walnuts, or pecans. Seeds like pumpkin or sunflower seeds can also add that nice crunch.
- Fresh parsley: Out of fresh parsley? Use dried parsley (about 2 teaspoons), or try other fresh herbs like chives or basil.
Watch Out for These Mistakes While Cooking
The biggest mistake when cooking farro pilaf is not toasting the grains first – taking an extra 3-4 minutes to toast both the farro and orzo in butter until lightly golden will add a wonderful nutty flavor and prevent the final dish from becoming mushy. Another common error is lifting the lid while the farro is cooking, which releases the steam and can lead to undercooked, crunchy grains – resist the urge to peek and let it cook undisturbed for the full cooking time. For the best texture, make sure you’re using the right liquid-to-grain ratio (the recipe’s measurements are perfect), and remember to let the pilaf rest for 5-10 minutes after cooking, which allows the grains to absorb any remaining liquid and become perfectly tender. If you want to make this dish even better, try adding a squeeze of lemon juice at the end to brighten up all the flavors.
What to Serve With Farro Pilaf?
This nutty, hearty grain dish makes a perfect side for roasted or grilled meats – I especially love serving it alongside chicken, salmon, or lamb chops. The pilaf’s subtle flavors work really well with vegetables too, so try pairing it with roasted Brussels sprouts, sautéed green beans, or simple steamed broccoli. For a complete Mediterranean-style meal, serve it with Greek-style chicken and a simple cucumber and tomato salad on the side. Since the pilaf already has some crunch from the almonds, it pairs nicely with saucy main dishes that can soak into the grains.
Storage Instructions
Keep Fresh: This tasty farro pilaf will stay good in the fridge for up to 5 days when kept in an airtight container. It’s actually one of those dishes that tastes even better the next day, as the flavors have time to mingle together!
Freeze: If you want to make a bigger batch, you can freeze portions in freezer-safe containers for up to 3 months. Just leave out the fresh parsley and almonds – you can add those fresh when you’re ready to serve.
Warm Up: To bring your pilaf back to life, add a splash of water or broth and heat it in the microwave, stirring occasionally. You can also warm it up in a pan over medium-low heat. If you’re using frozen pilaf, thaw it overnight in the fridge first for the best results.
| Preparation Time | 10-15 minutes |
| Cooking Time | 40-50 minutes |
| Total Time | 50-65 minutes |
| Level of Difficulty | Medium |
Estimated Nutrition
Estimated nutrition for the whole recipe (without optional ingredients):
- Calories: 500-600
- Protein: 15-20 g
- Fat: 25-30 g
- Carbohydrates: 60-70 g
Ingredients
- 1/8 tsp salt
- 1 can chicken broth
- 1 garlic clove (freshly minced for best flavor)
- 1/3 cup orzo
- 2 tbsp fresh parsley (chopped, for a fresh finish)
- 2 tbsp grated carrot
- 1/2 onion (finely chopped for even cooking)
- 2 tbsp butter (I like Kerrygold unsalted butter for this)
- 2 tbsp toasted slivered almonds (adds a nice crunch and nutty flavor)
- 3/4 cup farro
Step 1: Prepare the Ingredients
Begin by rinsing the farro under cold water and draining it thoroughly.
This will help remove any surface starches and impurities, ensuring a clean and nutty flavor in the final dish.
Step 2: Sauté the Aromatics
Melt butter in a medium saucepan over medium heat.
Add the chopped onion and minced garlic, cooking until they are softened and fragrant, about 3 minutes.
This step develops a rich base of flavor for your dish.
Step 3: Toast the Grains
Add the rinsed farro and orzo to the saucepan.
Cook them together until they become lightly browned and emit a nutty aroma, approximately 6 minutes.
This toasting process enhances the flavor of the grains, adding depth to the dish.
Step 4: Simmer with Broth and Carrots
Add the vegetable or chicken broth along with the chopped carrots to the saucepan.
Turn the heat to high to bring the mixture to a boil.
Once boiling, cover the saucepan with a lid and reduce the heat to a low simmer.
Let it cook for 30-35 minutes, or until the liquid is absorbed and the farro is tender.
Step 5: Rest and Fluff
After the simmering time, remove the saucepan from the heat.
Keep it covered and let it rest for 5 minutes.
This will allow the flavors to meld and the residual heat to finish cooking the farro and orzo perfectly.
Step 6: Finish the Dish
Fluff the grains gently with a fork to separate them.
Stir in the chopped almonds, fresh parsley, and salt to taste.
Mix well to combine all the flavors.
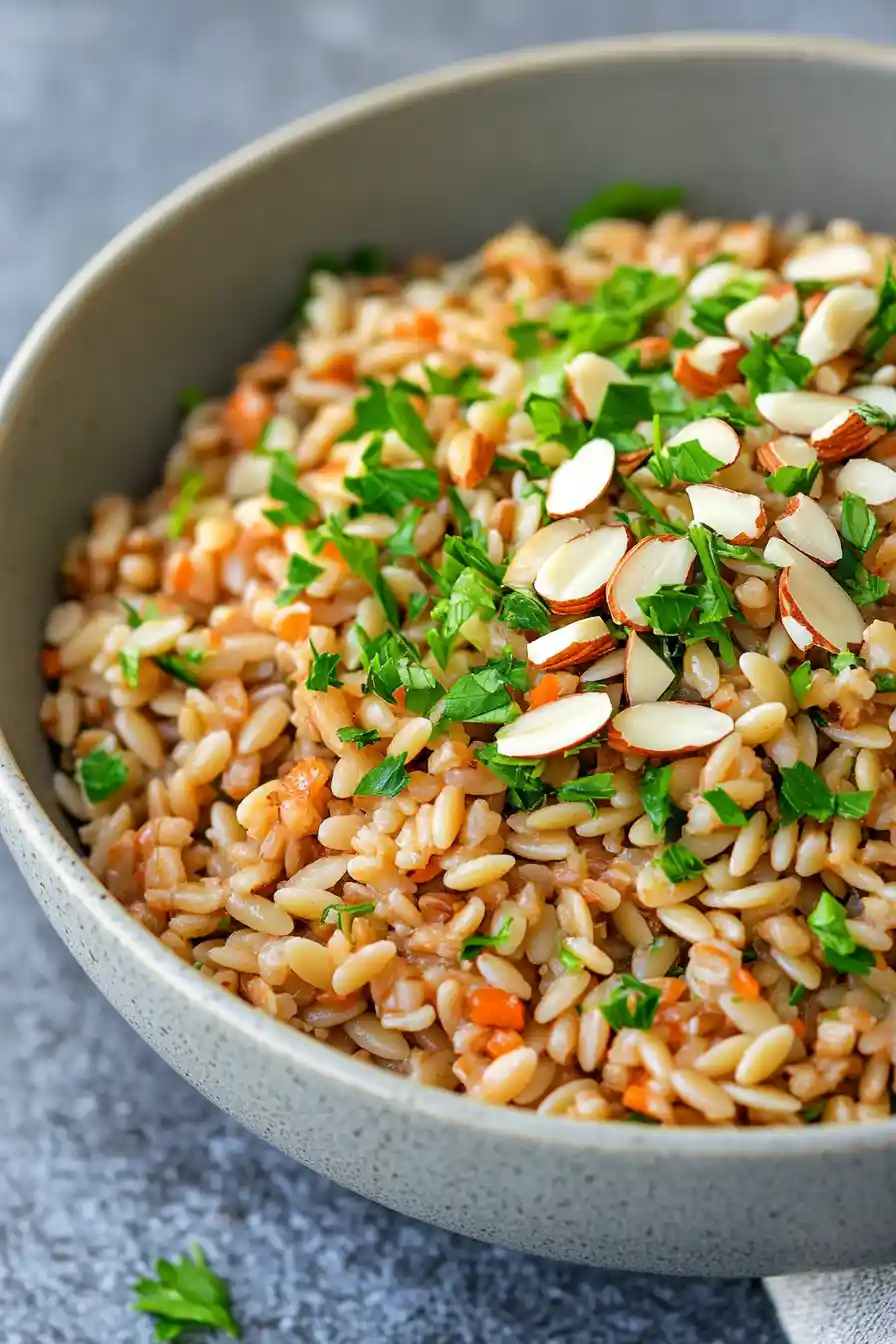
Serve warm and enjoy your delightful farro and orzo dish!