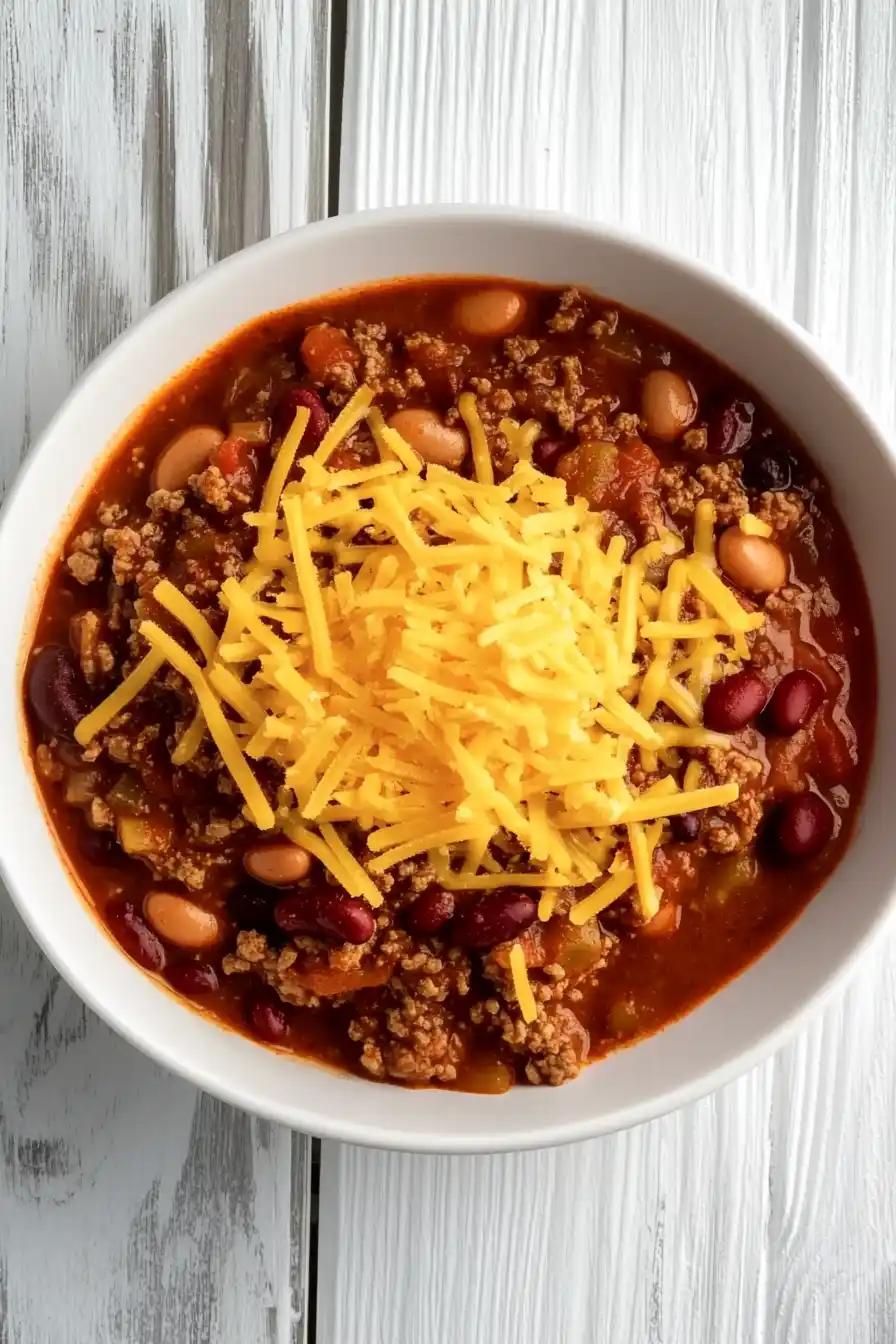
Here is my go-to chili recipe that’s both gluten and dairy free, packed with hearty beans, tender ground meat, and a perfect blend of traditional chili spices.
This chili has become our family’s favorite comfort food during cold Portland winters. I always make a big batch because it tastes even better the next day, and there’s nothing like having a warm bowl of leftover chili for lunch, right?
Why You’ll Love This Chili
- Allergy-friendly – This chili is naturally gluten-free and dairy-free, making it perfect for those with food sensitivities or dietary restrictions.
- One-pot meal – Everything cooks in a single pot, which means less cleanup and more time to enjoy your evening.
- Ready in under an hour – Unlike traditional chili that simmers all day, this recipe delivers rich, hearty flavor in just 45-60 minutes.
- Protein-packed – With lean ground beef and two types of beans, this chili is filling and provides plenty of protein to keep you satisfied.
- Meal prep friendly – This chili actually tastes better the next day and freezes well, making it perfect for batch cooking and meal planning.
What Kind of Ground Beef Should I Use?
For this chili recipe, the 90% lean ground beef specified is really the sweet spot. While you could use a higher fat content like 80/20, you’ll end up with more grease to drain off, and an 85% lean blend works fine too. If you go too lean (like 93% or 95%), your chili might end up a bit dry and less flavorful. When you’re at the store, look for ground beef that’s bright red in color and feels firm to the touch. I recommend buying from a butcher counter if possible, where the meat is typically ground fresh daily, but packaged ground beef works perfectly well too. Just make sure to break up the meat well while it’s browning to get that perfect chili texture.
Options for Substitutions
This chili recipe is already allergy-friendly, but here are some helpful swaps if you need them:
- Ground beef: You can easily swap the ground beef for ground turkey, chicken, or even plant-based alternatives like Beyond Meat. For a meatless version, try using finely chopped mushrooms or extra beans.
- Beans: Feel free to mix and match any beans you have on hand – black beans, navy beans, or great northern beans all work well. Just keep the total amount of beans the same.
- Beef broth: If using ground turkey or chicken, you might want to use chicken broth instead. For vegetarian versions, vegetable broth works great – just make sure to check it’s gluten-free if needed.
- Brown sugar: You can use coconut sugar or maple syrup instead. If you prefer to skip the sweetener altogether, that’s fine too – it’ll just have a slightly different flavor profile.
- Olive oil: Any neutral cooking oil works here – try avocado oil or grapeseed oil if you don’t have olive oil.
- Tomato products: If you’re out of one type of tomato product, you can usually adjust with what you have. No tomato sauce? Use extra paste mixed with a bit of water. No diced tomatoes? Crushed tomatoes work too.
Watch Out for These Mistakes While Cooking
The biggest mistake when making chili is rushing the cooking process – letting it simmer slowly for at least an hour allows the flavors to develop properly and the meat to become tender. A common error is adding all the spices at once at the end of cooking, instead of blooming them with the meat and onions early on, which helps release their full flavor potential. To prevent your chili from becoming too watery, make sure to drain and rinse your beans thoroughly, and if needed, let the chili simmer uncovered for the last 15-20 minutes to reach your desired thickness. For the best flavor development, resist the urge to stir too frequently – occasional stirring is enough to prevent sticking, and letting the chili sit undisturbed allows the flavors to meld together naturally.

What to Serve With Chili?
This hearty chili is perfect for pairing with all sorts of tasty sides that keep it gluten and dairy free! Rice is always a great base – try brown rice for extra nutrition or white rice for a classic combo. For some crunch and freshness, I love adding diced avocado, chopped cilantro, and lime wedges on top. You can also serve it with gluten-free cornbread or tortilla chips for scooping, or pile it on top of a baked sweet potato for an extra cozy meal. To keep things light, a simple side salad with mixed greens and a citrus vinaigrette helps balance out the rich flavors of the chili.
Storage Instructions
Keep Fresh: This chili gets even better after a day or two! Pop it in an airtight container and keep it in the fridge for up to 5 days. The flavors will continue to develop, making each bowl taste even more amazing than the last.
Freeze: Chili is a fantastic freezer meal! Let it cool completely, then portion it into freezer-safe containers or bags. It’ll stay good in the freezer for up to 3 months. I like to freeze it in individual portions for easy lunch prep.
Reheat: When you’re ready to enjoy your chili again, warm it up on the stovetop over medium-low heat, stirring occasionally. You can also microwave it in 1-minute intervals, stirring between each. If it seems a bit thick after storage, just add a splash of broth to reach your desired consistency.
| Preparation Time | 10-15 minutes |
| Cooking Time | 35-45 minutes |
| Total Time | 45-60 minutes |
| Level of Difficulty | Easy |
Estimated Nutrition
Estimated nutrition for the whole recipe (without optional ingredients):
- Calories: 1600-1800
- Protein: 100-120 g
- Fat: 80-90 g
- Carbohydrates: 150-170 g
Ingredients
- 1 can 16 oz pinto beans
- 1.5 tsp salt
- 1 tbsp olive oil
- 1.5 cups beef broth
- 2 tbsp cumin powder
- 2 tbsp packed brown sugar (dark brown sugar preferred for depth)
- 1 medium yellow onion (diced into 1/2-inch pieces)
- 1 tbsp garlic powder
- 1 can 15 oz petite diced tomatoes
- 1.5 lb lean ground beef
- 1 tbsp dried oregano
- 1 can 16 oz red kidney beans (drained and rinsed well)
- 1 can 8 oz tomato sauce
- 0.5 tsp black pepper (freshly ground for best flavor)
- 2.5 tbsp chili powder
- 2 tbsp tomato paste
Step 1: Sauté Onions
Begin by adding olive oil and chopped onions to a large soup pot.
Cook over medium-high heat for 2-5 minutes, stirring occasionally until the onions are softened and translucent.
Step 2: Cook the Ground Beef
Add the ground beef to the pot with the onions.
Use a wooden spoon to break the meat into smaller crumbles, stirring occasionally.
Cook the meat for 6-7 minutes until it is browned thoroughly.
Step 3: Season the Meat
To the browned meat, add chili powder, cumin, oregano, brown sugar, tomato paste, garlic powder, salt, and pepper.
Stir until the spices are evenly distributed and the meat is well coated.
Step 4: Add Liquid and Vegetables
Pour in the gluten-free beef broth, diced tomatoes (with their juice), drained kidney beans, pinto beans, and tomato sauce.
Stir all the ingredients together until fully combined, ensuring an even distribution throughout the pot.
Step 5: Simmer the Chili
Bring the chili to a low boil, then reduce the heat to low or medium-low.
Let the chili simmer uncovered for 20-25 minutes, stirring occasionally to prevent sticking and to blend the flavors.
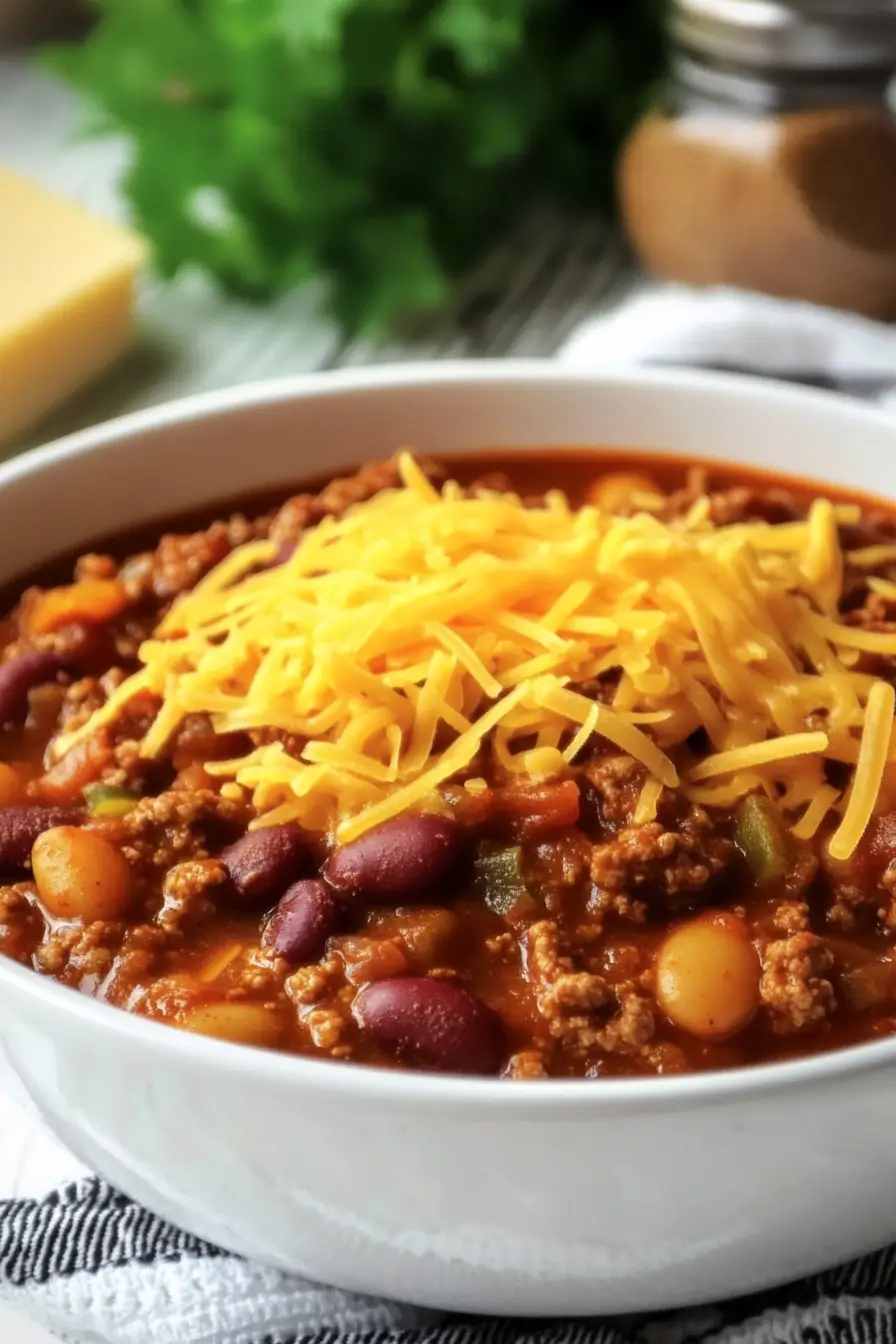
Step 6: Serve and Store Leftovers
Once cooked, remove the pot from the heat and allow the chili to cool for 5-10 minutes before serving.
Enjoy your hearty chili!
Store any leftovers in an airtight container in the refrigerator for future meals.
