Figuring out what to serve at game day gatherings or casual get-togethers can be a real head-scratcher. Between juggling different appetites and trying to find something that’s both filling and fun to eat, it’s easy to fall back on the same old chips and dips routine.
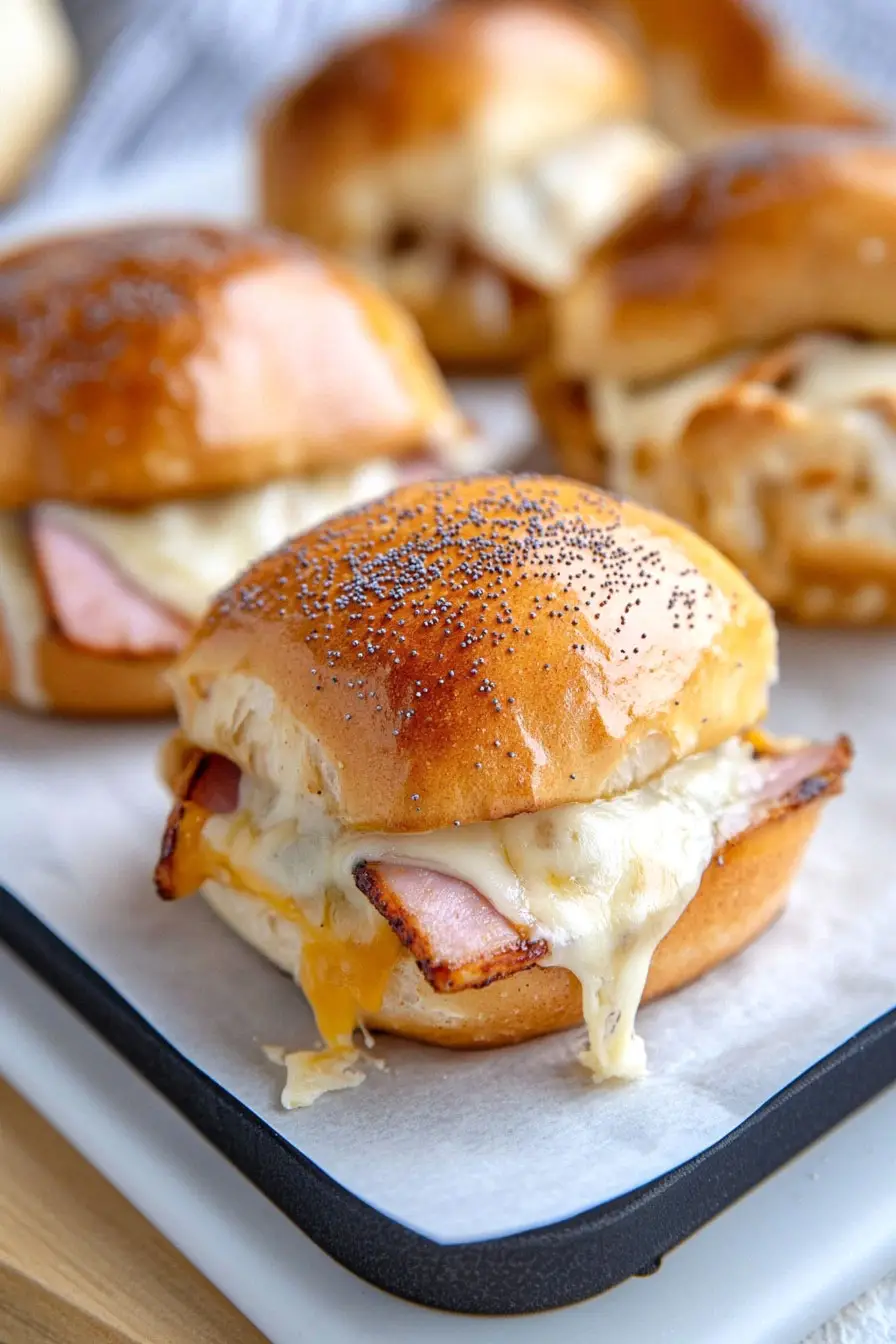
That’s where these ham and cheese pretzel roll sliders come in: they’re crowd-pleasing and easy to make ahead, plus they’ve got that perfect mix of soft, salty pretzel rolls and classic ham and cheese that everyone seems to love.

Why You’ll Love These Ham and Cheese Sliders
- Quick party food – These sliders come together in just 30-45 minutes, making them perfect for last-minute gatherings or game day celebrations.
- Simple ingredients – You’ll only need a handful of basic ingredients that you can easily find at any grocery store – pretzel buns, deli meat, cheese, and some common condiments.
- Make-ahead friendly – You can assemble these sliders earlier in the day and just pop them in the oven when you’re ready to serve, making party prep so much easier.
- Crowd-pleasing combination – The combination of salty pretzel rolls, savory ham, melty cheese, and honey-mustard butter sauce is always a hit at parties and potlucks.
What Kind of Ham Should I Use?
For these sliders, you’ll want to stick with thinly sliced deli ham that’s cut to order at your supermarket’s deli counter. Black Forest ham is a classic choice with its subtle smoky flavor, but Virginia ham or honey ham would work great too. When ordering at the deli, ask for your ham to be sliced thin but not shaved – about a medium thickness will give you the perfect bite without overwhelming the other ingredients. Just make sure to avoid using thick-cut ham steaks or leftover holiday ham, as these won’t fold as nicely into the sliders and could make them difficult to eat.
Options for Substitutions
These sliders are pretty flexible and you can switch things up based on what you have in your kitchen:
- Pretzel buns: While pretzel buns give these sliders their special taste, you can use regular slider buns, Hawaiian rolls, or any small dinner rolls. Just know the flavor profile will be a bit different.
- Ham: Deli turkey, roast beef, or even sliced chicken work great here. For a vegetarian option, try using grilled portobello mushrooms.
- Provolone cheese: Feel free to swap in Swiss, cheddar, or mozzarella cheese. Any good melting cheese will do the job!
- Dijon mustard: Yellow mustard or whole grain mustard can work too. If you’re not a mustard fan, try mayo mixed with a little horseradish for kick.
- Poppy seeds: You can skip these or replace them with sesame seeds, everything bagel seasoning, or dried minced onion.
- Honey: Maple syrup or agave nectar will work just fine for that touch of sweetness.
Watch Out for These Mistakes While Cooking
The biggest challenge when making these sliders is preventing the pretzel buns from becoming too dry or tough – always keep an eye on them while they’re in the oven and remove them as soon as the cheese melts and the tops are lightly golden, usually around 10-12 minutes. A common mistake is overdoing the butter mixture, which can make your sliders greasy; instead, brush it on evenly but lightly, focusing on the tops of the buns. When assembling, make sure to layer your ingredients strategically – place the cheese next to the bread and the ham in the middle, as this helps prevent the bread from getting soggy and ensures the cheese melts perfectly. For the best flavor balance, don’t skip the resting time after adding the butter-mustard mixture – letting it sit for 5 minutes before baking allows the pretzel rolls to soak up just enough of the savory topping without becoming saturated.

What to Serve With Ham and Cheese Sliders?
These warm, cheesy sliders are perfect party food and pair really well with simple sides that won’t steal the show. A classic potato salad or crispy potato chips make great companions since they add a nice crunch factor. For something lighter, try a simple coleslaw or a bowl of fresh fruit – the coolness provides a nice balance to the warm, savory sliders. If you’re serving these at a party, put out some dill pickles or pickle spears on the side – they add a tangy zip that cuts through the richness of the ham and cheese perfectly.
Storage Instructions
Keep Fresh: These sliders are best enjoyed right after making them, but if you have leftovers, wrap them tightly in aluminum foil or place them in an airtight container. They’ll stay good in the fridge for up to 3 days. The pretzel rolls might soften a bit, but they’re still really tasty!
Make Ahead: You can prep these sliders a few hours before you need them! Just assemble everything but wait to add the butter mixture until right before baking. Cover with foil and keep them in the fridge until you’re ready to finish them off. This is super handy when you’re planning a party or game day gathering.
Warm Up: To enjoy leftover sliders, wrap them in foil and pop them in a 325°F oven for about 10-12 minutes, or until they’re heated through. You can also use the microwave for 20-30 seconds, though the pretzel rolls won’t be quite as crispy this way.
| Preparation Time | 10-15 minutes |
| Cooking Time | 20-30 minutes |
| Total Time | 30-45 minutes |
| Level of Difficulty | Easy |
Estimated Nutrition
Estimated nutrition for the whole recipe (without optional ingredients):
- Calories: 2600-2900
- Protein: 150-170 g
- Fat: 180-200 g
- Carbohydrates: 200-220 g
Ingredients
For the sliders:
- 12 slices provolone cheese
- 12 slices ham
- 12 pretzel buns (split horizontally)
For the butter glaze:
- 2-3 tbsp Dijon mustard (Dijon adds a tangy kick that complements the ham, use a good quality brand like Maille)
- 1-2 tsp honey
- 2 tsp poppy seeds
- 8 tbsp butter (I like Kerrygold unsalted butter for this)
- 1/4 cup minced onion
Step 1: Preheat and Prepare Sandwiches
Start by preheating your oven to 350°F (175°C).
While the oven is preheating, take each pretzel bun and layer ham and cheese on the bottom half, then place the top half on.
Arrange the sandwiches tightly in a 9 x 13 inch pan.
Step 2: Prepare the Butter Mixture
Melt the butter in a small saucepan over medium heat.
Once melted, add the diced onion, mustard, and honey to the butter.
Stir the mixture well until all ingredients are thoroughly combined, creating a flavorful glaze.
Step 3: Add the Butter Mixture and Poppy Seeds
Pour the prepared butter mixture evenly over the top of the sandwiches in the pan, ensuring each one is well coated.
Sprinkle poppy seeds over the sandwiches to add a bit of crunch and flavor.
Step 4: Bake and Serve
Cover the pan tightly with foil and place it in the preheated oven.
Bake the sandwiches for 20-30 minutes until they are warmed through and the cheese is bubbling.
Remove the foil from the pan and serve the sandwiches immediately while they’re hot and delicious.