Growing up, our Christmas decorating always followed the same routine – store-bought ornaments, tinsel, and those little candy canes that somehow disappeared before Christmas Day. It wasn’t until my kids started helping in the kitchen that we discovered making edible decorations could be just as fun as hanging them.
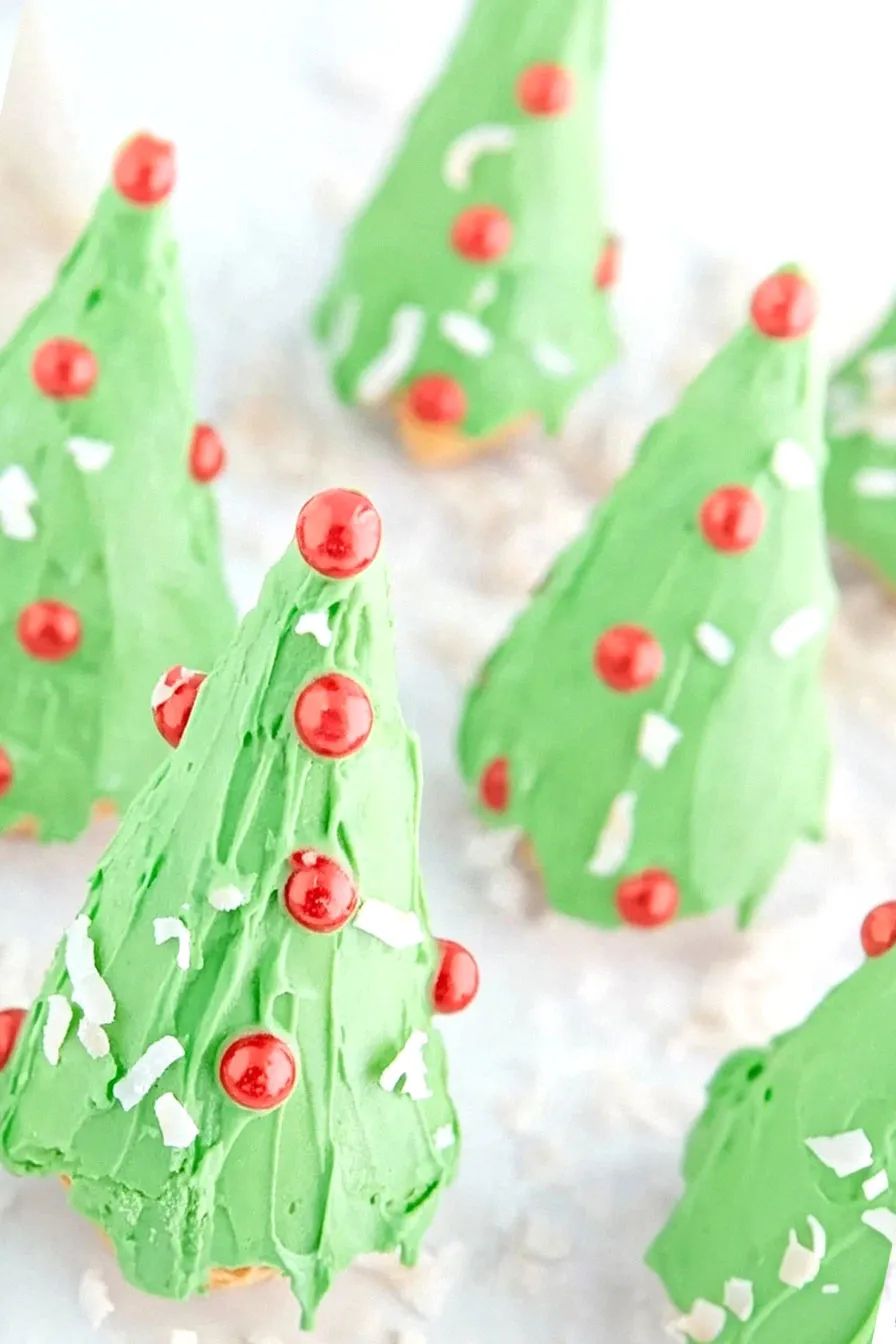
That’s how these ice cream cone Christmas trees became our new holiday tradition. They’re basically sugar cones turned upside down and decorated with frosting and candy – the kind of project that’s impossible to mess up. Even when my youngest went a bit overboard with the sprinkles last year, they still looked exactly like tiny evergreens ready for Santa’s arrival.
Why You’ll Love These Ice Cream Cone Christmas Trees
- Kid-friendly activity – These edible Christmas trees are perfect for getting the kids involved in holiday preparations – they’ll have a blast decorating their own trees with colorful candies.
- Quick project – With just 15 minutes from start to finish, this is an ideal last-minute holiday activity or party dessert you can put together in no time.
- No baking required – Since there’s no oven time needed, you can skip the heating up the kitchen and get straight to the fun decorating part.
- Customizable treats – You can use any candies you like for decorating, making these perfect for using up leftover holiday candy or matching your party’s color scheme.
What Kind of Sugar Cones Should I Use?
For this festive treat, you’ll want to stick with pointy sugar cones rather than flat-bottomed waffle cones or cake cones. The classic sugar cones you find in most grocery stores work perfectly – they’re the ones with the distinctive waffle-like texture and golden brown color. Most major brands like Joy or Keebler will do the job just fine, but try to pick cones that are whole and uncracked since they’ll need to stand upright. If you’re shopping ahead, store the cones in their original package or an airtight container to keep them fresh and crispy. Just make sure to handle them gently while decorating, as they can crack if squeezed too hard.
Options for Substitutions
This fun holiday treat is pretty flexible with what you can use. Here are some helpful swaps:
- Sugar cones: While pointy sugar cones work best for the tree shape, you can use waffle cones in a pinch – just know they’ll make wider trees. Cake cones aren’t recommended as they won’t give you that classic tree shape.
- White frosting: Store-bought frosting works great, but you can make your own buttercream or use vanilla candy melts instead. If using candy melts, melt them slowly and let them cool slightly before decorating to prevent drips.
- Green food coloring: Gel food coloring gives the best color, but liquid food coloring works too – you’ll just need to use more. Natural food dyes made from spinach powder are another option, though the green might be less bright.
- Decorative candies: This is where you can get really creative! Try sprinkles, mini M&Ms, small candies, or even colored icing to decorate. You can even use small pretzel pieces or crushed nuts for a different look.
- Shredded coconut: Not a coconut fan? Try using white sprinkles, crushed white chocolate, or powdered sugar for the snow effect. You could even skip the ‘snow’ altogether and the trees will still look great!
Watch Out for These Mistakes While Decorating
The biggest challenge when making ice cream cone Christmas trees is working with frosting that’s too soft, which can lead to droopy decorations and messy results – chill your frosting for 15-20 minutes before piping to achieve the perfect consistency. Getting the right shade of green can be tricky, so start with just a few drops of gel food coloring and gradually add more until you reach your desired color – remember that the color will deepen slightly as it sets. To prevent your trees from toppling over while decorating, create a stable base by putting a small dollop of frosting on the bottom of each cone and securing it to your work surface, and don’t rush the decorating process – let each layer of frosting set for a few minutes before adding candies or coconut. For the best looking trees, pipe your frosting in a zigzag pattern from bottom to top, making sure each layer slightly overlaps to create that realistic pine tree texture.
What to Serve With Ice Cream Cone Christmas Trees?
These adorable ice cream cone Christmas trees are perfect for serving alongside other holiday treats at your festive gathering! Since they’re sweet and festive, try pairing them with a warm beverage like hot cocoa topped with marshmallows or a cozy cup of peppermint tea – the warm drinks help balance out the cool, creamy frosting. For a complete holiday dessert spread, set these trees out with some classic Christmas cookies or brownies cut into star shapes. If you’re serving these at a party, don’t forget to put out some napkins since the frosting can get a bit messy (but that’s part of the fun!).
Storage Instructions
Keep Fresh: These festive ice cream cone trees will stay fresh at room temperature for up to 3 days when stored in an airtight container. Place them standing upright, and try not to let them touch each other to keep the decorations intact. I like to place a piece of parchment paper between each tree to prevent any candy decorations from sticking together.
Make Ahead: You can make these cute trees 1-2 days before your holiday party. Just keep in mind that the coconut ‘snow’ might soften a bit over time, but they’ll still look great on your dessert table! If you’re planning ahead, you can also prepare the colored frosting up to a week in advance and store it in an airtight container in the fridge.
Display: For the best presentation, take these treats out of storage about 30 minutes before serving. This allows any condensation to evaporate and lets the frosting come to room temperature, making the trees look their best. Avoid placing them near heat sources or in direct sunlight, as this can cause the frosting to soften.
| Preparation Time | 10-15 minutes |
| Cooking Time | 0 minutes |
| Total Time | 10-15 minutes |
| Level of Difficulty | Easy |
Estimated Nutrition
Estimated nutrition for the whole recipe (without optional ingredients):
- Calories: 1800-2200
- Protein: 10-15 g
- Fat: 60-80 g
- Carbohydrates: 300-350 g
Ingredients
- 8 pointy sugar cones
- 16 oz container of white frosting
- Green food coloring gel
- Various candies (for decoration)
- Shredded coconut (to resemble snow)
Step 1: Prepare the Green Frosting
Start by dyeing the white frosting green.
Add a few drops of green food coloring to the frosting and mix well until you achieve the desired shade of green.
Feel free to add more food coloring if you prefer a darker shade.
Step 2: Arrange the Ice Cream Cones
Place the ice cream cones upside down on paper plates.
This will serve as the base structure for your Christmas tree decoration.
Make sure they are stable before proceeding to the next step.
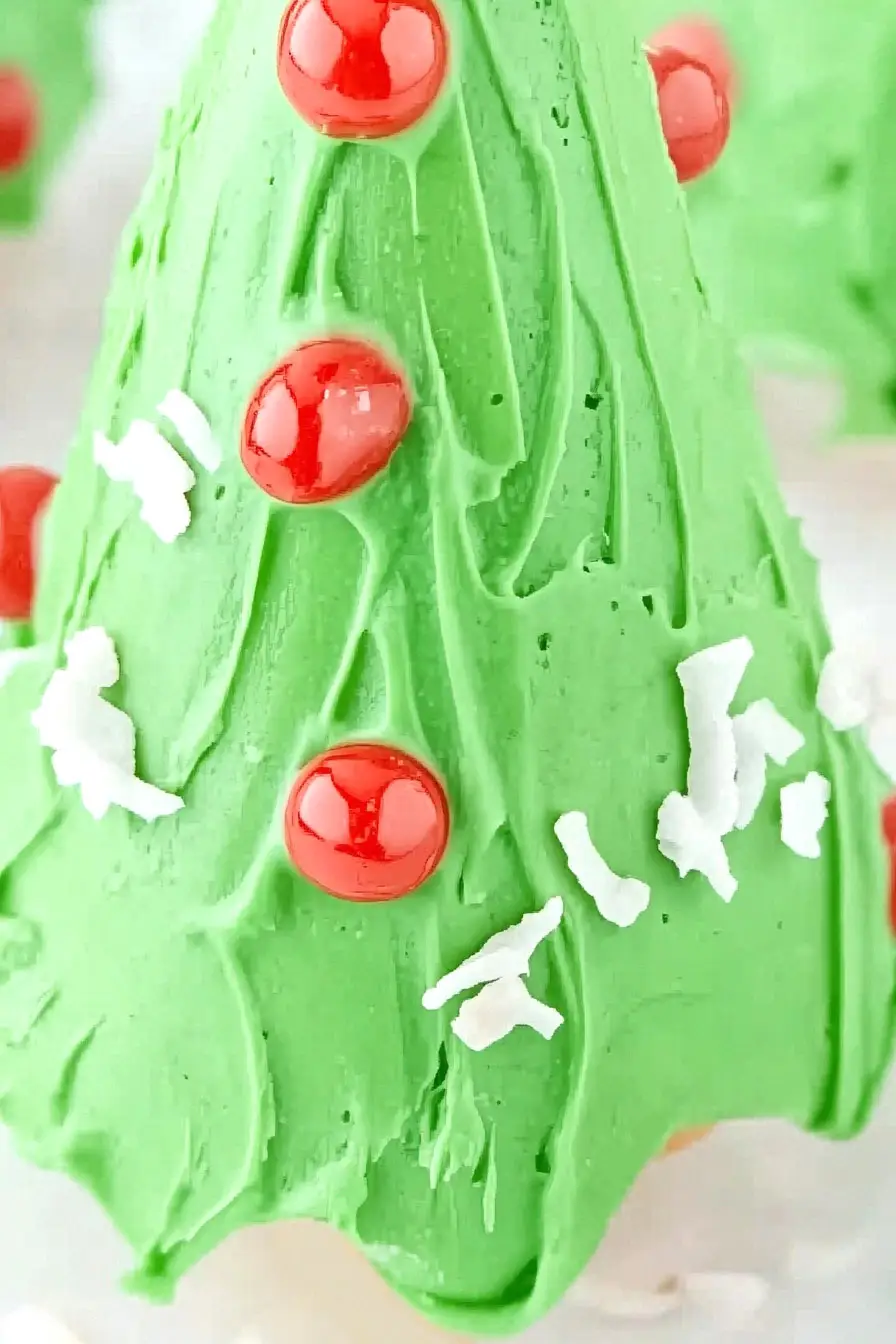
Step 3: Apply the Green Frosting
Use a butter knife or a plastic knife (a safer option if children are involved) to spread the green frosting evenly onto the outside of each ice cream cone.
Work carefully to cover the entire surface for a uniform appearance.
Step 4: Decorate with Candies and Coconut
Once the cones are covered with frosting, decorate them using various candies to mimic ornaments.
Alternatively, sprinkle shredded coconut over the cones to resemble snow.
Customize each tree with your choice of colorful candies or coconut to create a festive look.
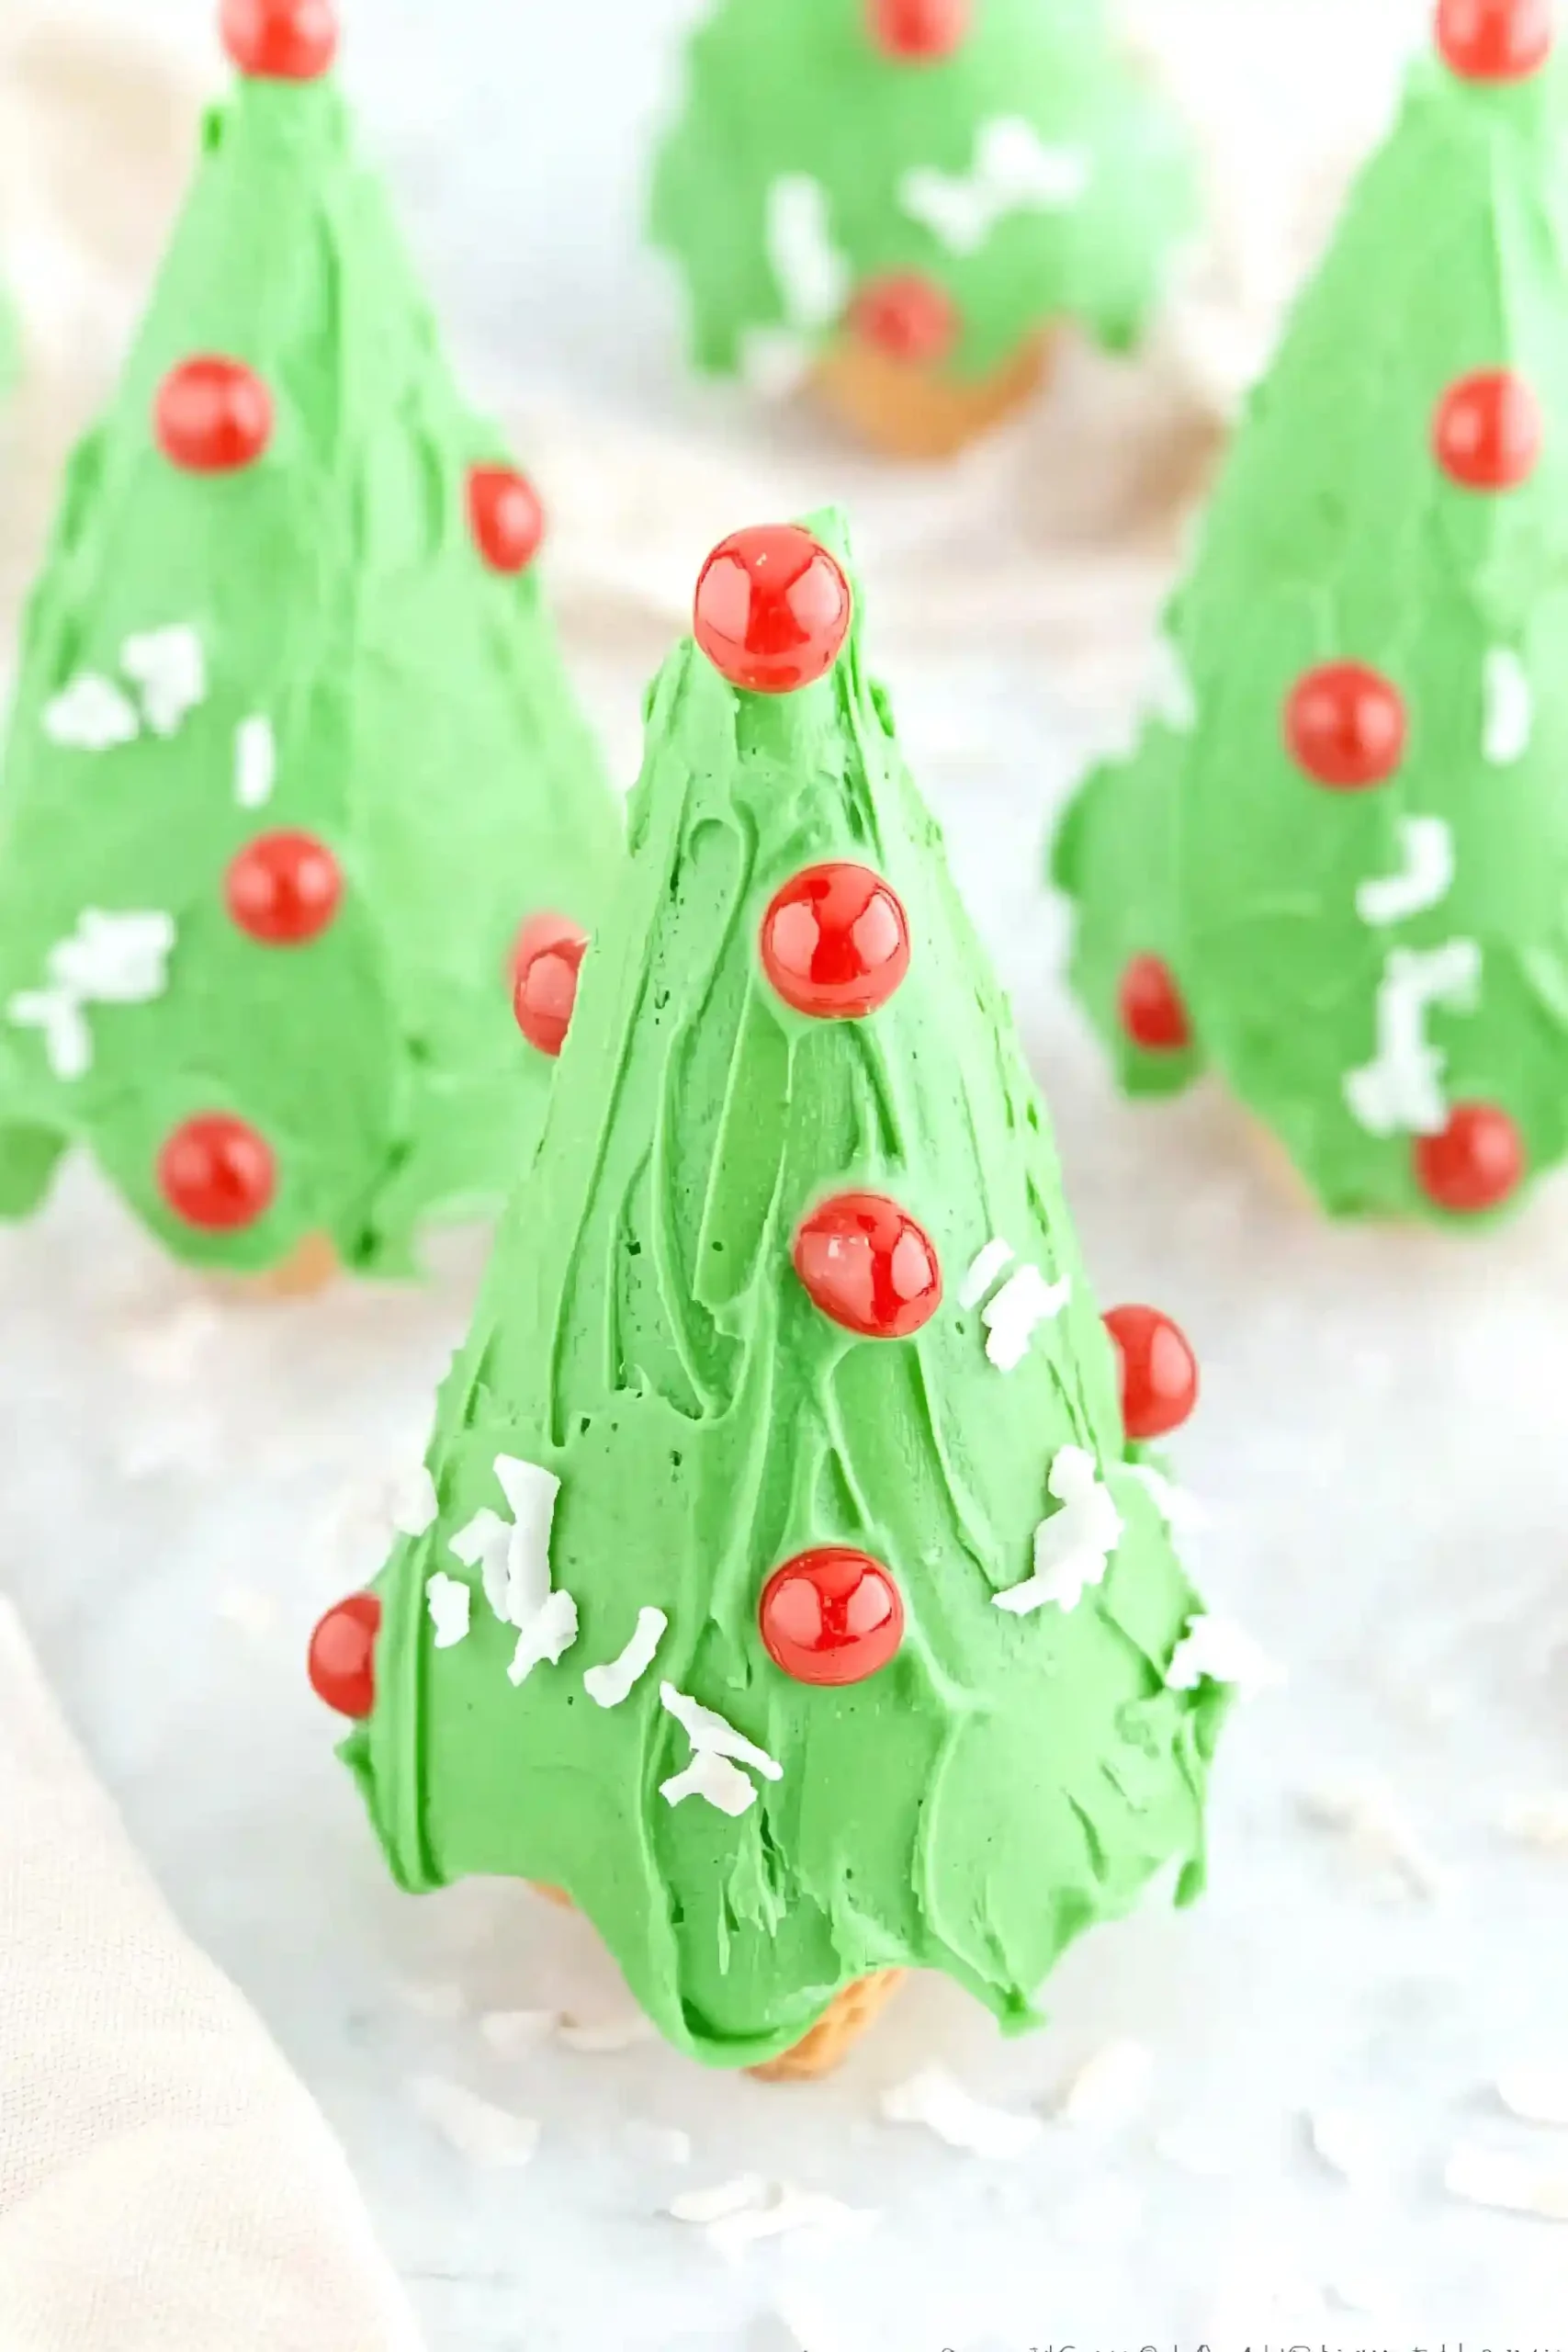
Step 5: Enjoy Your Ice Cream Christmas Trees
After decorating, your ice cream Christmas trees are ready to enjoy!
Arrange them on a festive platter, and they’ll make a delightful treat or a charming centerpiece for your holiday table.
