Fall desserts hold a special place in my heart. There’s something about the smell of cinnamon and apples baking that makes the whole house feel cozy. But when I’m hosting friends or need dessert for a potluck, I don’t want to deal with cutting and serving a whole pie. That’s where these mini apple pies come to the rescue.
These little pies give everyone their own personal serving without the mess of slicing. I can make a batch on Sunday and have dessert ready for the week. The kids love grabbing one from the fridge for an after-school snack. Plus, they freeze really well, so I always keep a few on hand.
Want something fancy-looking but easy to make? These are it. Craving that classic apple pie taste in a grab-and-go size? You’ve found your answer. Honestly, once you try making mini pies, you might never go back to the full-size version.
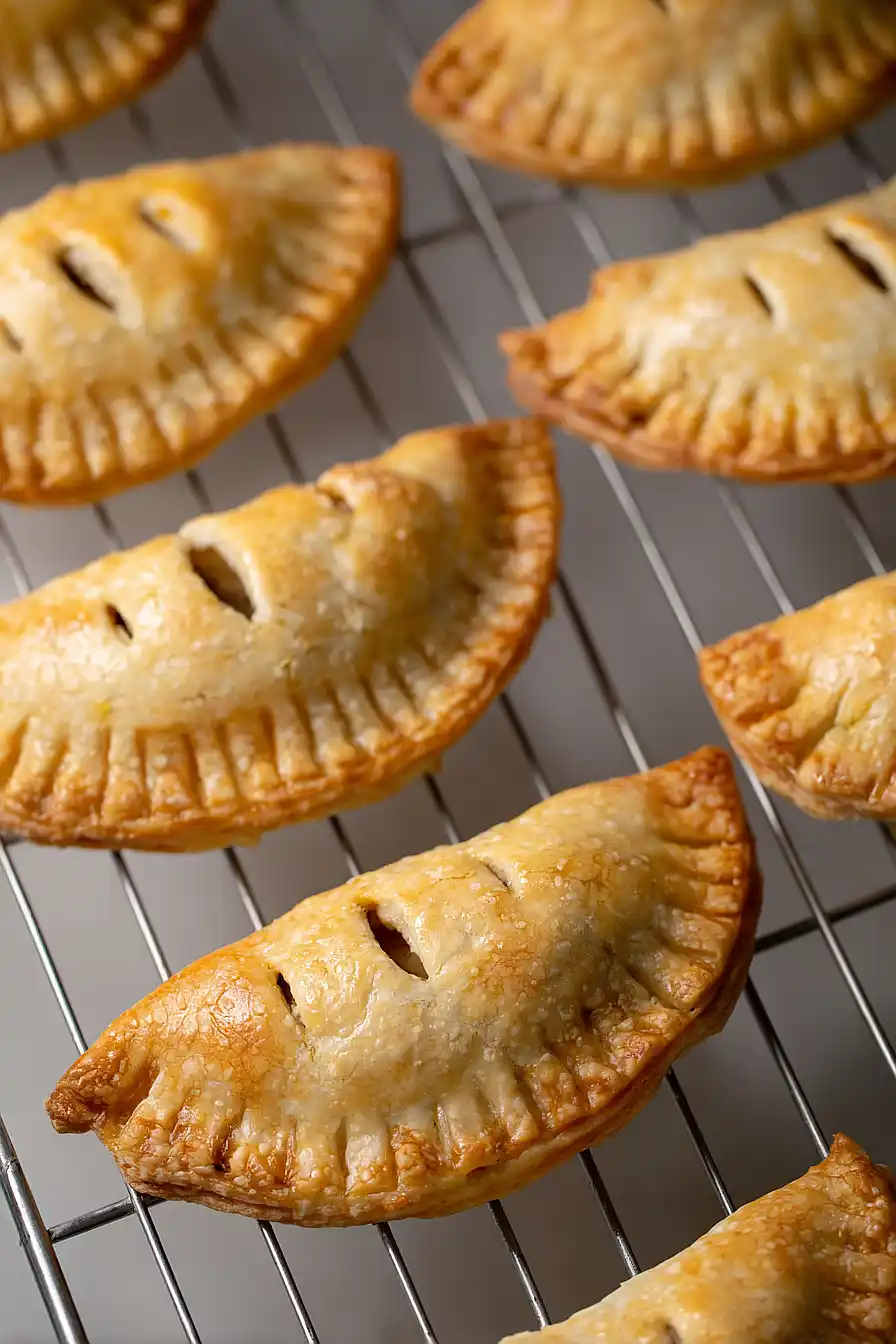
Why You’ll Love This Mini Apple Pie
- Perfect portion control – These individual-sized pies give everyone their own personal treat without the temptation to go back for seconds (though you might want to anyway!).
- Quick baking time – Ready in under an hour, these mini pies bake much faster than a full-sized pie, making them perfect for when you’re craving homemade apple pie but don’t want to wait all day.
- Simple ingredients – You probably already have most of these pantry staples at home, and you only need a couple of fresh apples to make a whole batch.
- Great for entertaining – These cute little pies are perfect for parties, potlucks, or family gatherings since everyone gets their own adorable serving that’s easy to eat by hand.
- Homemade pastry made easy – The simple pastry recipe comes together quickly and doesn’t require any fancy techniques, so even beginner bakers can achieve flaky, buttery results.
What Kind of Apples Should I Use?
For mini apple pies, you’ll want to stick with baking apples that hold their shape well and don’t turn to mush when cooked. Granny Smith apples are a classic choice because they’re tart and firm, but Honeycrisp, Braeburn, or Jonagold also work great. Avoid softer apples like Red Delicious or Gala since they tend to break down too much during baking. When you’re chopping your apples, aim for small, uniform pieces so they cook evenly in those tiny pie shells – about ¼-inch dice works perfectly.

Options for Substitutions
These little pies are pretty forgiving when it comes to swaps, so here’s what you can change up:
- All-purpose flour: You can use pastry flour for a more tender crust, but don’t substitute with cake flour as it won’t hold up well. Whole wheat flour works too, though it’ll make the crust a bit denser.
- Unsalted butter: Cold vegetable shortening or lard work great for flaky pastry. If using salted butter, just reduce the salt in the recipe by half.
- Baking apples: Granny Smith, Honeycrisp, or Braeburn are perfect choices. Avoid Red Delicious as they get too mushy. You can also try pears for a fun twist – just add an extra pinch of cinnamon.
- Ground allspice: No allspice? Mix a pinch of ground cloves with a pinch of nutmeg, or just use extra cinnamon. You could also add a tiny bit of cardamom for something different.
- Granulated sugar: Brown sugar adds a nice caramel flavor, or you can use maple syrup (reduce by about half and add a tablespoon more flour to the filling).
- Egg wash: For the golden top, you can brush with milk or cream instead of egg wash, though it won’t be quite as shiny.
Watch Out for These Mistakes While Baking
The biggest mistake when making mini apple pies is overworking the pastry dough, which leads to tough, chewy crusts instead of flaky ones – keep your butter cold and mix just until the dough comes together.
Another common error is skipping the step to pre-cook or drain your chopped apples, as raw apples release moisture during baking and can make your bottom crust soggy.
Don’t forget to cut steam vents in your top crusts before baking, otherwise the filling will bubble over and create a mess in your oven.
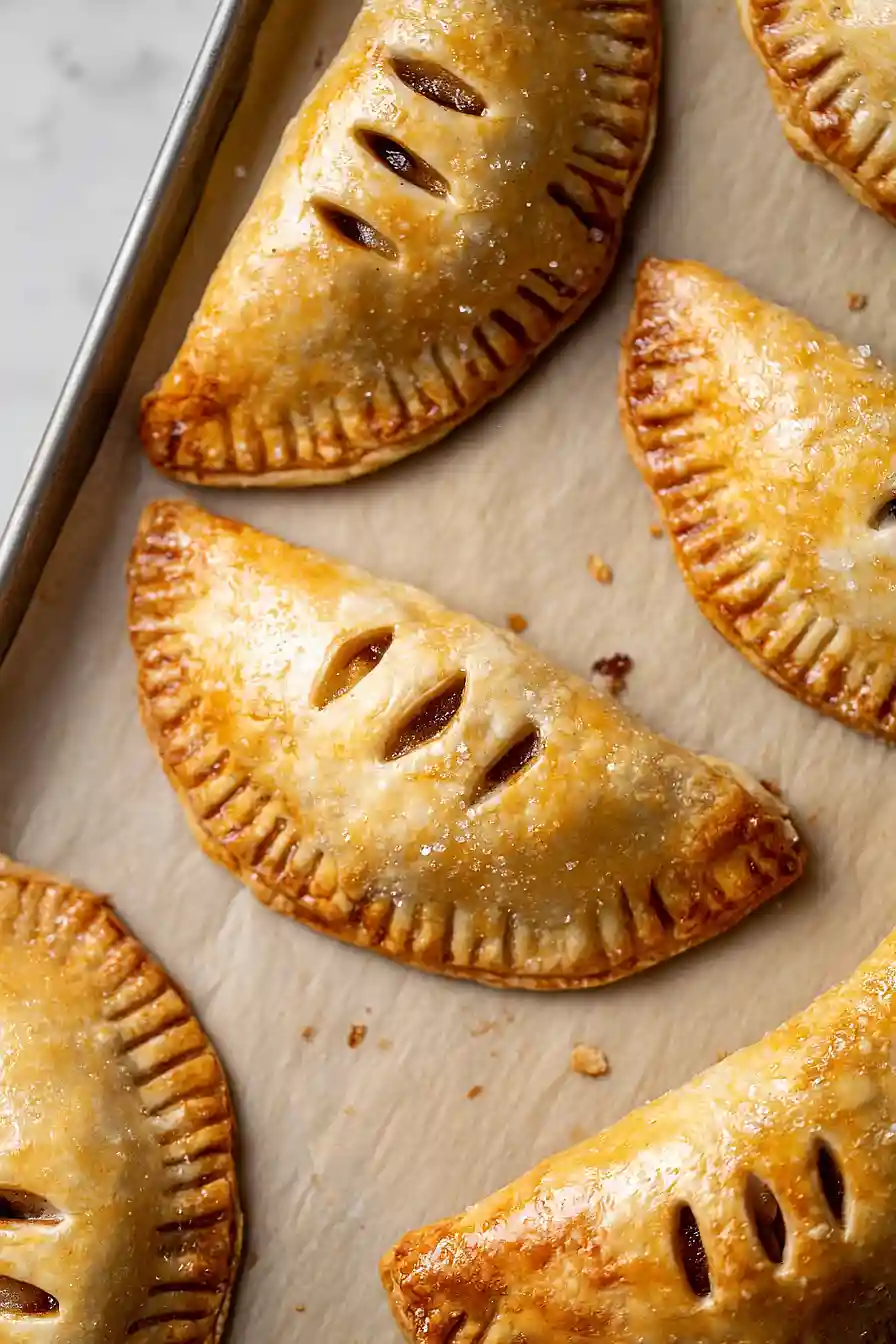
For perfectly golden mini pies, brush the tops with that egg wash mixture right before baking, and if the edges start browning too quickly, cover them with small pieces of foil to prevent burning while the centers finish cooking.
What to Serve With Mini Apple Pie?
These little apple pies are perfect on their own, but they’re even better with a scoop of vanilla ice cream on the side – the cold creaminess pairs beautifully with the warm, spiced apples. A dollop of fresh whipped cream or a drizzle of caramel sauce also makes these mini pies feel extra special for dessert. If you’re serving them for a fall gathering, try pairing them with hot apple cider or a cup of coffee to really lean into those cozy autumn flavors. For a fun breakfast or brunch twist, these mini pies are surprisingly good alongside some Greek yogurt and a light dusting of powdered sugar.
Storage Instructions
Store: These cute little pies keep well at room temperature for up to 2 days in an airtight container. If you want them to last longer, pop them in the fridge where they’ll stay fresh for up to a week. I like to make a big batch on Sunday and enjoy them throughout the week as a sweet treat.
Freeze: Mini apple pies are perfect for freezing! Once they’re completely cooled, wrap each one individually in plastic wrap or store them in a freezer-safe container with parchment paper between layers. They’ll keep in the freezer for up to 3 months, which makes them great for unexpected guests.
Warm Up: To bring back that fresh-baked taste, warm them in a 350°F oven for about 5-8 minutes if they’re at room temperature, or 10-12 minutes if frozen. You can also microwave them for 15-20 seconds, but the oven method keeps the crust nice and crispy.
| Preparation Time | 20-30 minutes |
| Cooking Time | 18-20 minutes |
| Total Time | 38-50 minutes |
| Level of Difficulty | Medium |
Estimated Nutrition
Estimated nutrition for the whole recipe (without optional ingredients):
- Calories: 1750-1950
- Protein: 22-26 g
- Fat: 72-80 g
- Carbohydrates: 255-275 g
Ingredients
For the pastry dough:
- 2/3 cup unsalted butter (cold and diced into 1/2-inch pieces)
- 2 cups all-purpose flour (I prefer King Arthur all-purpose flour)
- 1 tsp salt
- 4 tbsp cold water
For the apple filling:
- 1/2 tsp ground cinnamon (for best flavor and aroma)
- 1/4 cup sugar
- 1/4 tsp ground allspice (freshly ground preferred for more flavor)
- 2 cups diced baking apples (peeled and finely diced)
For the egg wash:
- 1 large egg
- 1 tbsp water
Step 1: Prepare the Pie Dough
- 2 cups all-purpose flour
- 1 tsp salt
- 2/3 cup unsalted butter, cold and diced
- 4 tbsp cold water
In a medium mixing bowl, combine the all-purpose flour and salt.
Stir together with a whisk until thoroughly mixed.
Add the cold, diced butter to the bowl and use a pastry cutter or two knives to cut the butter into the flour until the mixture resembles small, lentil-sized crumbs.
Drizzle the cold water over the mixture and toss together with a fork to moisten evenly.
Turn the mixture out onto a work surface and gently knead just until the dough comes together.
Flatten the dough into a disk, wrap it tightly in plastic wrap, and refrigerate for at least 30 minutes.
I always take care not to overwork the dough to keep it tender and flaky.
Step 2: Shape and Cut Dough Circles
- pie dough (from Step 1)
Once the dough has chilled, transfer it to a lightly floured work surface.
Roll out the dough to about 1/6-inch thickness.
Using a round cutter or a small bowl, cut out 12 circles, each approximately 4 inches in diameter.
You may need to gather the dough scraps and re-roll to get all 12 circles.
Place the circles aside.
Preheat the oven to 425°F and line a baking sheet with parchment paper in preparation for baking.
Step 3: Make the Apple Filling
- 2 cups peeled, finely diced baking apples (approximately 2 apples)
- 1/4 cup white sugar
- 1/2 tsp ground cinnamon
- 1/4 tsp ground allspice
In a small bowl, combine the finely diced baking apples, white sugar, ground cinnamon, and ground allspice.
Mix until the apples are evenly coated with the sugar and spices.
This will create a flavorful filling for the pastries.
If you like your filling extra fragrant, I recommend adding a tiny pinch more allspice!
Step 4: Assemble the Hand Pies
- apple filling (from Step 3)
- dough circles (from Step 2)
- 1 large egg
- 1 tbsp water
Place a tablespoonful of the apple filling from Step 3 onto one side of each dough circle from Step 2.
In a small bowl, whisk the egg with 1 tablespoon of water to create an eggwash.
Brush the edges of each dough circle with the eggwash, then fold each over to form a half-moon shape, encasing the filling.
Seal the edges by pressing down gently with the tines of a fork.
Arrange the assembled pies two inches apart on the prepared baking sheet.
Step 5: Brush and Bake the Pies
Brush the tops of each pastry with the remaining eggwash.
Use a sharp knife to cut three small slits in the top of each pie for steam to escape during baking.
Place the baking sheet in the preheated oven and bake for 18 to 20 minutes, or until the pies are golden brown.
Allow the pies to cool on the pan for 5 minutes, then transfer them to a wire rack to cool completely before serving.
I recommend waiting until they’re just warm—they’re delicious that way!