Making homemade ice cream used to feel like a complicated process that required tons of time and special equipment. Between the constant churning, watching temperatures, and dealing with rock-hard results from the freezer, it often felt easier to just grab a pint from the store.
That’s why this Ninja Creami cherry ice cream has become such a game-changer in our house – it’s straightforward to make, turns out perfectly smooth every time, and lets you control exactly what goes into your frozen treats with just a few simple ingredients.
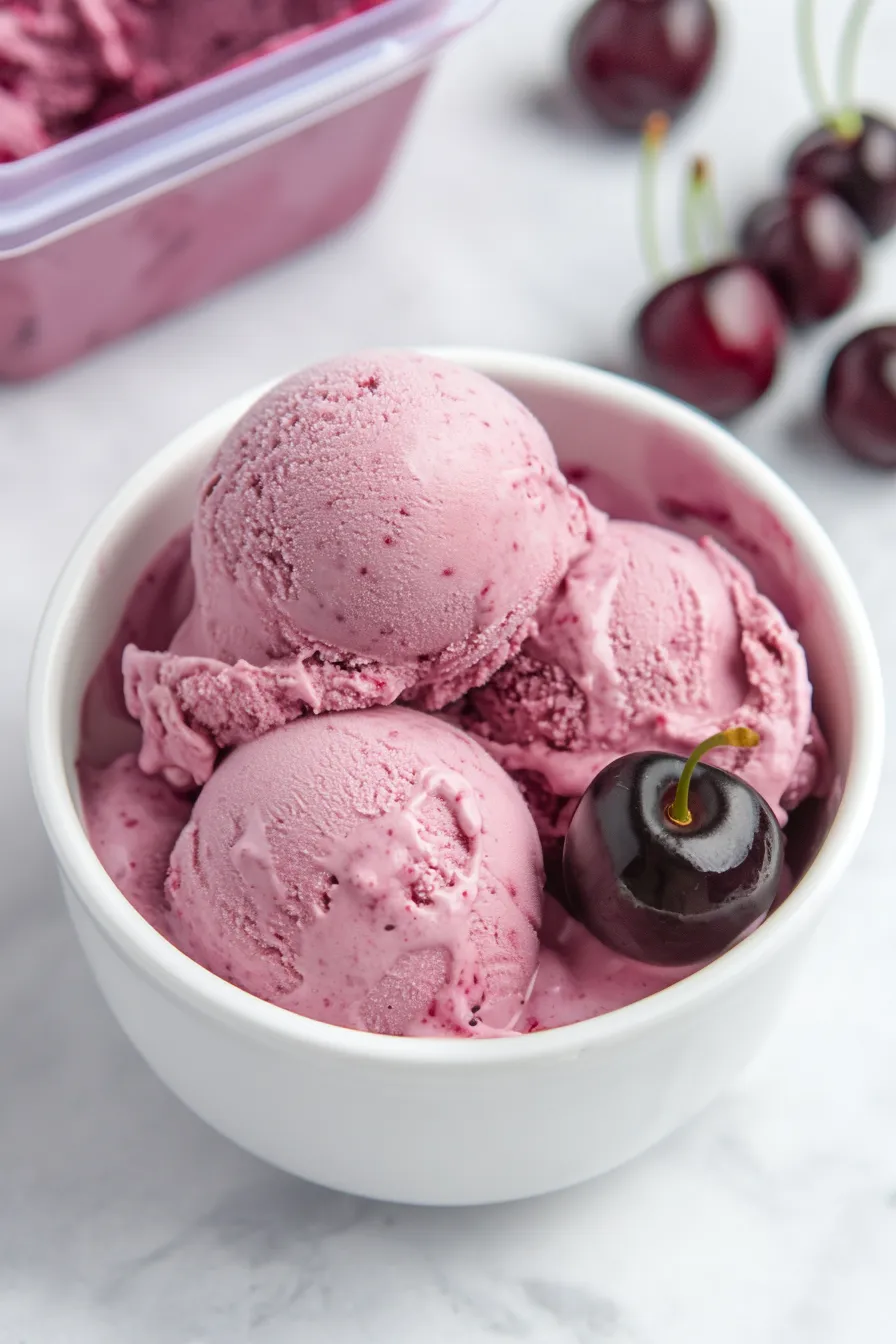
Why You’ll Love This Cherry Ice Cream
- 3-ingredient simplicity – With just milk, maple syrup, and fresh cherries, you can create a delicious homemade ice cream without any artificial additives or preservatives.
- Dairy-flexible recipe – You can easily make this with regular whole milk or switch to goat milk if you’re looking for a different option – both work perfectly in this recipe.
- Naturally sweetened – Using maple syrup instead of processed sugar gives this ice cream a pure, natural sweetness that complements the cherries beautifully.
- Ninja Creami convenience – While it needs freezing time, the actual hands-on prep takes just minutes, and the Ninja Creami does all the hard work of churning for you.
What Kind of Cherries Should I Use?
For homemade ice cream, you’ve got several cherry options that’ll work great. Sweet cherries like Bing or Rainier are naturally sweeter and give you that classic cherry ice cream flavor, while tart cherries like Montmorency will add a bit more complexity to your dessert. Fresh cherries are fantastic when they’re in season during summer, but frozen cherries work just as well and are actually super convenient since they’re already pitted. Just make sure if you’re using fresh cherries to remove all the pits completely – nobody wants to bite into one of those while enjoying their ice cream!
Options for Substitutions
Making this ice cream but need to switch things up? Here are some helpful substitutions:
- Whole milk: While whole milk gives the creamiest results, you can use 2% milk, almond milk, or coconut milk. Keep in mind that plant-based milks might make the texture slightly less creamy. If using plant milk, add 1 tablespoon of coconut cream to help with texture.
- Maple syrup: You can swap maple syrup with honey, agave nectar, or regular sugar. If using regular sugar, make sure it’s fully dissolved in the milk before freezing. Use the same amount as maple syrup.
- Fresh cherries: No fresh cherries? Frozen cherries work just as well – just thaw them first. You could also try other fruits like strawberries, blueberries, or peaches. If using frozen fruit, drain any excess liquid before adding to avoid ice crystals.
Watch Out for These Mistakes While Making
The biggest challenge when making ice cream in your Ninja Creami is using ingredients that are too warm – make sure your base mixture is completely frozen solid for at least 24 hours before processing, as partially frozen mixtures will result in a slushy texture instead of creamy ice cream.
Another common mistake is not layering your ingredients properly – pour in your milk first, then maple syrup, and finally add the cherries to ensure everything freezes evenly and processes smoothly. When working with cherries, be extra careful to remove all pits completely, as even one forgotten pit could damage your Ninja Creami’s blades.
If your ice cream turns out powdery after the first spin, don’t worry – simply use the re-spin function, which helps achieve that perfectly smooth, creamy texture you’re looking for. For the best cherry flavor, try to use ripe, sweet cherries and cut them into small, uniform pieces before freezing.
What to Serve With Cherry Ice Cream?
This homemade cherry ice cream is perfect for creating fun and tasty dessert combinations! A warm slice of chocolate brownie or fudgy cake makes an amazing base for a scoop (or two) of this fruity ice cream. For a simple but delicious sundae, top your ice cream with some chocolate sauce, whipped cream, and a fresh cherry – the combo of chocolate and cherries is always a winner. If you want to keep things on the lighter side, serve your cherry ice cream alongside some butter cookies or shortbread, which add just the right amount of crunch without overwhelming the natural cherry flavor.
Storage Instructions
Keep Frozen: Your homemade cherry ice cream needs to stay in the freezer to maintain its perfect consistency. Keep it in a freezer-safe container with a tight-fitting lid to prevent ice crystals from forming. It’ll stay fresh and tasty for up to 2 weeks.
Prevent Freezer Burn: Press a piece of plastic wrap directly onto the surface of the ice cream before putting the lid on. This extra step helps prevent those pesky ice crystals from forming and keeps your ice cream smooth and creamy.
Serving Tips: When you’re ready to enjoy your ice cream, let it sit at room temperature for about 5-10 minutes before scooping. This will help it soften to the perfect consistency. If it’s too hard, you can always re-spin it in your Ninja Creami for that freshly churned texture.
| Preparation Time | 10-15 minutes |
| Cooking Time | 0 minutes |
| Total Time | 24 hours 10-15 minutes |
| Level of Difficulty | Easy |
Estimated Nutrition
Estimated nutrition for the whole recipe (without optional ingredients):
- Calories: 350-400
- Protein: 6-8 g
- Fat: 10-12 g
- Carbohydrates: 65-70 g
Ingredients
- 1 cup pitted cherries (fresh or frozen, thawed)
- 1 tbsp maple syrup (grade A amber for a richer taste)
- 1 cup whole milk (or goat milk for a tangy flavor)
Step 1: Blend Ingredients
Add all your selected ingredients to a blender.
Blend the mixture on high speed until it is completely smooth, ensuring all ingredients are well combined.
Step 2: Freeze the Mixture
Transfer the blended mixture into a Ninja Creami pint.
Secure the lid on the pint to make sure it is sealed properly.
Place the pint in the freezer and allow it to freeze for at least 24 hours.
This will help the mixture set into a firm, ice cream-like texture.
Step 3: Prepare the Ninja Creami
After 24 hours, remove the lid from the frozen pint.
Place the pint into the Ninja Creami pint holder.
Place the lid with the blade on top and lock it into place to ensure it is securely attached.
Step 4: Process the Ice Cream
Run the Ninja Creami using the ice cream function.
For the best, smooth texture, it may be necessary to respin the mixture twice.
This step is crucial to achieve a creamy consistency mimicking traditional ice cream.
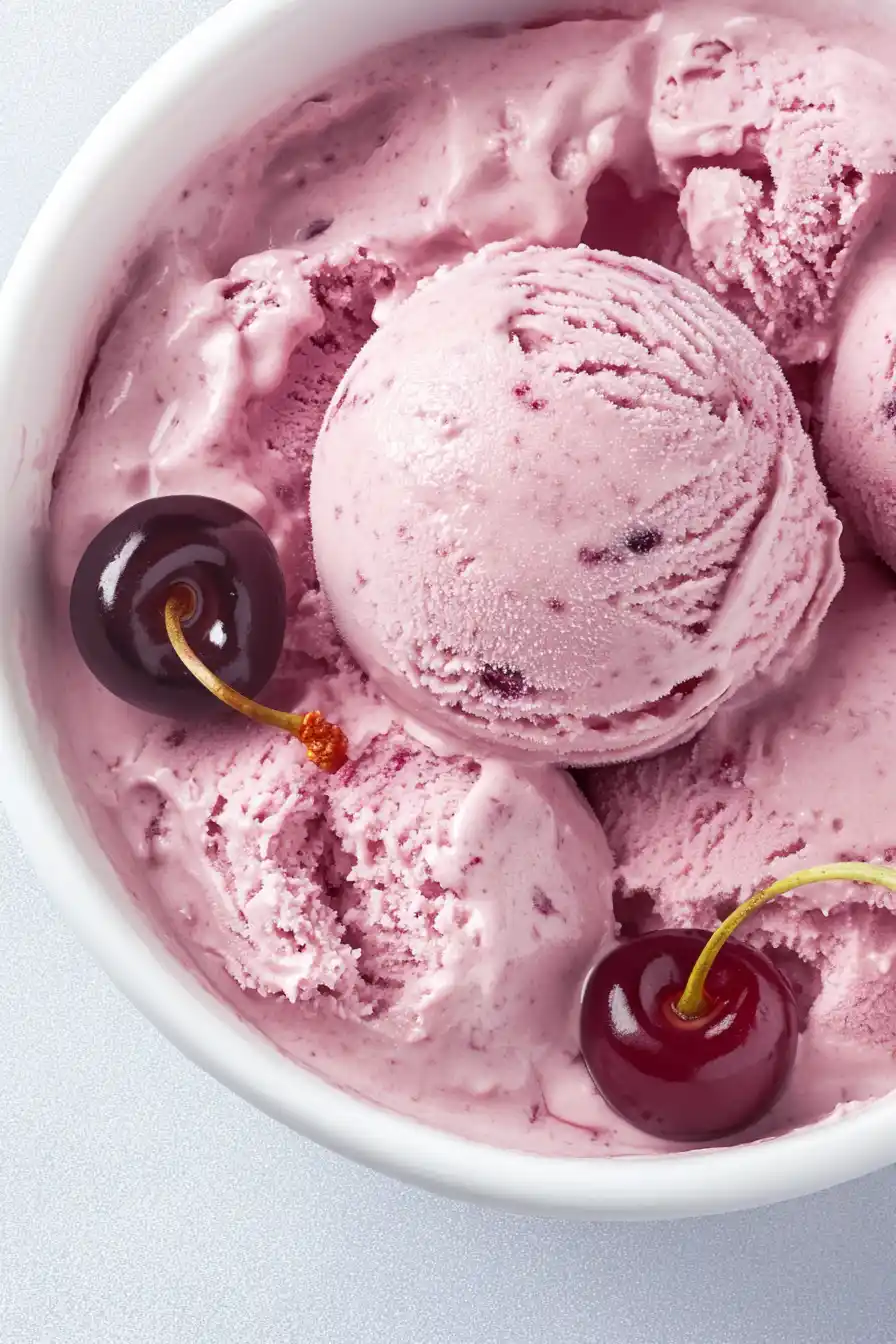
Step 5: Enjoy Your Creation
Once the mixture has reached the desired texture, remove it from the Ninja Creami.
Your homemade treat is now ready to enjoy immediately!
Serve it in bowls and savor the creamy delight.
