Here’s my go-to recipe for red velvet cake cream cheese frosting, with the perfect balance of tangy cream cheese, butter, vanilla, and just enough powdered sugar to create a smooth, creamy texture that spreads like a dream.
This frosting is what my kids ask for on every birthday cake, and I always make an extra batch to keep in the fridge. Nothing beats having some ready-made frosting for those last-minute cupcake emergencies, don’t you think?

Why You’ll Love This Red Velvet Cake
- Perfect texture – This cake has the most tender, moist crumb thanks to the combination of butter and oil – it stays fresh and delicious for days.
- Rich cream cheese frosting – The cream cheese frosting is smooth, creamy, and not too sweet – it’s the perfect complement to the subtle cocoa flavor of the cake layers.
- Reliable results – With precise measurements in both cups and grams, you’ll get consistent results every time you make this classic dessert.
- Make-ahead friendly – You can bake the layers ahead of time and freeze them, or make the entire cake a day before serving – it actually tastes even better the next day.
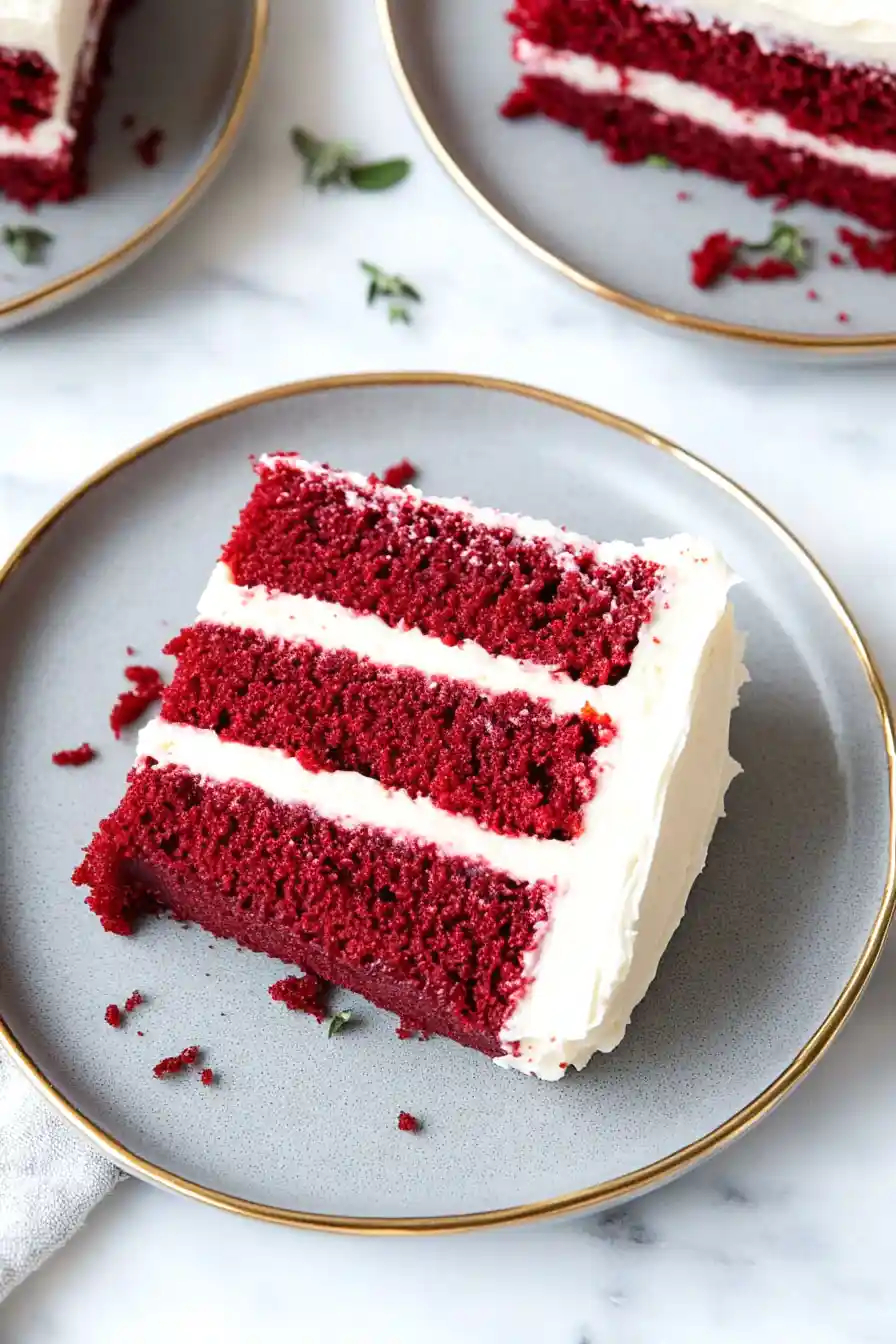
- Special occasion worthy – This cake’s deep red color and classic flavor make it perfect for birthdays, Valentine’s Day, or any celebration where you want to impress your guests.
What Kind of Cream Cheese Should I Use?
For frosting, full-fat block cream cheese is the only way to go – skip the spreadable kinds that come in tubs, as they contain additives that can make your frosting too soft. Philadelphia brand is a reliable choice that most bakers swear by, though any block-style cream cheese will work well. Make sure to let your cream cheese soften at room temperature for about an hour before using it, but don’t let it get too warm or your frosting might end up runny. If you notice any liquid on top of your cream cheese when you unwrap it, just drain it off and proceed with your recipe.

Options for Substitutions
While some ingredients are essential for that classic red velvet taste, here are some helpful substitutions you can try:
- Buttermilk: No buttermilk? Mix 1 1/3 cups regular milk with 1 tablespoon plus 1 teaspoon of lemon juice or white vinegar. Let it sit for 5 minutes before using.
- Red food coloring: For a natural alternative, try 2 tablespoons of beet powder mixed with 1 tablespoon water. Note that the color won’t be as bright, but it works in a pinch.
- Cream cheese: This is a must-have for authentic red velvet cake – I don’t recommend substituting it. If you absolutely can’t find cream cheese, mascarpone can work, but the taste will be different.
- Vegetable/canola oil: Any neutral-flavored oil works here – try safflower, sunflower, or even melted coconut oil (though this might add a slight coconut taste).
- Vinegar: Apple cider vinegar or white vinegar both work fine – they help activate the baking soda and don’t affect the taste.
- Cocoa powder: Dutch-process or natural cocoa powder both work in this recipe, though natural gives that traditional red velvet flavor.
Watch Out for These Mistakes While Baking
The temperature of your ingredients makes a huge difference in red velvet cake success – cold butter, eggs, or cream cheese can lead to a lumpy batter and uneven frosting, so make sure to let them sit at room temperature for at least 1-2 hours before starting. Another common mistake is overmixing the batter once you’ve added the flour – this develops too much gluten and results in a tough, dense cake instead of the tender crumb you’re after. When it comes to the signature red color, adding too much food coloring can make your cake taste bitter, while too little won’t give you that classic deep red shade – stick to the exact measurement for the best balance. For the cream cheese frosting, beating it too long can make it runny and difficult to work with, so stop mixing as soon as it’s smooth and fluffy, and if it becomes too soft while decorating, pop it in the fridge for 15-20 minutes to firm up.
What to Serve With Red Velvet Cake?
Red velvet cake is perfect with a cold glass of milk or a hot cup of coffee – the creamy drinks help balance out the richness of the cream cheese frosting. If you’re hosting a party, try serving small slices alongside fresh berries like strawberries or raspberries, which add a nice pop of freshness and color to the plate. For an extra special touch, a scoop of vanilla ice cream on the side works really well, especially when the cake is slightly warm. Keep in mind that this cake is pretty rich, so smaller portions paired with these simple accompaniments let everyone enjoy it without feeling overwhelmed.
Storage Instructions
Keep Fresh: Your red velvet cake with cream cheese frosting will stay fresh in an airtight container in the fridge for up to 5 days. The cream cheese frosting needs to be refrigerated, but don’t worry – the cake won’t dry out thanks to all those moist ingredients!
Freeze: Want to save some for later? You can freeze the whole cake or individual slices for up to 3 months. Just wrap it well in plastic wrap and then aluminum foil. When you’re ready to enjoy it, let it thaw overnight in the fridge – the cream cheese frosting will thank you for the gentle defrost!
Make Ahead: You can make the cake layers up to 2 days ahead and store them wrapped in plastic at room temperature. The cream cheese frosting can be made 1 day ahead and kept in the fridge – just let it soften a bit at room temperature before frosting your cake. This makes the whole process much more manageable!
| Preparation Time | 30-40 minutes |
| Cooking Time | 26-30 minutes |
| Total Time | 56-70 minutes |
| Level of Difficulty | Medium |
Estimated Nutrition
Estimated nutrition for the whole recipe (without optional ingredients):
- Calories: 5000-5500
- Protein: 50-60 g
- Fat: 250-280 g
- Carbohydrates: 700-800 g
Ingredients
For the cake:
- 1 1/2 tsp vinegar
- 3 large eggs
- 1 1/3 cups buttermilk
- 2 large egg yolks
- 2 cups white sugar
- 2 1/2 cups all-purpose flour (I always use King Arthur all-purpose flour, sifted)
- 3/4 tsp salt
- 3 tbsp unsweetened cocoa powder
- 1/3 cup vegetable oil (or any other neutral oil like canola)
- 1 tsp baking soda
- 1 fl oz red liquid food coloring (for a deep red hue)
- 3/4 cup unsalted butter (room temperature for easy creaming)
- 1 tbsp vanilla essence
For the frosting:
- 1 1/2 tsp vanilla essence (for best flavor and aroma)
- 16 oz cream cheese (softened to room temperature)
- 6 cups powdered sugar
- 1 cup unsalted butter (I like Kerrygold unsalted butter for this)
Step 1: Prepare the Baking Pans and Dry Ingredients
Begin by preheating your oven to 350 degrees Fahrenheit.
Butter three 9-inch round cake pans, line the bottoms with rounds of parchment paper, and then butter the parchment.
Set the pans aside.
In a large mixing bowl, combine the flour, baking soda, and salt.
Sift in the cocoa powder and whisk the mixture for about 20 seconds to combine.
Set the bowl aside for later use.
Step 2: Cream the Butter and Sugar
In the bowl of an electric stand mixer equipped with the paddle attachment, cream together the sugar and butter on high speed until the mixture is pale and fluffy.
This will take several minutes.
Next, mix in the vegetable oil.
Make sure to scrape down the sides of the bowl to ensure even mixing.
Step 3: Incorporate the Eggs and Color
Add the eggs one at a time to the mixture, blending each just until combined before adding the next.
After the eggs, mix in the egg yolks followed by the red food coloring.
Remember to scrape down the bowl to make sure everything is well combined.
Step 4: Combine Wet and Dry Ingredients
In a liquid measuring cup, measure out the buttermilk and whisk in the vanilla extract and vinegar.
Alternately add the flour mixture and buttermilk mixture to the sugar mixture: begin and end with the flour mixture.
Add 1/3 of the flour mixture, then 1/2 of the buttermilk mixture, mixing just until each addition is combined.
Repeat this process, and finally ensure the batter is well mixed by gently folding it with a spatula.
Step 5: Bake the Cakes
Divide the batter evenly among the three prepared baking pans.
Spread the batter into an even layer.
Bake the cakes in the preheated oven for 26 – 30 minutes, or until a toothpick inserted into the center of the cakes comes out clean.
Allow the cakes to cool in their pans for 10 minutes, then run a knife around the edges to loosen them and invert onto wire racks to cool completely.
Step 6: Prepare and Apply the Cream Cheese Frosting
In a large mixing bowl, use an electric hand mixer (or stand mixer) to blend the cream cheese and butter until smooth and fluffy.
Mix in the vanilla extract, followed by the powdered sugar.
Whip the mixture until it becomes light and fluffy.
Spread the frosting over the cooled cakes.
Once frosted, store the cake in an airtight container in the refrigerator.
