Finding creative ways to use up sourdough discard can feel like a never-ending puzzle. Between regular feedings and recipe experiments, it’s easy to end up with jars of discard taking over your fridge space, and let’s be honest – nobody likes throwing away perfectly good ingredients.
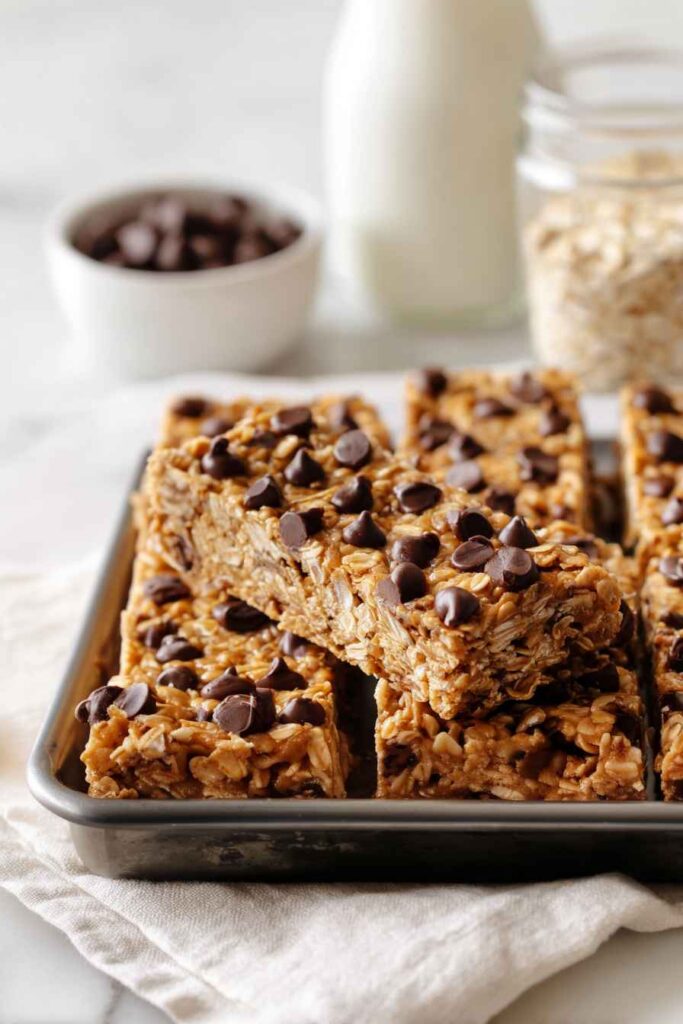
These sourdough discard granola bars are the perfect solution: they’re quick to make, help reduce kitchen waste, and give you a tasty homemade snack that’s great for lunchboxes or afternoon pick-me-ups. Plus, they use ingredients you probably already have in your pantry.
Why You’ll Love These Sourdough Discard Granola Bars
- Zero waste baking – These granola bars are perfect for using up that sourdough discard that usually goes to waste. It’s a smart way to reduce kitchen waste while making something delicious.
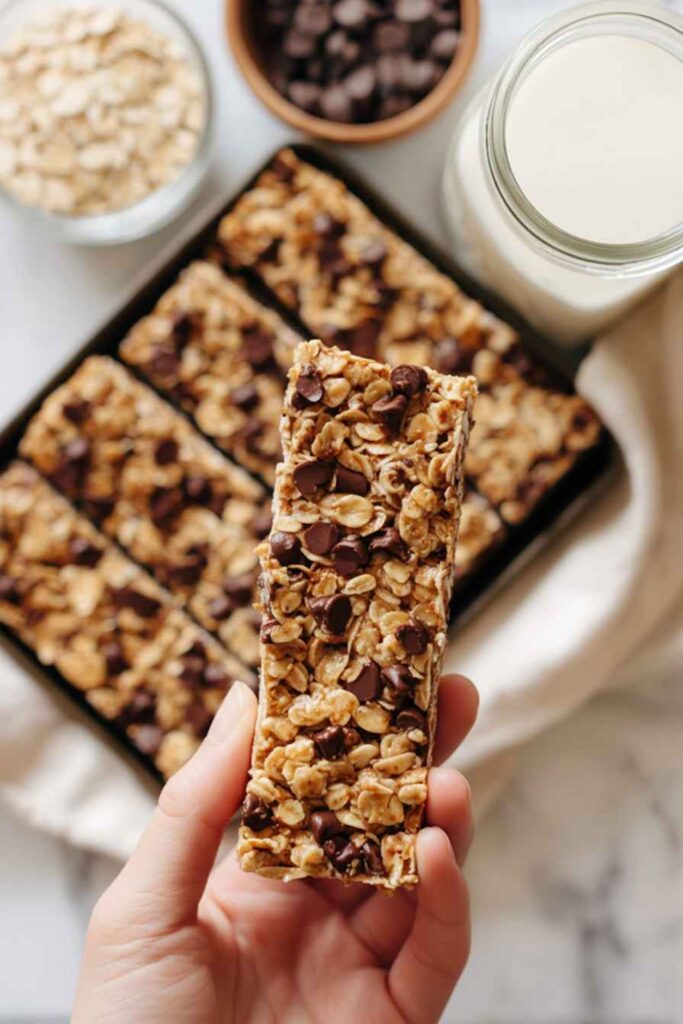
- Make-ahead snack – You can prepare a batch and have homemade granola bars ready for the whole week. They’re perfect for lunchboxes, after-school snacks, or quick breakfast on busy mornings.
- Customizable recipe – The chocolate chips are optional, and you can swap them for dried fruit, nuts, or other mix-ins you have in your pantry. Make them exactly how your family likes them.
- Budget-friendly – Using basic pantry ingredients like oats and that leftover sourdough discard makes these bars much more economical than store-bought versions.
What Kind of Oats Should I Use?
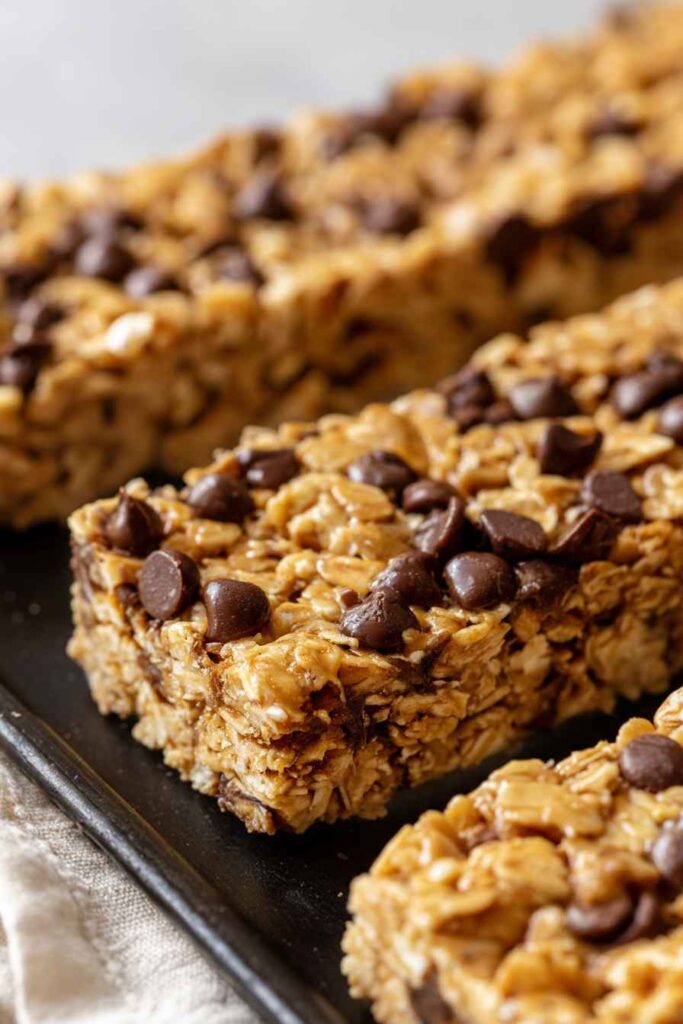
Rolled oats (sometimes called old-fashioned oats) are the best choice for these granola bars since they hold their shape well and provide the perfect chewy texture. While quick oats might work in a pinch, they tend to create a mushier texture that won’t give you that classic granola bar feel. Steel-cut oats aren’t recommended here – they’re too hard and won’t soften enough during baking. When shopping, look for rolled oats that are thick and whole rather than broken or dusty, as these will give you the best structure in your bars. If you’re gluten-sensitive, make sure to pick up certified gluten-free rolled oats, since regular oats can sometimes have cross-contamination from wheat processing.
Options for Substitutions
This recipe is pretty adaptable and here’s what you can switch up:
- Sourdough discard: If you don’t have sourdough discard, you can use plain Greek yogurt or applesauce instead. Both will help bind the bars and add moisture, though the flavor will be slightly different.
- Peanut butter: Any nut or seed butter works great here – try almond butter, sunflower seed butter, or cashew butter. Just make sure it’s the same consistency as regular peanut butter.
- Honey: Maple syrup or agave nectar can replace honey in equal amounts. Keep in mind that honey helps bind the bars, so the texture might be slightly less firm with substitutes.
- Rolled oats: Quick oats can work in a pinch, but the bars will be denser. Don’t use steel-cut oats as they’ll be too hard.
- Mini chocolate chips: Since these are optional, you can skip them or swap in dried fruit, chopped nuts, seeds, or other small treats like M&Ms or butterscotch chips.
- Brown sugar: You can use coconut sugar or regular granulated sugar plus a tablespoon of molasses. The molasses helps maintain that nice chewy texture.
Watch Out for These Mistakes While Baking
The biggest challenge when making sourdough discard granola bars is getting the perfect texture – too loose and they’ll fall apart, too hard and they’ll be difficult to eat. To achieve the right consistency, make sure to press the mixture very firmly into the pan using the back of a measuring cup or flat spatula, as this helps the ingredients bind together properly. Another common mistake is cutting the bars too soon after baking – letting them cool completely at room temperature (about 2-3 hours) is crucial for clean, sharp cuts and bars that hold their shape. For the best results, avoid using quick oats instead of old-fashioned rolled oats, as the texture will be too fine and won’t provide the hearty, chewy bite you’re looking for. If you’re adding chocolate chips, wait until the mixture has cooled slightly before mixing them in, otherwise they’ll melt completely instead of staying in chip form.
What to Serve With Sourdough Granola Bars?
These homemade granola bars are perfect for pairing with your morning coffee or afternoon tea for a quick pick-me-up. Try serving them alongside a cold glass of milk or your favorite plant-based alternative – they’re especially good with almond milk or oat milk. For breakfast, you can crumble these bars over a bowl of yogurt and fresh fruit, or pack them in lunch boxes with some fresh apple slices or banana for a balanced snack. If you’re heading out for a hike or long day, these bars go great with a handful of mixed nuts and dried fruit for extra energy.
Storage Instructions
Keep Fresh: These homemade granola bars stay good at room temperature for about 5-7 days. Just keep them in an airtight container with pieces of parchment paper between layers to prevent sticking. If your kitchen runs warm, you might want to pop them in the fridge to keep the chocolate chips from getting too soft.
Refrigerate: For longer storage, place these bars in the fridge in a sealed container – they’ll stay fresh for up to 2 weeks. The cool temperature helps keep them firm and prevents the honey from getting too sticky. Plus, the chocolate chips stay nice and solid!
Freeze: These granola bars are perfect for batch-making! Wrap them individually in parchment paper, then place in a freezer bag or container. They’ll keep well for up to 3 months. When you’re ready to eat one, just take it out and let it thaw at room temperature for about 30 minutes.
| Preparation Time | 15-20 minutes |
| Cooking Time | 25 minutes |
| Total Time | 100-125 minutes |
| Level of Difficulty | Medium |
Estimated Nutrition
Estimated nutrition for the whole recipe (without optional ingredients):
- Calories: 2200-2400
- Protein: 35-45 g
- Fat: 90-100 g
- Carbohydrates: 300-320 g
Ingredients
- 1/2 tsp salt
- 1/4 cup packed brown sugar
- 1/4 cup melted butter (I like Kerrygold unsalted butter for this)
- 1/4 cup peanut butter (creamy or crunchy works, use what you prefer)
- 1/2 cup honey
- 4 cups rolled oats (not instant oats!)
- 1/2 cup sourdough starter discard (unfed, straight from the fridge)
- 1 tsp vanilla essence (use pure vanilla extract for best flavor)
- 1 cup mini chocolate chips (optional, but highly recommended for sweetness)
Step 1: Preheat and Prepare Wet Ingredients
Preheat your oven to 325℉ (163℃).
In a microwave-safe bowl, melt 57 grams of butter and 65 grams of peanut butter together, using about 30 seconds on high power.
Once melted, transfer the mixture to a large mixing bowl.
Add in 120 grams of honey, 120 grams of sourdough discard, and 5 grams of vanilla extract.
Stir everything well until combined and smooth.
Step 2: Incorporate Dry Ingredients
Into the bowl with the wet ingredients, mix in 55 grams of brown sugar, 360 grams of rolled oats, and 3 grams of salt.
Gently fold in 163 grams of mini chocolate chips if you’re including them.
Make sure everything is mixed thoroughly, so the ingredients are evenly distributed throughout the mixture.
Step 3: Prepare Pan and Press Mixture
Line a 9×9-inch baking pan with parchment paper for easy removal of the bars later.
Pour the mixture into the lined pan.
Use another piece of parchment paper to firmly press down the mixture, creating an even layer.
This step is essential to ensure the bars hold together properly, so spend a moment pressing the mixture down a few times.
Step 4: Bake the Bars
Place the pan in the preheated oven and bake for 25 minutes at 325℉.
The bars should be slightly golden when done.
Baking accurately helps the bars set and develop the right texture.
Step 5: Cool and Chill
Once baked, remove the pan from the oven and let the bars cool completely at room temperature.
After cooling, cover the pan and place it in the refrigerator for at least one hour, ideally two, to chill the bars and make them easier to cut.
Step 6: Cut and Store
After chilling, remove the bars from the fridge and cut them into 12 equal pieces.
For easy grab-and-go snacks, wrap each bar individually with plastic wrap or beeswax.
Alternatively, store the bars in an airtight container to maintain freshness.
