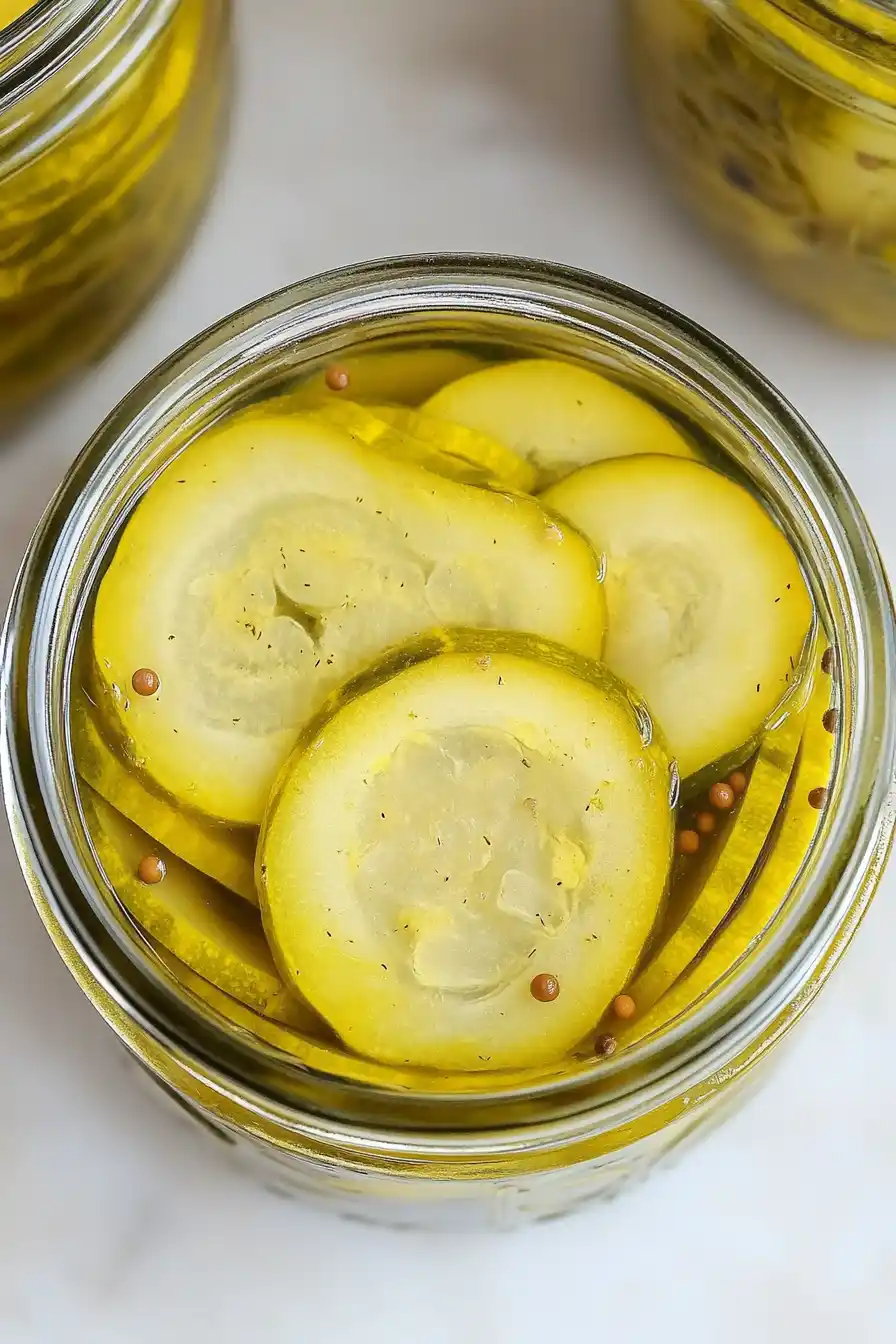
Growing up, my mom always made her own pickles with cucumbers from our garden. Yellow squash pickles? That was something I’d never even heard of until my neighbor brought over a jar last summer. I was skeptical at first – who makes pickles from squash?
Turns out, yellow squash makes some of the crunchiest, most refreshing bread and butter pickles I’ve ever tasted. And the best part? When your garden is overflowing with summer squash (and let’s be honest, when isn’t it?), this recipe helps you use up all that extra produce in the tastiest way possible.
Why You’ll Love These Squash Pickles
- Creative way to use summer squash – When your garden is overflowing with yellow squash, this recipe offers a tasty alternative to the usual sautéed or grilled preparations.
- No special equipment needed – Unlike traditional canning, these pickles don’t require a water bath or pressure canner – just basic kitchen tools and jars.
- Perfect balance of flavors – The combination of fresh dill, garlic, and jalapeño creates a pickle that’s sweet, tangy, and just a little spicy.
- Make-ahead convenience – These pickles keep well in the refrigerator, so you can make them when squash is in season and enjoy them for weeks to come.
- Budget-friendly – Using inexpensive summer squash and basic pantry ingredients, this recipe helps you create homemade pickles for a fraction of store-bought prices.
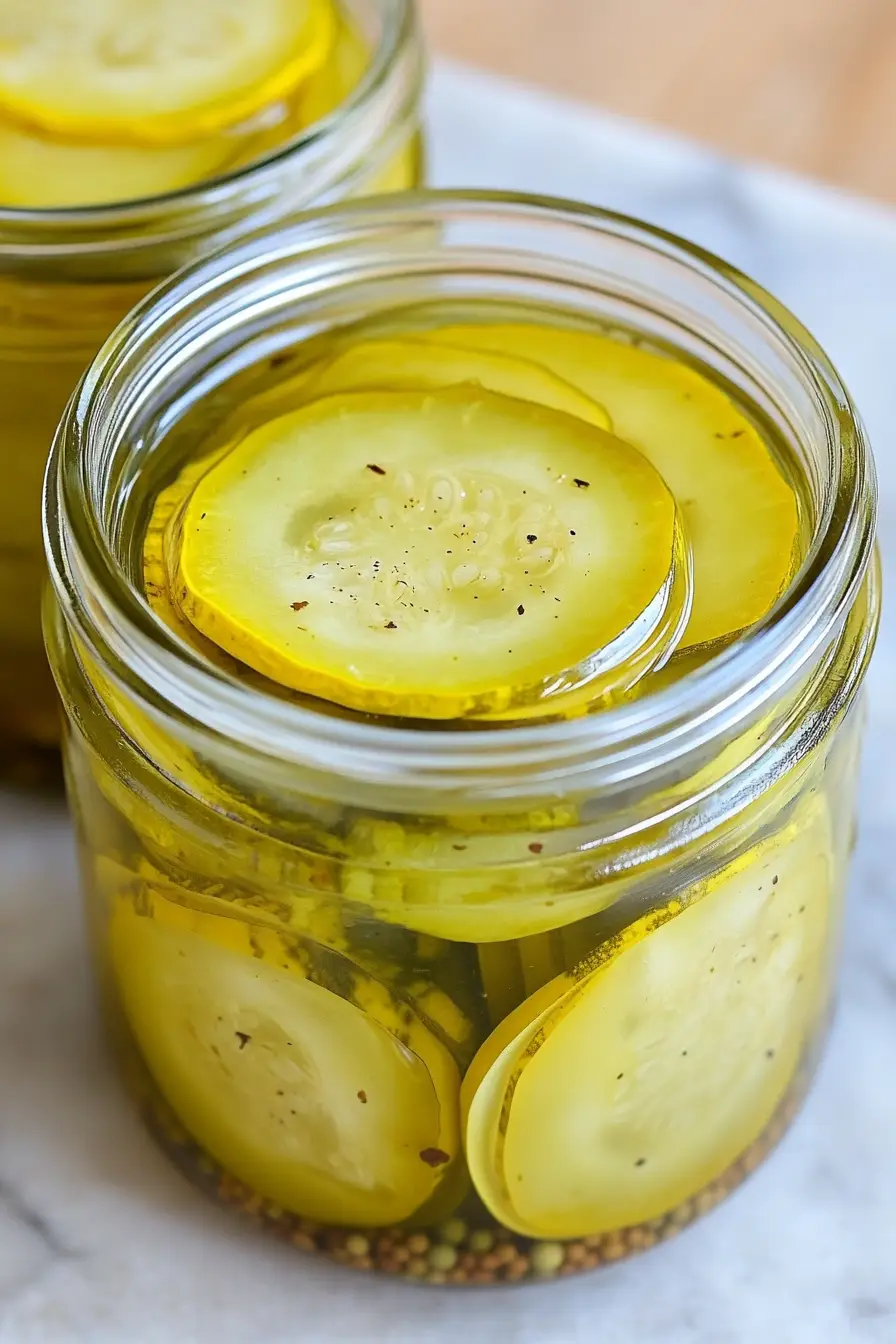
What Kind of Yellow Squash Should I Use?
For pickle-making, you’ll want to look for young, fresh yellow summer squash that’s about 6-8 inches long. Smaller squash are ideal since they’re more tender and have fewer seeds, which makes them perfect for pickling. Stay away from larger, more mature squash as they can be tough and have large seeds that might make your pickles less enjoyable. When shopping, pick squash that feels firm and heavy for its size, with bright yellow skin that’s free from blemishes or soft spots. If you’re growing your own, harvest them while they’re still young – if you can easily pierce the skin with your fingernail, that’s a good sign they’re at the right stage for pickling.
Options for Substitutions
This pickle recipe is pretty adaptable and you can make several swaps while still getting tasty results:
- Yellow squash: You can swap yellow squash with zucchini, cucumber, or even a mix of both. Just make sure to slice them the same thickness for even pickling.
- White vinegar: While white vinegar gives the cleanest flavor, you can use apple cider vinegar instead. Just know it will add a slightly different taste and might darken the pickles a bit.
- Fresh dill: No fresh dill? Use 1 tablespoon of dill seeds or 2 teaspoons of dried dill weed instead.
- Jalapeño: Feel free to swap jalapeños with serrano peppers for more heat, or banana peppers for a milder kick. You can also skip the peppers entirely if you prefer no heat.
- Mustard seeds: If you’re out of mustard seeds, you can use 1 teaspoon of ground mustard powder, though the texture will be slightly different.
- White sugar: Regular white sugar works best here, but you could use light brown sugar in a pinch – just know it will change the color and add a slight molasses taste.
Watch Out for These Mistakes While Canning
The biggest mistake when making squash pickles is slicing them too thick or too thin – aim for exactly 1/4 inch thickness to ensure proper pickling and that perfect crispy-crunchy bite. Skipping the sterilization of your jars and lids is another common error that can lead to spoilage, so make sure to thoroughly clean and sterilize all equipment in boiling water for at least 10 minutes before use. When packing your jars, avoid the temptation to cram in too many vegetables – leaving about 1/2 inch of headspace at the top allows for proper seal formation and prevents overflow during processing. For the best flavor development, let these pickles rest in your refrigerator for at least 24 hours before eating, and always check for proper seal formation by ensuring the lid doesn’t flex up and down when pressed in the center.
What to Serve With Squash Pickles?
These tangy squash pickles are perfect for adding a bright, zippy crunch to all sorts of dishes! They’re great tucked into sandwiches – try them on a classic ham and cheese or piled high on a burger for extra flavor and texture. I love setting out a bowl of these pickles alongside pulled pork or barbecue chicken, where their sweet-and-sour taste helps cut through rich, smoky meats. They also make a fantastic addition to any charcuterie board or appetizer spread, especially paired with sharp cheddar cheese and crackers.
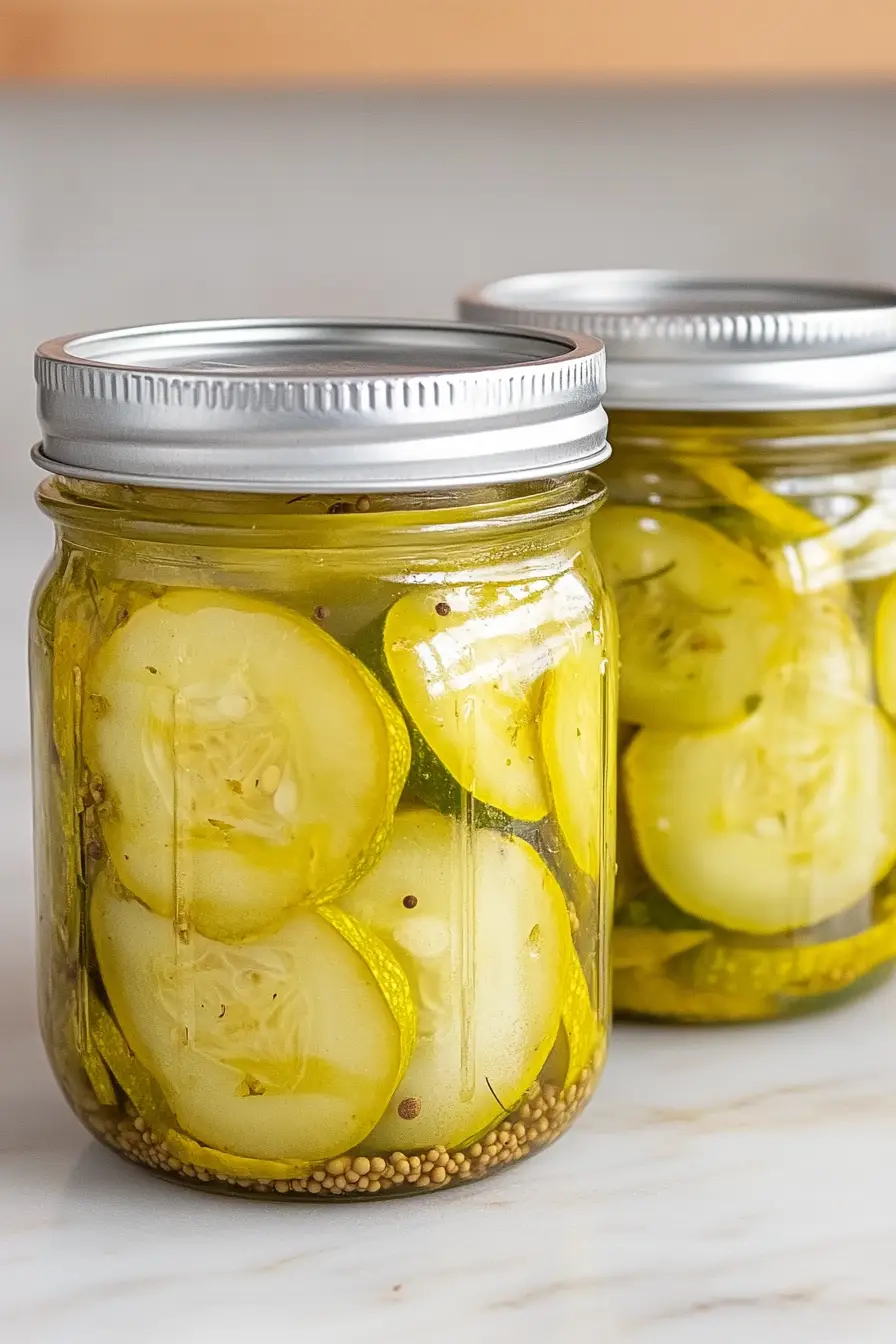
Storage Instructions
Keep Fresh: Once your jars are properly sealed through the canning process, you can keep these tasty squash pickles in a cool, dark pantry for up to 12 months. Just remember to check that the seal is intact before storing, and make sure the jar lids don’t flex up and down when pressed.
Refrigerate: After opening a jar, pop it in the fridge where your pickles will stay crunchy and flavorful for about 2-3 months. The vinegar brine helps preserve them nicely, though they’re usually so good they rarely last that long!
Before Serving: For the best pickle experience, let your newly made jars sit for at least 2 weeks before cracking them open. This gives all those lovely flavors time to develop and mingle together. Trust me, your patience will be rewarded with much tastier pickles!
| Preparation Time | 30-45 minutes |
| Cooking Time | 12-15 minutes |
| Total Time | 42-60 minutes |
| Level of Difficulty | Medium |
Estimated Nutrition
Estimated nutrition for the whole recipe (without optional ingredients):
- Calories: 900-1100
- Protein: 10-15 g
- Fat: 0-5 g
- Carbohydrates: 220-240 g
Ingredients
For the pickling brine:
- 1/2 tsp turmeric (for color and mild flavor)
- 5 cups white vinegar
- 4 cups sugar
For each quart jar:
- 1/2 tsp celery seeds
- 1/2 tsp mustard seeds
- 2-3 sprigs fresh dill (for herbaceous notes)
- 1/2 tsp salt (I use Morton Coarse Kosher Salt)
- 1/2 sliced jalapeño (remove seeds for less heat)
- 2 smashed garlic cloves
For the vegetables:
- 8-10 medium yellow squash (sliced 1/4 inch thick)
- onion slices, as needed (firm white or yellow onion preferred for best texture)
Step 1: Prepare the Vinegar Mixture
In a large stockpot, combine the cider vinegar, sugar, and turmeric spice.
Bring the mixture to a rolling boil and let it boil for 2 minutes.
Once done, turn off the heat and set the pot aside to allow the flavors to meld together.
Step 2: Sterilize the Jars and Lids
While the vinegar mixture is cooling, sterilize your mason jars and lids by boiling them in water for at least 2 minutes.
This step ensures that the jars are clean and safe for preserving your pickles.
Step 3: Pack the Jars with Spices and Vegetables
Add the specified spices (excluding turmeric) into each jar.
Pack each jar tightly with yellow squash slices, placing a layer of onion slices halfway up the jar for added flavor.
Make sure to leave enough room for the brine to circulate.
Step 4: Add the Vinegar Mixture
Ladle the hot vinegar mixture into each jar, ensuring you leave a 1/4-inch headspace at the top.
Take a wooden spoon and gently tap the sides of each jar to release any trapped air bubbles, which helps to ensure a proper seal and prevents spoilage.
Step 5: Seal and Process the Jars
Place the lids and bands onto each filled jar, securing them snugly with your hands but not overly tight.
Process the jars in a water bath for 10 minutes to ensure a proper seal and to preserve the contents safely.
Step 6: Cool and Store the Pickles
After water bath processing, let the jars rest until they are fully cooled and the tops have sealed.
For optimal flavor development, allow the pickles to age for about a month, although they can be enjoyed sooner if desired.
If you prefer, you can also choose to simply store the jars in the refrigerator without processing them in a water bath.
Enjoy your flavorful homemade pickles!
