If you ask me, ice cream cone cakes are a brilliant twist on classic birthday treats.
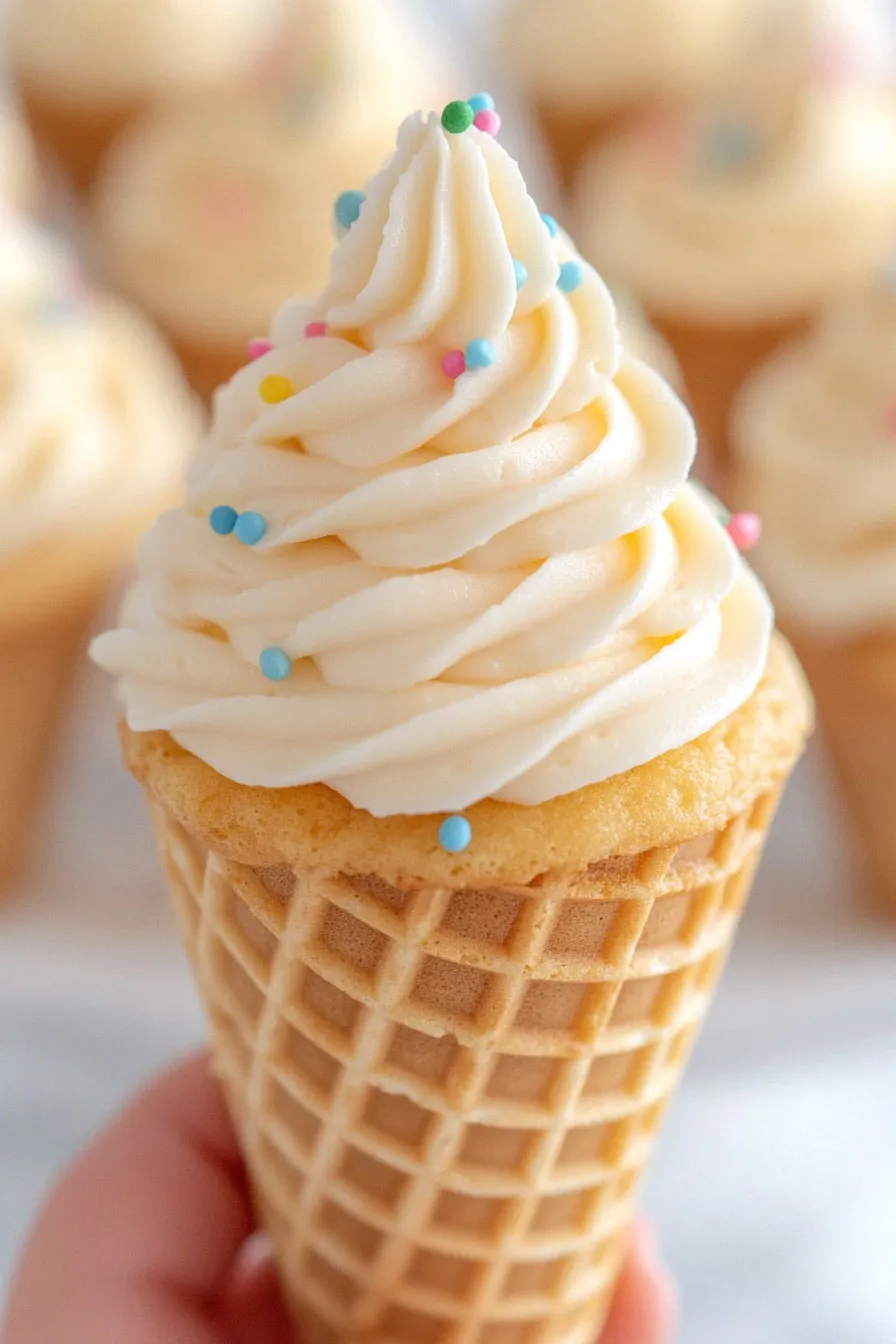
This whimsical dessert brings together two childhood favorites – cake and ice cream cones – in a fun and unexpected way. Soft vanilla cake baked right inside sugar cones creates that perfect mix of crispy and fluffy textures.
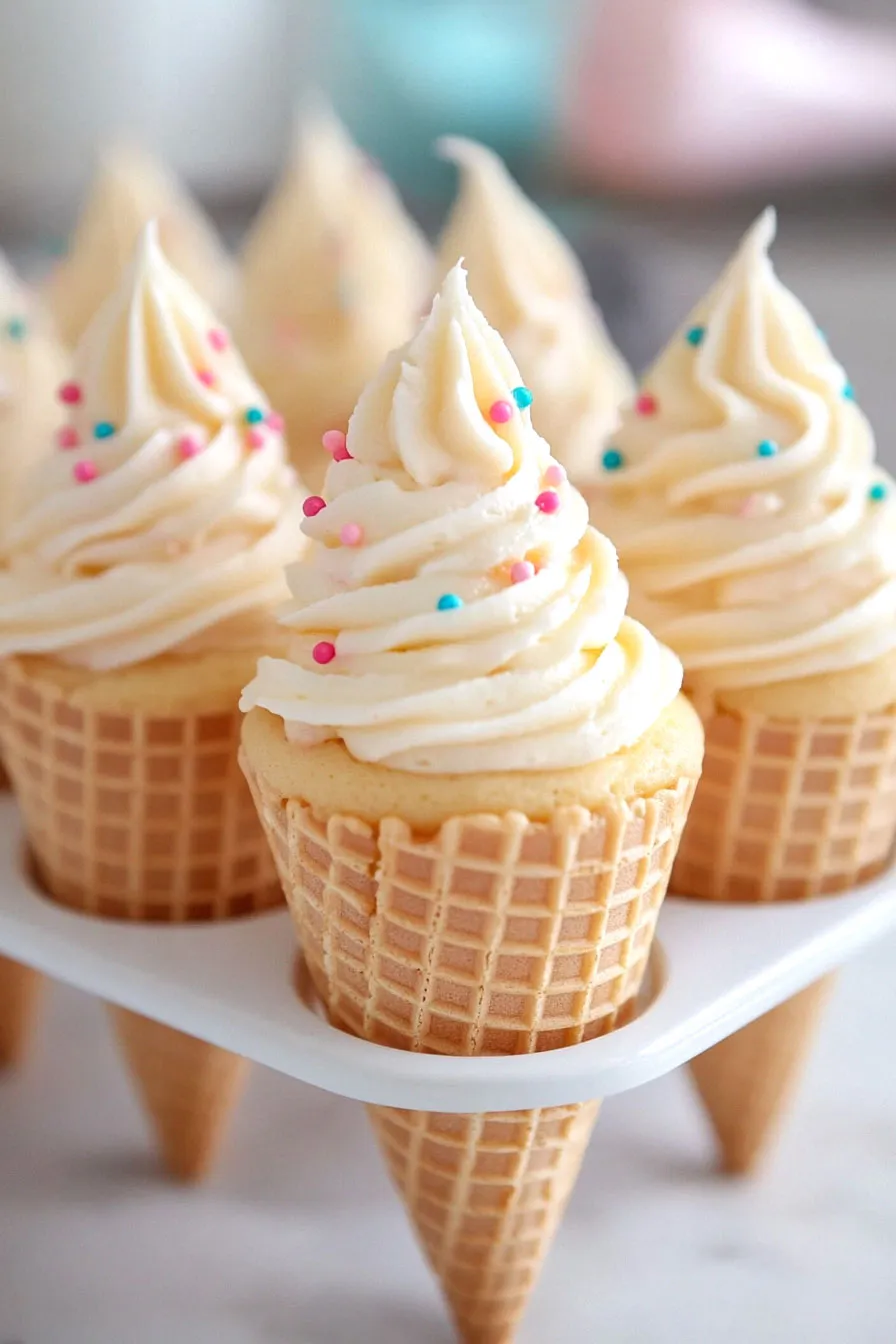
The cones stand upright in a special pan, filled with cake batter that rises and domes just like a real ice cream scoop. Once frosted with swirls of buttercream, they look exactly like ice cream cones that won’t melt.
It’s a kid-friendly dessert that always gets smiles at parties, perfect for summer celebrations or any time you want to serve something a little different.
Why You’ll Love This Ice Cream Cone Cake
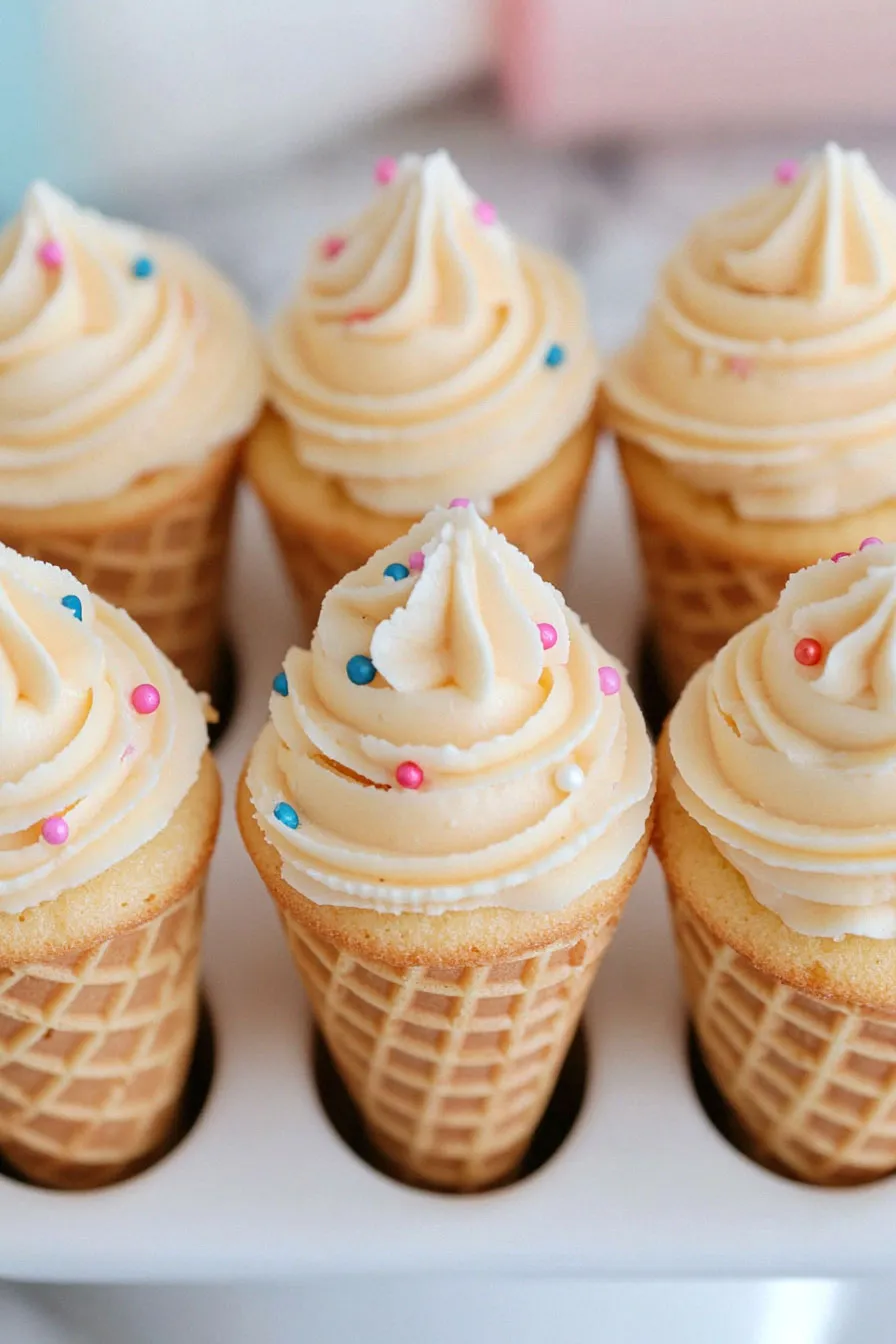
- Kid-friendly fun – These playful treats look just like ice cream cones, making them perfect for birthday parties, summer celebrations, or any time you want to bring smiles to little faces.
- Easy ingredients – Using a cake mix and ready-made frosting means you can focus on the fun part – decorating! Plus, you probably already have most of these ingredients in your pantry.
- Make-ahead friendly – You can bake these cone cakes a day before your event and frost them when you’re ready to serve, making party planning so much easier.
- Customizable treats – Switch up the cake flavors, frosting colors, and toppings to match any party theme or create your own unique combinations.
What Kind of Ice Cream Cones Should I Use?
For this fun cake recipe, you’ll want to stick with flat-bottom ice cream cones, also known as cake cones or wafer cones. These are the classic light-colored, crispy cones you probably remember from childhood ice cream parties – not the sugar cones or waffle cones that come to a point at the bottom. The flat bottom is essential since these cones need to stand up straight while you’re filling and decorating them. Regular-sized cones work best, as the jumbo or mini sizes can be tricky to fill properly with cake batter. Just make sure to check your cones before starting, as broken or cracked ones won’t work well for this recipe.
Options for Substitutions
This fun cake recipe has several ways you can mix things up:
- Rainbow chip cake mix: Any cake mix flavor works great here! Try chocolate, vanilla, strawberry, or funfetti. You can even use a homemade cake batter if you prefer – just make sure it’s not too dense.
- Ice cream cones: Flat-bottom cones are best for this recipe and shouldn’t be substituted with pointed cones as they won’t stand up. You can use either cake or wafer-style flat-bottom cones, but avoid sugar cones as they’re too small.
- Vanilla frosting: Any frosting flavor works here – chocolate, strawberry, cream cheese, or even homemade buttercream. Just make sure it’s thick enough to pipe and hold its shape. If using homemade, you’ll need about 4 cups total.
- Sprinkles: Get creative with your toppings! Try chocolate chips, crushed cookies, candy pieces, or colored sugar. You can even use edible glitter or themed decorations for holidays.
- Oil in cake mix: You can swap the oil called for in the cake mix with an equal amount of melted butter or applesauce, though applesauce will make the cake a bit denser.
Watch Out for These Mistakes While Baking
The biggest challenge when making ice cream cone cakes is preventing the cones from tipping over during baking – solve this by placing them upright in a muffin tin, which provides perfect stability and ensures even baking. A common error is overfilling the cones with batter – fill them only about 2/3 full, as the cake will rise significantly during baking and could overflow, creating a mess in your oven. To keep your cones crispy, avoid getting cake batter on the outside of the cones, and make sure to let them cool completely before frosting – rushing this step can lead to melted frosting and soggy cones. For the best presentation and stability when serving, place a small dollop of frosting on your serving plate before setting down each cone – this creates an edible “glue” that keeps the cones from toppling over.
What to Serve With Ice Cream Cone Cakes?
These fun ice cream cone cakes are already a complete dessert on their own, but you can turn them into an awesome dessert bar with a few extra goodies! Set up a toppings station with different sprinkles, mini chocolate chips, and crushed candies so everyone can customize their own cake cone. I like to serve these at parties with cups of cold milk or chocolate milk on the side. For an extra special touch, put out some warm chocolate sauce or caramel sauce for drizzling – just like you’d find at an ice cream shop!
Storage Instructions
Keep Fresh: These fun ice cream cone cakes need to be stored carefully to keep their shape. Place them in a tall, airtight container in the fridge, making sure they stand upright and don’t touch each other. They’ll stay fresh for up to 3 days. Pro tip: I like to use a clean egg carton with holes cut slightly bigger to hold the cones steady!
Make Ahead: You can bake the cakes in the cones a day ahead and store them unfrosted in an airtight container at room temperature. Just wait to add the frosting until a few hours before serving – this keeps the cones nice and crispy. Once frosted, they should go right into the fridge.
Transport: Taking these to a party? Place the cone cakes in a deep baking dish or box lined with aluminum foil balls to keep them standing. If it’s warm outside, keep them cool with ice packs nearby, as the frosting can get soft in higher temperatures.
| Preparation Time | 15-20 minutes |
| Cooking Time | 13-18 minutes |
| Total Time | 58-68 minutes |
| Level of Difficulty | Easy |
Estimated Nutrition
Estimated nutrition for the whole recipe (without optional ingredients):
- Calories: 2500-2800
- Protein: 20-25 g
- Fat: 100-120 g
- Carbohydrates: 400-450 g
Ingredients
For the cake:
- eggs (as directed on cake mix package, typically large)
- water (as directed on cake mix package)
- 24 flat-bottom ice cream cones (Joy brand works well for this recipe)
- oil (as directed on cake mix package)
- 1 package rainbow chip cake mix
For the frosting and decoration:
- decorative sprinkles (any color or shape for a festive look)
- 2 containers vanilla frosting (16 oz each, room temperature for easy spreading)
Step 1: Prepare the Muffin Tins and Oven
Preheat your oven to 350°F.
If you’re using dark or nonstick pans, set the oven temperature to 325°F.
Line 24 regular-size muffin cups with paper baking cups, as these will help support the batter for each individual cake.
Step 2: Make and Divide the Cake Batter
Prepare the cake batter according to the instructions on the box, making sure it is well mixed for even texture.
Divide the batter evenly among the prepared muffin cups, filling each about halfway to leave room for rising.
Step 3: Insert and Bake with Ice Cream Cones
Gently place an ice cream cone upside down on top of the batter in each muffin cup.
Transfer the muffin tins to the preheated oven and bake for 13 to 18 minutes, or until a toothpick inserted into the center of the cakes comes out clean.
It’s normal if the cones tilt slightly as the cakes bake and rise.
Step 4: Cool the Cakes
Once baked, allow the cakes to cool in the pans for about 10 minutes.
Then, carefully remove them from the pans and place them cone side up on a cooling rack.
Let them cool completely, which should take approximately 30 minutes.
Once cooled, gently remove the paper baking cups from each cake.
Step 5: Frost and Decorate the Cakes
Generously frost each cake with your choice of frosting, covering the entire top for a deliciously sweet finish.
Feel free to decorate as desired with sprinkles, candies, or any other toppings you enjoy.
Store the finished cakes loosely covered at room temperature to keep them fresh and ready for serving.
