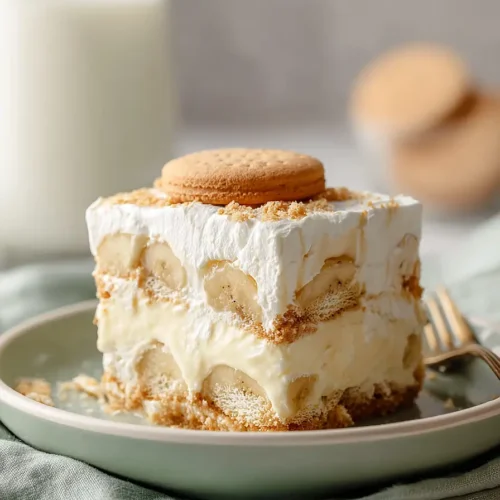
Smooth Banana Pudding Without Bananas
Delicious Smooth Banana Pudding Without Bananas recipe with step-by-step instructions.
Ingredients
For the pudding mixture::
- 5 oz vanilla instant pudding (I always use Jell-O brand for the best set)
- 3.5 cups milk (cold, whole milk makes it extra creamy and rich)
- 3 oz whipped topping
- 1 teaspoon vanilla extract
For the assembly::
- 11 oz vanilla wafers (I prefer Nilla Wafers for the classic texture)
- 5 oz whipped topping (thawed completely in the fridge before using)
Instructions
- Pour the cold whole milk into a large mixing bowl, then add the vanilla instant pudding mix. Whisk vigorously for about 2 minutes until the pudding thickens and becomes smooth—you'll notice it transform from liquid to a custard-like consistency. The cold milk is essential here; it helps the pudding set properly and creates that rich, creamy texture we're after. I always use whole milk instead of low-fat because it makes a noticeably creamier pudding.
- Fold the first portion of thawed whipped topping (3 oz) gently into the pudding mixture using a spatula, being careful not to deflate the whipped topping—use folding motions rather than stirring to maintain the airy texture. Then stir in the vanilla extract until fully incorporated. This creates a lighter, fluffier pudding base that will make the dessert less heavy. Reserve the remaining 5 oz of whipped topping for the top layer.
- Spread a thin layer of the whipped pudding mixture (about 1/4 inch) on the bottom of a 9x13 inch baking dish or similar-sized serving dish. Arrange a single layer of vanilla wafers on top, breaking them as needed to fit snugly. Repeat this layering: pudding mixture, then wafers, then pudding, then wafers again, for a total of three pudding layers and three wafer layers, ending with a pudding layer. The thin pudding layers allow the wafers to soften slightly while maintaining some texture—I like to stagger the wafer placement so each bite gets a mix of wafer and pudding.
- Spread the reserved 5 oz of thawed whipped topping evenly over the top layer of pudding. Crumble a few vanilla wafers and scatter them across the whipped topping as a garnish for visual appeal and a hint of crispy texture on top.
- Cover the dish loosely with plastic wrap and refrigerate for at least 3 hours, or until the layers have melded together and the pudding has fully set. You can also make this dessert the day before—it actually improves as the wafers soften and absorb the pudding flavors overnight, creating a more cohesive texture throughout.